
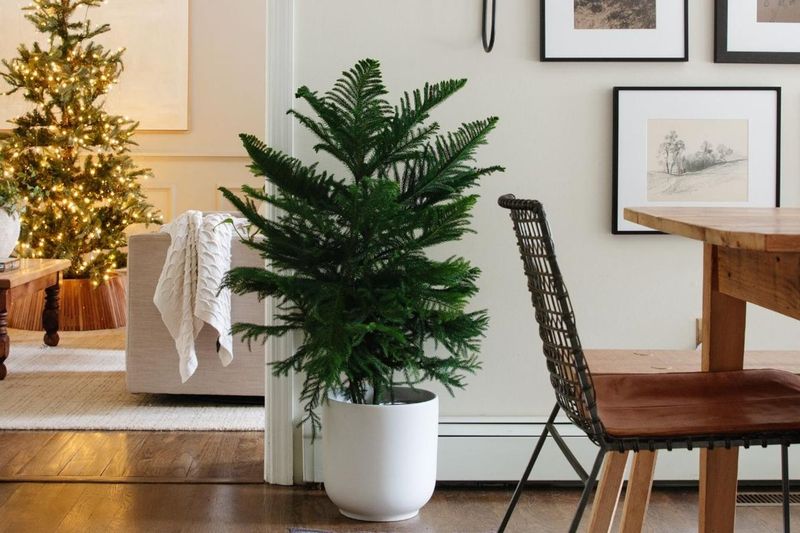
Brown, crispy needles on a Norfolk Island pine can be upsetting, especially when the tree just came home for the holidays. Dry air gets blamed a lot, but it is only one of several possible causes.
A few simple checks can help you figure out what your plant is dealing with before you change anything. Here is a calm, step-by-step way to sort it out.
Brown needles point to stress, not one certain cause
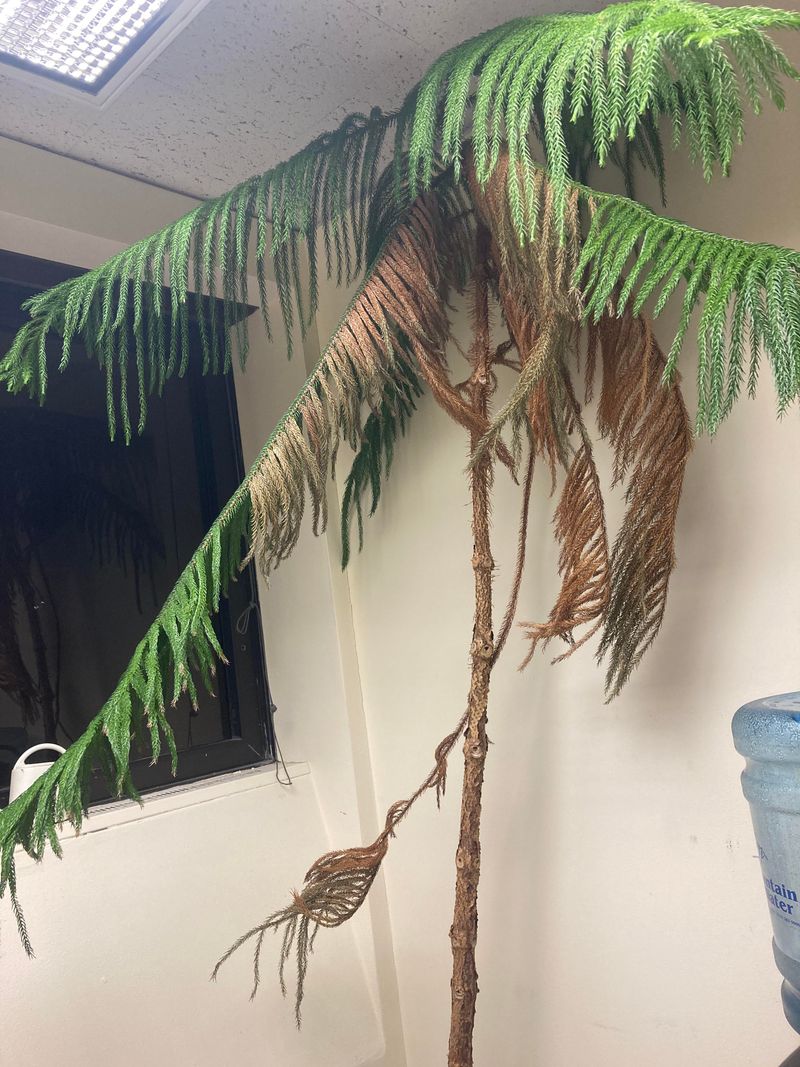
Seeing crispy brown tips can make you want to act fast. Slow down for a moment, because that symptom tells you the plant is stressed, not exactly why.
Extension guidance on struggling Norfolk Island pines links browning to several possible contributors, and dry air is only one of them.
The others include soil that has dried out too much, soil that stays too wet, too little light, drafts from vents or doors, and too much fertilizer. Any of these can leave needles looking scorched or limp.
Pests such as scale insects can also play a part, so a close look at the stems and undersides is worthwhile.
Because several causes look alike, the best approach is a sequence of checks rather than one big fix. Start with the soil and drainage, then look at light and drafts, then think about recent changes like a move.
Humidity comes after those steps, as an option rather than an assumption. Dead brown needles will not turn green again, so the goal is to protect the healthy growth that remains.
Check the soil before changing your watering
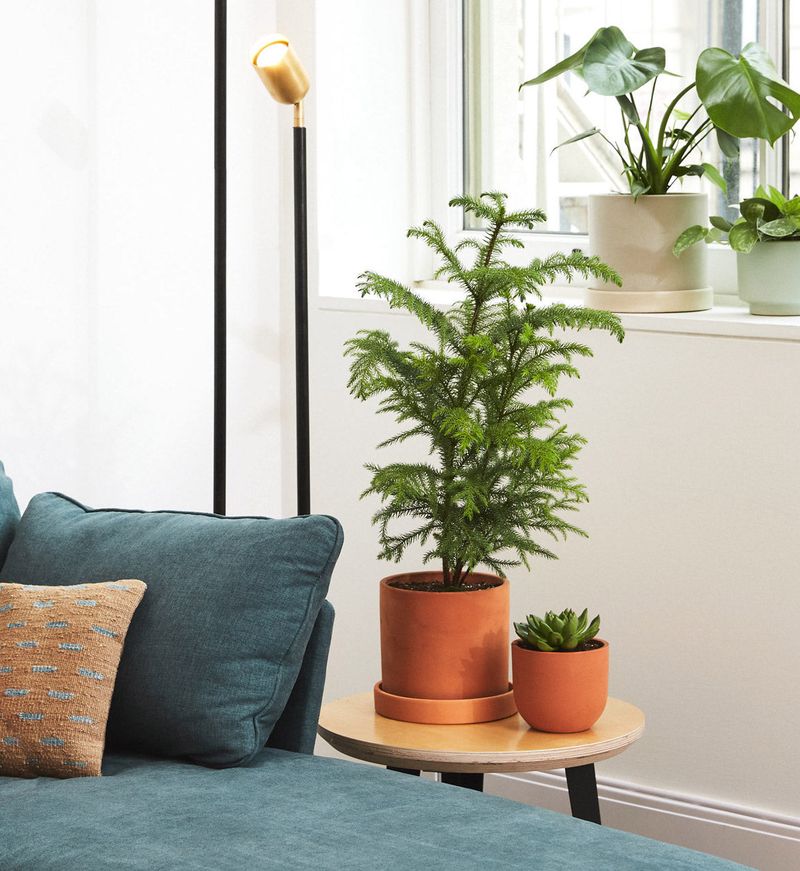
Before you reach for the watering can, feel the potting mix. Push a finger into the soil and note whether it is dry, damp, or soggy.
Then lift the pot to check that the drainage hole is not blocked and that no water is sitting in the saucer.
New York Botanical Garden guidance ranges from watering when the surface feels dry to keeping the mix evenly moist but never wet. That range exists because the right rhythm depends on light, room temperature, pot size, and the mix itself.
So skip any fixed schedule and let the soil guide you.
When the mix is dry, water thoroughly until it runs out the bottom, let it drain, and empty the saucer. UConn’s fact sheet warns that overly wet soil can rot roots.
That is why adding more water is not a safe blanket answer for brown needles. If the mix is already soggy, hold off and let it dry a bit first.
Light and drafts can contribute to needle loss
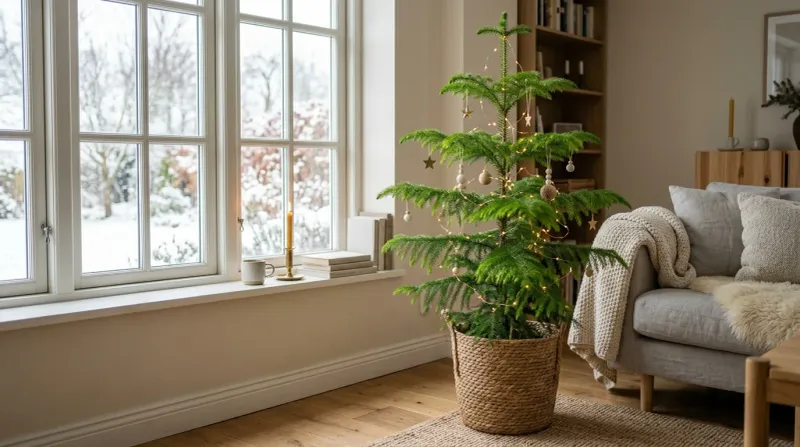
Once the soil checks out, look at where the plant lives. Norfolk Island pines do best in a bright spot, and dim corners can leave them weak.
UConn guidance also advises keeping the plant away from hot or cold drafts, including heating and air-conditioning vents.
Walk around the room and notice what the tree feels throughout the day. A warm blast from a floor vent, a chilly gust each time the front door opens, or a spot far from any window can all add stress.
Holiday placement is a common culprit, since trees often end up in corners or beside fireplaces.
If you find a problem, a move to a brighter, calmer spot can help the plant going forward. It will not undo needles that are already brown.
Think of it as protecting the healthy branches, and give the plant time to settle after any shift.
A little browning after a move may not signal a crisis
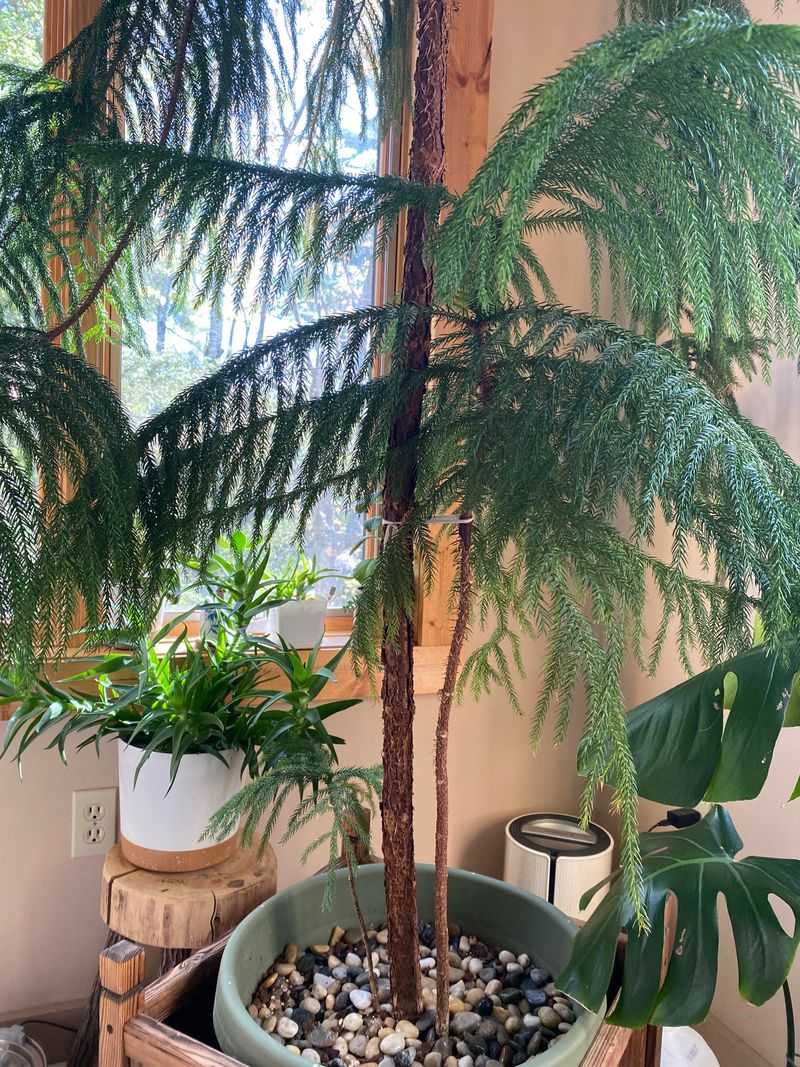
A tree that just left a warm greenhouse or store lobby has a lot to get used to. Your home has different light, temperature, and air.
University of Missouri Extension notes that a few needles may drop as a newly bought plant adjusts to its new indoor setting.
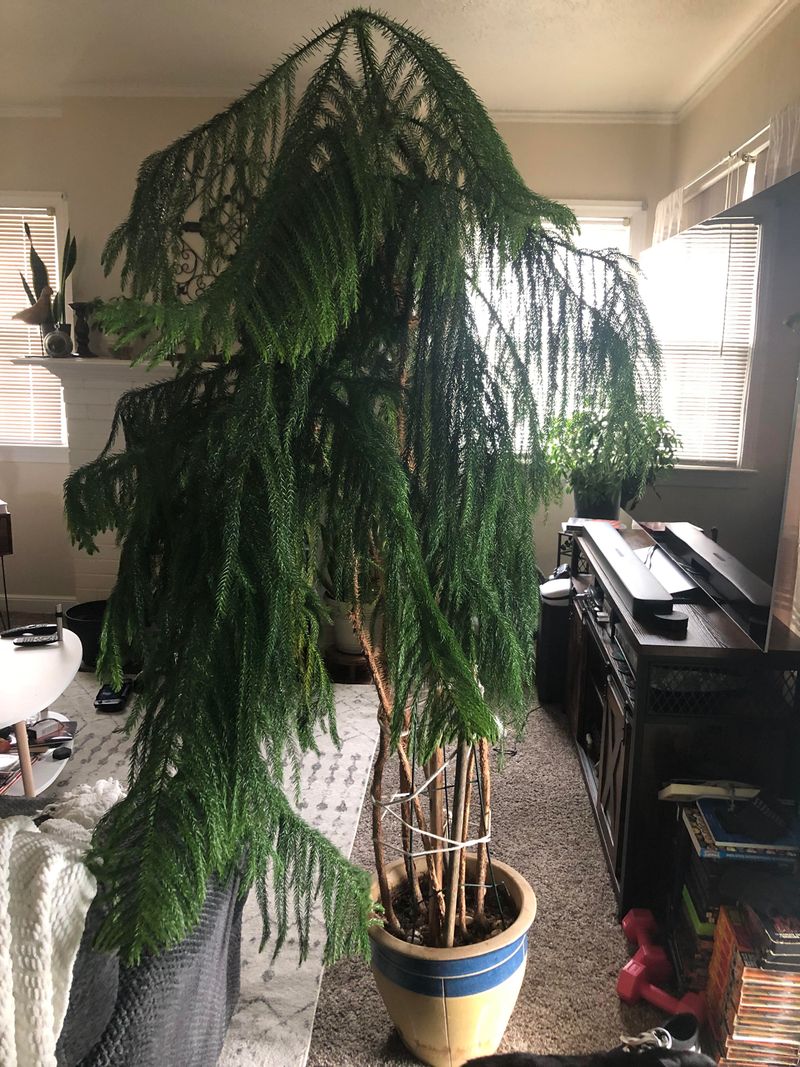
Older foliage can also go brown naturally. One Ask Extension response describes minor browning as the oldest needles are shed.
If the damage is limited to a few lower or inner needles, patience is often reasonable.
Pay attention to the pattern over a few weeks. Browning that spreads to many branches, keeps getting worse, or hits new growth deserves a closer look.
In that case, go back through watering, light, and drafts instead of blaming humidity alone. Inspect the stems for pests while you are at it.
A pebble tray is an optional, uncertain humidity measure
Experts do not agree on pebble trays. UConn recommends one for this plant, and NYBG does too.
Penn State Extension says the evaporation spreads through the room and has almost no overall effect on humidity.
So treat a tray as a low-cost experiment, not a dependable cure. It will not turn brown needles green, and it should never replace checking soil, light, and drafts.
If you want to try one, use a shallow tray and fill it with pebbles. Add water, but keep the level below the tops of the pebbles.
The pot must sit on the pebbles above the water, not in standing water, because soggy soil can lead to root rot. Refill the tray as it dries and rinse it now and then.
Manage humidity for future growth, not to revive dead needles
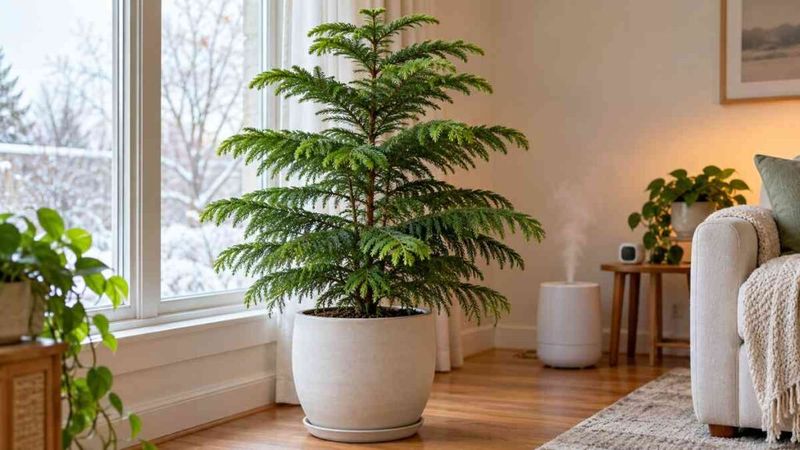
If you want to raise the humidity in the room, a humidifier is another option, and a hygrometer shows what the air actually holds. NYBG describes humidity above 50 percent as preferred for this plant.
Treat that as a care target, not proof that dry air caused your browning.
Better conditions may support the healthy growth that is left. They cannot bring back dead tissue, and Ask Extension offers no set timeline for new growth to look better.
Brown needles stay brown, so you can trim the worst ones if they bother you.
A practical order works well. First check the soil and drainage, then review light and drafts, and only then decide whether a humidity step is worth trying.
Keep a note of what you change so you can tell what helps. UConn’s advice on avoiding soggy soil still applies when you add any moisture to the room.
A tree can only show you what it has been through, and the new branches will tell the rest of the story.