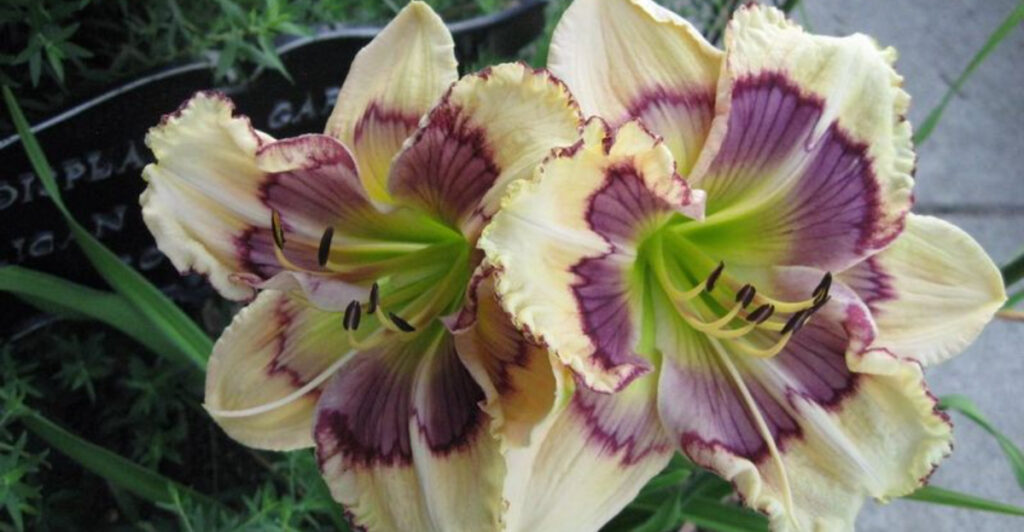
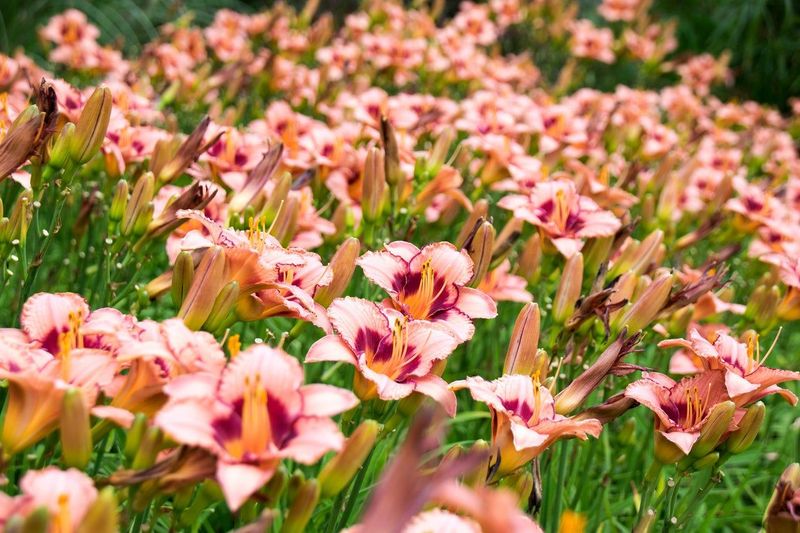
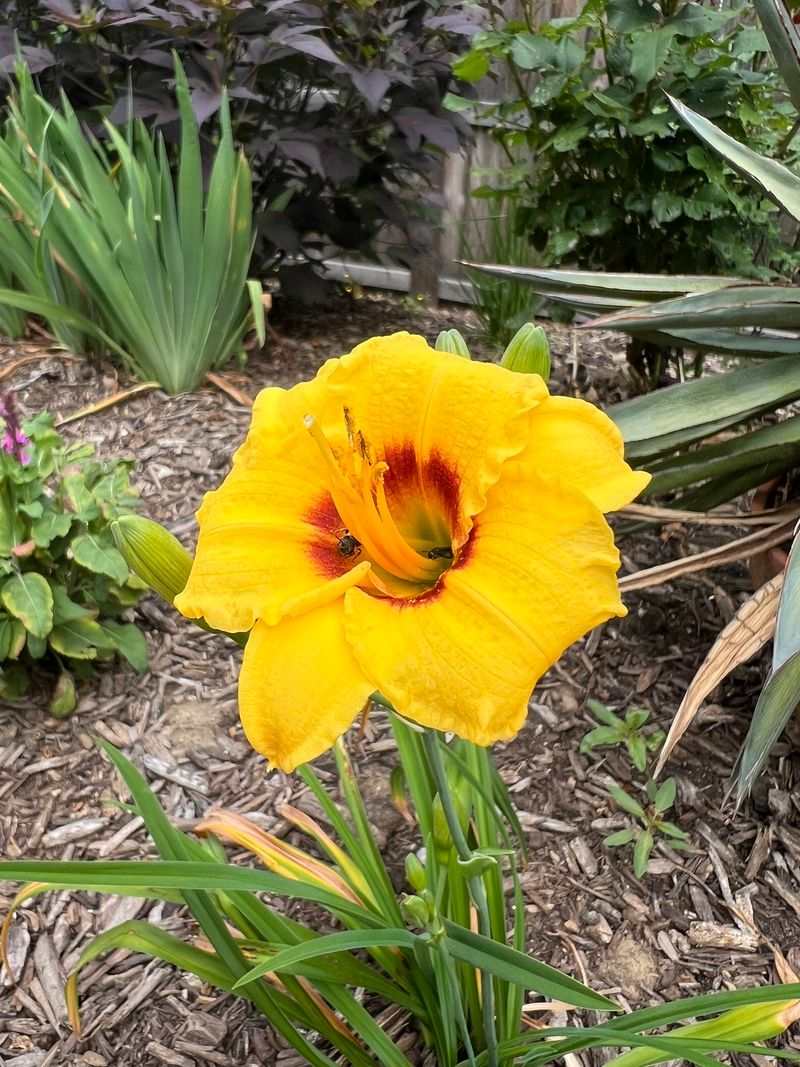
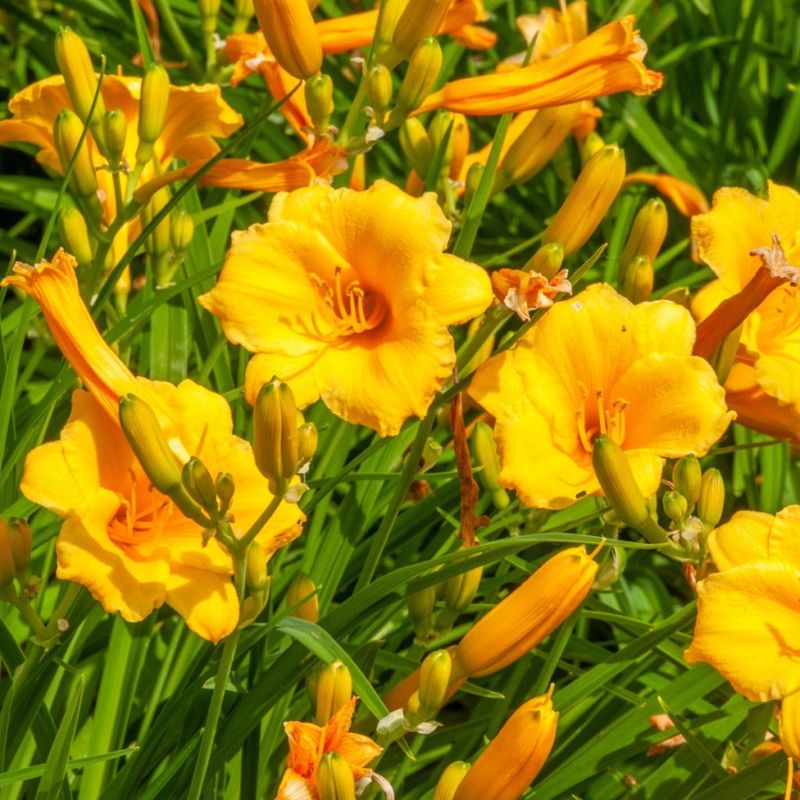
Learn how to divide and conquer your daylilies this spring for spectacular blooms.
With the right timing and techniques, you can enhance growth and ensure your garden bursts with vibrant color.
Follow these 11 tips for healthy, flourishing daylilies.
1. Choose the Right Time
Late winter to very early spring is the perfect time to divide daylilies. As the season transitions and the ground begins to warm, the plants are still in a dormant state. This timing allows the roots to recover quickly, reducing stress on the plant.
Choosing the right moment ensures that the daylilies are ready to put their energy into growing new roots and leaves. This early intervention can lead to a more robust growth phase, setting the stage for spectacular blooms.
Act early and watch your garden flourish as the season progresses.
2. Loosen the Soil Gently
Before you can divide your daylilies, start by gently loosening the soil around the base of the clump. Use a garden fork or spade for this task, being careful not to sever too many roots.
The goal is to prepare the plants for an easy lift without causing damage. By taking your time and being gentle, you minimize root breakage, which helps in a smoother transition during replanting.
This careful preparation ensures the plants remain healthy and stress-free, ready to thrive in their new location.
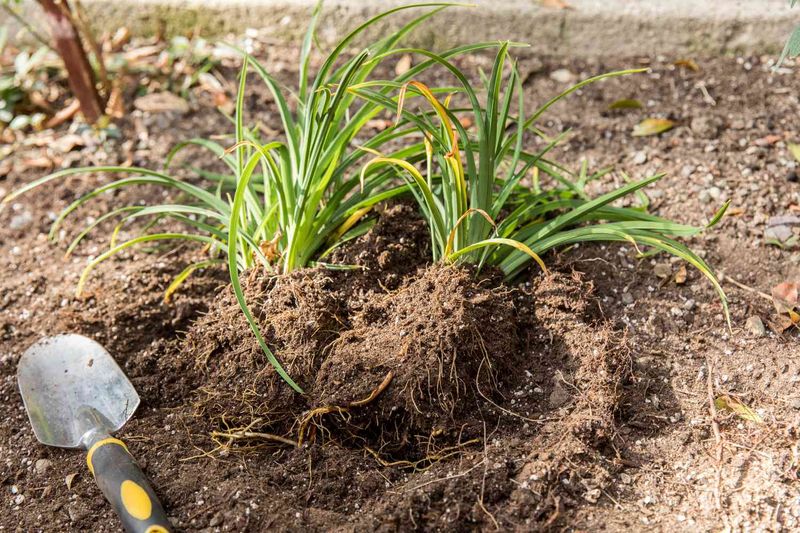
3. Lift the Clump
Once the soil is loosened, it’s time to lift the entire daylily clump from the ground. Slide your garden fork or spade under the roots and carefully lift the plant, ensuring excess dirt falls away.
If the clump is too large, consider lifting it in sections to make the process more manageable. This method allows you to handle the plants with care, preserving as many roots as possible.
By gently lifting and separating the clumps, you set the stage for successful division and replanting.
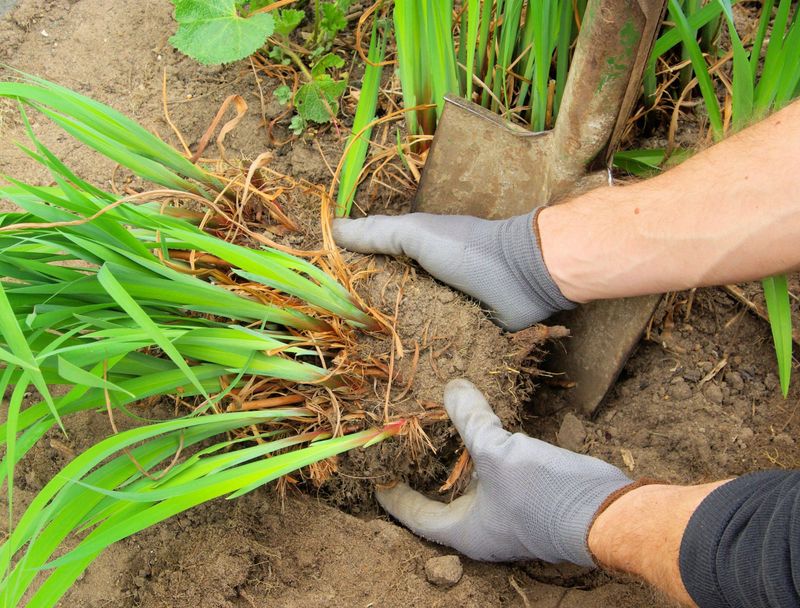
4. Separate the Fans
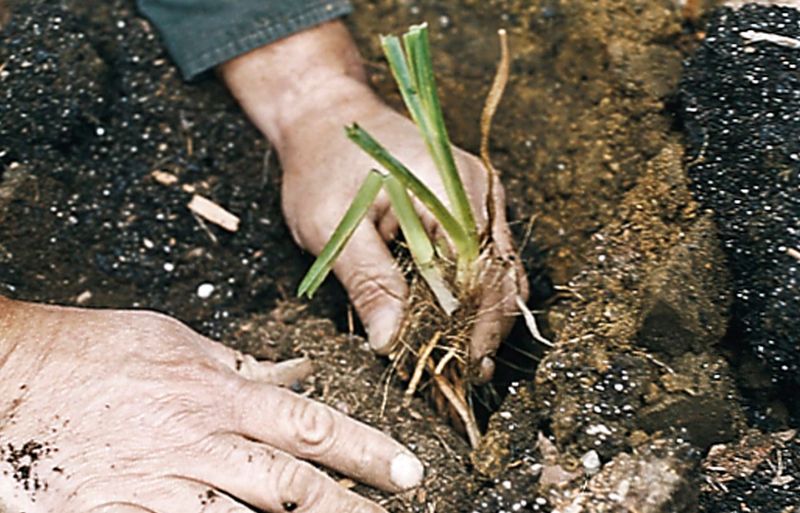
Each fan of a daylily is a group of leaves emerging from a single root crown. Begin by teasing or carefully cutting the clump into smaller sections, ensuring each has healthy roots and at least 2–3 fans.
This separation allows for robust growth and prevents overcrowding, giving each section room to thrive. Make sure to handle each fan delicately to maintain root integrity.
With ample space and healthy roots, these sections are primed to thrive and eventually burst into colorful blooms, enhancing the beauty of your garden significantly.
5. Prune Leaves & Roots
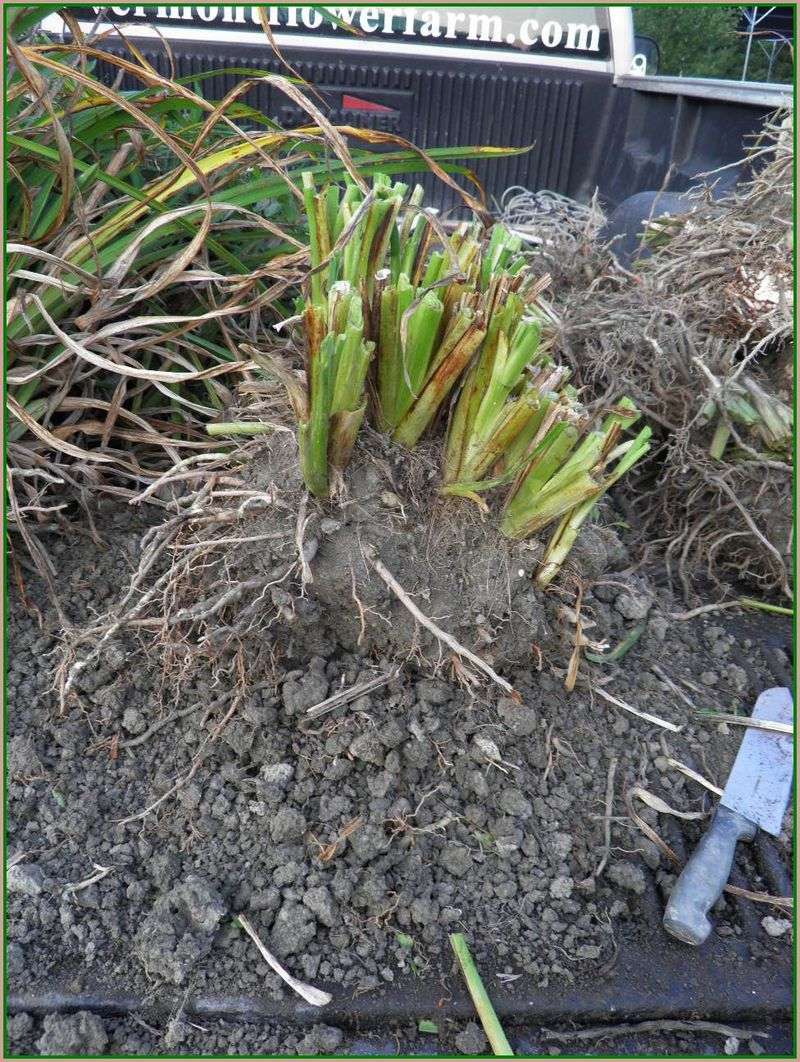
Pruning the leaves and roots of your daylilies can be an optional but helpful step. Trim the leaves back to about 6–8 inches to reduce water loss, which helps the plant focus on root development.
Also, snip away any damaged or dead roots to encourage healthy regrowth. This pruning process ensures the plant’s energy is directed towards establishing a strong root system, vital for vibrant and long-lasting blooms.
Healthy roots and a strong base will set the foundation for a flourishing plant, ready to dazzle in your garden.
6. Refresh Your Soil
While your daylily clumps are out of the ground, take the opportunity to refresh the soil where you plan to replant them. Add compost or well-rotted manure to improve nutrient content and drainage.
This soil enrichment ensures that the daylilies have a nutrient-rich foundation to grow in, promoting better root development and stronger plants. By preparing the soil, you’re setting up an ideal environment for your plants to thrive.
Healthy soil is the key to robust blooms, and your efforts will be rewarded with a vibrant, colorful display.
7. Replant Properly
After preparing your soil, it’s time to replant your divided daylilies. Dig a hole wide enough for the roots to spread without crowding them. Place the daylily so that the crown, where the leaves meet the roots, sits just below the soil surface.
This placement is crucial to allow the plant to establish itself effectively. Proper spacing ensures each plant has the room it needs to grow and flourish.
Replanting correctly ensures that the daylilies have the best chance of thriving and producing spectacular blooms come summer.
8. Water Thoroughly
The next step after replanting is to water the daylilies thoroughly. Soaking the soil immediately after planting helps the roots settle in and reduces transplant shock. Consistent moisture in the weeks following replanting is essential for the plants to adapt to their new environment.
Regular watering encourages healthy root establishment, ensuring the plants have the necessary resources to grow and bloom successfully. Keep a keen eye on moisture levels to prevent over- or under-watering, and your daylilies will reward you with lush growth.
9. Mulch for Protection
Adding a layer of mulch around the base of your newly planted daylilies offers numerous benefits. Use materials like straw, shredded leaves, or bark to help retain moisture in the soil.
Mulching also suppresses weeds, reducing competition for nutrients and allowing your daylilies to thrive. This protective layer maintains the right soil temperature and provides a stable environment for root growth.
With mulch in place, you create a barrier that protects your plants, giving them the best chance to establish and flourish without stress.
10. Feed Lightly
To support strong foliage and big blooms, apply a balanced, slow-release fertilizer to your daylilies in early spring and again mid-season. Feeding your plants lightly ensures they receive the essential nutrients needed for optimal growth without overwhelming them.
The slow-release formula provides a steady supply of nutrients, encouraging robust development over time. This careful feeding strategy helps build strong, healthy plants capable of producing vibrant, bold blooms that will make your garden stand out.
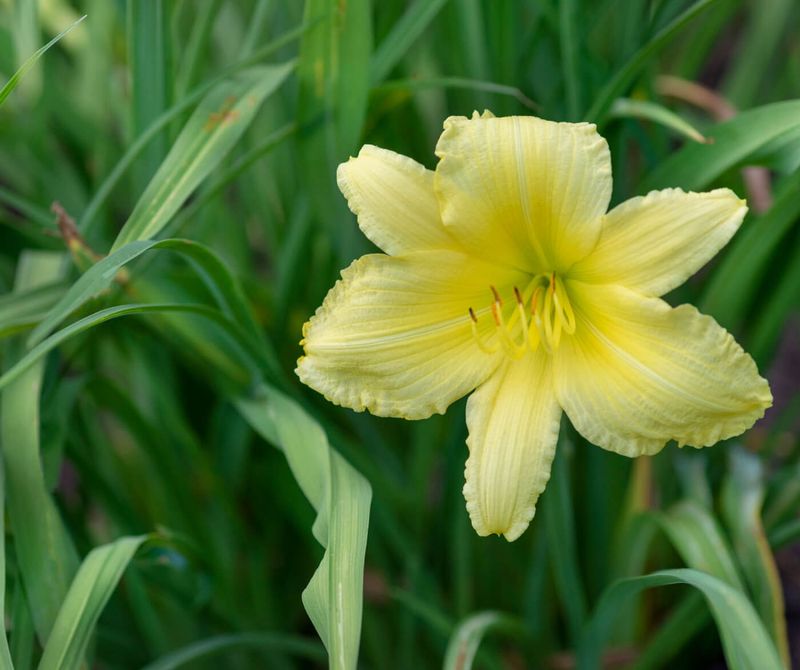
11. Monitor & Maintain
Regular monitoring and maintenance are key to sustaining healthy daylilies and ensuring continuous blooms. Check for signs of over- or under-watering often, as these can affect plant health significantly.
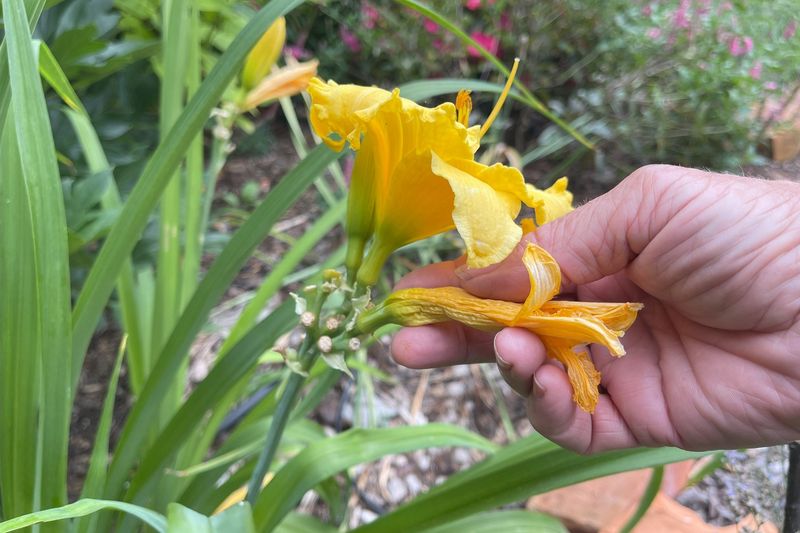
Remove any spent blooms or yellowed leaves to encourage new flowers and maintain a tidy appearance. By keeping an eye on your plants’ needs, you ensure they remain in peak condition throughout the growing season.
Proactive care and attention to detail will reward you with a garden full of vibrant, thriving daylilies, creating a stunning display all season long.