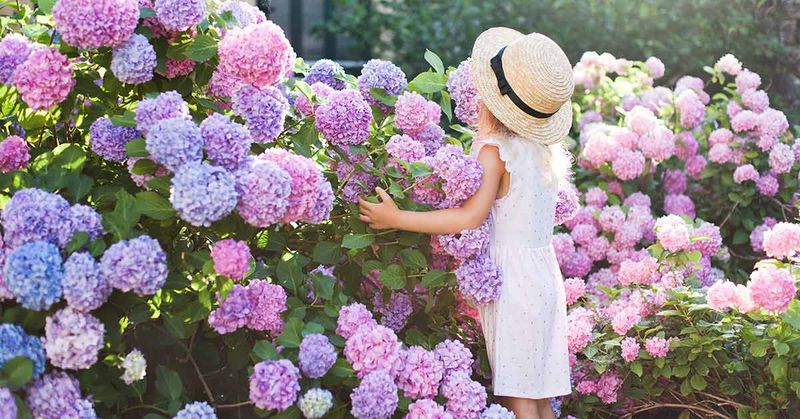
Hydrangeas, known for their lush blooms and vibrant colors, can bring any garden to life. Propagating hydrangeas from cuttings is a rewarding method, allowing gardeners to multiply their favorite varieties. This guide breaks down the process into 13 manageable steps, ensuring even beginners can achieve success.
1. Choose the Right Time
Timing is everything when it comes to propagating hydrangeas. Late spring to early summer offers the perfect balance for taking cuttings; new growth is still flexible but mature enough to root effectively. This period ensures your cuttings are neither too young nor too old, maximizing success.
Observing the plant’s growth cycle is key. During this time, hydrangeas exhibit vigorous growth, making them ideal candidates for propagation.
By choosing the right moment, you set the stage for successful rooting, ensuring your new plants thrive and flourish.
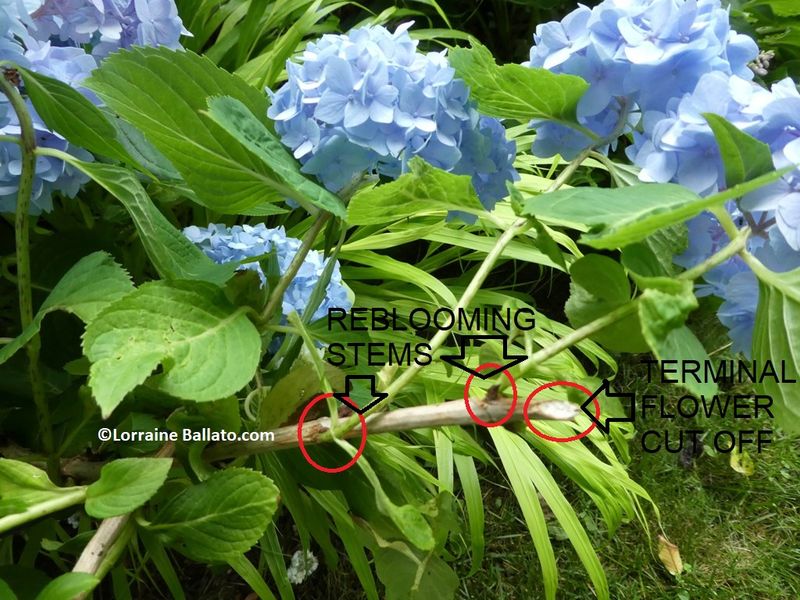
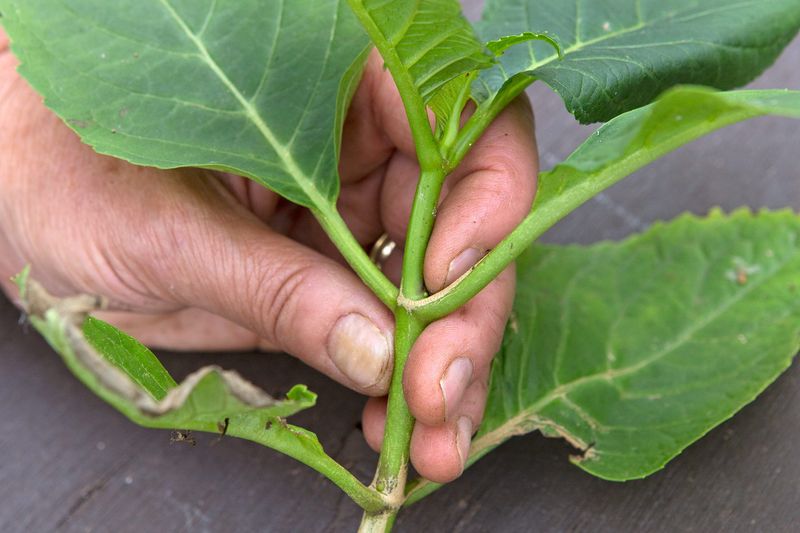
2. Select Healthy Stems
Selecting the right stems is vital for propagation success. Look for non-flowering shoots about 10–15 cm long with at least three pairs of leaf nodes. These nodes are where roots will emerge, so their health is paramount.
Avoid stems with pests or diseases as they can hinder growth. Opting for clean, robust stems ensures your cuttings have the best start possible.
Remember, a healthy beginning leads to a thriving plant. By focusing on quality, you lay the foundation for a flourishing hydrangea garden.
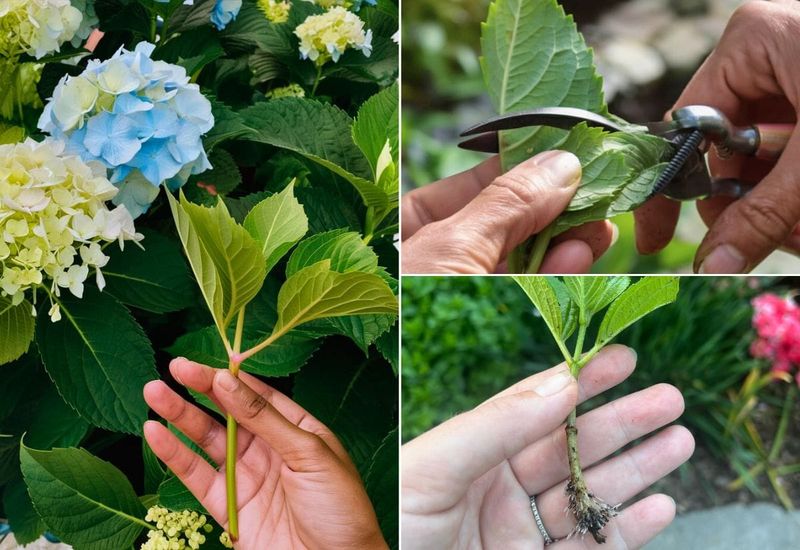
3. Make a Clean Cut
Precision is crucial when cutting your hydrangea stems. Use sharp, sterilized pruners to make a clean cut just below a leaf node at a 45° angle. This cut maximizes water uptake and promotes efficient rooting.
A clean cut also minimizes damage, reducing the risk of disease. Ensuring your tools are sterilized prevents the transfer of pathogens, safeguarding your new plants.
By making this precise cut, you pave the way for healthy root development and successful propagation.
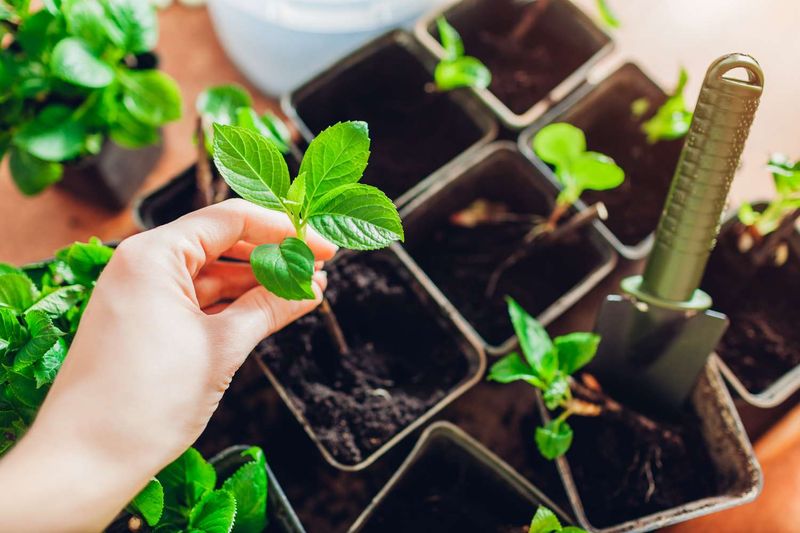
4. Strip Lower Leaves
Preparing the cutting for rooting involves removing the bottom leaves. Strip off the lower pair, leaving two to three pairs at the top. This action focuses energy on root development, rather than supporting excess foliage.
Removing side shoots and buds further directs the plant’s energy where it’s needed most. This preparation stage is crucial for strong root growth.
By carefully pruning your cutting, you optimize it for propagation, ensuring it has the best chance to establish roots and grow robustly.
5. Optional—Apply Rooting Hormone
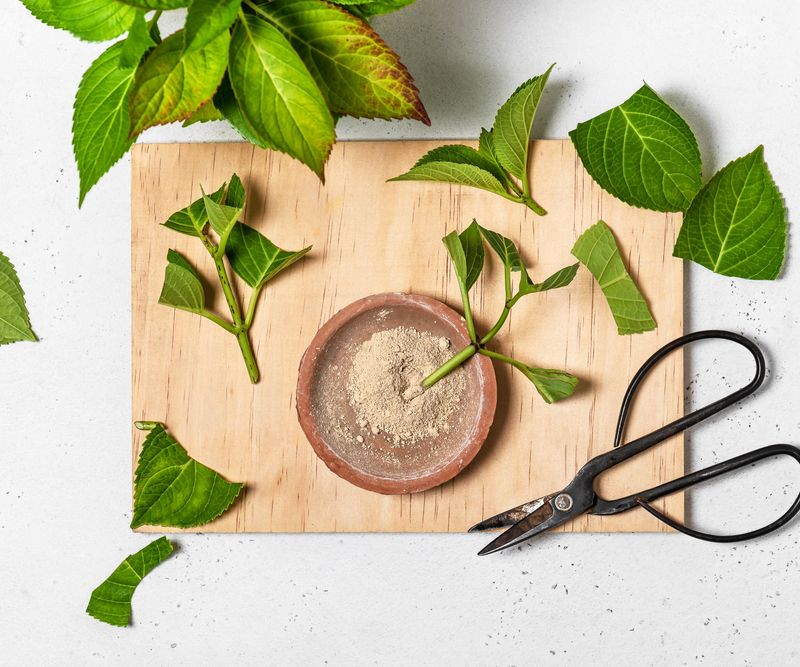
Enhance your cutting’s rooting potential with rooting hormone. Though optional, dipping the cut end into a hormone powder or liquid can speed up root development and improve success rates.
This step provides an extra boost, especially beneficial for beginners or challenging growing conditions. The hormone encourages faster root formation, promoting plant vitality.
By utilizing rooting hormone, you give your cuttings an advantage, increasing the likelihood of flourishing plants.
6. Prepare Your Potting Mix
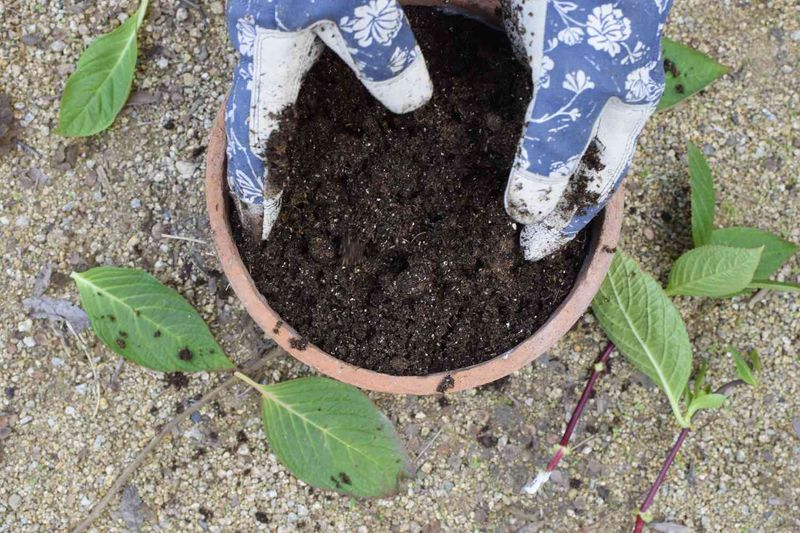
Creating the right environment is key to propagating success. Fill small pots or a tray with a well-draining potting medium, such as equal parts peat moss and perlite. This mix ensures adequate drainage and aeration.
Good drainage prevents waterlogging, which can lead to rot, while aeration promotes healthy root growth. Ensuring your medium is well-prepared sets the stage for successful propagation.
By crafting the ideal potting mix, you provide your cuttings with the foundation they need to thrive.
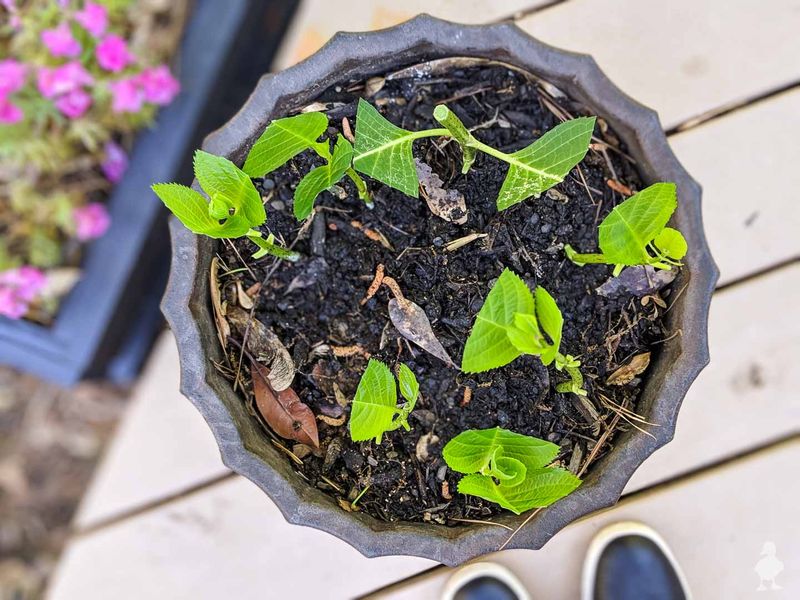
7. Insert the Cuttings

Properly inserting your cuttings is an essential step in propagation. Use a pencil to create a hole in the prepared potting mix. Insert the cutting so at least one node is buried, then gently firm the soil around it.
This careful placement ensures stability and promotes root growth. Avoid damaging the cutting during insertion by handling with care.
By securely placing your cuttings, you lay the groundwork for robust plant development and successful rooting.
8. Maintain Humidity
Humidity is a key factor in successful propagation. Cover your pot or tray with a clear plastic bag or dome, ensuring it doesn’t touch the leaves. This creates a humid microenvironment conducive to rooting.
Maintaining high humidity prevents the cuttings from drying out, promoting healthier growth. This step is particularly crucial during the early stages.
By preserving moisture, you support the cuttings’ transition from stem to rooted plant.
9. Provide Bright, Indirect Light
Light plays a significant role in the rooting process. Place your cuttings in a spot with plenty of filtered light, avoiding direct sunlight that can scorch tender stems.
Bright, indirect light encourages healthy growth while protecting the cuttings from the harshness of direct sun. This balance is crucial for successful propagation.
By situating your cuttings in the right light, you foster a supportive environment for their development.
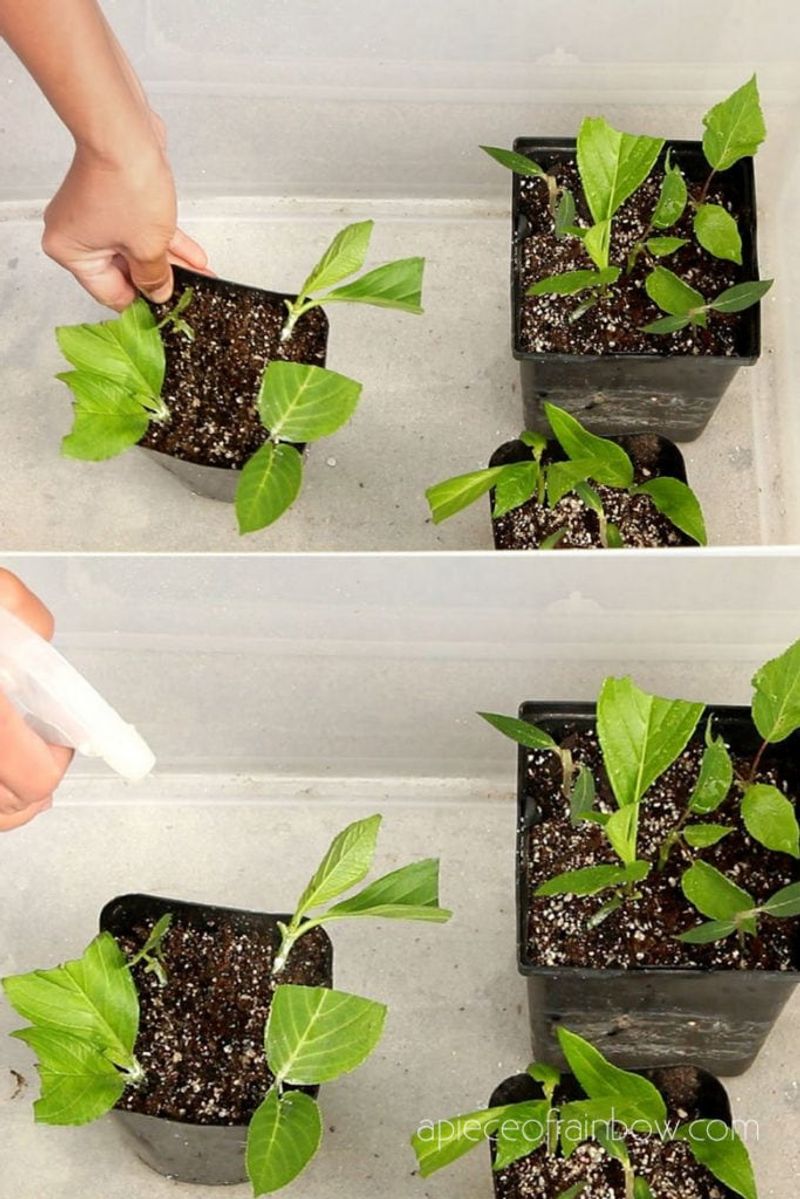
10. Keep Medium Evenly Moist
Consistent moisture is vital for root development. Mist the cuttings or water from below to keep the potting mix damp but not soggy. This approach prevents rot while encouraging root growth.
Monitoring moisture levels ensures your cuttings remain hydrated without drowning. This balance is key to a successful propagation process.
By maintaining even moisture, you nurture your cuttings, setting the stage for healthy roots and vibrant plants.
11. Watch for Roots

Patience pays off when waiting for roots. After 2–4 weeks, gently tug on the cuttings; resistance indicates root formation. Wait until roots are 2–3 cm long before potting on.
This simple check helps gauge progress, ensuring your efforts lead to successful propagation. Careful observation here can guide your next steps.
By monitoring root development, you confirm readiness for the next stage, ensuring your new plants continue to thrive.
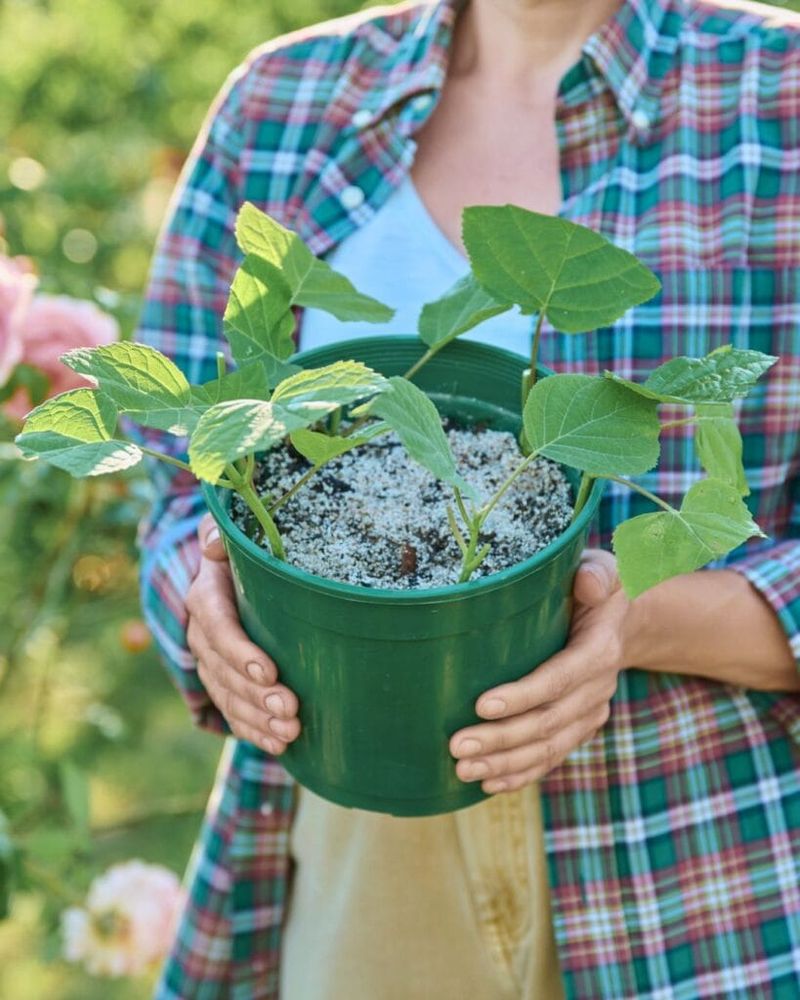
12. Acclimate & Transplant
Transitioning your cuttings is a gentle process. Gradually remove the humidity cover over several days, allowing the plants to acclimate. Then, transplant rooted cuttings into individual containers with rich, well-draining soil.
This acclimation period helps plants adjust to their new environment, minimizing shock. Ensuring proper soil conditions supports continued growth.
By carefully managing this transition, you set your plants up for success in their new homes.
13. Aftercare
Caring for your new plants is crucial for their development. Keep young hydrangeas in partial shade, watering regularly to maintain soil moisture. Once established, feed with a balanced, dilute fertilizer.
This ongoing care ensures your plants receive the nutrients and conditions they need to thrive. Consistent attention during this phase supports robust growth.
Providing thoughtful aftercare, you nurture your hydrangeas into strong, flourishing plants that will enhance your garden.