
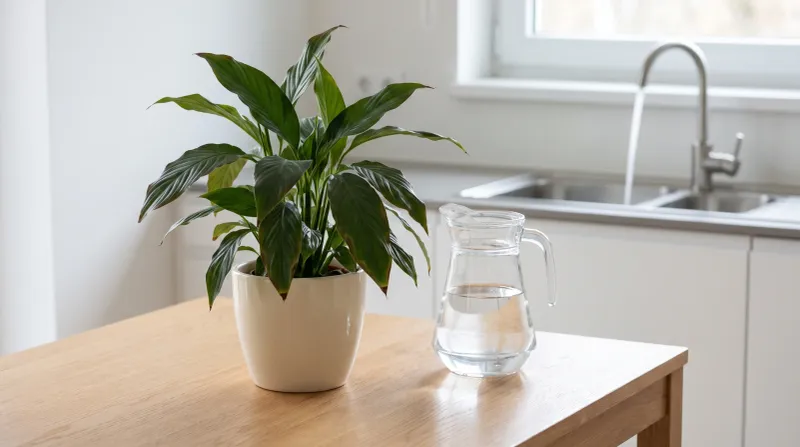
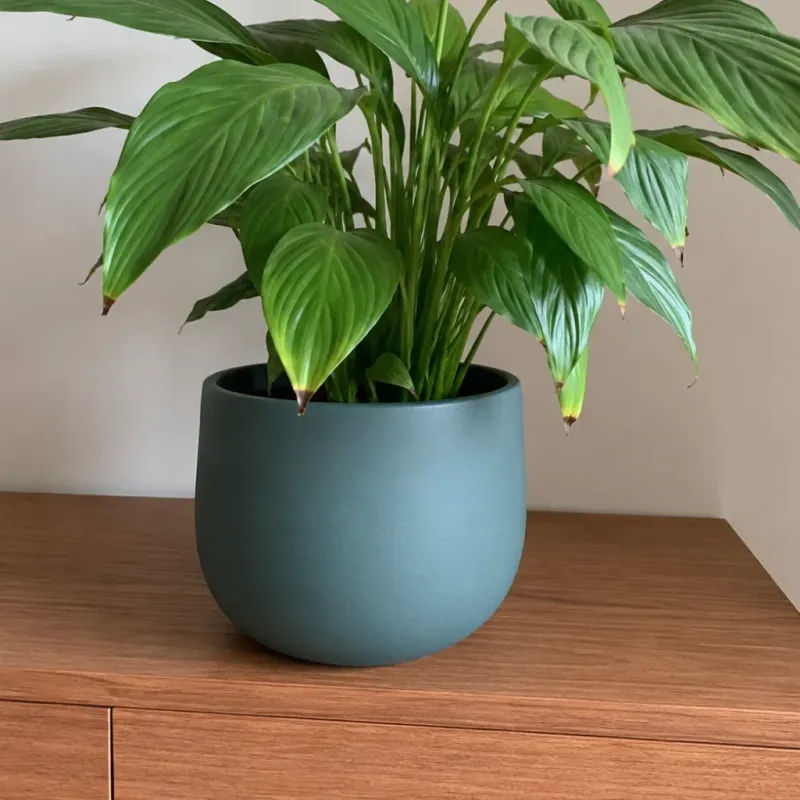
A peace lily with crispy brown edges can make you feel like you did something terribly wrong. The good news is that the cause is usually a small habit, not a death sentence for your plant.
In Southern homes, where air conditioning runs most of the year and tap water can be hard, these habits add up fast. Spot the mistake behind the browning, and you can often stop it before it spreads to fresh leaves.
1. Letting the soil swing from soaked to bone dry
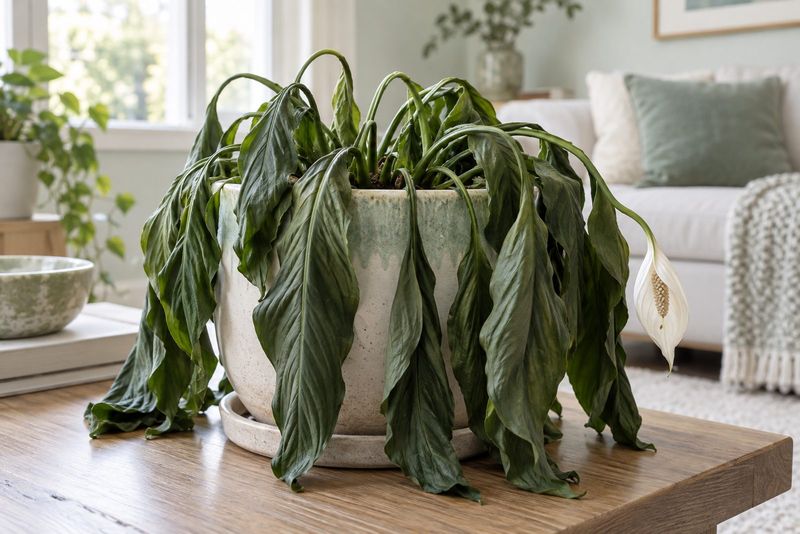
Peace lilies are famous drama queens. They flop over when thirsty, perk up after a drink, and many owners treat that wilt as a handy watering alarm.
The trouble is that every dramatic collapse costs the plant something. When the root ball dries out completely, the thin outer edges of the leaves are the first tissue to lose moisture, and those cells may not recover even after you water.
Repeat the cycle a few times and the brown margins creep inward.
A steadier rhythm usually works better. Check the soil with your finger every few days, and water when the top inch feels dry, before the leaves start sagging.
In a Florida or Texas home with the AC humming, that might mean every five to seven days in summer and a bit less often in cooler months.
Water slowly until it runs out the drainage holes, then let the pot drain fully. If you tend to forget, a simple phone reminder or a moisture meter can take the guesswork out of it.
Brown edges that already formed will not turn green again. Still, consistent watering often keeps new leaves clean, and you can trim the damaged margins with clean scissors for a tidier look.
2. Keeping the roots waterlogged
Picture a pot sitting in a saucer full of water for days. On the surface, everything looks fine, yet underground the roots are slowly suffocating.
Roots need air as much as water. When soil stays soggy, oxygen gets pushed out and root rot can set in.
Damaged roots cannot move water up to the leaves well, so ironically, an overwatered peace lily can show the same brown, crispy edges as a thirsty one. Yellowing leaves alongside the browning are a common clue that too much water is the real culprit.
Start by emptying saucers about 15 minutes after watering. Make sure the pot has drainage holes, since decorative containers without them trap water at the bottom.
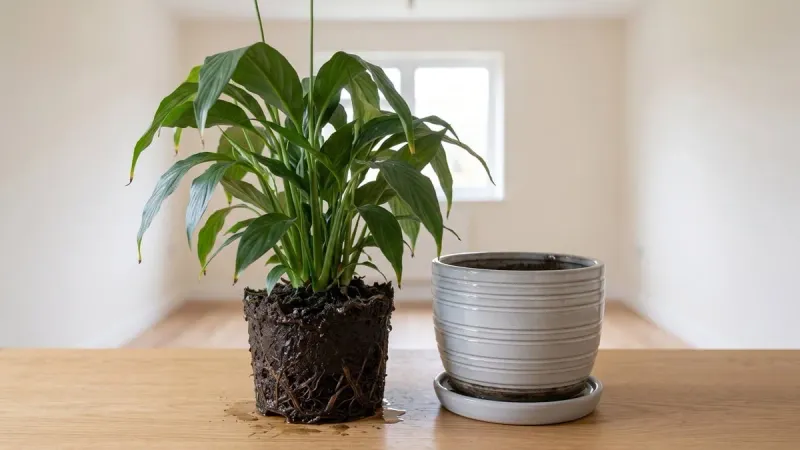
If the soil smells sour or stays wet for a week, slide the plant out and look at the roots. Healthy ones are firm and pale.
Mushy, dark, or foul-smelling roots should be snipped away, and the plant can be repotted into fresh, airy mix with some perlite or orchid bark.
Recovery may take a few weeks. Hold back on water until the top inch dries, and new growth often comes in without those brown margins.
3. Watering with hard or heavily treated tap water
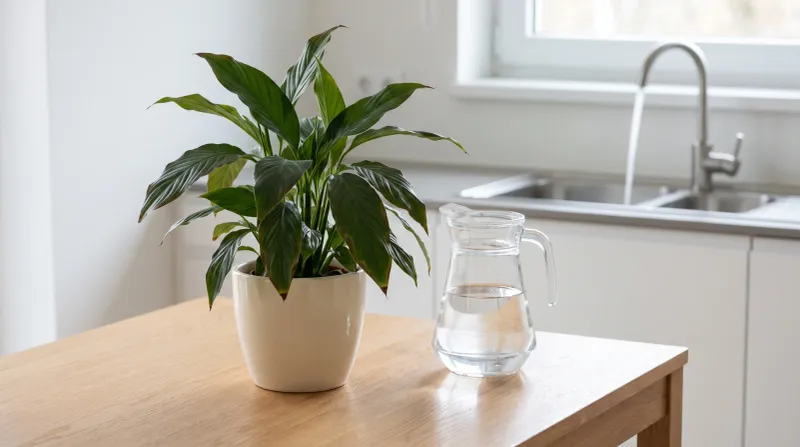
Ever notice a white crust on your faucet or showerhead? That same mineral buildup can collect in your peace lily’s soil, and the leaves often pay for it.
Many parts of Texas and Florida have hard water loaded with calcium and magnesium. City water may also carry chlorine, chloramine, or fluoride.
Peace lilies tend to be sensitive to these, and as water moves through the plant and evaporates from the leaves, salts and minerals can concentrate at the tips and edges. Over time, that tissue turns brown and dry.
A few easy swaps may help:
Collect rainwater in a clean bucket during summer storms, which are plentiful across much of the South. Filtered or distilled water is another solid choice for a single houseplant.
Letting tap water sit out overnight can allow some chlorine to escape, although it will not remove chloramine or minerals.
Every few months, flush the pot by running plenty of water through it to rinse out built-up salts. If you see a white crust on the soil, scrape off the top layer and replace it with fresh mix.
These small changes often reduce new browning within a couple of months.
4. Parking it in direct sun
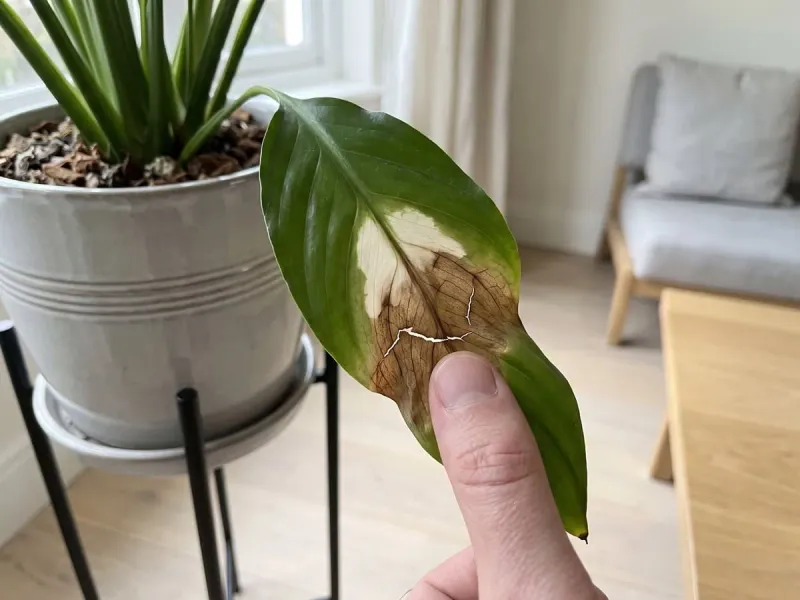
In the rainforest understory where peace lilies grow wild, sunlight arrives filtered through layers of taller trees. Your west-facing window in July is a very different story.
Strong, direct sun can scorch the broad leaves, leaving brown edges, bleached patches, or crispy spots right where the light hits hardest. Southern sun is especially intense, and glass can magnify the heat on a windowsill.
Plants moved outdoors to a porch or patio for summer often burn within days if they get any afternoon sun.
Bright, indirect light is the sweet spot. A spot a few feet back from an east window, or near a north window, tends to suit them well.
Sheer curtains can soften a sunny exposure nicely.
If your peace lily summers outside on a Florida lanai or a shady Texas porch, keep it fully out of direct rays and away from reflected heat off concrete or walls.
Here is a quick test: hold your hand between the plant and the window at midday. A soft, fuzzy shadow usually means the light is fine, while a sharp, crisp shadow signals it may be too intense.
Move the pot, trim scorched leaves, and fresh growth should look healthier.
5. Overlooking dry indoor air
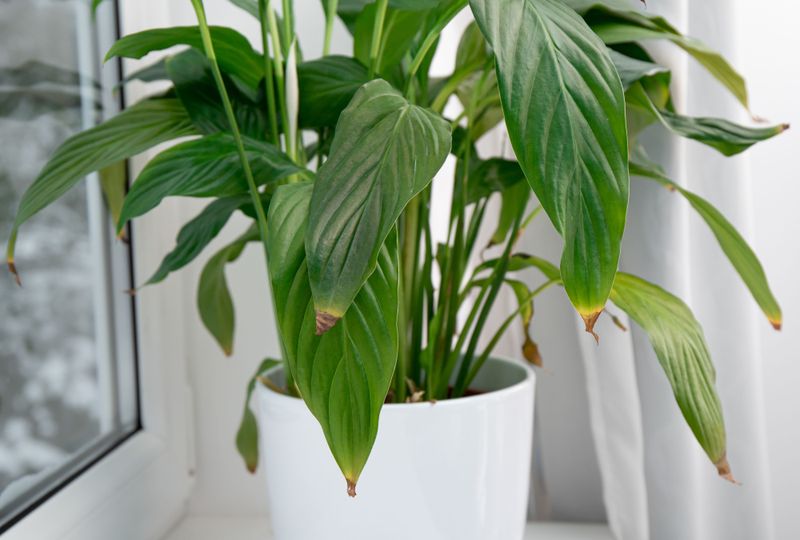
Funny thing about living in the humid South: the air inside your house can be surprisingly dry. Air conditioners pull moisture out of the room all summer long, and that matters to a tropical plant.
Peace lilies come from steamy forests and generally prefer humidity around 50 percent or higher. When the air is dry, water evaporates from the leaves faster than the roots can replace it.
The edges, being the farthest point from the veins, dry out first and turn brown.
Placement makes a big difference. Keep the pot away from AC vents, ceiling fans blowing directly on it, and heating vents during the occasional winter cold snap.
To raise humidity around the plant, try these options:
Set the pot on a tray of pebbles and water, keeping the bottom of the pot above the waterline. Group several houseplants together so they share moisture.
A small room humidifier works well if you have a collection. Bathrooms with a bright window can also make cozy homes for peace lilies.
Misting feels helpful but usually raises humidity for only a few minutes. A steadier approach, like a pebble tray, often does more to keep new leaves free of crispy margins.
6. Feeding too much fertilizer
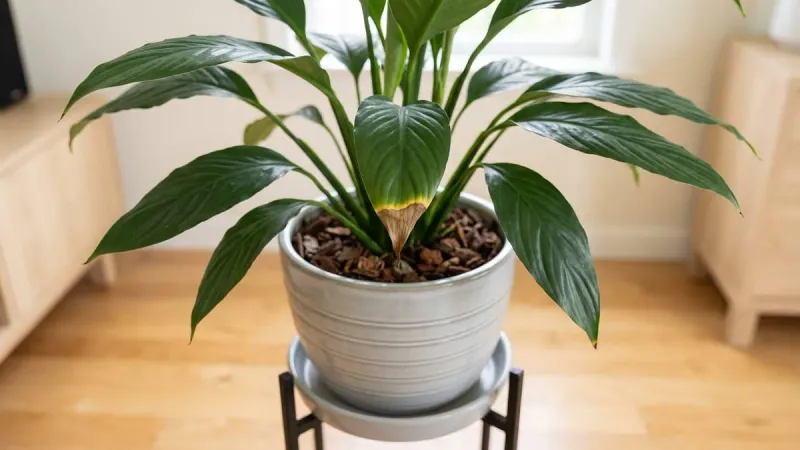
More food must mean more growth, right? With peace lilies, that generous instinct can backfire quickly.
These plants are light feeders. Extra fertilizer leaves behind salts that build up in the soil, drawing moisture away from the roots.
The result is often called fertilizer burn, and it shows up as brown, crispy leaf tips and edges, sometimes with a white crust on the soil or pot rim.
A gentle schedule tends to work best. Use a balanced liquid houseplant fertilizer diluted to half strength, and feed about once every six to eight weeks during the active growing season.
In the South, that season stretches long, roughly March through October, but the plant still does not need much. Skip feeding during the shorter, dimmer days of winter.
Always water the plant first, then apply fertilizer to moist soil. Feeding a bone-dry plant can sting the roots.
If you suspect you overdid it, flush the pot thoroughly. Run lukewarm water through the soil for several minutes so the excess salts wash out the drainage holes.
Hold off on fertilizer for a couple of months afterward, and fresh leaves often come in clean and glossy again.
7. Leaving it root-bound in a cramped pot
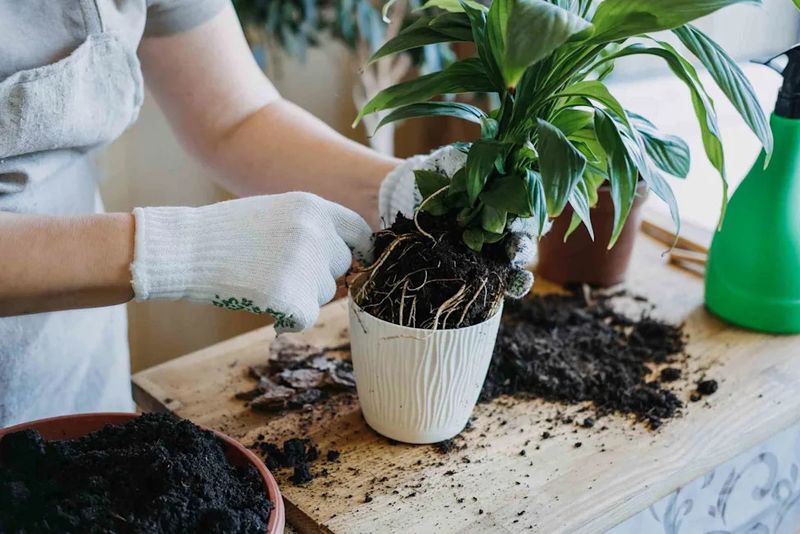
Roots poking out of drainage holes, water rushing straight through the pot, soil drying out in a day or two. Those are signs your peace lily may have outgrown its home.
When roots fill every inch of a container, there is very little soil left to hold water and nutrients. The plant goes thirsty between waterings even if you are attentive, and that stress often shows up as brown edges on older leaves.
Peace lilies grow quickly in the warm, bright conditions of many Southern homes, so this can happen sooner than you expect.
Repotting every one to two years usually keeps things comfortable. Spring is a great time in Texas and Florida, as the plant heads into its strongest growth.
Choose a pot only one to two inches wider than the current one. Jumping to a much bigger container leaves extra soil that stays wet too long.
Gently loosen circling roots, set the plant at the same depth, and fill in with a well-draining houseplant mix.
Large plants can also be divided into two or three smaller clumps. That is a fun way to share a peace lily with a friend or start a second plant for another room.
8. Exposing it to cold drafts and temperature swings
A surprise Texas norther or a chilly January night in North Florida can catch a peace lily off guard. Tropical plants simply do not enjoy the cold.
Temperatures below about 55 degrees Fahrenheit may damage leaf tissue, and the edges often turn brown or even blackish after a chill. Cold drafts from opening doors, leaky windows, or a plant left on the porch overnight are common culprits.
Sudden swings, like going from a hot patio straight into a blasting AC room, can add stress too.
Aim for a steady range between about 65 and 85 degrees. Most homes stay right in that zone, so the goal is just avoiding the trouble spots.
Keep pots away from exterior doors and single-pane windows in winter. Watch for leaves pressed against cold glass, since that contact alone may cause browning.
If your peace lily spends summer outside, bring it in before nights dip into the 50s, which can happen as early as late fall in parts of North Texas.
Cold-damaged leaves will not bounce back, so trim them off once the plant is settled. With a stable spot, new growth usually emerges healthy and green.