
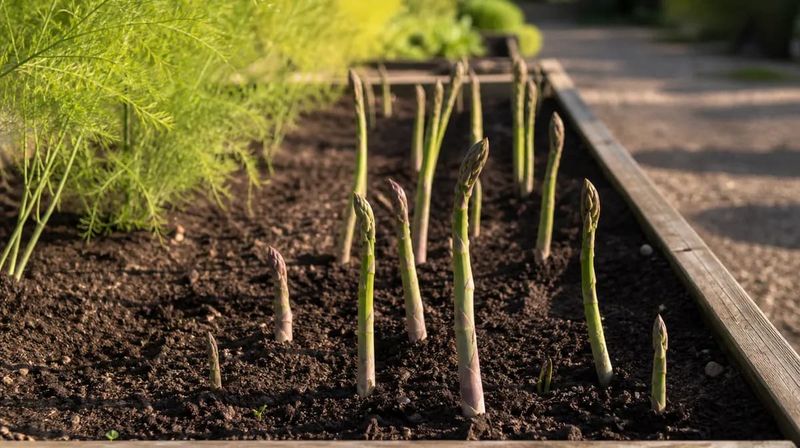
An asparagus bed can produce spears for many years, so the spot you pick matters a lot. Soil that stays soggy is one thing that can make root and crown disease more likely.
The good news is that you can test a site before any crowns go in the ground. A little time with a shovel and a jug of water can save you a lot of guessing later.
Poor drainage raises disease risk, not a guarantee of winter rot
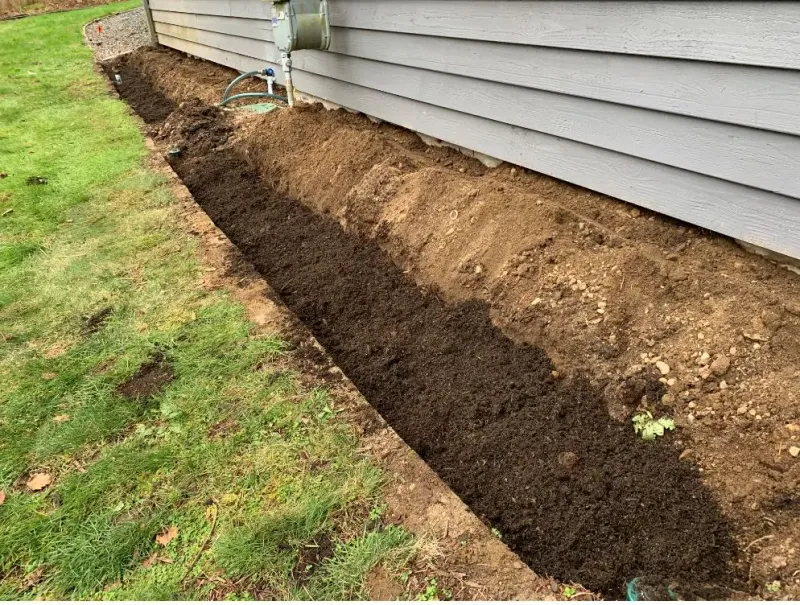
Asparagus stays in the same bed for a decade or more, which makes the starting conditions worth a careful look. University of Minnesota Extension links Phytophthora root rot with wet, poorly drained conditions.
That disease can spread from the roots up into the crowns and may go unnoticed for years.
Phytophthora is a water mold, but it is not the only troublemaker. Fusarium can also cause crown and root rot, and it is widespread in soils where asparagus is grown.
So “rot” is really a group of problems with different causes.
Here is the practical takeaway. Good drainage is one of the ways to lower disease risk, and Texas A&M guidance says proper site drainage can help prevent asparagus diseases.
Still, a wet spot does not prove why a certain crown struggled, and it does not mean newly planted crowns usually rot over winter. It simply makes drainage a smart thing to check first.
Check your local planting calendar before scheduling crowns
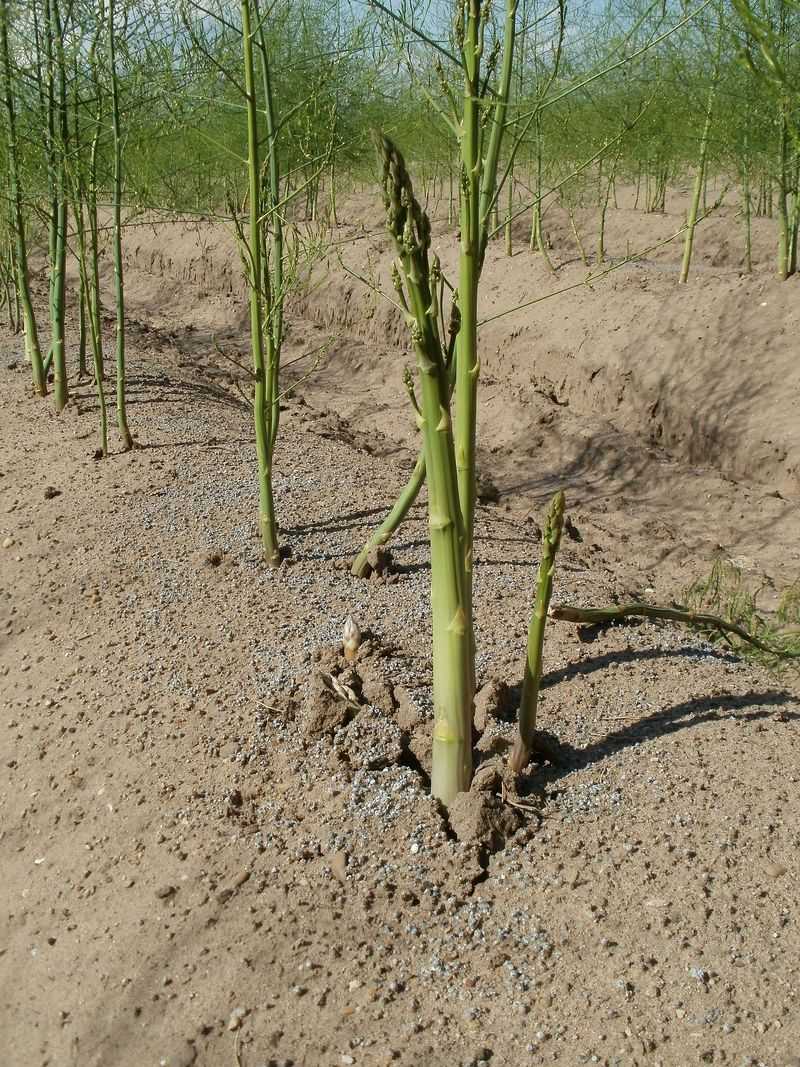
Testing drainage is site preparation. It is not a signal that every Southern gardener should rush crowns into the ground this week.
Planting dates differ from state to state, so local guidance should set your schedule.
Texas readers will find that Texas A&M AgriLife recommends planting crowns in January or February. Oklahoma has a wider window, since Oklahoma State says planting may be done in late fall, winter, or early spring.
Florida gardeners face a different challenge. UF/IFAS notes that asparagus may be smaller and spindlier there because it lacks a sufficient dormant period.
Good drainage will not fix that, so set your expectations to match your climate.
Use a hole test to estimate soil drainage
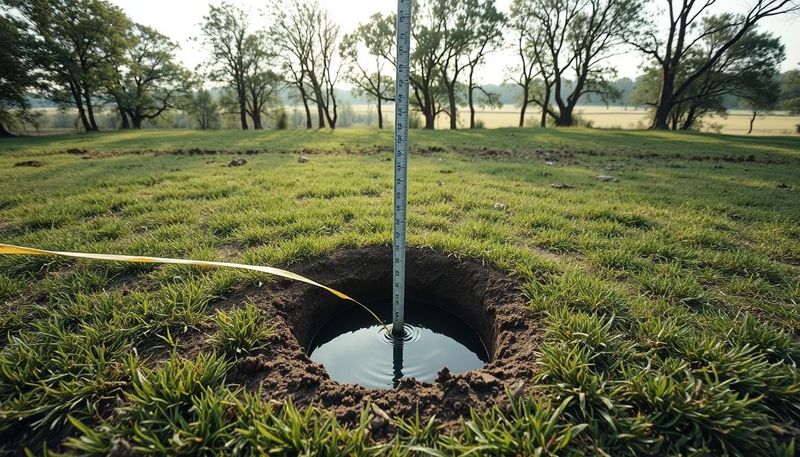
A simple percolation test tells you far more than eyeballing the soil. Iowa State Extension lays out the steps, and you only need a shovel, water, a ruler, and a timer.
Start by digging a hole at least 12 inches deep and 4 to 12 inches wide at the spot where the bed will go. Fill it with water and let it drain completely once, which saturates the surrounding soil.
Then fill it again.
Now measure how far the water level drops after 15 minutes. Multiply that number by four to estimate how many inches the soil drains per hour.
A ruler or marked stick makes the reading easy.
Skip the test if the soil is already overly wet from recent rain. Waterlogged ground can distort the result and make a decent site look worse than it is.
Wait until the soil is workable and test again.
Interpret the test alongside what happens after rain
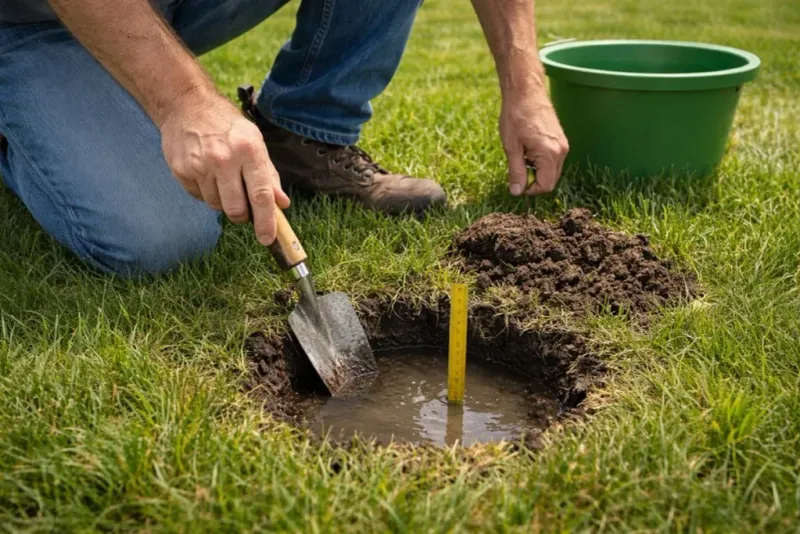
Numbers are easier to use when you know what they mean. Iowa State describes 1 to 3 inches per hour as desirable for most plants and less than 1 inch per hour as poor drainage.
Those are general garden benchmarks, not results from asparagus trials.
Pair the hole test with real weather. After a good rain, walk out and look at the proposed bed.
Asparagus planting guidance says soil should not stay waterlogged or hold pools for long.
Brief pooling is different from persistent saturation. One expert reply on Ask Extension suggested a site that pools briefly may still work if the water drains within 24 hours.
Treat that as practical advice, not a fixed asparagus rule. Soil that stays soggy for days is the real warning sign.
Improve a slow-draining site before planting
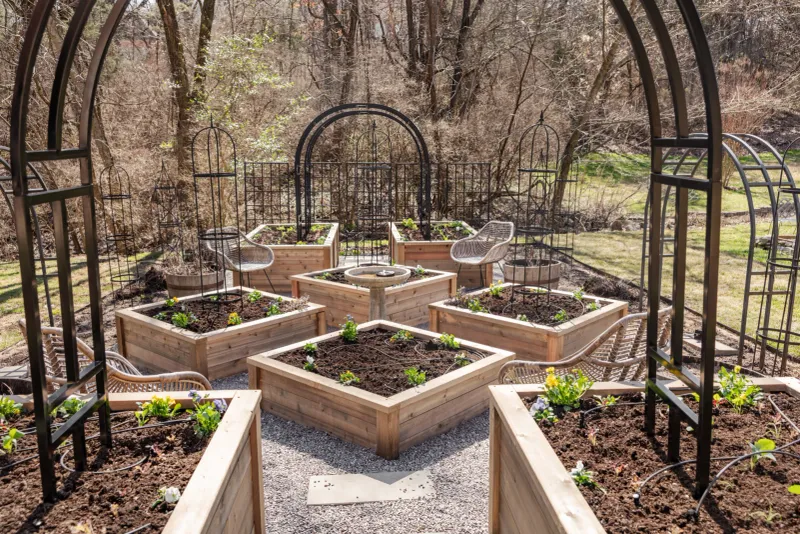
If the test points to slow drainage, you still have choices. A raised bed or berm lifts the planting zone above wet ground, and compost can improve soil structure.
Both may help, but neither is a guaranteed cure, so keep watching how the bed drains after rain.
Resist the urge to mix in sand. Iowa State advises against it and recommends organic matter instead to improve poorly drained soil.
Sand added to heavy soil can leave you with a firmer, less workable mix.
Sometimes the easiest fix is a new location. A gently sloped, sunnier corner of the yard may drain better than a low spot.
Whatever you choose, avoid planting crowns into soil that stays saturated.
Inspect crowns when you are ready to plant
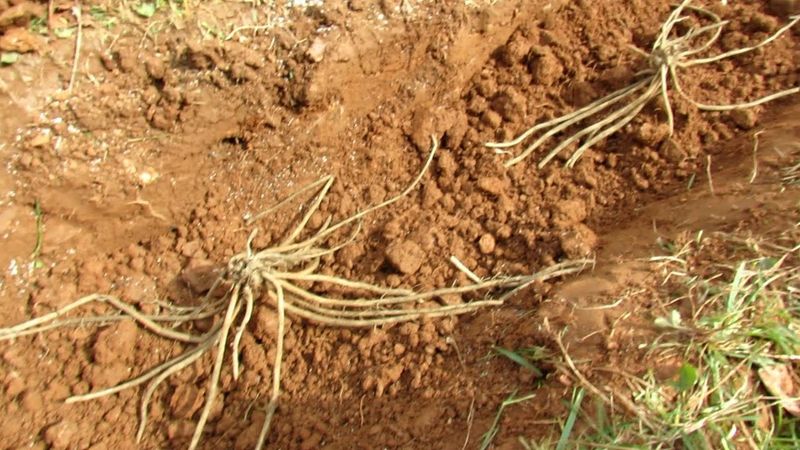
Planting day brings one more simple check. University of Minnesota Extension advises inspecting crowns for signs of disease before they go in the ground.
Take a few minutes to look over each one.
This step fits with everything above. Good drainage lowers risk, and a careful look at the crowns catches possible trouble at the start.
Neither one is a guarantee.
Keep in mind that appearance alone cannot tell you whether Phytophthora, Fusarium, or something else is involved. If a crown looks questionable, your local Extension office can help you decide what to do.
Buying from a reputable supplier gives you a better starting point.
Resolve persistent drainage problems before committing the bed
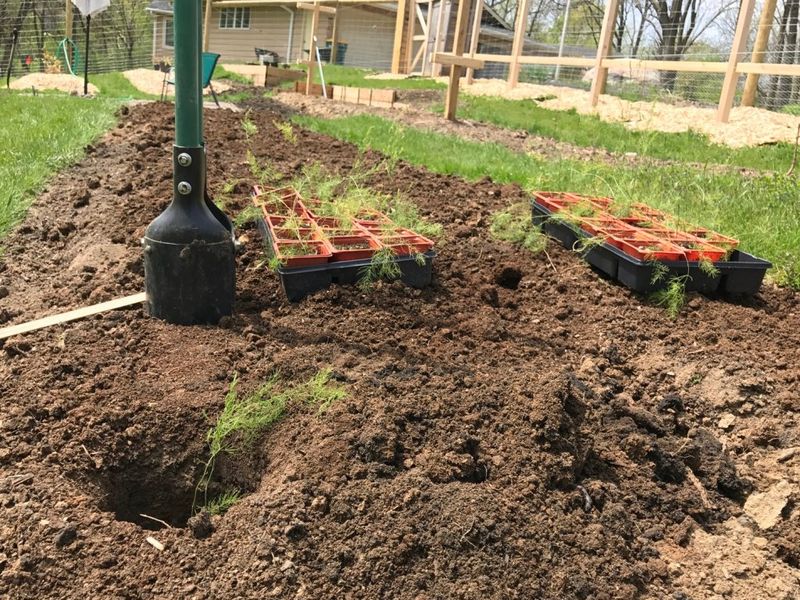
Start with the hole test, then watch the site after rain. If water lingers, improve the soil with Iowa State’s drainage tips or pick another spot.
Brief pooling alone does not rule out a site.
Then match your timing to your region, whether that is Texas A&M’s schedule or Oklahoma State’s window. A bed built on solid ground is one you only have to plant once.