
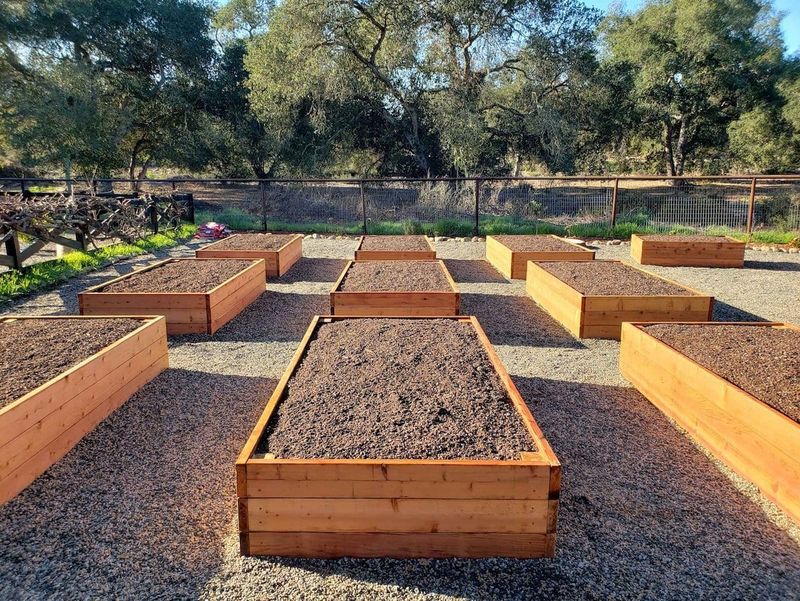
Your tomatoes are done, the bed looks a little sunken, and you wonder if the soil is worn out. Before you haul in a truckload of amendments, take a closer look.
Many California raised beds need only a measured refresh, not a full rebuild. Here is how to figure out what yours really needs before fall and winter vegetables go in.
Check what summer actually changed
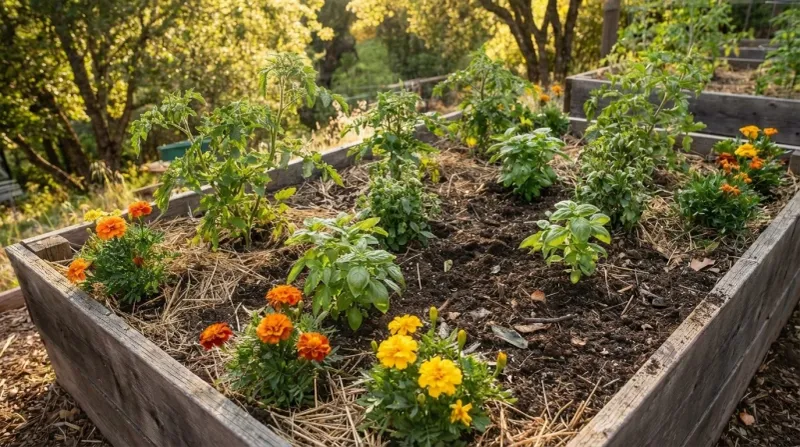
Start with a walk around the bed rather than a shopping trip. Look at how far the soil has dropped below the top edge.
Notice whether water soaks in or pools on the surface, and think back over the last few years. Has this bed been topped with compost, manure, or fertilizer regularly, or has it been planted over and over with nothing added?
That history matters more than the calendar. UC Master Gardeners of Contra Costa County note that older beds that have not received regular compost, manure, or fertilizer may have more depleted nutrients.
That is a clue about neglected beds, not a rule that a long, dry summer drains every bed. A bed you fed last year may be in fine shape.
Be careful about reading plant symptoms, too. If your late summer plants wilted or stayed small, it is tempting to blame hungry soil.
But UC IPM explains that salt damage can look a lot like water stress. Poor drainage can add to the problem as well.
So treat this first step as a checkup. Jot down three notes: how much the soil has settled, how well it drains, and when the bed last got compost or fertilizer.
Those notes will guide every choice that follows, and they may show you that your bed needs far less than you feared.
Restore missing soil volume with a bed mix
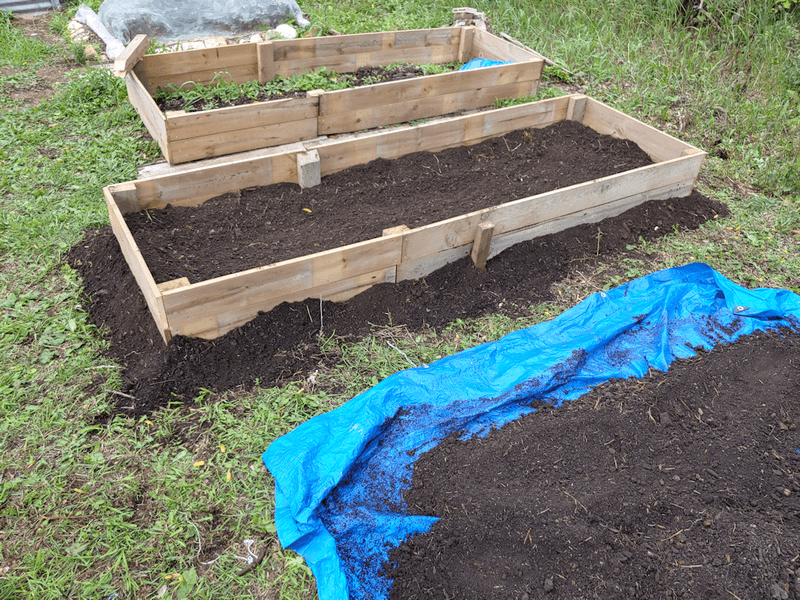
A bed that sits several inches below its rim has lost volume. That is a different problem from soil that lacks fertility.
Think of it like a half-empty box: you need to refill it before you worry about what the contents contain.
Soil settles over time, especially in a newly filled bed. Organic matter also breaks down, which shrinks what you started with.
The fix is to top the bed off with a suitable raised-bed soil mix, ideally one sold for vegetable growing, until the surface sits a few inches below the rim.
It may be tempting to fill the gap with compost alone since it is dark and rich. Oregon State University Extension cautions that compost by itself lacks the mineral component found in soil and planting mixes.
A bed filled mostly with compost will keep shrinking as it decomposes.
Spread the new mix evenly, working it lightly into the top of the existing soil so there is no sharp layer line. Water it in and check the level again after a few days.
If the bed is already full and level, skip this step. The goal here is simply to bring back the volume and body of the soil, and fertility decisions come later.
Match compost to the bed’s condition
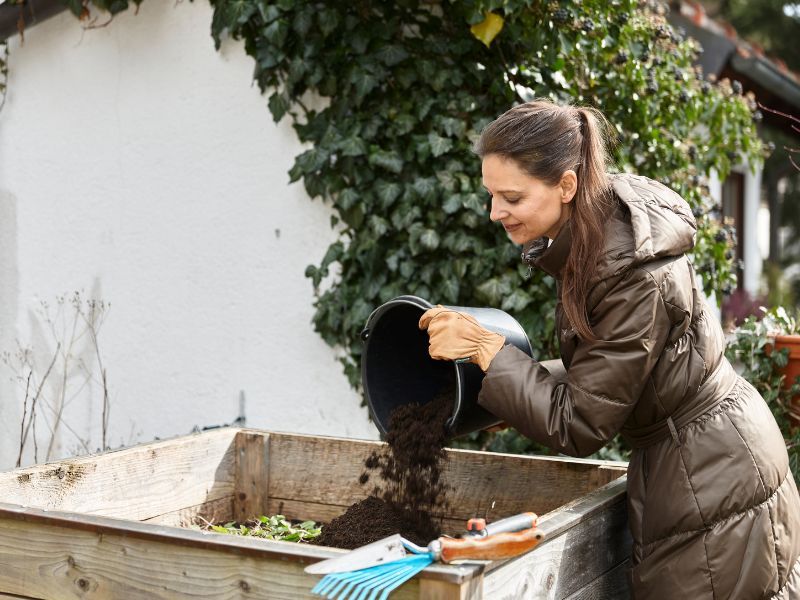
Finished compost is a helpful addition because it can improve soil structure and water-holding capacity. How much you add, though, depends on the bed.
Think about its age, how it has been treated, and what kind of compost you have.
Advice from reliable sources varies for good reason. UC Contra Costa suggests 3 to 4 inches for older beds that have not been amended regularly.
For an existing vegetable bed, Oregon State Extension recommends about a quarter inch to 1 inch each year. A UC Tuolumne County guide suggests about 1 to 2 inches on the surface, while another UC guide describes mixing compost into the top 5 to 6 inches when replenishing beds.
Treat these as options for different situations, not one dose for everyone.
More is not better. UC ANR notes that repeated compost applications can raise salinity enough to affect seed germination.
A well-fed bed with regular compost needs the lighter touch, while a neglected one may justify more.
If you are tempted by manure, keep it separate from finished compost. Raw or merely aged manure is not a casual choice for edible crops.
The USDA’s 90- and 120-day intervals apply to organic crop production, not as a blanket legal rule for home gardens, but they are still a useful food-safety caution. Stick with finished compost for quick fall planting.
Test before adding fertilizer or corrective amendments
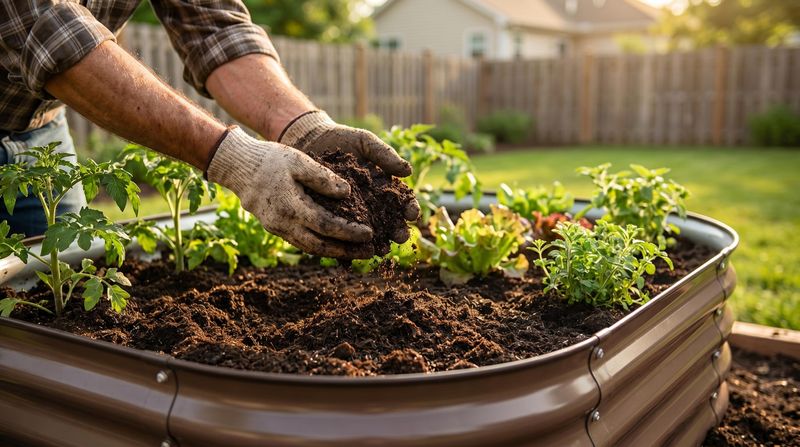
When you truly wonder about nutrients or pH, a lab test beats guessing. Lime, gypsum, and fertilizer are not precautions to sprinkle just in case.
They help only when a problem has been confirmed.
UC ANR describes laboratory analysis as the accurate way to learn about soil nutrients, and it recommends a representative composite sample. In a vegetable garden, that means taking soil from 10 to 15 random spots at a consistent depth, then mixing them together.
Send that mix to a lab for analysis.
Keep in mind that a composite sample is a general soil-sampling approach. By itself it does not complete a salinity diagnosis.
If salt is a possible culprit, test both your soil and your irrigation water, as UC IPM recommends. Water quality varies across California, so what comes out of your hose matters.
Finally, resist the urge to react to symptoms with a bag of something. Wilting or stunted plants might point to low nutrients, but they might also point to salt, poor drainage, or too much fertilizer.
Adding more of anything can make a salt problem worse. Find the cause first, then choose the fix.
Treat compost as an amendment, not a complete feeding plan
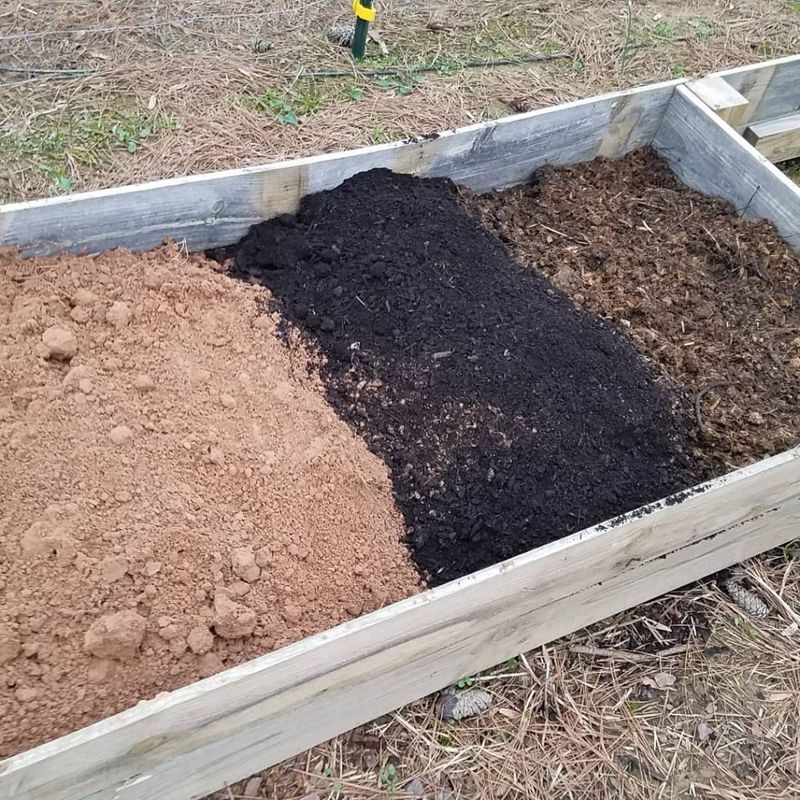
Compost earns its place in the garden, but it is not a complete meal for hungry winter crops. Its nutrient content varies depending on what went into it and how it was made.
Two bags from two sources can behave quite differently.
UC ANR says most compost contains less than 2 percent nitrogen, and much of that nitrogen is not immediately available to plants. That makes compost a poor stand-in for a nitrogen source.
It is better seen as a soil conditioner that supports structure, moisture, and long-term soil health.
Leafy crops such as kale, lettuce, and chard tend to want steady nitrogen, so it helps to know what your soil already has. This is where your lab results come in.
As the UC soil testing guidance points out, testing shows what is actually needed. Pair those results with the needs of the crops you plan to grow.
If the test shows a shortfall, you can then decide whether fertilizer makes sense. If it does not, you have saved money and avoided overfeeding.
Either way, compost stays in its role as a helper rather than the whole plan.
Prepare the surface and follow local planting dates
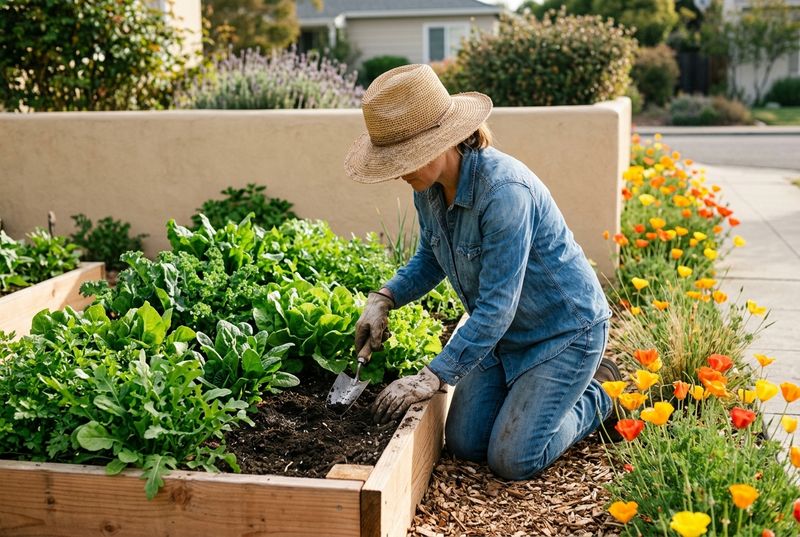
Once you know how much compost your bed needs, the application can be simple. A UC Tuolumne County guide suggests spreading it on the surface, then moistening the bed afterward.
It also recommends leaving healthy roots in place when practical, which keeps the soil structure intact.
If you prefer to work it in, UC guidance describes gently mixing compost into the top 5 to 6 inches when replenishing beds. Both approaches can work, so pick the one that suits your bed.
The Tuolumne County article also encourages keeping soil covered or growing plants in it when possible, so avoid leaving a bare bed sitting for weeks.
Timing comes next, and California does not follow one schedule. The UC statewide planting calendar separates the North and North Coast, South Coast, interior valleys, and desert valleys, and it warns that its dates are approximate.
Local guides can be even more specific. A San Diego County guide gives different windows for coastal and inland gardens.
Look up your county’s UC Master Gardener calendar and match it to the crops you want.
A measured refresh is enough for many beds
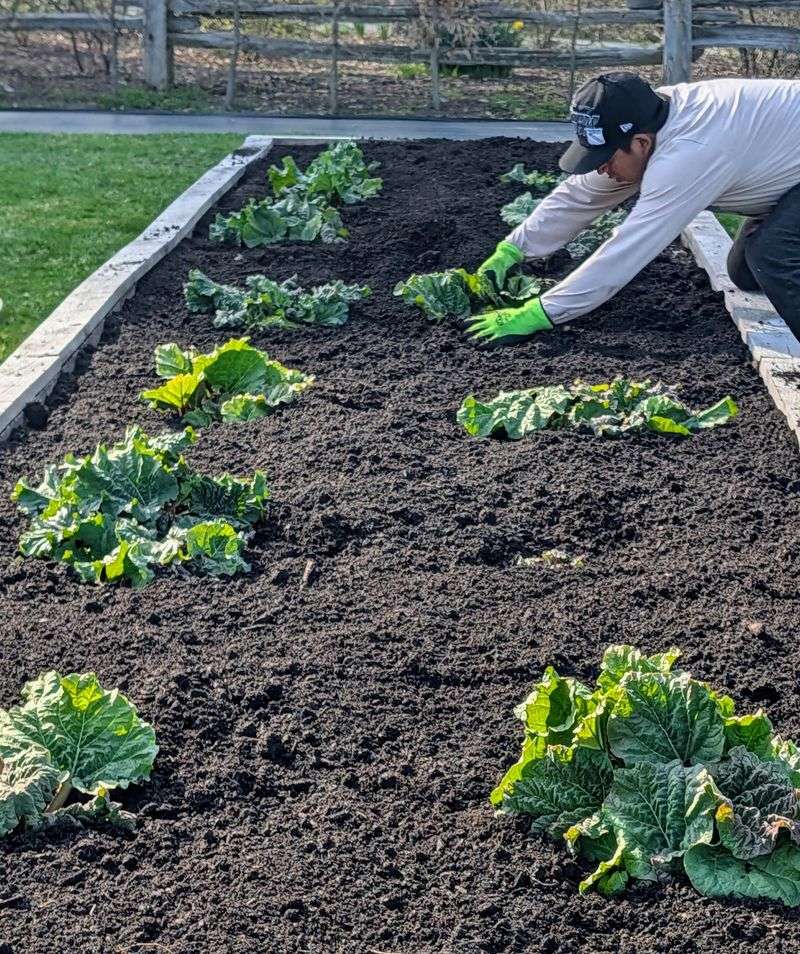
Walk through the sequence once more: inspect the bed, top off any lost volume with a raised-bed mix, add compost in proportion to the bed’s condition, test before correcting nutrients, and check your local planting dates. Each step answers a real question about your bed.
Plenty of beds will need only a few of these steps, and that is a good outcome. Your soil is rarely as worn out as it looks.
Let the bed tell you what it needs, and your winter garden will have a solid start.