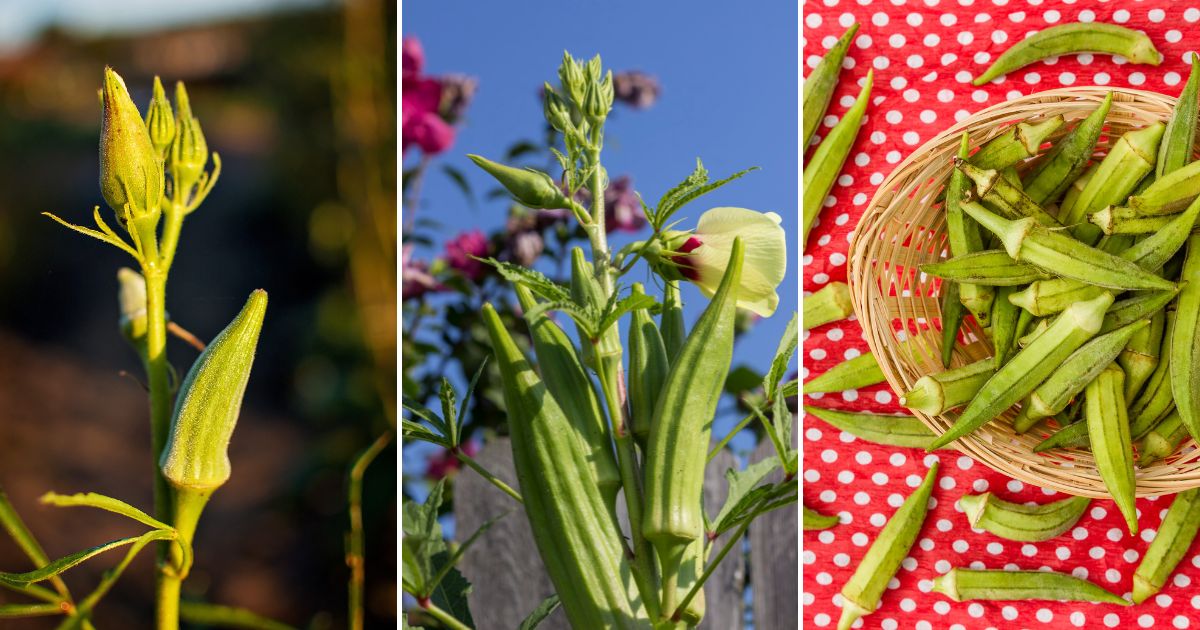
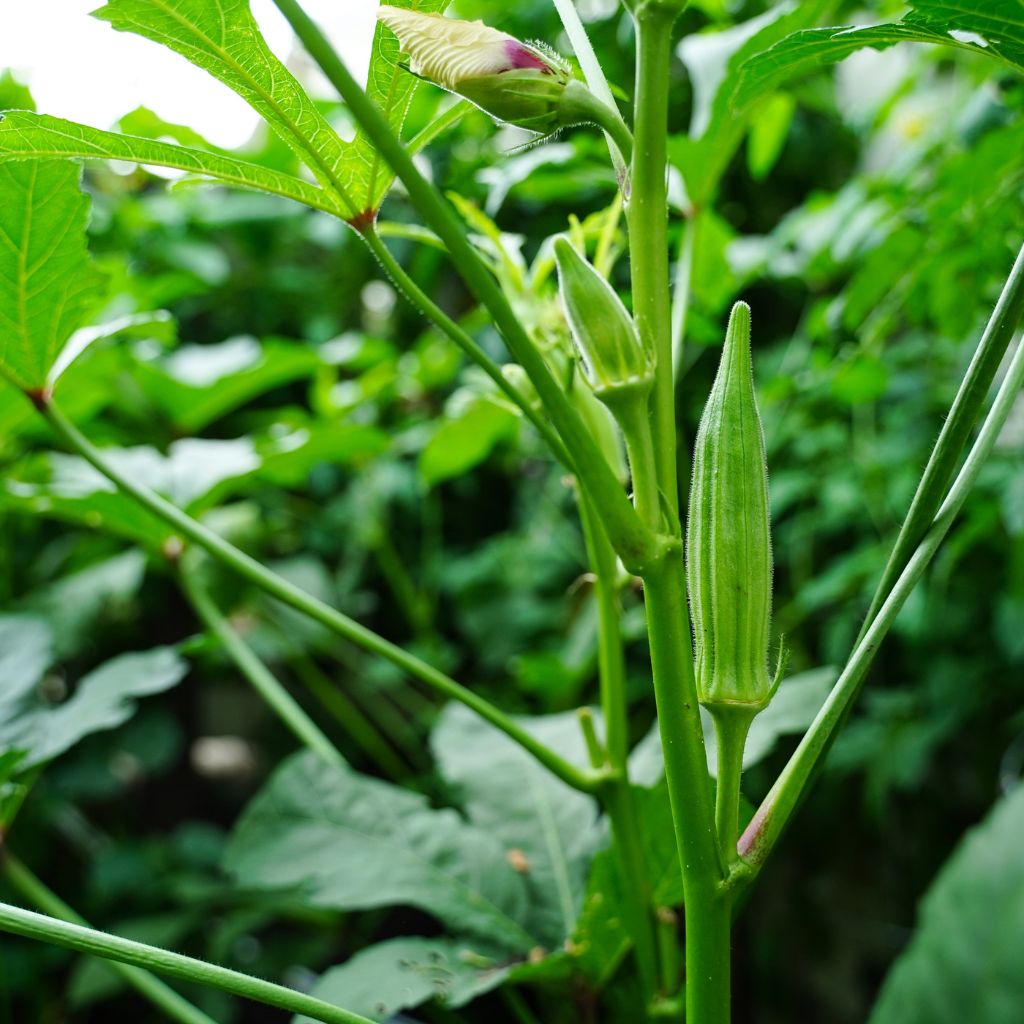
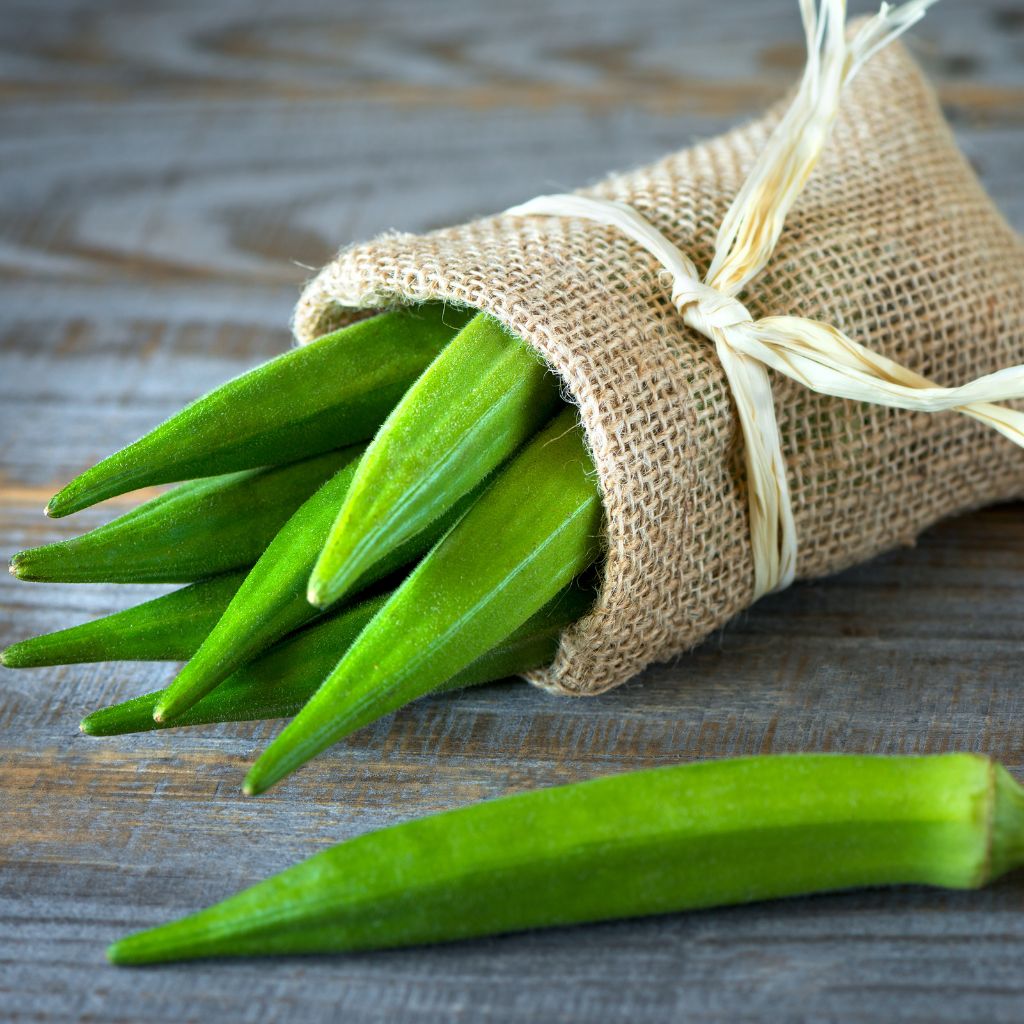
Okra is a warm-weather vegetable that thrives in home gardens, offering an abundant harvest of edible seed pods known for their versatility in cooking.

Growing okra can be easy with the right care and knowledge.
This guide will walk you through everything you need to know about planting, caring for, and harvesting okra in your own backyard.
Why Grow Okra?

Okra (Abelmoschus esculentus) is not only a delicious addition to meals, but it also provides significant nutritional value.
Rich in vitamins A and C, as well as fiber, okra is a great vegetable to include in your garden if you’re looking for a low-maintenance crop that produces steadily throughout the summer.
Quick Overview of Okra Care
Scientific Name: Abelmoschus esculentus
Hardiness Zones: 10-12 (Perennial), grown as an annual in cooler climates
Light: Full sun (at least 6-8 hours daily)
Water: Moderate; allow soil to dry between waterings
Soil: Well-draining, loamy soil
Temperature: 70-85°F (21-29°C)
Fertilizer: Balanced organic fertilizer once a month
With that in mind, let’s dive into the step-by-step process of growing okra in your home garden.
1. Choosing the Right Variety of Okra
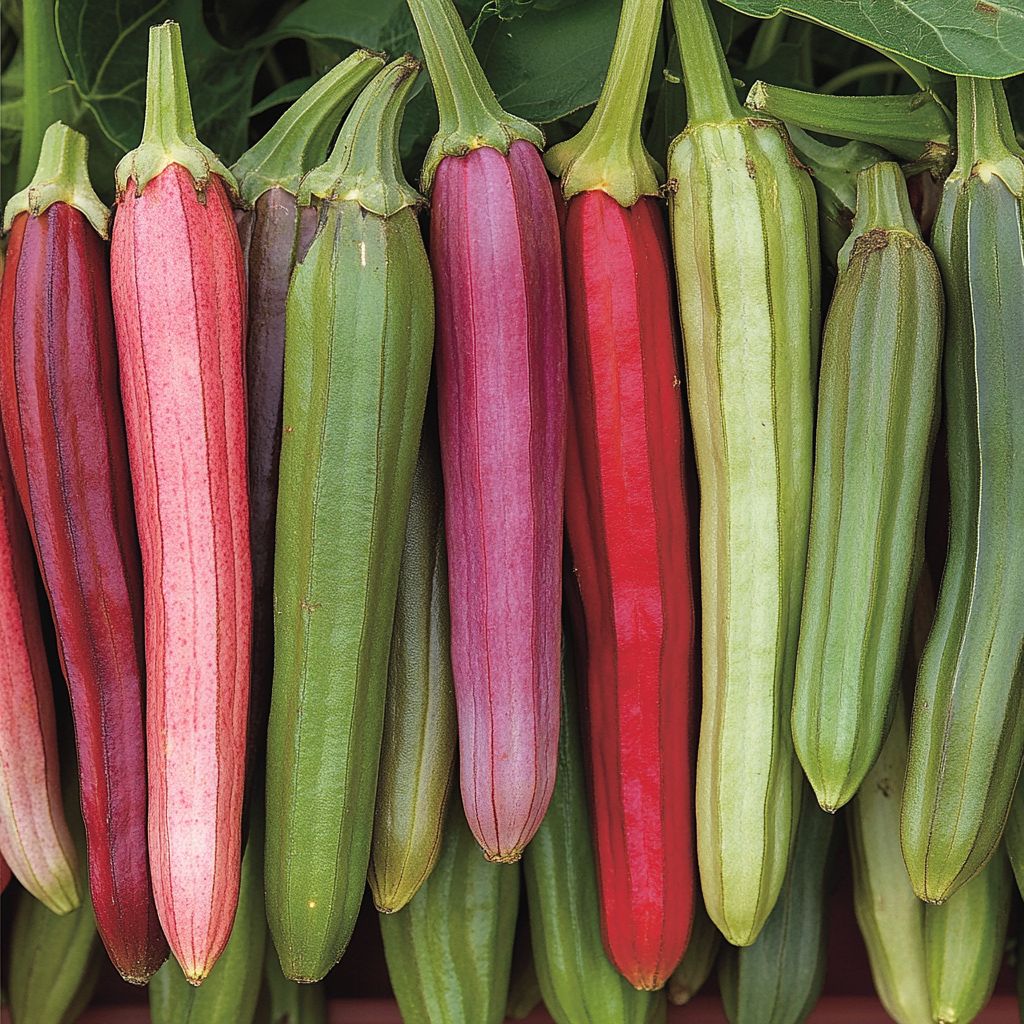
There are many varieties of okra, so it’s important to select one that fits your growing conditions and culinary needs. Some popular varieties include:
Clemson Spineless: A 4-foot tall plant with tender, flavorful pods, maturing in 60 days. Perfect for gardeners who prefer a spineless option.
Burgundy: Produces deep red pods and grows up to 4 feet tall, with a slightly longer maturation period of 60-65 days.
Jambalaya: A compact variety ideal for northern climates, producing green pods in as little as 50 days.
Cajun Jewel: A dwarf plant growing between 2.5 to 4 feet tall, maturing in just 50-55 days, making it perfect for container gardening.
All varieties of okra follow the same growing principles, so choose one that best fits your space and taste.
2. Preparing the Soil and Planting
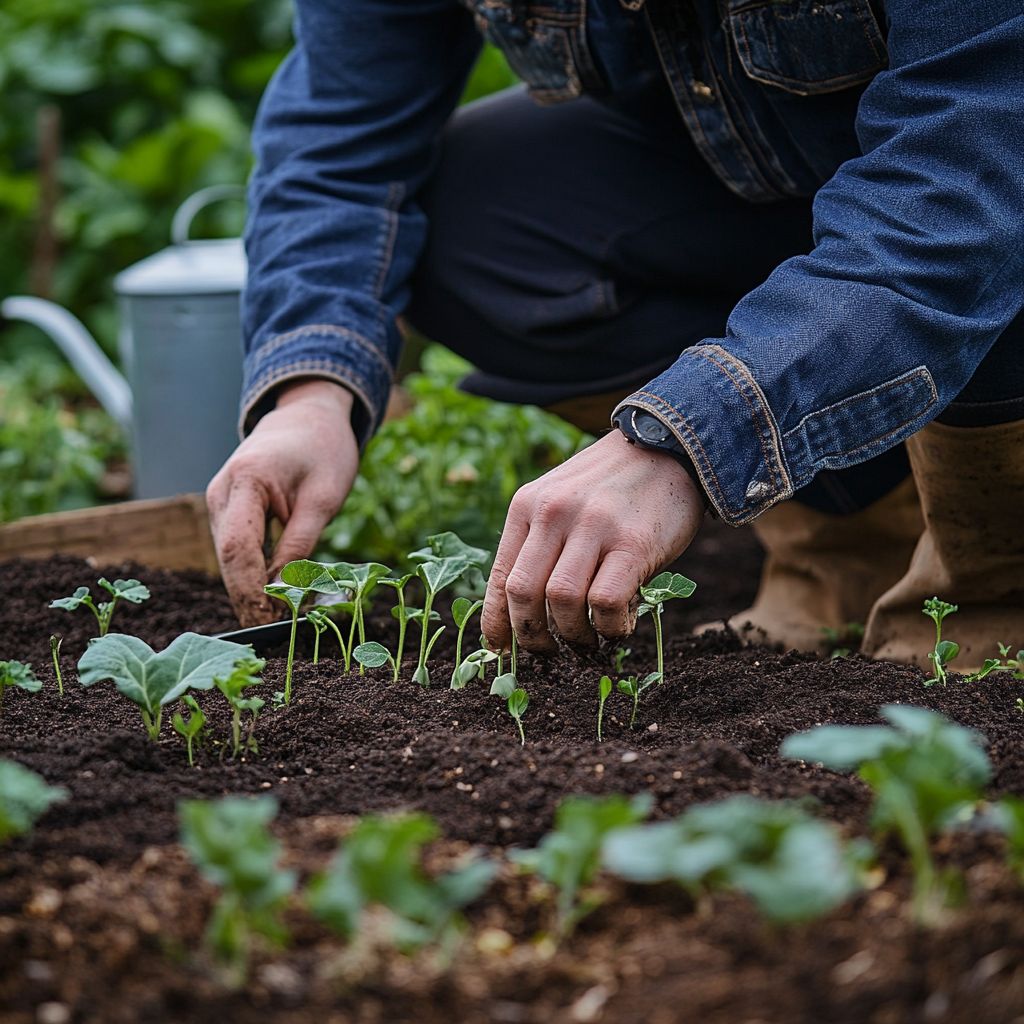
Okra is relatively hardy but thrives best when planted in well-drained, nutrient-rich soil. Here’s how to prepare your garden bed and start your okra seeds:
Soil Preparation
Okra grows best in soil with a pH level of 6.0 to 7.5, which you can test using a simple soil pH kit. For best results, amend your garden soil with compost or well-aged manure to ensure it is fertile and rich in organic matter. Loamy soil works best for okra, as it retains moisture while allowing for proper drainage.
If you live in a region with heavy clay or sandy soils, amend the soil with compost to improve its structure.
When to Plant Okra
Okra loves heat and will not tolerate frost. Therefore, you should plant okra once all danger of frost has passed and the soil has warmed to at least 65°F (18°C). In cooler climates, you may need to start okra seeds indoors 2-4 weeks before the last frost and transplant them into the garden once the weather warms.
For those in warmer climates, okra can be direct-seeded into the garden. Plant the seeds about 1 inch deep and space them 12-18 inches apart, allowing enough room for the plants to grow and branch out.
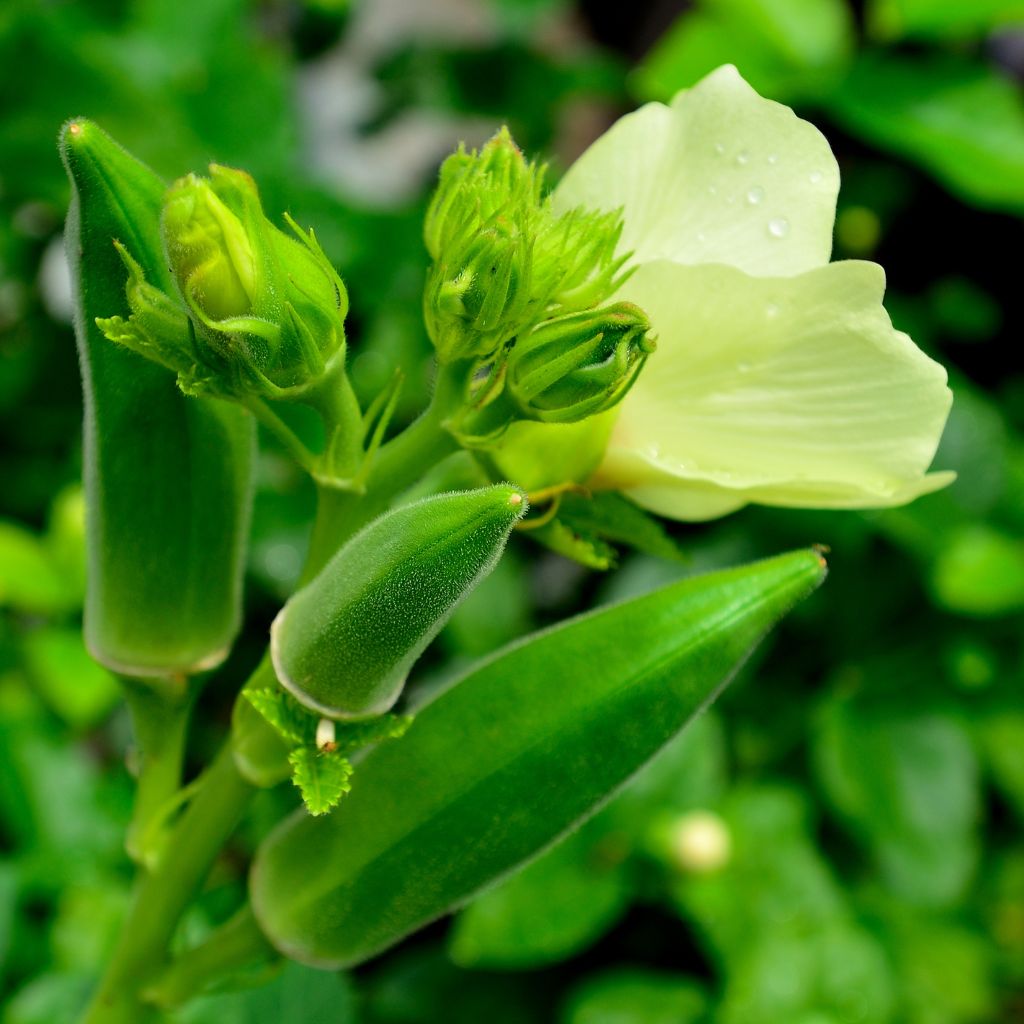
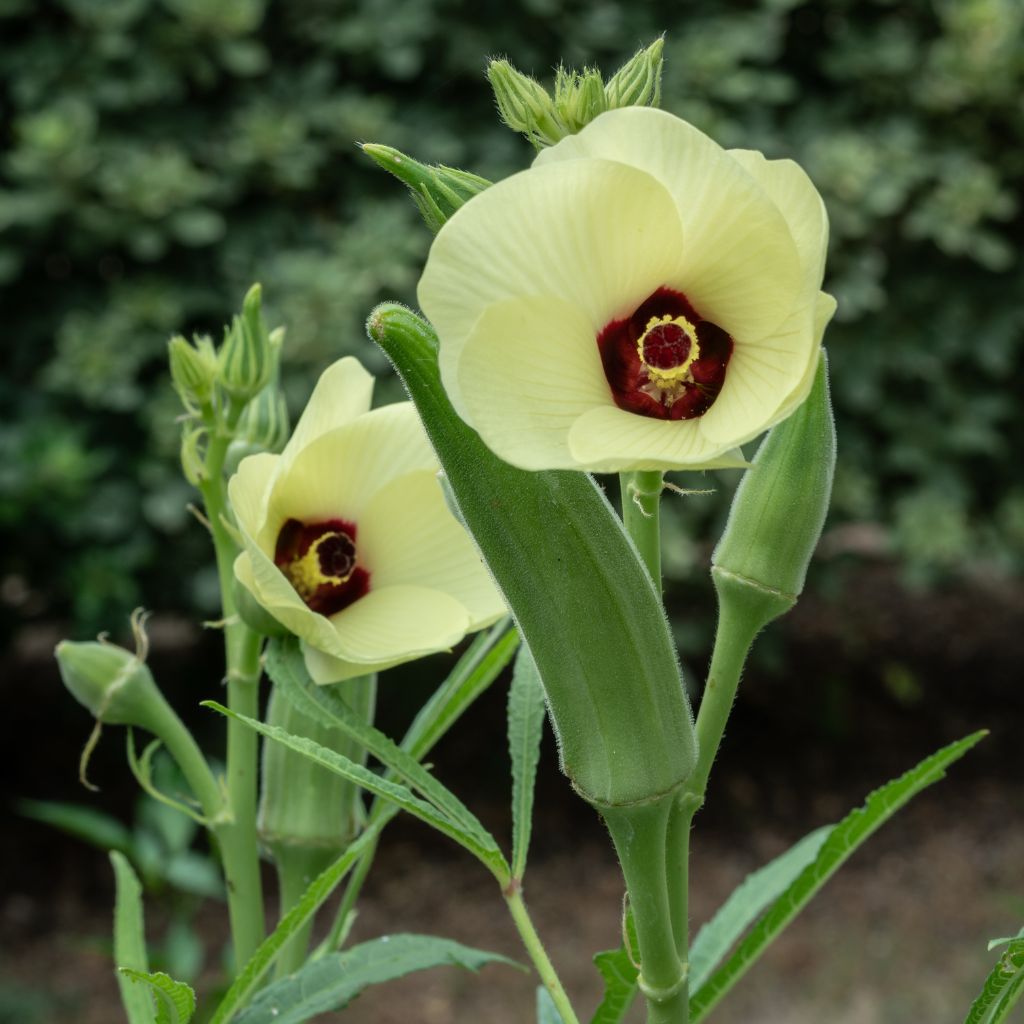
3. Growing Okra: Sunlight, Water, and Fertilizer
Once your seeds have been planted or your seedlings transplanted, okra plants will need plenty of sunlight, water, and occasional feeding to thrive.
Sunlight Requirements
Okra thrives in full sunlight, requiring at least 6-8 hours of direct light each day. A sunny spot in your garden, free from shade, is ideal for growing healthy, productive okra plants.
Watering Your Okra Plants
Okra is relatively drought-tolerant but performs best with consistent moisture. Water your plants deeply once a week, providing about 1 inch of water. Be sure to let the soil dry slightly between waterings to avoid waterlogged roots, which can lead to root rot.
During extended hot and dry periods, you may need to water more frequently to prevent wilting, especially once the plants begin producing flowers and pods.

Fertilizing Okra
While okra is not a heavy feeder, it benefits from the occasional application of fertilizer. A balanced, organic fertilizer can be applied once a month during the growing season. Alternatively, you can side-dress the plants with compost or well-aged manure once the plants reach 6 inches in height.
For those looking to boost pod production, consider applying a phosphorus-rich fertilizer once flowering begins.
4. Caring for Your Okra Plants
Pruning Okra
Pruning is not essential for okra, but a little trimming can encourage bushier growth and easier harvesting. Once your okra plants reach about 5-6 feet tall, you can cut back the tops to maintain a manageable height and stimulate more pod production on lower branches.
Additionally, pruning dead or damaged leaves will help promote better airflow around the plants and prevent fungal diseases.
Mulching and Weeding
To retain moisture and control weeds, apply a layer of mulch around your okra plants. Mulch also helps to regulate soil temperature and improves the overall health of your garden bed.
Keep weeds under control by regularly pulling them from the base of your plants. Weeds compete with okra for nutrients and water, so removing them early is important.
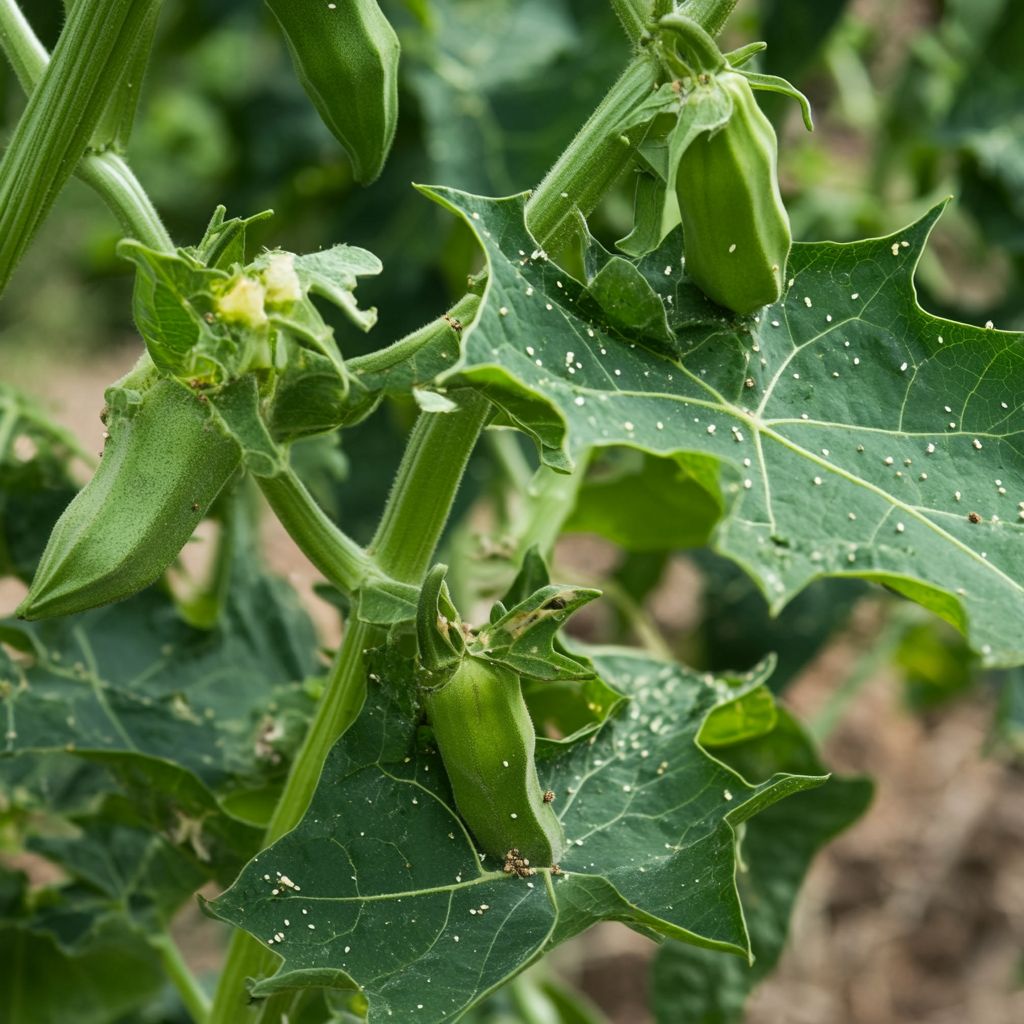
5. Pest and Disease Management
Okra is fairly resilient, but like any plant, it can face challenges from pests and diseases. Here are a few common ones and how to manage them:
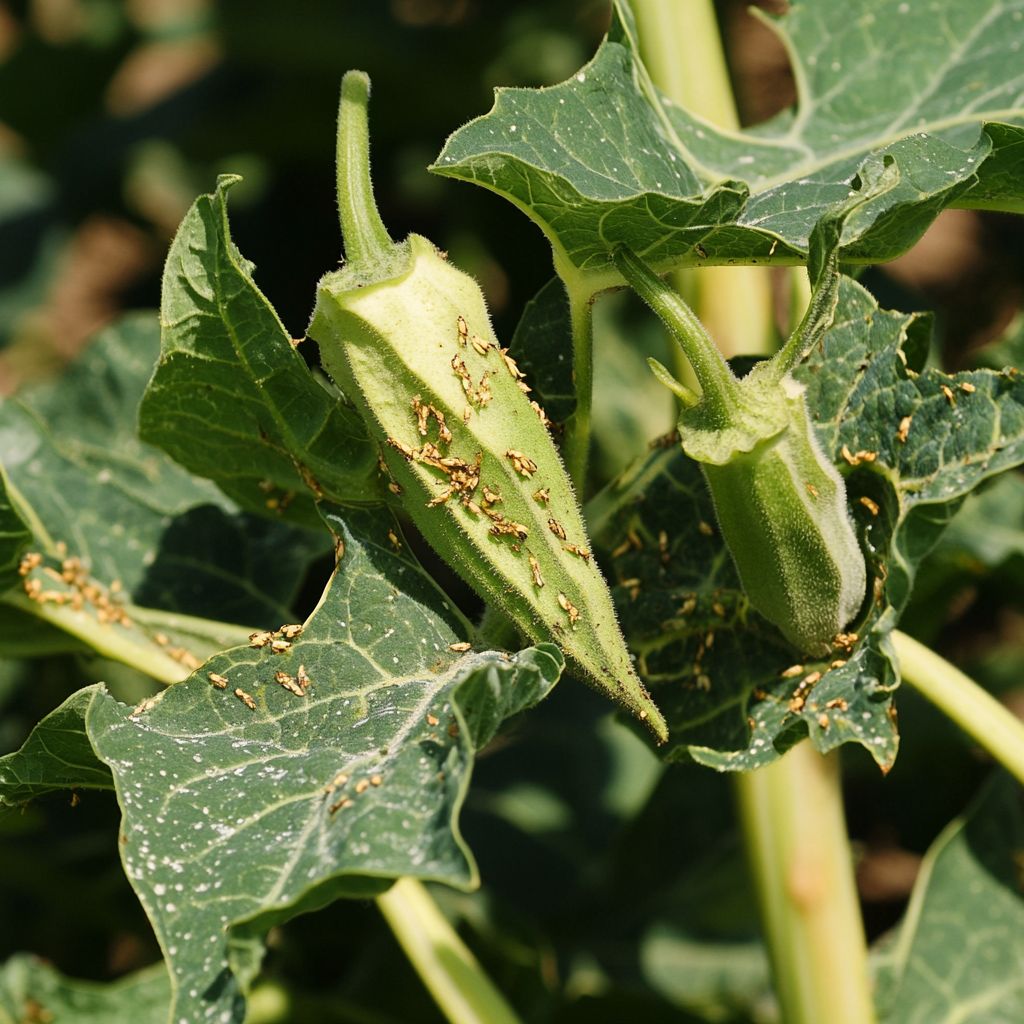
Pests
Aphids: These small insects suck the sap from okra plants, causing leaves to yellow and weaken. You can manage aphids by spraying the plants with water or using neem oil.
Flea Beetles: These pests chew small holes in the leaves, leading to reduced growth. Use insecticidal soap or row covers to protect young plants.
Stink Bugs: These bugs suck sap from the pods, leading to misshapen fruits. Handpick the bugs or use insecticidal soap to control them.
Diseases
Powdery Mildew: Appearing as white spots on the leaves, powdery mildew can be managed by improving airflow around the plants and applying a homemade milk spray (1 part milk to 9 parts water).
Root Rot: Root rot occurs when the soil is consistently waterlogged. Ensure proper drainage and avoid overwatering to prevent this fungal issue.
To reduce the risk of diseases, always plant okra in a sunny location, avoid overhead watering, and rotate crops each year.
6. Harvesting Your Okra
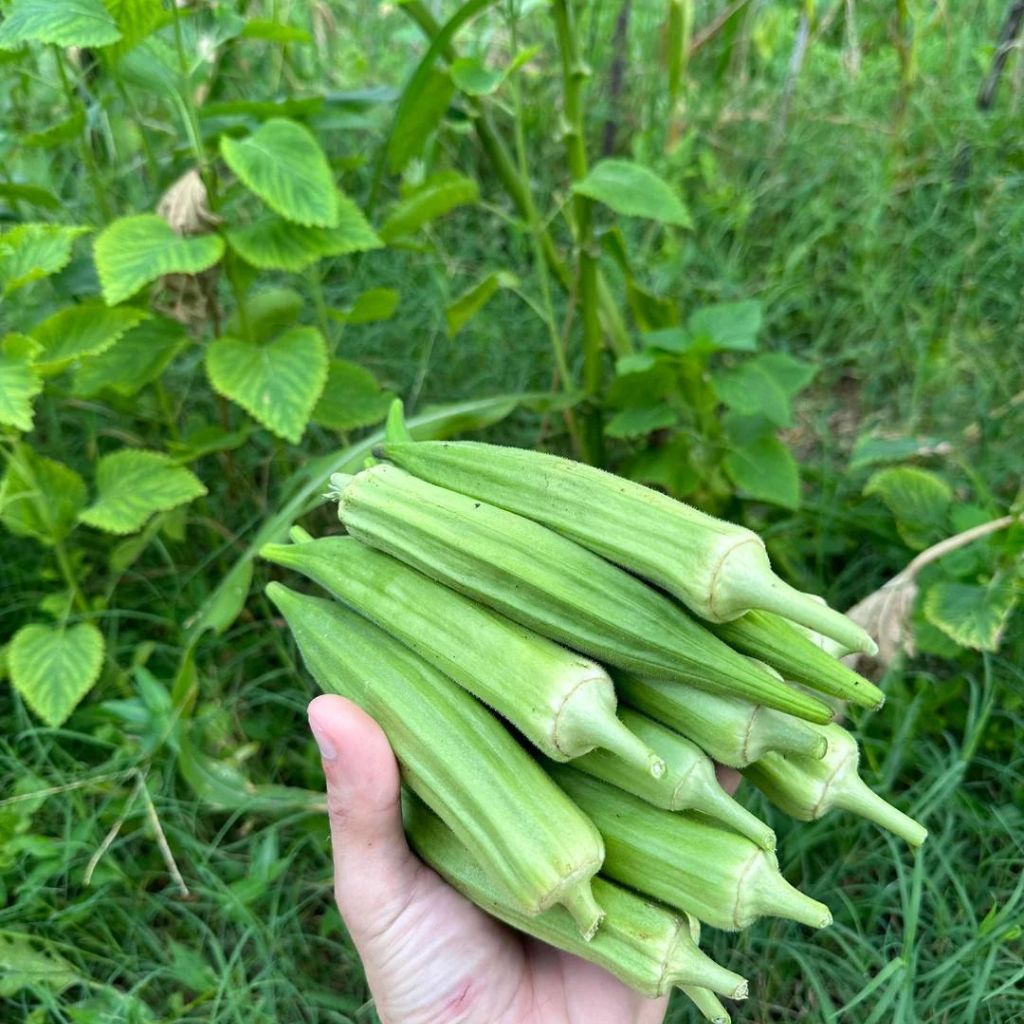
Okra grows quickly, with pods ready to harvest just 50-60 days after planting. For the best flavor and texture, harvest the pods when they are young and tender—typically when they are 2-4 inches long.
Pods that are left on the plant for too long will become tough and fibrous. Harvesting frequently encourages the plant to produce more pods, so check your plants every other day during peak production.
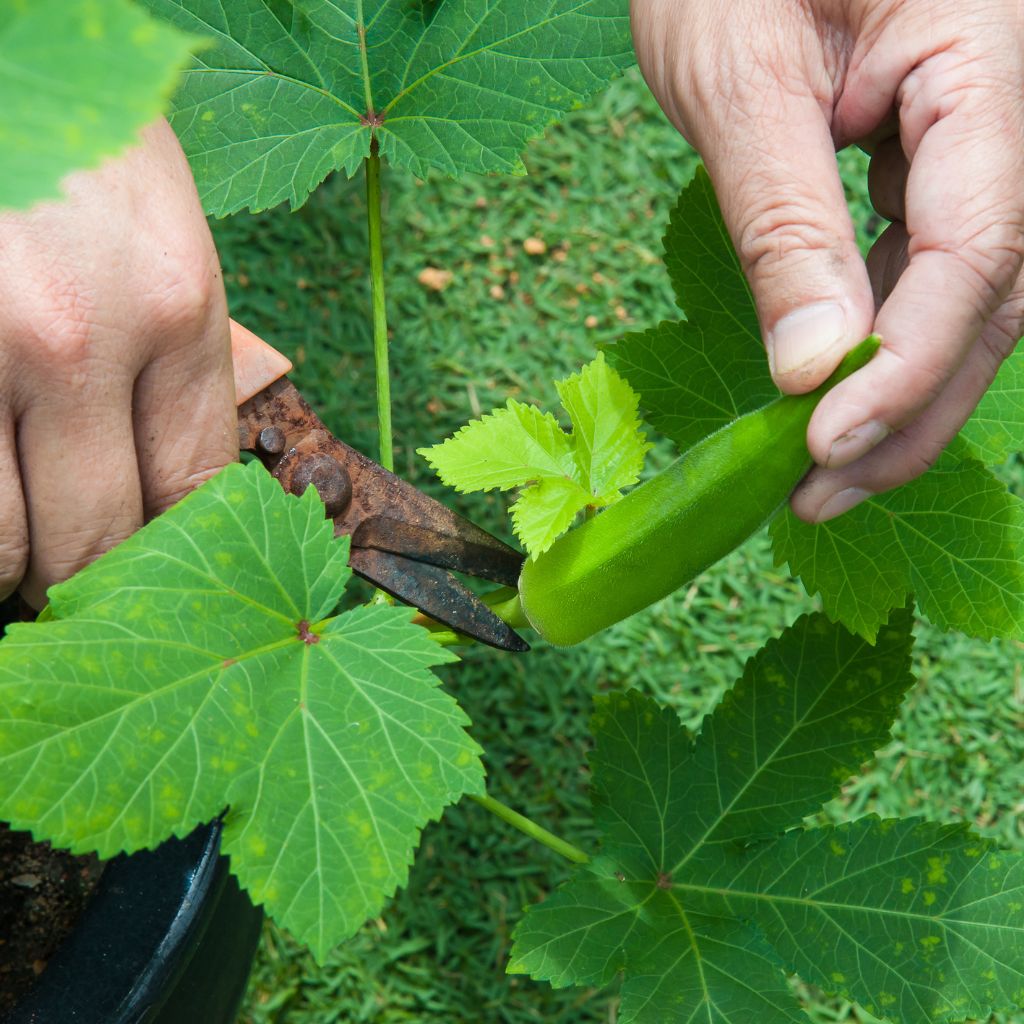
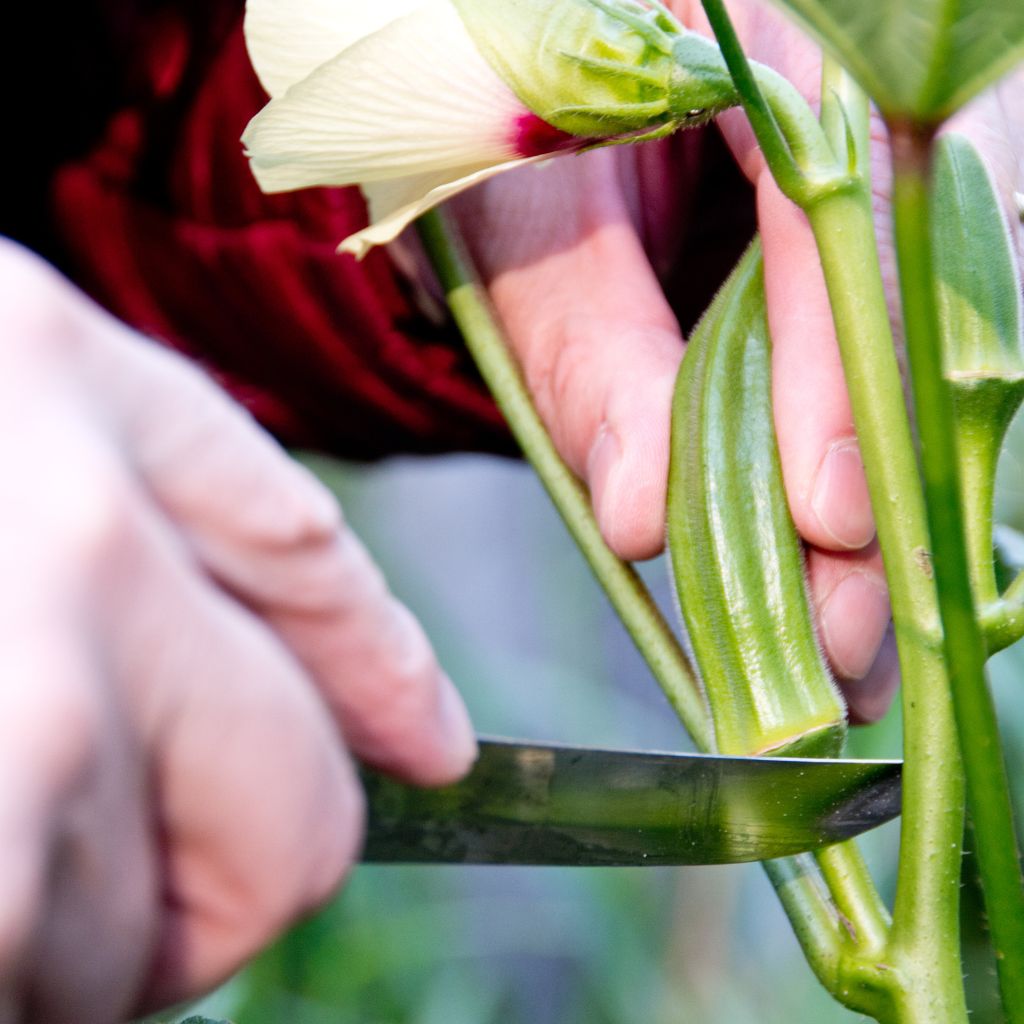
To harvest, simply use garden shears or a sharp knife to cut the pod off the plant just above the cap. Be sure to wear gloves when harvesting, as the spiny pods and stems can irritate your skin.
7. Storing and Preserving Okra
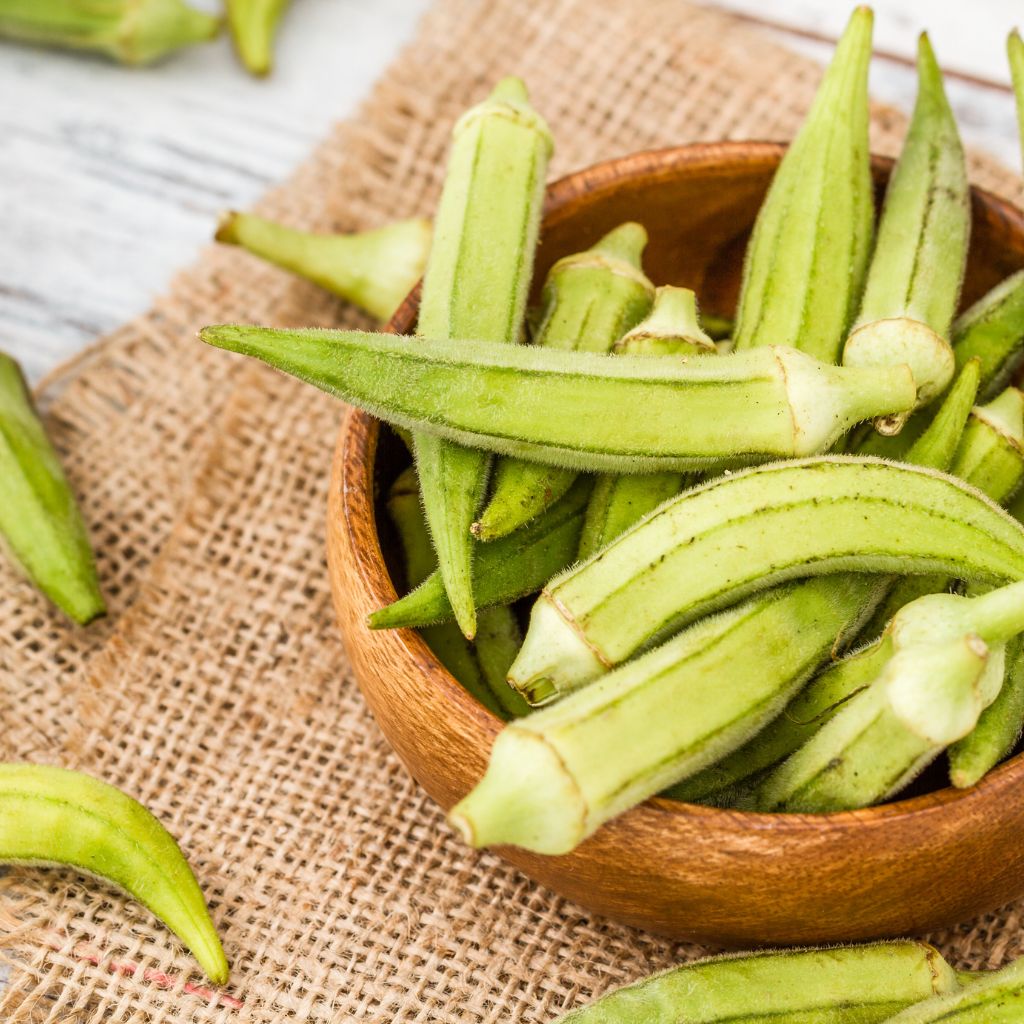
Freshly harvested okra can be stored in the refrigerator for up to a week. For long-term storage, you can freeze, pickle, or can the pods. If freezing, blanch the pods in boiling water for a few minutes before placing them in freezer bags.
Frozen okra works well in cooked dishes like stews, gumbos, and curries.
Growing Okra in Containers
If you have limited space, okra can also be grown in containers. Choose a pot that is at least 12 inches deep and wide to accommodate the plant’s roots. A dark-colored container can help retain heat, which okra loves.
Make sure the container has good drainage and use high-quality organic potting soil. Water the plant regularly, and fertilize it every few weeks for the best results.
Growing okra in your home garden is easy and rewarding. With the right care—plenty of sunlight, moderate water, and occasional feeding—you’ll be enjoying a bountiful harvest of tender okra pods in no time.
Whether you choose to sauté, stew, or pickle your okra, you’ll love the versatility and nutritional benefits this vegetable brings to your kitchen.