Discover the secrets to successfully propagating hydrangeas in your backyard. Having experimented with 23 different methods, I’ve identified the seven techniques that truly work. These methods vary in complexity and style, offering something for every gardener. From classic approaches to innovative ideas, each technique has its own charm and effectiveness. Whether you’re a novice or an expert, these strategies will enhance your gardening skills and bring lush blooms to your outdoor space. Join me as I share these tried-and-true techniques, complete with detailed descriptions and engaging insights into the world of hydrangea propagation.
1. Water Propagation
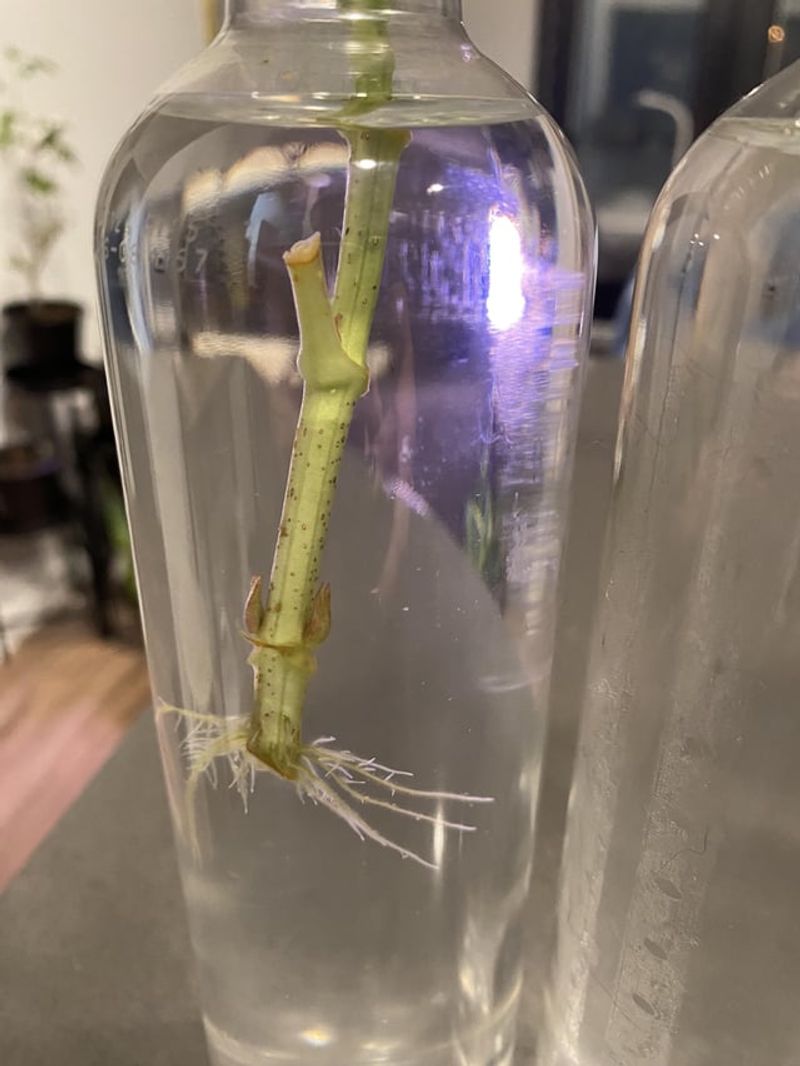
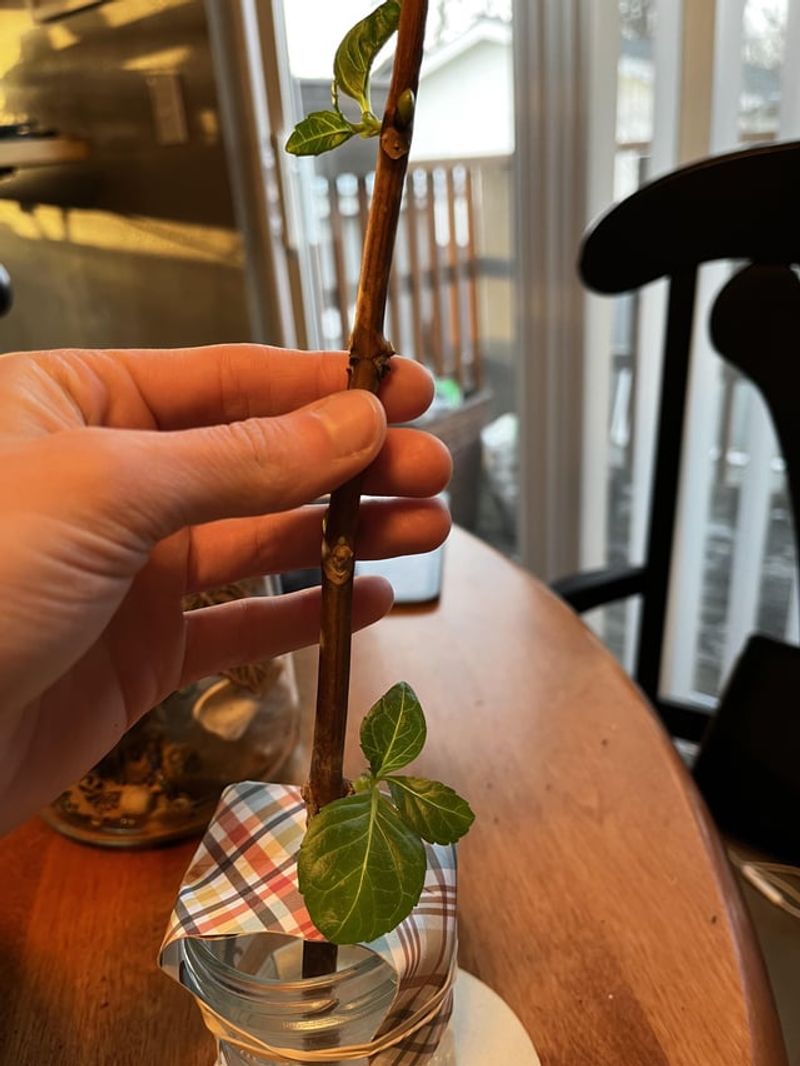
Why not witness the magic of roots forming in water? Placing hydrangea cuttings in a jar with water is both mesmerizing and effective. You can watch the roots develop day by day, providing a visual connection to nature’s wonders. This method requires minimal effort.
Ensure the cutting has at least one node submerged. Change the water regularly and place it on a bright windowsill.
Roots usually appear within a couple of weeks. A fun fact: hydrangeas often root faster in water than in soil, making this a favorite among gardeners.
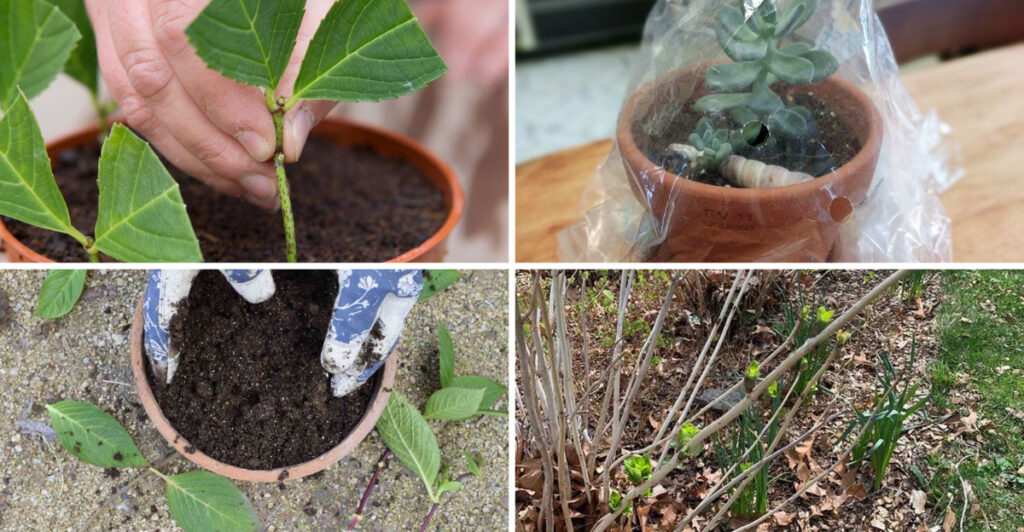
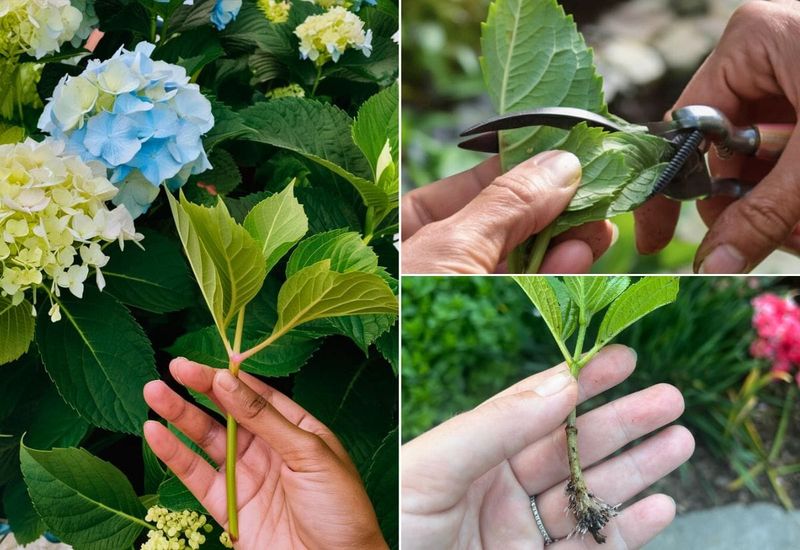
2. Rooting Hormone Method
Rooting hormone can significantly boost your success rate. This powder or gel is applied to the cut end of the hydrangea stem. It stimulates root growth, particularly in challenging conditions.
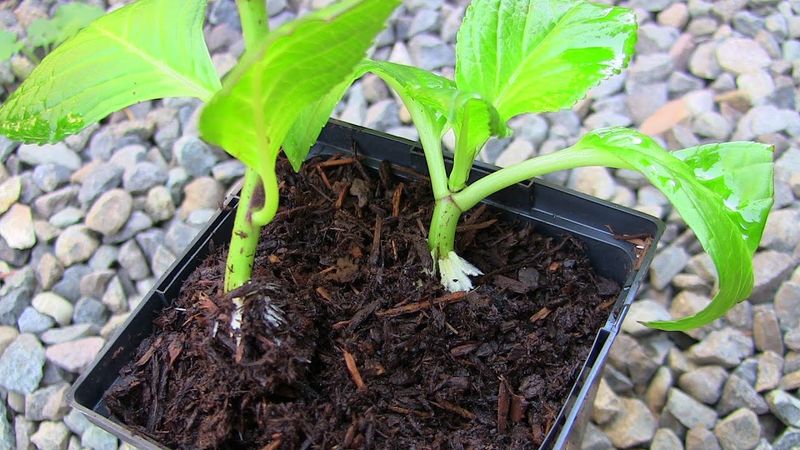
Select a healthy cutting and dip it into the hormone, ensuring thorough coverage. Plant the treated cutting into a pot filled with moist soil.
Place it in a sheltered, warm location. Roots will begin to develop within weeks. Did you know? Rooting hormones mimic naturally occurring plant hormones, giving your cuttings a head start.
3. Soil Propagation
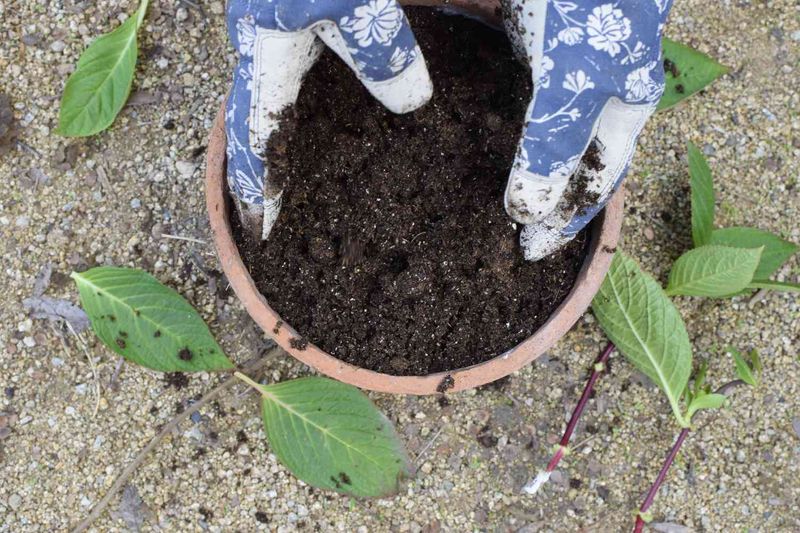
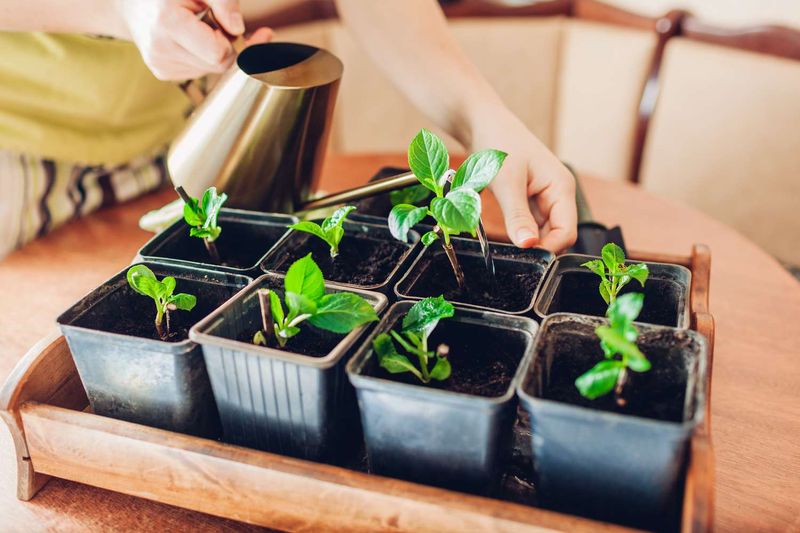
For those who prefer traditional methods, soil propagation remains popular. Directly planting hydrangea cuttings into soil allows them to acclimate to natural conditions from the start.
Choose a pot or a spot in your garden with well-draining soil. Keep the soil consistently moist, but avoid waterlogging.
Covering with a plastic bag can maintain humidity. With patience, roots will establish, usually within a few months. Fun fact: soil propagation often results in stronger root systems as plants acclimate to their natural growing medium.
4. Air Layering Technique
Air layering is an advanced yet rewarding technique. It involves encouraging roots to form on a branch while still attached to the parent plant. Select a healthy branch and make a small incision.
Wrap it with damp sphagnum moss and secure with plastic wrap. Over weeks, roots will develop within this cocoon.
Once established, cut below the root ball and plant. This method is efficient and often results in robust plants. Did you know? Air layering has been used for centuries, dating back to ancient China.
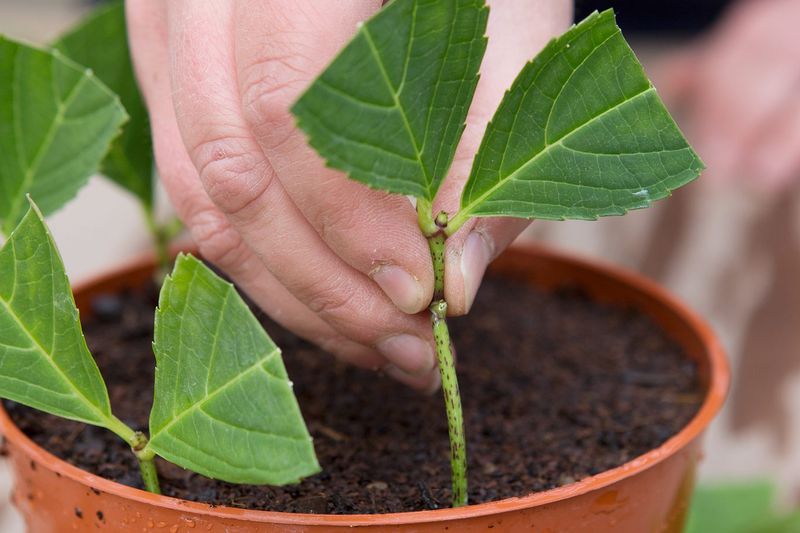
5. Leaf Cutting Propagation
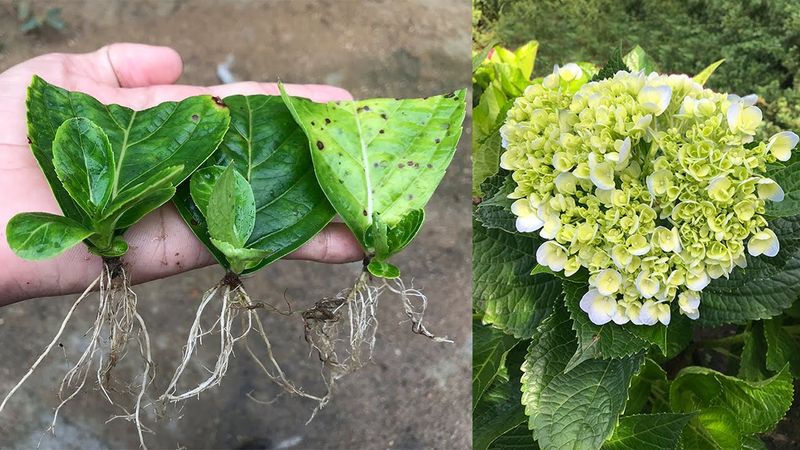
Can a single leaf grow a new plant? With hydrangeas, it’s possible! Leaf cuttings can successfully root and grow into a new plant. Choose a healthy leaf and cut with a portion of the stem.
Plant the cutting in moist soil and cover with a plastic bag to maintain humidity.
Place in indirect sunlight and wait for root development. This technique is more experimental, requiring patience. Did you know? Unlike many plants, hydrangeas can propagate from both stem and leaf cuttings, offering versatile options for gardeners.
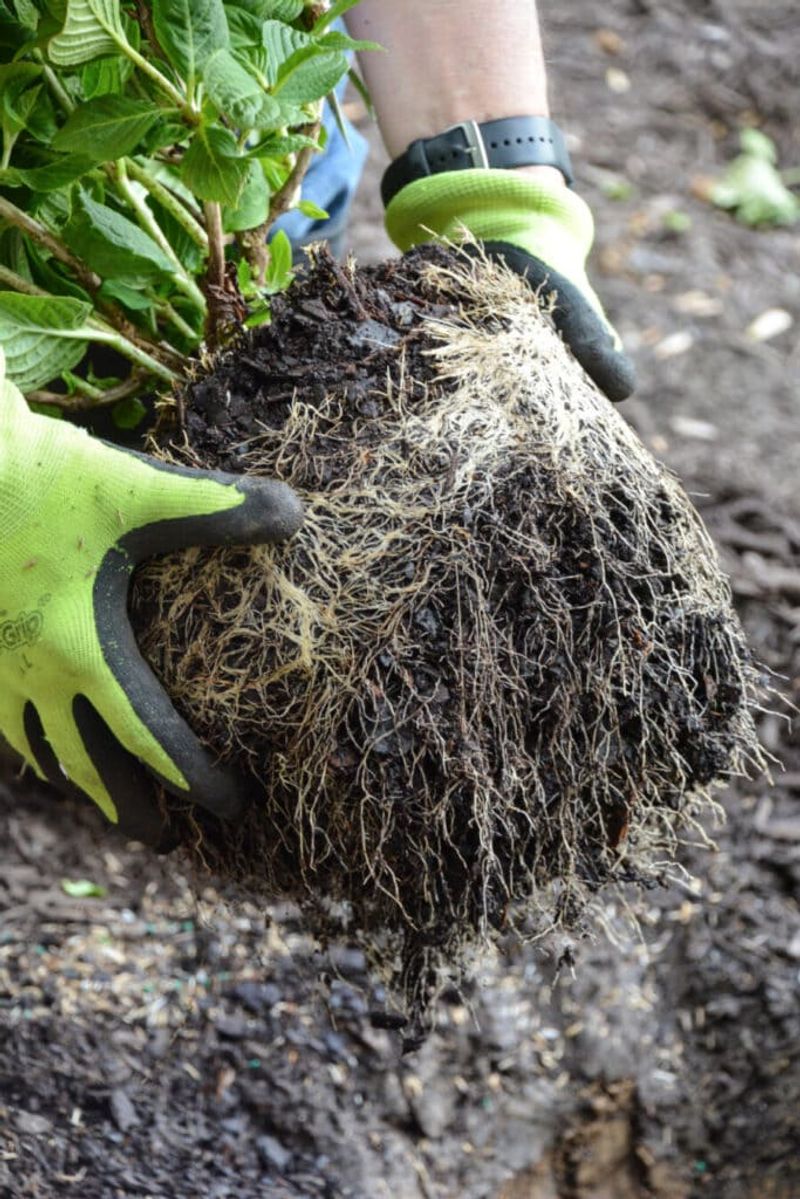
6. Division Method
The division method offers immediate results. By splitting a mature plant, you can create several new ones. Gently dig up the plant, ensuring minimal root damage.
Divide the root ball into sections with a sharp tool. Replant each section in a prepared location.
Water thoroughly and watch them thrive. This method is ideal for rejuvenating older plants. Fun fact: dividing plants not only increases numbers but can also invigorate growth, similar to giving the plant a ‘fresh start’.
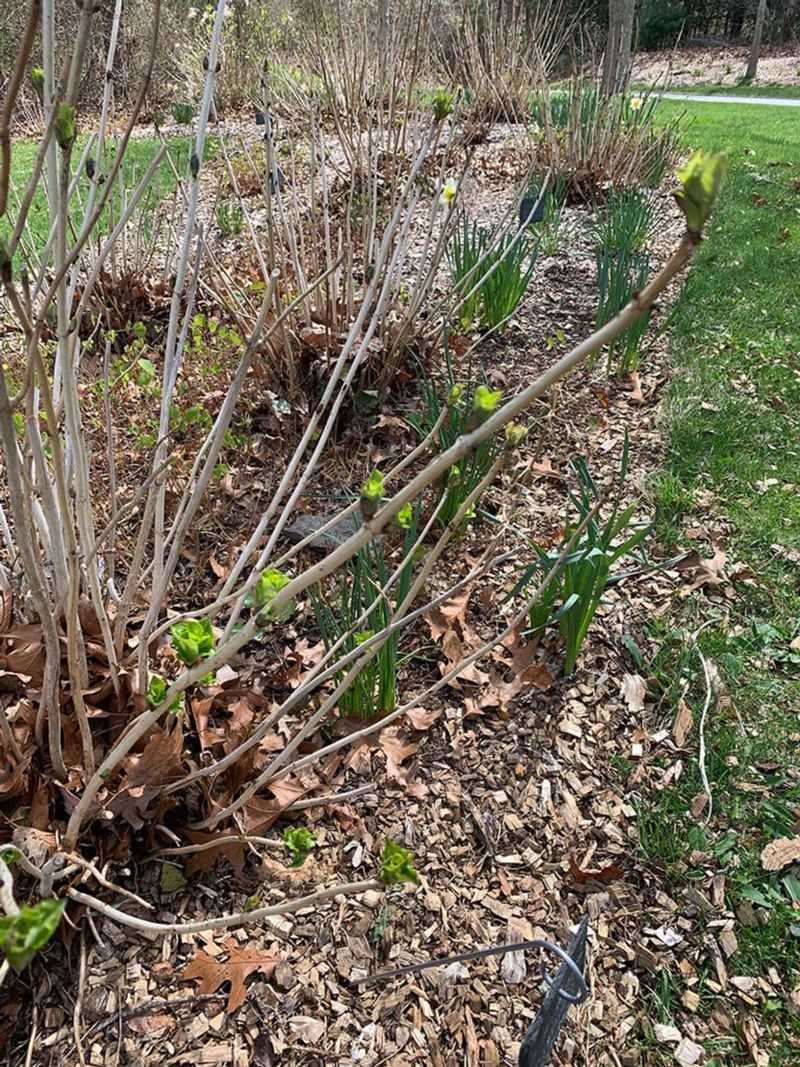
7. Mound Layering Technique
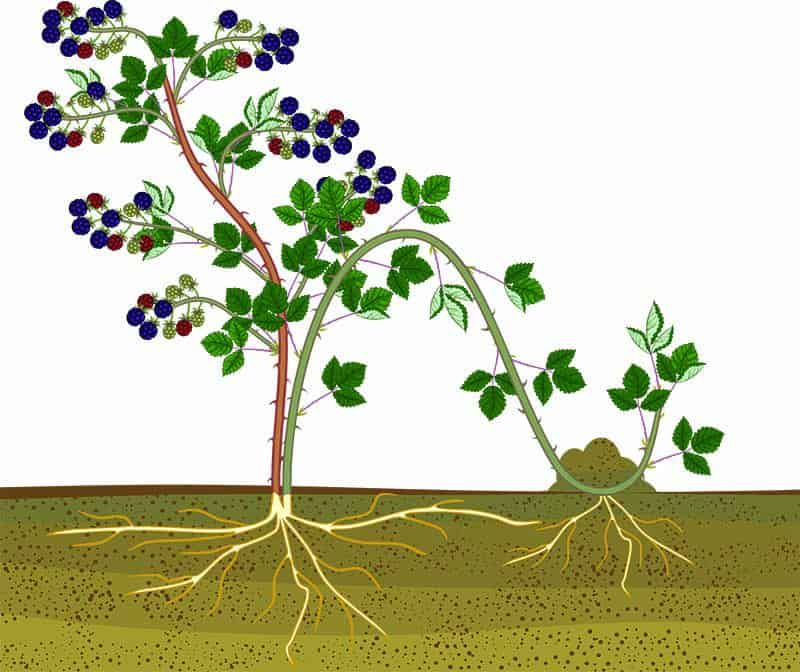
Mound layering is perfect for those with patience and space. This method involves burying a low-growing branch under soil to encourage roots along its length. Select a pliable branch and secure it to the ground.
Cover parts of it with soil, leaving the tip exposed. Over time, roots will form at buried nodes.
Once rooted, the branch can be separated into new plants. Fun fact: mound layering is often used for propagating shrubs and roses, prized for its simplicity and effectiveness.
8. Stem Cuttings with Bag

Imagine a tiny greenhouse right on a stem. Cover the potted cutting with a clear plastic bag, securing it without touching the leaves. This simple method creates a humid environment, accelerating root growth. The bag’s transparency ensures the cutting receives light while retaining moisture. Over time, roots develop robustly, leading to a healthy plant. A periodic airing prevents mold, ensuring the plant stays vibrant. This technique is particularly handy during cooler months or in dry conditions, providing the perfect balance of warmth and moisture.
9. Sphagnum Moss Wrapping
Sphagnum moss is a magic carpet for your hydrangea cuttings. This moisture-retentive material, when wrapped around a stem, encourages root formation by maintaining consistent moisture. Secure it with twine, and soon, tiny roots start to emerge. This method is highly effective in warmer climates where evaporation is rapid. By keeping the moss damp, the cutting receives a steady supply of hydration. It’s a natural and eco-friendly approach, ensuring your plant thrives without synthetic additives or complex setups.
10. Pebble Tray Support
Create a micro-environment with a pebble tray. Position the hydrangea pot on a tray layered with pebbles and water. As water evaporates, it increases humidity around the plant, supporting root development. This method is invaluable in dry indoor settings, mimicking a greenhouse atmosphere. Ensure the pot base isn’t submerged to avoid waterlogging. The gentle humidity fosters a conducive environment for the cutting, encouraging vigorous root growth. It’s a subtle, yet impactful way to propagate hydrangeas at home.
11. Bottom Heat Technique
Warmth from below can be a game-changer for hydrangea cuttings. Employ a heating mat under the pots to boost root development. The consistent bottom heat stimulates growth even when ambient temperatures are low. This method is especially effective in cooler climates, ensuring the cutting doesn’t stall. By warming the soil, roots are encouraged to spread, anchoring the plant securely. It’s a straightforward yet powerful approach, transforming sluggish cuttings into thriving plants with vigor.
12. Sand Propagation
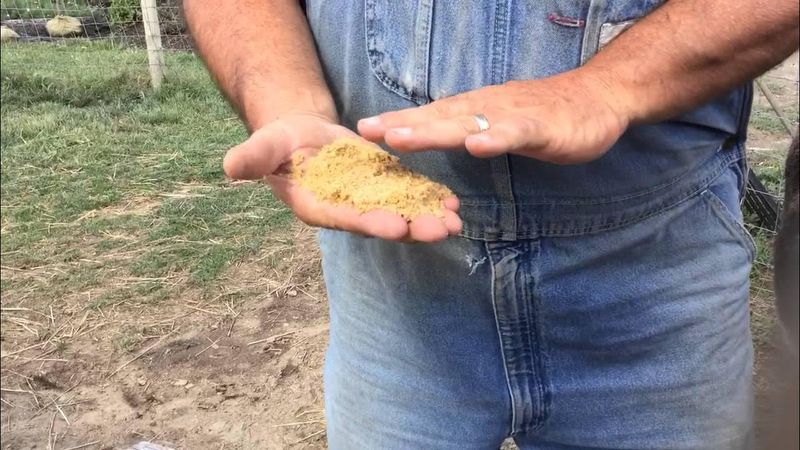
For those seeking simplicity, sand propagation offers a straightforward solution. Plant the cutting in coarse sand, which drains quickly while retaining enough moisture for root growth. The airy environment prevents rot, promoting healthy development. Sand’s neutral pH suits hydrangeas perfectly, providing a balanced nutrient foundation. This method excels in warm climates, leveraging natural warmth to coax roots from the cutting. It’s a minimalistic yet effective technique, allowing gardeners to expand their collection with ease.
13. Miniature Greenhouse Dome
Craft a personal greenhouse with a miniature dome. Place it over the potted hydrangea cutting to trap heat and moisture. This protective barrier accelerates root growth by maintaining a stable, humid microclimate. The dome’s transparency ensures adequate light, fostering a healthy cutting. Ideal for indoor use, this approach prevents environmental fluctuations from affecting the plant. By minimizing stress, it enhances the cutting’s chances of thriving. It’s a compact, efficient means to replicate nature’s nurturing touch.
14. Coconut Coir Medium
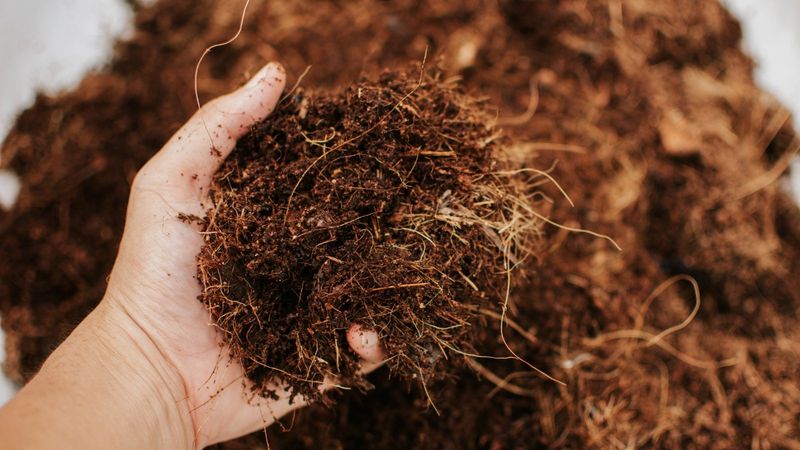
Coconut coir offers a unique foundation for propagation. This sustainable material retains moisture efficiently while providing excellent aeration. Plant your hydrangea cutting in coir to encourage robust root growth. The lightweight medium is easy to manage, reducing the risk of overwatering. Coir’s natural properties support a healthy balance of air and moisture, vital for young cuttings. It’s an eco-friendly choice that aligns with sustainable gardening practices, ensuring your hydrangeas flourish with minimal impact on the environment.
15. Perlite Mix

Perlite, with its airy texture, transforms potting soil into a propagation powerhouse. Blend it with soil to enhance drainage and prevent waterlogging. The added aeration supports root development, ensuring the cutting remains healthy. Perlite’s neutrality complements hydrangeas, maintaining an optimal growing environment. This method is especially useful in areas with heavy rainfall, where soil saturation could hinder growth. By ensuring efficient drainage, it fosters a thriving cutting ready to develop into a robust plant.
16. Clay Pebble Layering

Clay pebbles offer a foundation of stability. Layer them at the bottom of your pot to enhance drainage, protecting the hydrangea cutting from waterlogging. This technique is crucial in wetter climates, where excessive moisture can impede growth. The pebbles’ porous nature facilitates aeration, supporting healthy root development. By preventing stagnant water, your cutting flourishes in an optimal environment. It’s a simple yet effective method, particularly beneficial for gardeners facing unpredictable weather patterns.
17. Jiffy Pellets
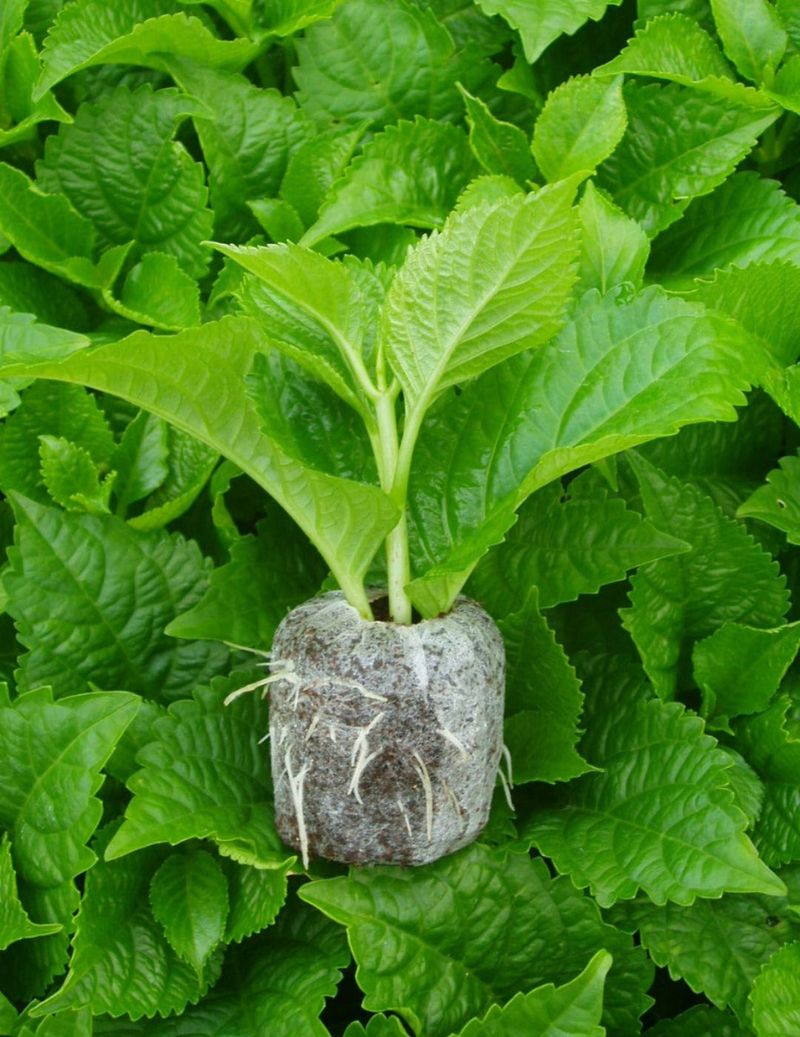
Jiffy pellets provide a compact start for your hydrangea cuttings. These peat-based pods expand when hydrated, creating a nurturing space for roots. Insert the cutting into the center, ensuring good contact. The pellet’s structure maintains moisture while allowing air circulation, crucial for root health. As roots establish, the pellet can be transplanted directly into a pot, minimizing disruption. This convenient method suits gardeners with limited space, offering a tidy and efficient approach to propagation.
18. Humidity Tent
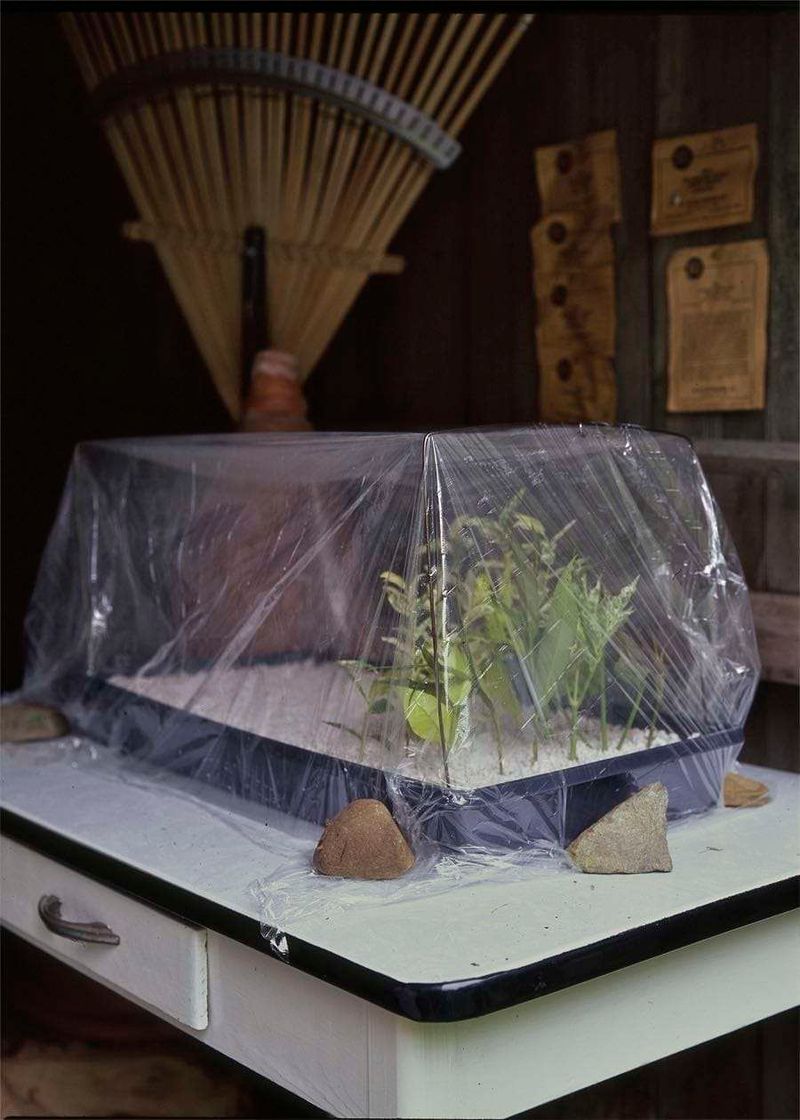
Transform a simple tray into a nurturing haven with a humidity tent. Cover a tray of potted hydrangea cuttings with plastic to retain moisture. This creates a controlled environment, perfect for root development. The tent elevates humidity levels, crucial during dry spells. Ensure ventilation to prevent mold growth, balancing moisture and air. This technique amplifies natural conditions, accelerating the rooting process. It’s a go-to method for gardeners seeking consistent results, offering a greenhouse effect in a compact setup.
19. Mist Propagation
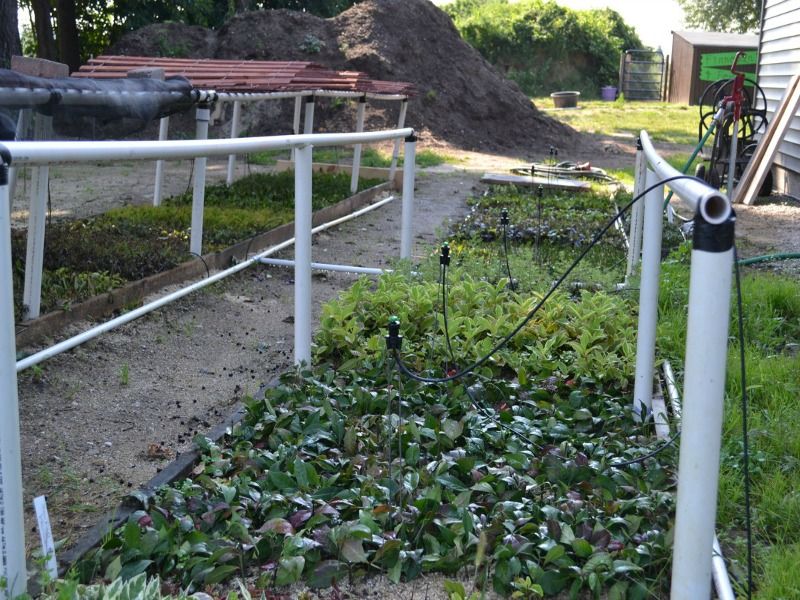
Mist propagation offers a delicate touch. Utilize a misting system to keep hydrangea cuttings moist without saturating the soil. The fine mist mimics natural dew, promoting steady hydration. This method excels in dry climates, ensuring the cutting remains moist without drowning. By preventing desiccation, it fosters an ideal environment for root development. Regular misting maintains a balance of moisture and air, crucial for a thriving cutting. It’s a refined approach, blending precision with nature’s gentle care.
20. Floating Raft Method
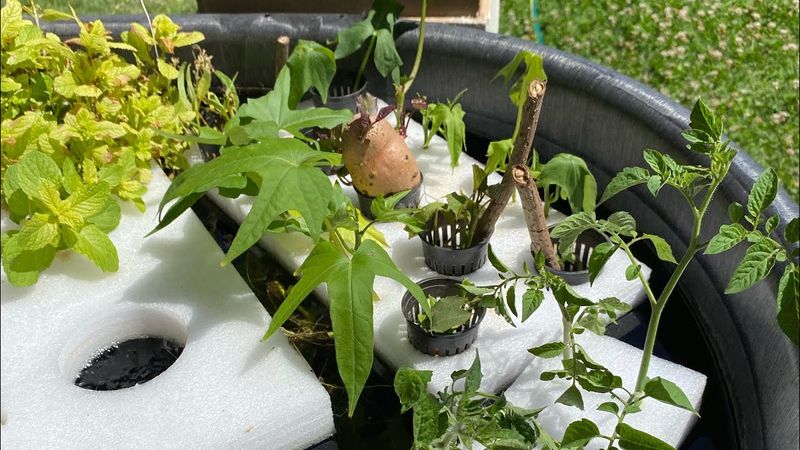
Float your way to success with the raft method. Insert hydrangea cuttings into holes in a styrofoam raft, letting them float on nutrient-rich water. This hydroponic approach ensures constant moisture, stimulating root growth. The cuttings absorb nutrients directly, bypassing soil complications. This method suits gardeners with limited space, offering a clean, efficient solution. By floating freely, roots develop robustly, ready to transition to soil once established. It’s an innovative technique, merging hydroponics with traditional propagation.
21. Root Ball Soaking
Revitalize cuttings with a root ball soak. Submerge the cutting’s root ball in a shallow tray of water, allowing it to absorb moisture. This targeted hydration promotes root development, especially in drier regions. The soak ensures thorough watering without oversaturation, balancing air and moisture. It’s a straightforward method, ideal for cuttings struggling with dry soil conditions. By providing a direct water source, it supports robust growth, preparing the cutting for successful transplantation.
22. Fogger Assistance

Harness the power of fog for your hydrangeas. An ultrasonic fogger creates a misty environment, amplifying humidity around cuttings. This modern technique elevates moisture levels, crucial for root initiation. The fogger’s fine mist envelops the cuttings, providing consistent hydration. Ideal for dry climates, it prevents desiccation, fostering favorable conditions for growth. By simulating a natural misty morning, it encourages healthy root development. It’s an advanced approach, offering precise control over humidity levels.
23. Shaded Netting Protection
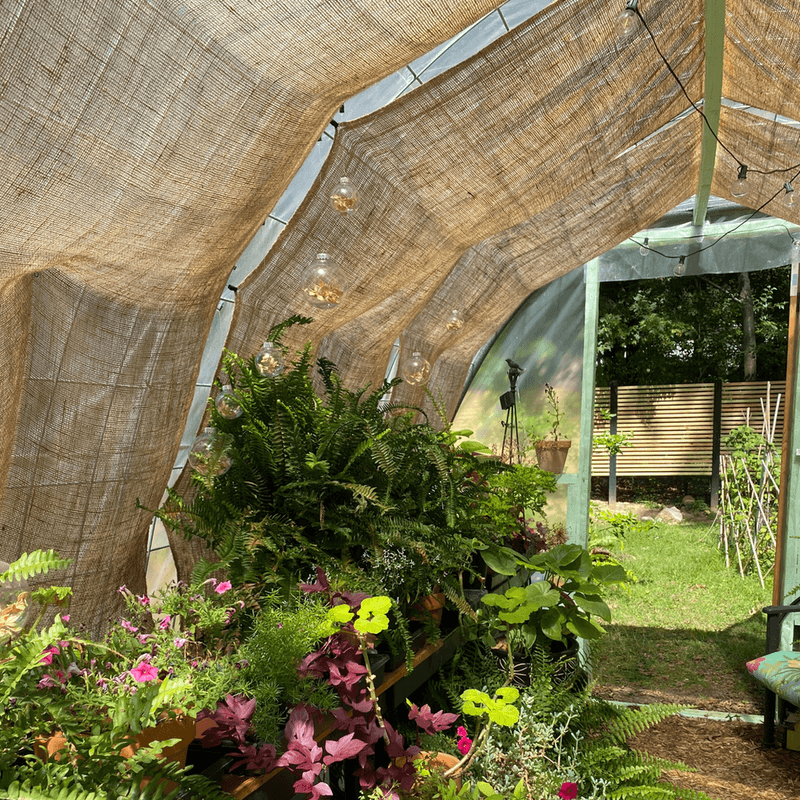
Shield cuttings with shaded netting for protection. This coverage reduces direct sun exposure, preventing stress on the developing plant. The netting diffuses light, ensuring the cutting receives ample light without scorching. It’s particularly useful in hot climates, where intense sun can hinder growth. By reducing light intensity, it creates a stable environment, encouraging root propagation. This method is a practical solution for outdoor propagation, combining protection with optimal growth conditions.