
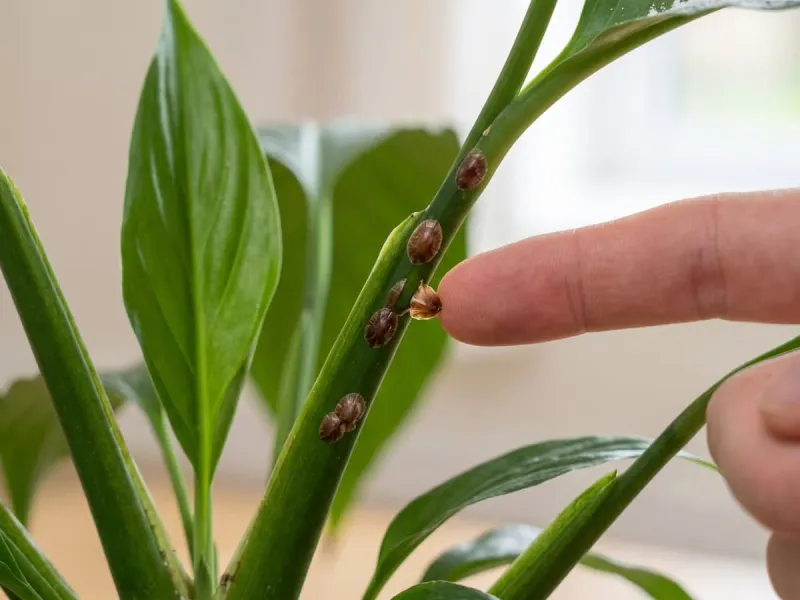
Few things sink a plant lover’s heart like a peace lily covered in crispy brown leaves. The good news is that this tough houseplant usually tells you exactly what it needs, as long as you know how to read the signs.
In warm Southern homes from Florida to Texas, air conditioning, tap water, and summer sun can all play a part. Below are seven simple fixes that can help bring your peace lily back to glossy green.
1. Fix Your Watering Rhythm
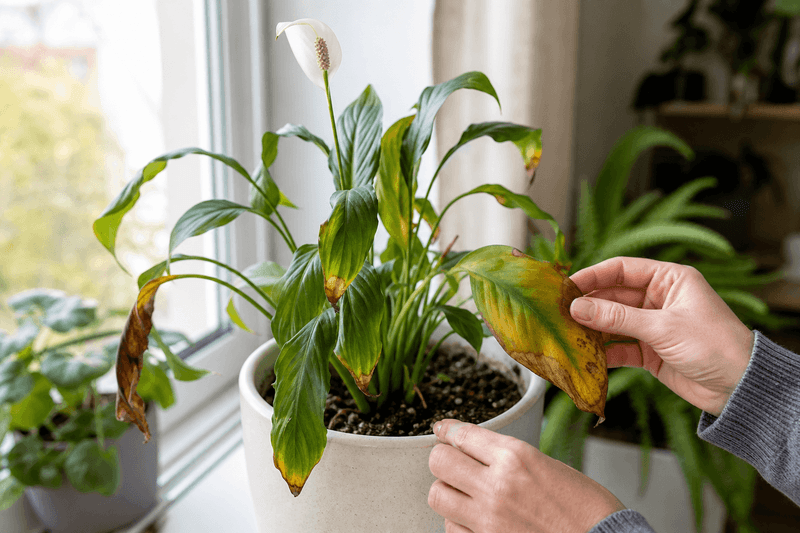
Picture a peace lily that flops dramatically one day, then perks right up after a drink. That theatrical droop is charming, but repeated cycles of bone-dry soil followed by a flood are one of the most common reasons leaves brown all over.
Overwatering causes trouble too. When roots sit in soggy soil, they can begin to rot, and damaged roots cannot move water up to the leaves.
Oddly enough, a drowning plant may look thirsty, with yellowing that slowly turns brown and mushy.
The fix is simple. Push your finger about an inch into the soil, and water only when that top layer feels dry.
Pour slowly until water runs out the drainage holes, then empty the saucer after fifteen minutes so the roots are not soaking.
In Southern homes, air conditioning running all summer can dry soil faster than you expect, so you may need to check every four or five days. During cooler winter months, growth slows and the plant often needs water less often.
A consistent rhythm, rather than a strict calendar, usually helps new leaves come in clean and green within a few weeks.
2. Switch to Filtered or Rain Water
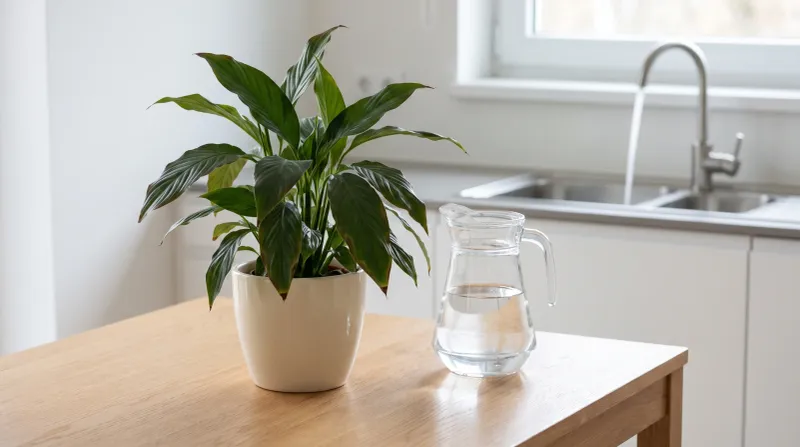
Here is something many growers never suspect: the water itself might be the culprit. Peace lilies are known for being sensitive to chemicals commonly found in municipal tap water, including chlorine, fluoride, and dissolved salts.
Over time, those minerals can build up in the soil and travel to the leaf edges, where they may cause brown tips that slowly spread inward. Many cities in Texas and Florida have fairly hard water, so the buildup can happen faster than in other regions.
Try one of these easy swaps:
Collect rainwater in a clean bucket during those afternoon summer storms. Use filtered or distilled water from the store.
Or simply leave tap water out overnight in an open container, which can let some chlorine escape, though it will not remove fluoride.
Fun fact: peace lilies are native to tropical rainforest floors in Central and South America, where they drink soft, mineral-light rainwater almost every day. Giving yours something similar mimics home.
If you spot a white crust on the soil surface or pot rim, that is a strong clue minerals are piling up, and switching water sources often makes a noticeable difference in fresh growth.
3. Move It Out of Harsh Sunlight
A sunny windowsill seems like a gift to any plant, right? Not for this one.
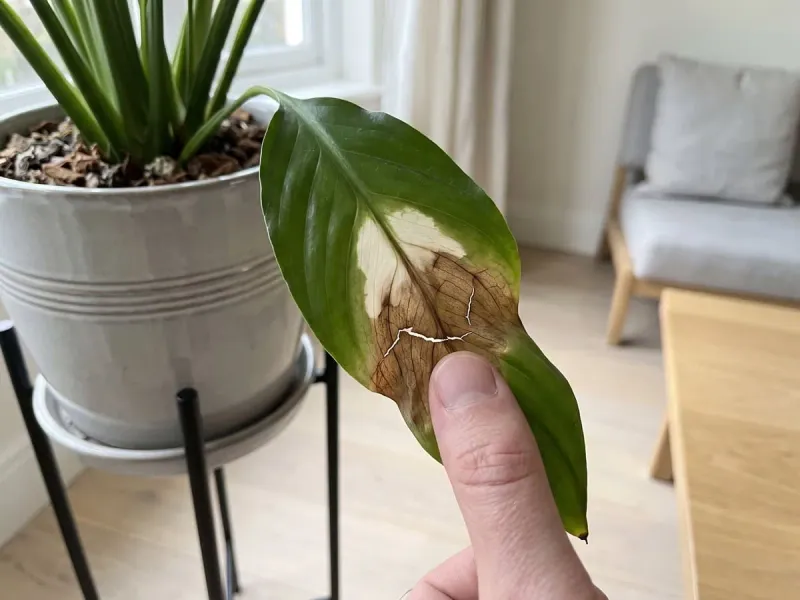
Peace lilies evolved under thick jungle canopies, so direct afternoon sun can scorch their leaves, leaving dry, papery brown patches across the surface.
Southern sunshine is especially intense. A west or south-facing window in Florida or Texas can heat up quickly, and glass may magnify that heat.
Leaves often show bleached, pale spots first, then turn crispy brown.
Look for bright, indirect light instead. An east-facing window with gentle morning rays usually works well.
A spot several feet back from a sunny window, or behind a sheer curtain, can also keep the plant happy.
Bringing your peace lily outside to a covered porch for summer? Keep it in full shade, since even an hour of midday sun may burn the foliage.
Remember that scorched leaves will not turn green again. Trim the worst ones at the base with clean scissors, and focus on the new growth.
If fresh leaves unfurl without damage after the move, you have found the right spot. Too little light, on the other hand, mostly means fewer white blooms rather than browning.
4. Boost the Humidity
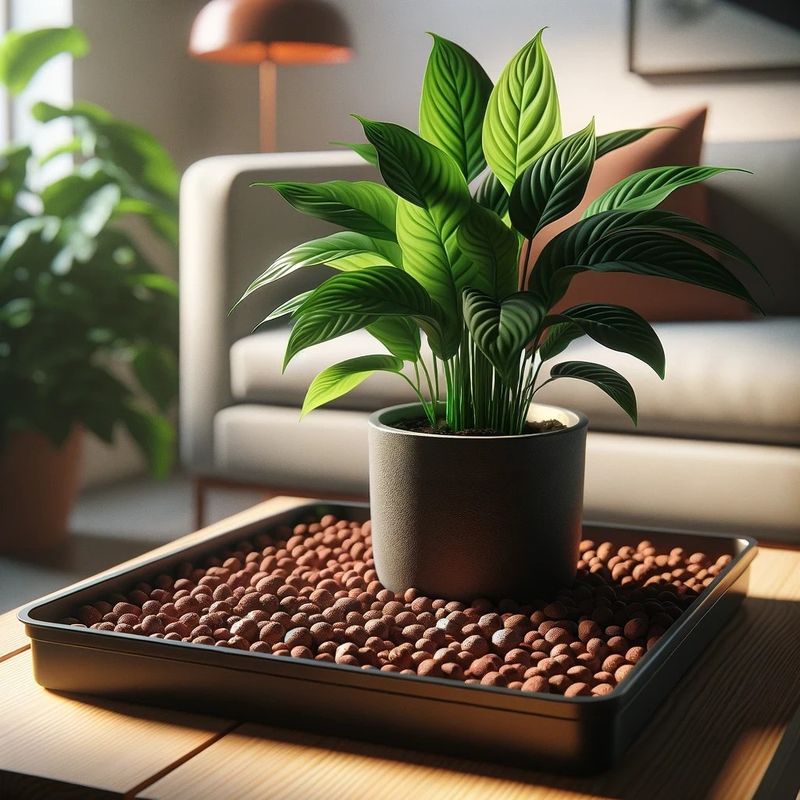
It sounds strange, but living in humid Florida does not guarantee your houseplants enjoy that moisture. Indoors, air conditioning pulls water out of the air, and rooms can end up surprisingly dry, especially near vents.
Peace lilies love humidity around fifty percent or higher. When the air is too dry, leaf edges and tips may dry out and turn brown, sometimes spreading across much of the plant.
A few easy tricks can help:
Set the pot on a tray of pebbles and water, keeping the pot bottom just above the waterline. Group your peace lily with other houseplants, since plants release moisture together.
A small room humidifier is another solid option, particularly in Texas homes where dry winter heat can follow a long AC season.
Misting gives a brief boost, though the effect fades quickly, so it works best as a bonus rather than the main fix. Bathrooms with a bright window can be wonderful homes for peace lilies, since shower steam keeps the air moist.
Also check where the plant sits. Moving it away from AC vents, ceiling fans, or drafty doors may stop the drying almost right away.
5. Flush Out Fertilizer Buildup
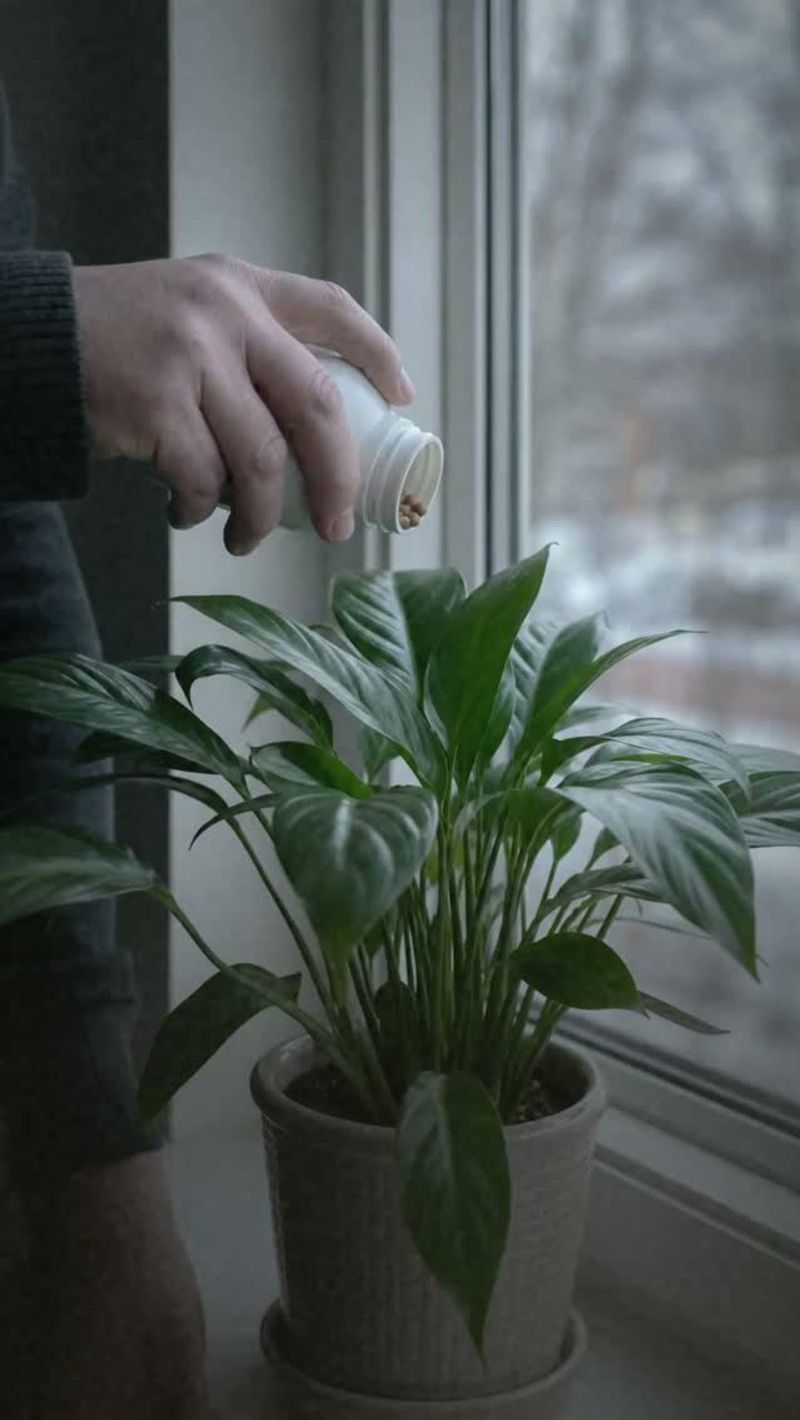
More food does not mean a healthier plant. In fact, generous feeding is a sneaky reason peace lily leaves can turn brown from the edges inward.
Fertilizer leaves behind salts in the soil. When those salts build up, they can pull moisture away from the roots and burn tender tissue, which often shows up as brown, crispy margins on many leaves at once.
Flushing the soil is a quick rescue. Take the pot to a sink or bathtub and slowly run clean, room-temperature water through it for a few minutes.
Let it drain completely before returning it to its saucer. Doing this every few months may keep salts from returning.
Going forward, go light. Peace lilies need very little fertilizer.
A balanced houseplant formula diluted to half strength, applied about once every six to eight weeks during the warm growing season, is usually plenty. In the South, that season can stretch from March through October.
Skip feeding in winter, when growth slows. And never fertilize a plant that is already stressed or bone dry, since that can make burn worse.
Let it recover first, then resume gentle feeding.
6. Repot a Root-Bound Plant
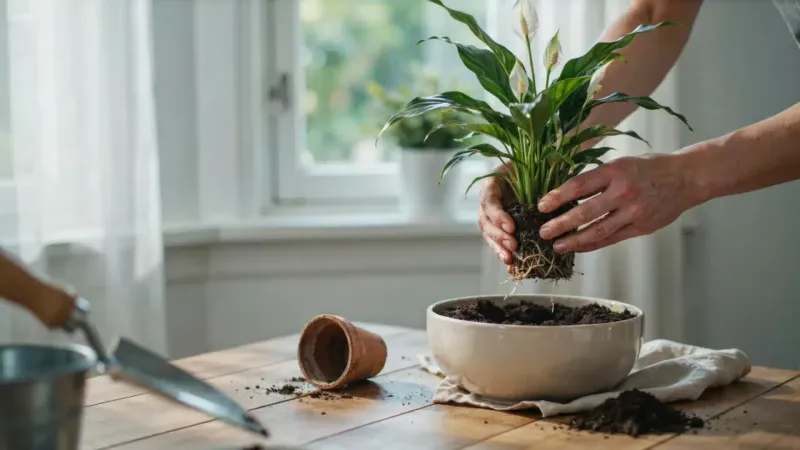
Sometimes a peace lily simply outgrows its home. You water it, and the water rushes straight through.
It wilts again a day later. Roots poke out the drainage holes.
Those are all classic signs of a root-bound plant.
When roots fill the pot, there is little soil left to hold water or nutrients. The plant stays thirsty no matter how often you water, and leaves may brown widely as a result.
Gently slide the plant out to check. If you see a thick mat of roots circling the bottom, it is time to move up.
Choose a pot just one or two inches wider than the current one, with good drainage holes. Going too big can leave extra soil soggy.
Use a fresh, well-draining indoor potting mix. Loosen the outer roots with your fingers, trim any that look black or mushy, and settle the plant at the same depth it was before.
Spring is a great time to repot in Florida and Texas, as warm temperatures help roots recover quickly. Expect a little droop for a week or so.
With steady care, fresh green leaves often follow soon after.
7. Check for Pests and Leaf Disease
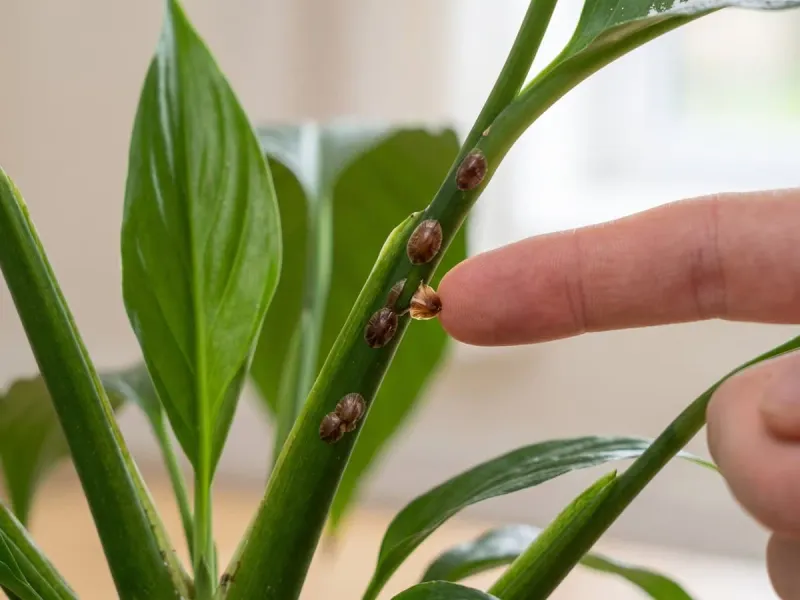
Flip a leaf over. That small habit can reveal problems you would never notice from above.
Spider mites, mealybugs, and scale insects all feed on peace lily sap, and heavy feeding can cause leaves to speckle, yellow, and eventually turn brown.
Spider mites thrive in warm, dry indoor air, which makes them a frequent guest in air-conditioned Southern homes. Look for fine webbing and tiny moving dots.
Mealybugs appear as white cottony clusters tucked into leaf joints.
For light infestations, wipe leaves with a damp cloth or rinse the plant in the shower. Insecticidal soap or neem oil may help reduce pest numbers when applied every week or so.
Isolate the plant from your other houseplants until it looks clean.
Fungal and bacterial leaf spots are another possibility. These usually start as brown or black spots, sometimes with a yellow ring, often after water sits on leaves too long.
Cut off affected leaves with clean shears and water at the soil level instead of overhead.
No treatment guarantees a full recovery, but catching trouble early often saves the plant. A quick weekly leaf check is cheap insurance for glossy, healthy foliage.