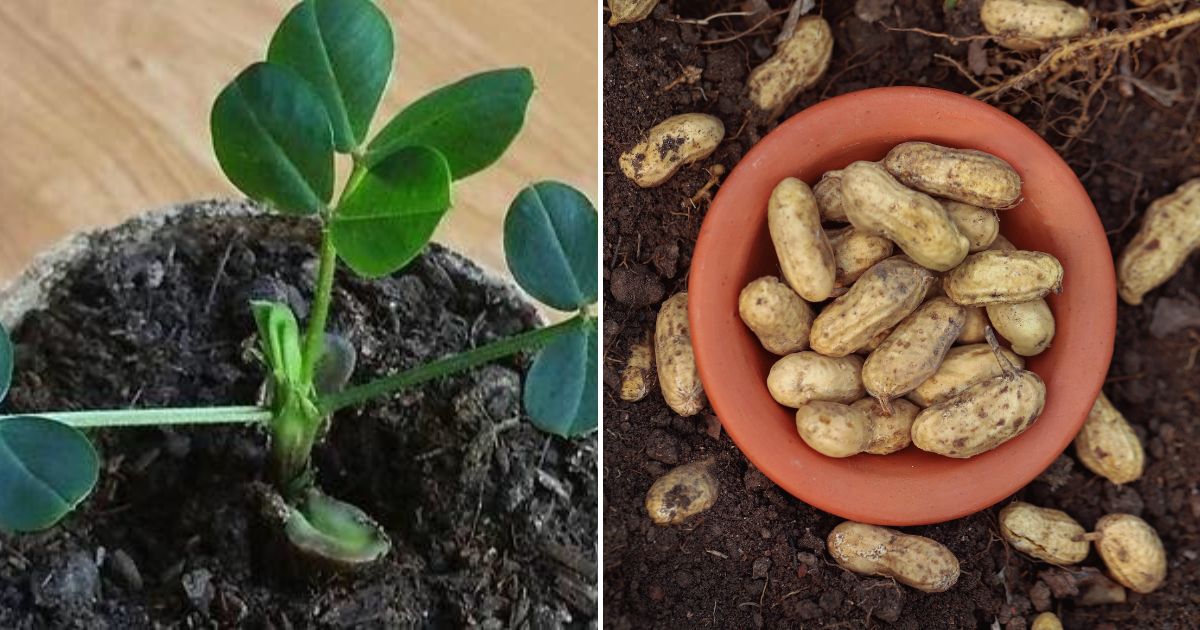
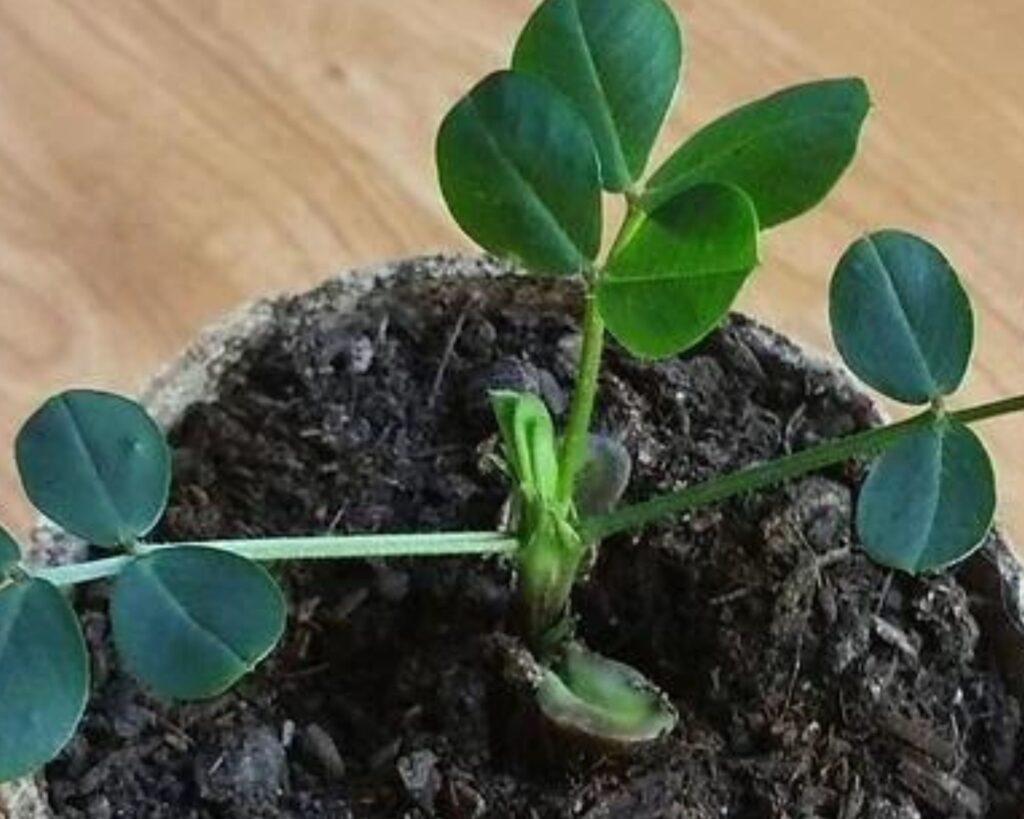
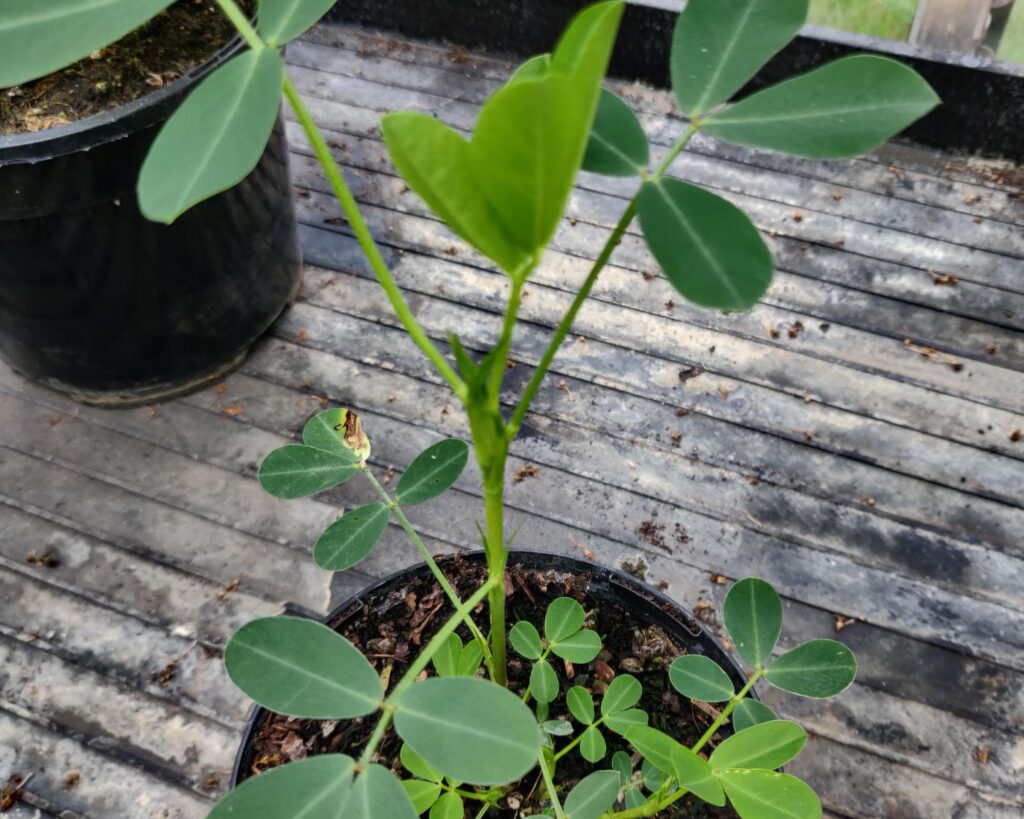
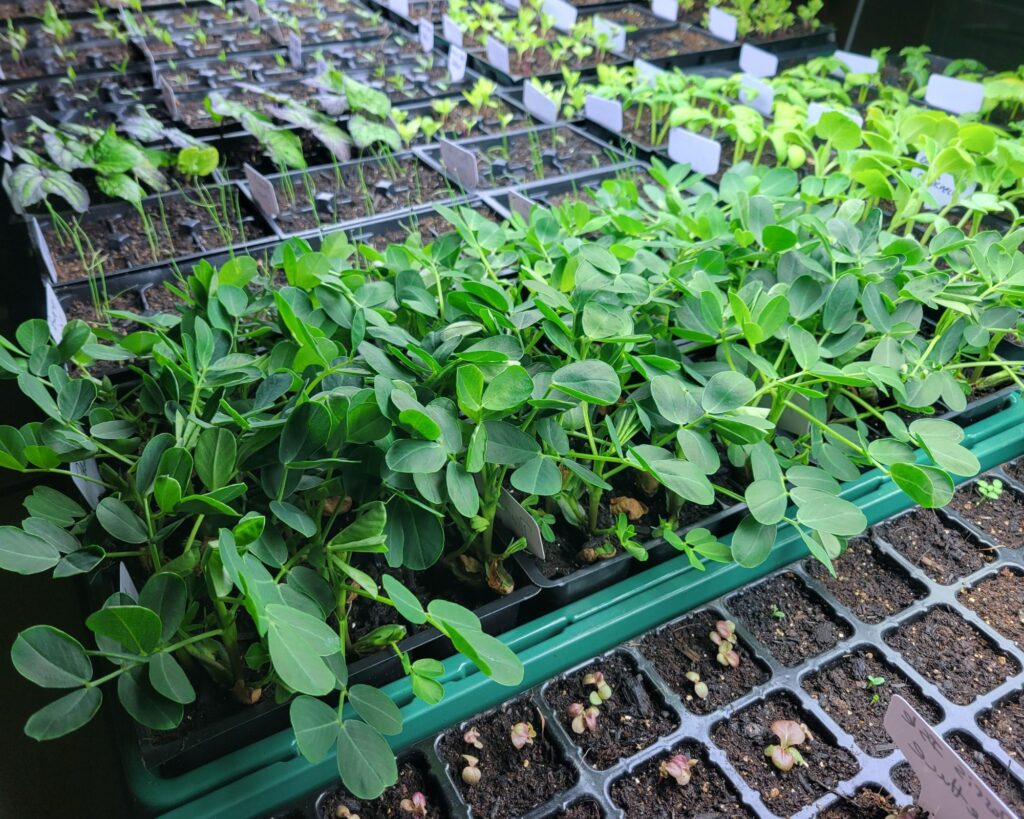
Ever thought about turning a simple pot into a peanut-producing powerhouse? Growing peanuts in pots is an exciting way to bring fresh, nutritious snacks right into your home, all without needing a large garden. With a little space and some know-how, you can transform a corner of your balcony or patio into a mini peanut farm, yielding a surprisingly bountiful harvest.
Start by selecting a peanut variety that thrives in containers, and pair it with well-draining soil and a sunny spot. Regular watering and a warm environment will keep your peanut plants happy and productive, making the whole process both fun and fulfilling.
What’s more, this gardening project can double as an educational adventure for kids. The joy of watching peanuts grow – and then discovering the hidden treasure of nuts beneath the soil – adds an element of wonder to the experience. Ready to embark on this peanut-growing journey? Let’s dive into the simple steps to get you started.
Selecting the Right Pot
Choosing the right pot is crucial for successfully growing peanuts. You need to think about the pot’s size, material, and drainage capabilities to create the best environment for your plants.
Size and Material Considerations
When it comes to size, peanuts need room for their roots to spread. A pot with a minimum depth of 12 inches and a similar width is ideal. This allows for adequate root development and peanut formation.
Material choice also matters. Terracotta pots are breathable and help keep the soil dry, but they can be heavier and more fragile. Plastic pots are lighter and retain moisture better. Make sure your pot is sturdy enough to support the plant’s growth.
Drainage Essentials
Proper drainage is vital to prevent root rot and other water-related issues. Ensure your pot has multiple drainage holes at the bottom. Adding a layer of gravel or small stones at the base of the pot can further improve drainage.
Using a well-draining soil mix is equally important. A blend of garden soil, sand, and compost can provide a balanced environment that ensures water doesn’t pool around the roots.
Choosing Peanut Varieties
Choosing the right peanut variety is crucial for successful growth. You’ll need to consider the type of peanuts, such as Runner or Virginia, and the climate and maturation period that suits your growing environment.
Runner Vs. Virginia Types
Runner and Virginia are popular peanut types for pot cultivation. Runner peanuts are known for their uniform kernel size, which makes them a favorite for making peanut butter. These peanuts tend to have a higher yield and are disease-resistant.
Virginia peanuts produce larger kernels, making them ideal for snacking and roasting. They’re a good choice if you prefer larger nuts for culinary uses. When choosing between these types, think about your intended use and the space you have.
Climate and Maturation
Climate plays a significant role in peanut cultivation. Peanuts thrive in warm, temperate climates with well-drained soil. Ideal temperatures are between 70°F to 85°F (21°C to 29°C). For Runner peanuts, the growing season is typically around 130 to 150 days.
Virginia peanuts require a slightly shorter maturation period of approximately 120 to 130 days. Ensure you have enough warm days in your growing season to accommodate the maturation period of your chosen variety. This ensures your peanuts reach full maturity and yield a good harvest.
Planting Your Peanuts
To grow peanuts successfully in pots, focus on preparing the right soil mix and using effective sowing techniques. This ensures your plants have the best start possible.
Soil Preparation
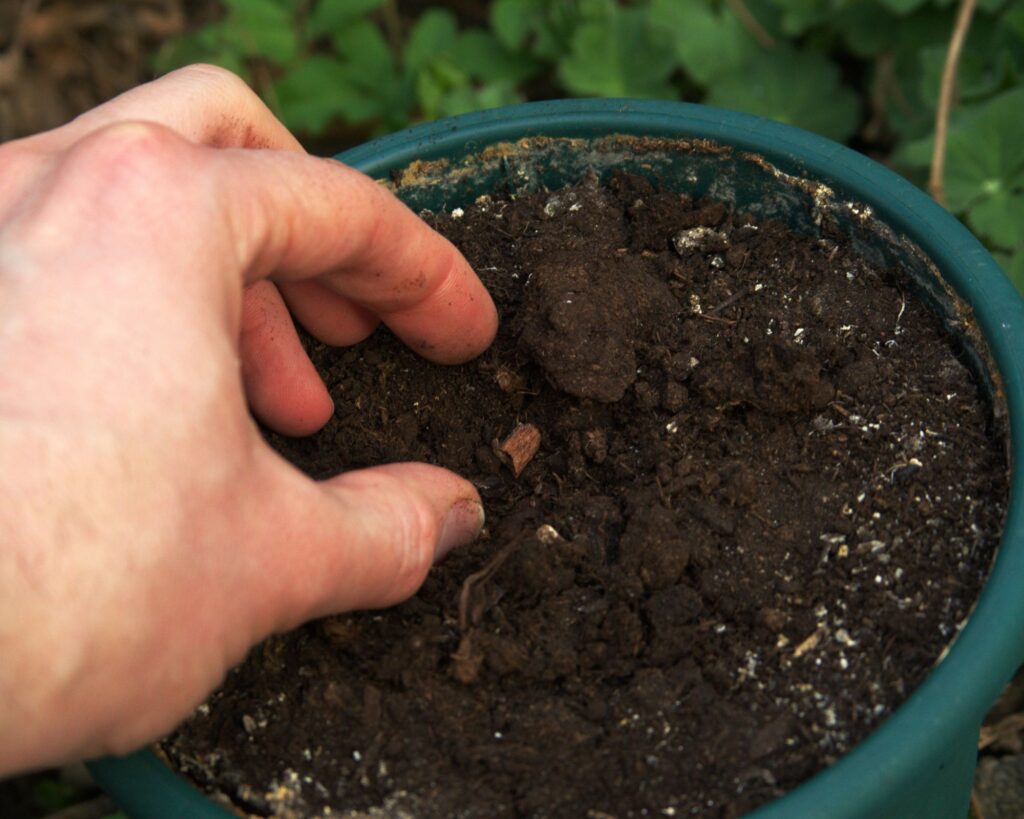
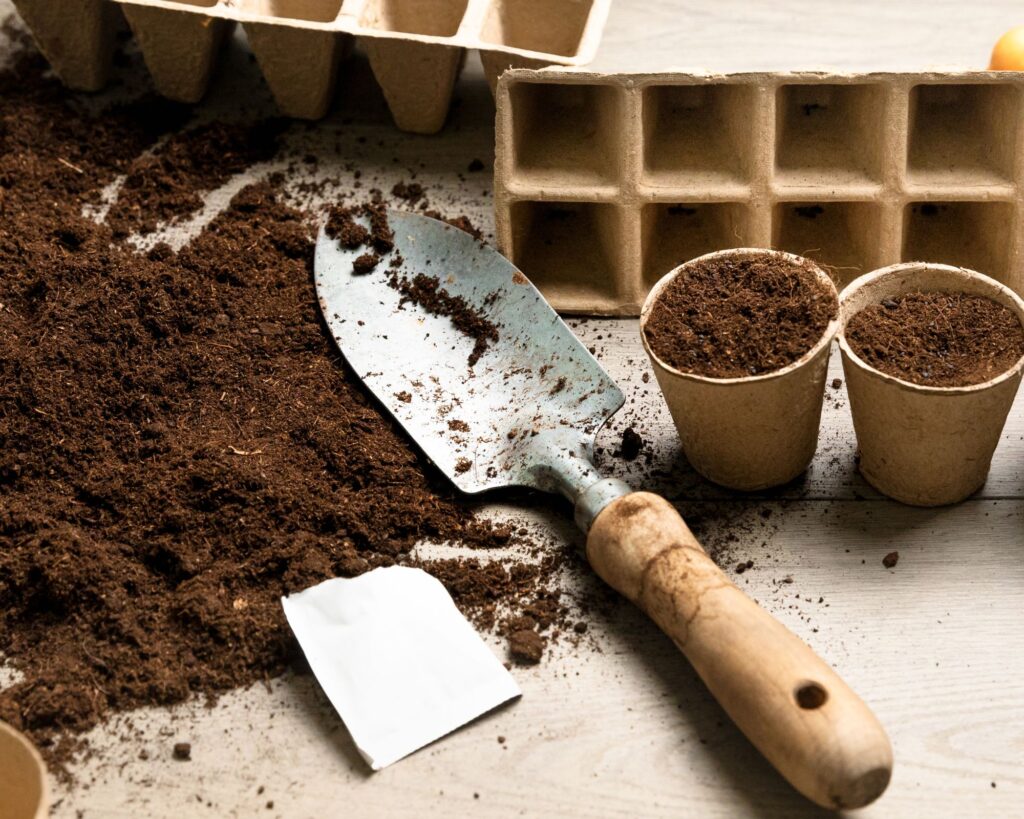
Peanuts thrive in loose, sandy soil with good drainage. Start by choosing a pot at least 12 inches deep to accommodate the roots. Mix equal parts of potting soil, sand, and compost.
Ensure the pH level of the soil is between 5.5 to 7.0. Conduct a soil test if you’re unsure. Adding organic matter improves fertility, helping your peanuts grow stronger.
After mixing, fill your pot, leaving about an inch from the top to water. Soil warmth is also crucial; aim for a temperature above 65°F before planting your peanuts.
Sowing Techniques
Choose raw, untreated peanut seeds. Soak them in water overnight. This helps with germination. Plant the seeds 1-2 inches deep and 3-4 inches apart.
Cover seeds lightly with soil and water gently to keep them moist, not soaked. Position pots in a sunny spot, as peanuts need around 6-8 hours of sunlight daily.
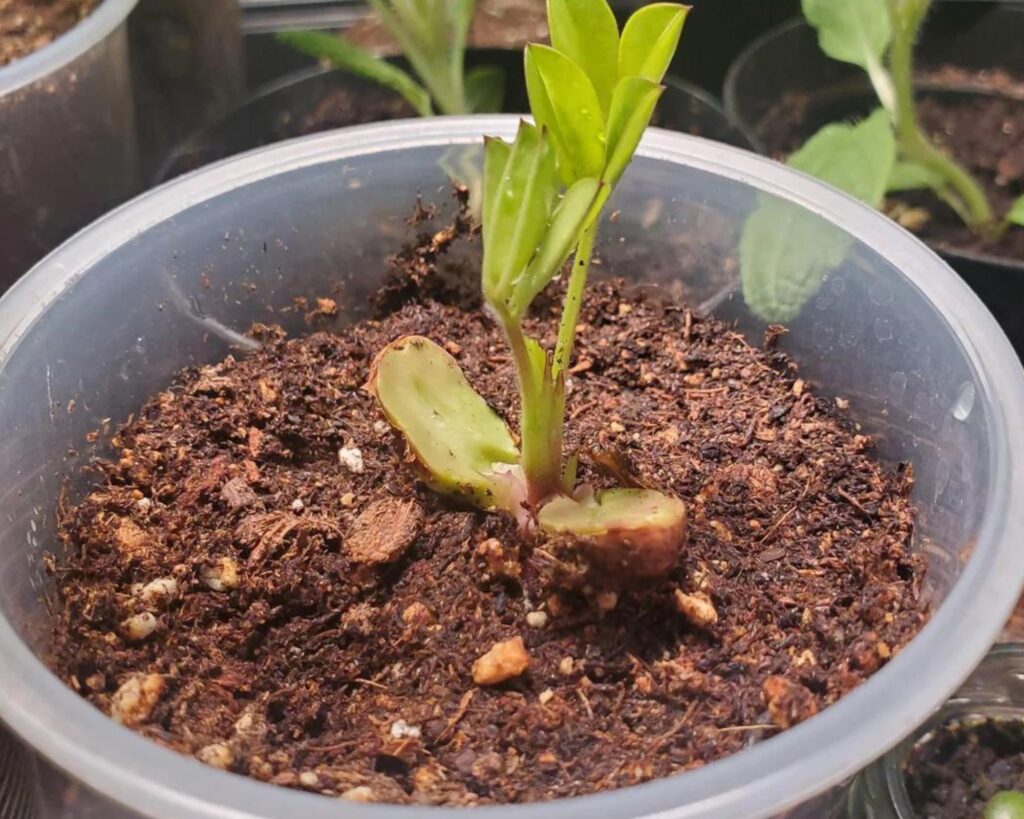
For best results, keep soil consistently moist during germination. Once seedlings appear, thin them out to maintain spacing. Ensure adequate watering without waterlogging.
Caring for Your Peanut Plants
Proper care is essential for healthy peanut plants. Key factors to monitor include the watering schedule, sunlight exposure, temperature, and fertilization.
Watering Schedule
Water your peanut plants regularly, ensuring the soil is kept consistently moist but not waterlogged. Peanut plants generally need about 1 to 1.5 inches of water per week.
In the early stages, frequent light watering helps the seeds germinate.
Mulch around the base of the plant to retain moisture and prevent weeds. As the plants mature, switch to a more thorough, less frequent watering. Check soil moisture by sticking your finger about an inch deep into the soil; if it feels dry, it’s time to water.
Sunlight and Temperature Needs
Peanut plants thrive in full sunlight, requiring at least 6-8 hours of direct sunlight each day. Position your pots in the sunniest spot available.
Optimal growing temperatures range from 70°F to 85°F (21°C to 29°C). If temperatures drop below 60°F (15°C), consider bringing your pots indoors or providing a protective cover.
Make sure the plants are not exposed to frost, which can severely damage or kill them. Keep an eye on local weather forecasts to make temperature-related adjustments promptly.
Fertilization Tips
Fertilize your peanut plants with a balanced, general-purpose fertilizer. Look for a 10-10-10 or 12-12-12 blend, which indicates equal parts nitrogen, phosphorus, and potassium.
Apply fertilizer once at planting time and then again at the flowering stage.
Avoid over-fertilizing, as this can lead to excessive foliage growth at the expense of nuts. Organic options such as compost or well-rotted manure can also be beneficial. Follow the manufacturer’s recommendations for application rates and intervals to ensure optimal plant health.
Harvesting and Curing
Harvesting peanuts at the right time ensures maximum flavor and yield. Proper harvesting methods and curing will lead to higher quality peanuts.
Detecting Harvest Time
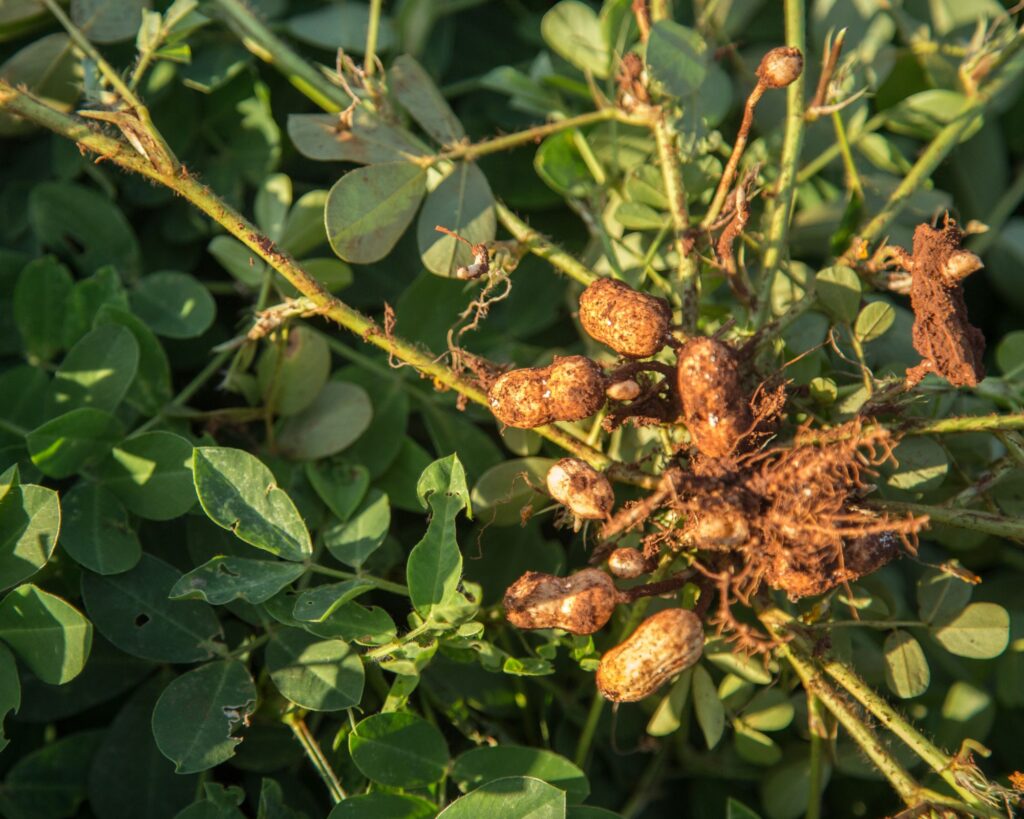
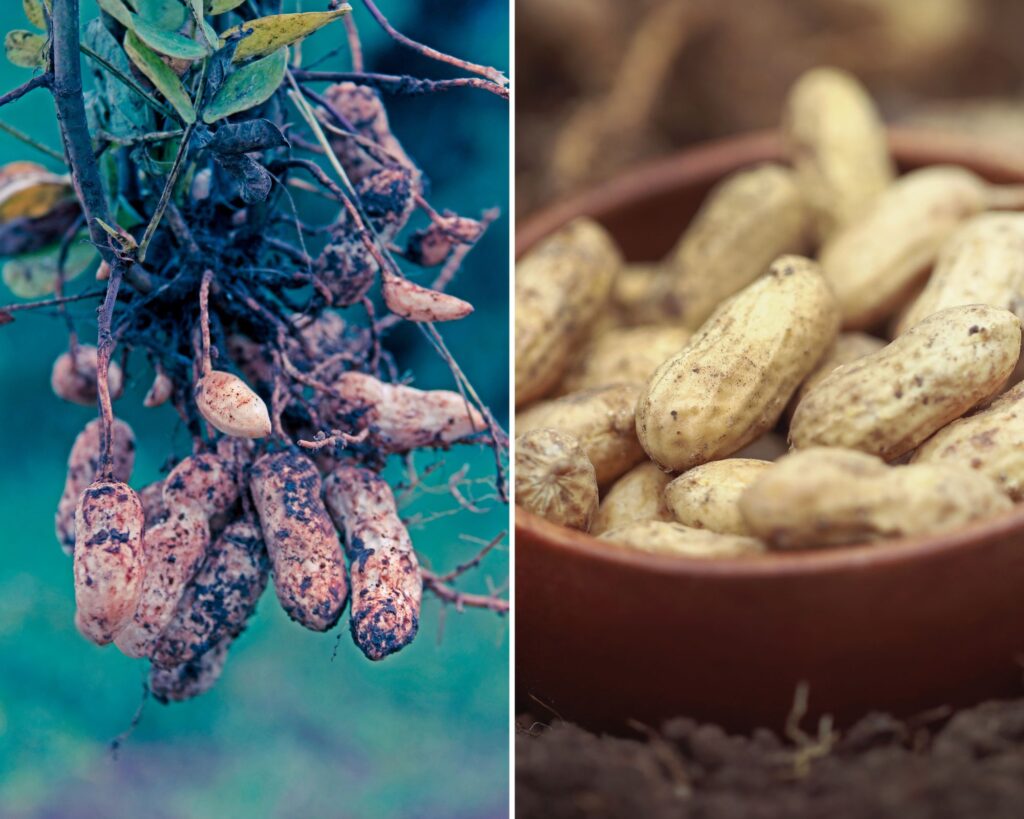
Peanuts are ready to harvest when the plants start turning yellow and showing signs of wilting. This usually happens 120-150 days after planting. To check, gently dig around one plant and inspect the peanuts.
Look for well-formed, firm shells with a rough texture. If the peanuts inside the shell are mature and firm, it’s harvest time.
Proper Harvesting Methods
Carefully loosen the soil around the plants using a garden fork to avoid damaging the peanuts. Pull up the plants by the base, shaking off excess soil.
Spread the plants in a warm, dry area to cure for two to three weeks. After curing, remove the peanuts from the roots and store them in a cool, dry place.
Growing peanuts in pots is not just a practical way to cultivate your own fresh snacks; it’s a journey that brings the joys of gardening right to your doorstep, regardless of space constraints. By carefully selecting the right pot, soil, and peanut variety, and providing consistent care, you can transform a simple container into a thriving mini peanut farm.
The process, from planting to harvesting, is both rewarding and educational, offering a unique opportunity to connect with nature and enjoy the fruits of your labor. Whether you’re an experienced gardener or just starting out, growing peanuts in pots is a delightful and satisfying endeavor that yields delicious results. So, grab your pots and get planting – your homegrown peanut harvest awaits!
