
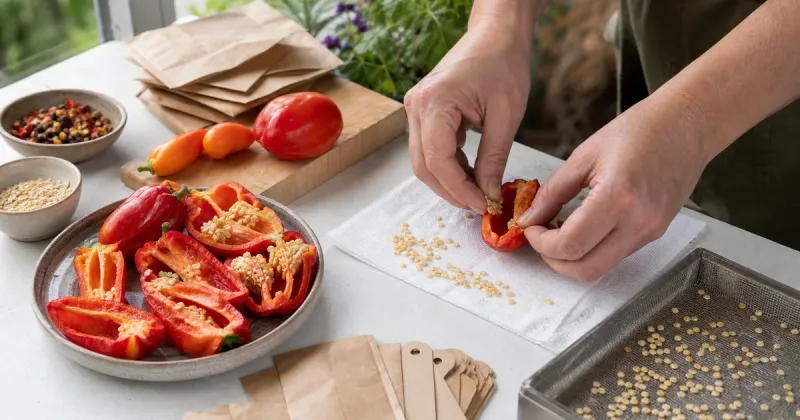
Pulling the last tomatoes and peppers from the garden is the perfect time to save seed for next spring. But drying seed the right way is only part of the story, and a hybrid mix-up can waste all your effort.
Here is what drying really does, what decides whether new plants look like the old ones, and how to handle each crop. A few simple steps can give you a free, reliable seed stash.
What determines whether saved seed grows true?
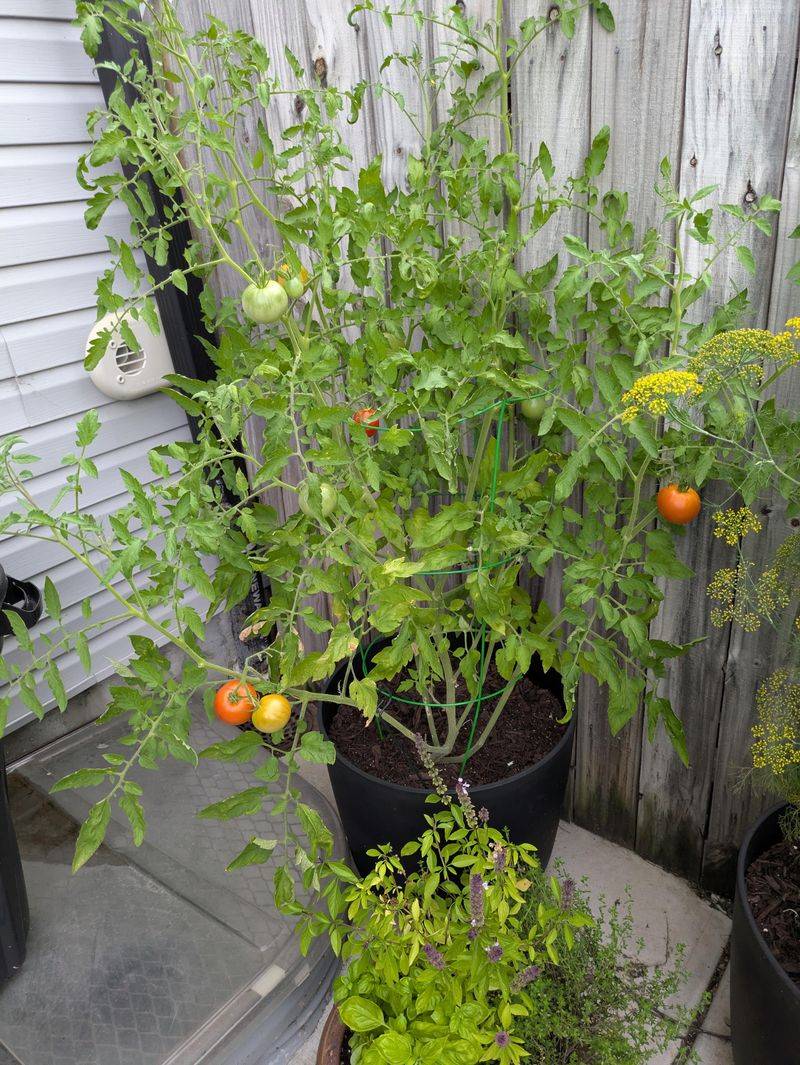
Here is the correction the original claim needs: drying seed does not make plants grow true. Proper drying helps seed stay alive in storage, so it can sprout when you plant it.
Whether the seedlings look like their parent depends mainly on the variety’s genetics and whether its flowers were cross-pollinated, according to University of Minnesota Extension.
Open-pollinated varieties generally produce similar plants from saved seed when pollination is controlled. Seed from an F1 hybrid can sprout just fine, but the offspring may show a different mix of traits, such as odd fruit size, color, or vigor.
Perfect drying cannot repair that genetic mismatch.
Notice that germinating and growing true are two separate things. A seed can come up strong and still give you a plant unlike the one you admired this summer.
Check your seed packet or plant tag before saving anything, and note that UGA Cooperative Extension also points gardeners to open-pollinated varieties for dependable results.
Choose healthy plants and fully mature fruit
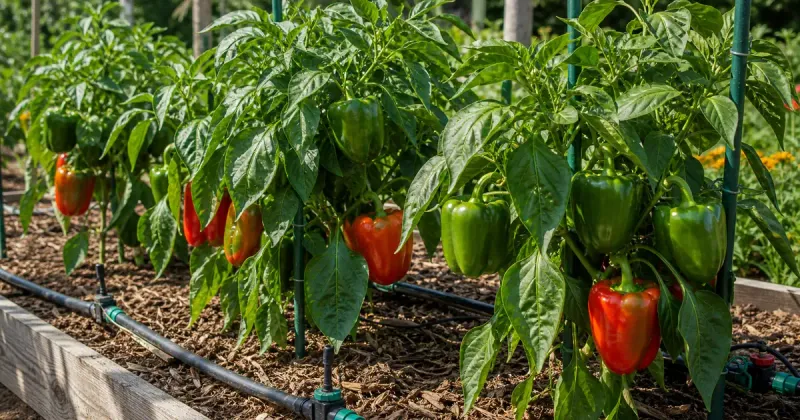
Walk your rows and flag the plants that did best: vigorous, healthy, and carrying fruit you would happily grow again. Skip any plant that was diseased or looked unlike the rest of its variety.
Seed from your strongest plants gives next year’s garden the best start, as University of Minnesota Extension advises.
Maturity matters for seed quality. Let tomatoes ripen fully on the vine before you collect seed.
Peppers need more patience than you might expect, because green peppers picked at eating stage can hold immature seed.
Wait until pepper fruit is fully mature, which is often red and may be starting to wrinkle, as University of Maine Cooperative Extension describes. Before you pick, read the variety label.
It tells you whether the plant is open-pollinated or a hybrid, and that label is your best clue about whether the seed is worth saving.
Account for possible cross-pollination
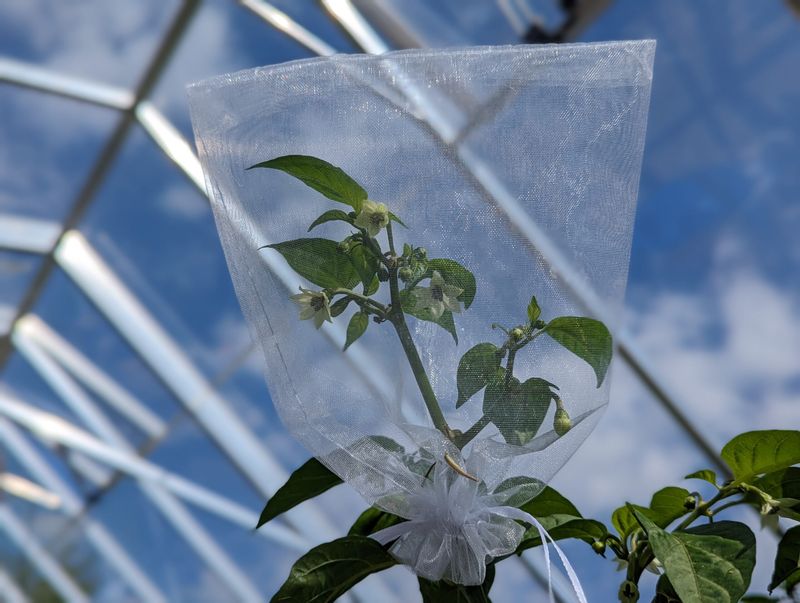
Tomatoes usually pollinate themselves, so crossing is not common. Still, some varieties and flower types let insects carry pollen between plants, so New Mexico State University Extension notes that crossing can happen.
Peppers cross too, and a sweet pepper pollinated by a hot variety can give seed that grows into plants with different traits.
Distance can lower the odds. UGA lists 10 feet for tomatoes and 160 feet for sweet peppers as home-garden recommendations.
Those numbers reduce crossing risk, but they do not guarantee purity.
In a small yard, the practical fix is to grow just one pepper variety, or to keep varieties well apart, as Utah State University Extension also discusses. Saving from several plants can help maintain a variety’s traits.
UGA’s organic grower guidance suggests at least 20 tomato plants, but that is production advice, not a home garden rule.
Remove the gel from tomato seeds
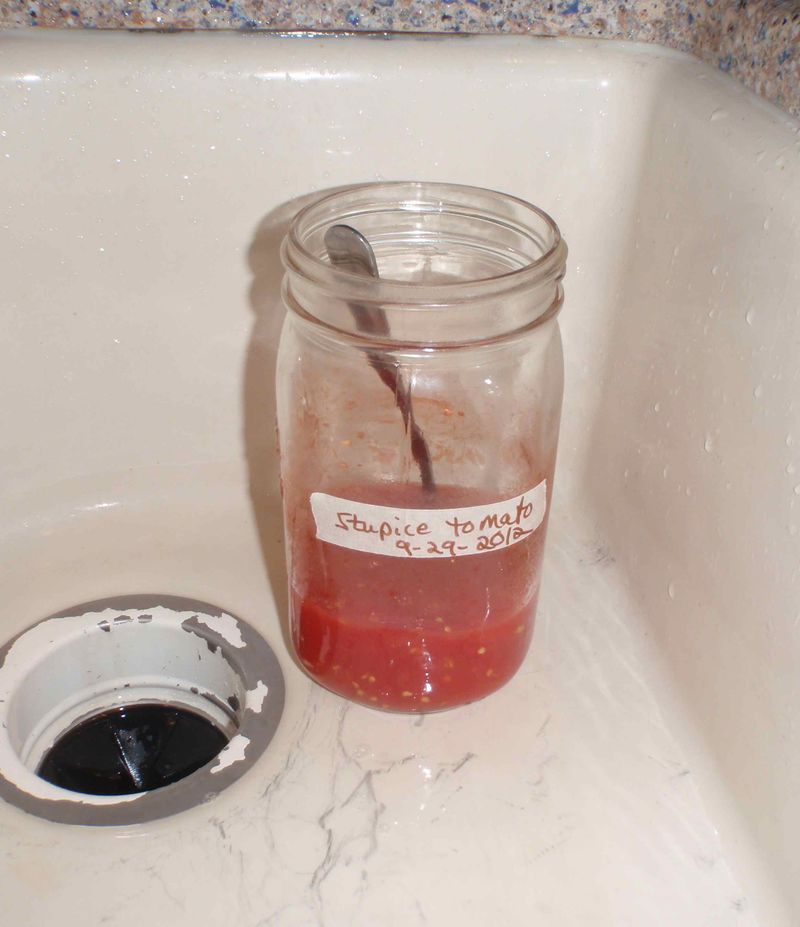
Tomato seed wears a slimy gel coat, and the usual way to remove it is fermentation. Scoop the seeds and gel from a ripe tomato into a container and add a little water.
Let it sit for about 2 to 3 days, the timing given in New Mexico State University guidance. Treat that as a guide, since warm kitchens ferment faster.
Stir or swirl the mixture each day. When the gel has broken down, rinse the seeds thoroughly in clean water and pour off the debris.
Utah State University Extension also describes soaking for 2 to 3 days to remove the gel.
Spread the clean seeds in a single layer to dry. Think of fermentation as gel removal only.
It does not sterilize seed or guarantee it is disease-free. Set a reminder, because one tomato seed study found lower germination after four days than after shorter ferments, so a forgotten jar is a risk.
Clean pepper seeds without fermenting them
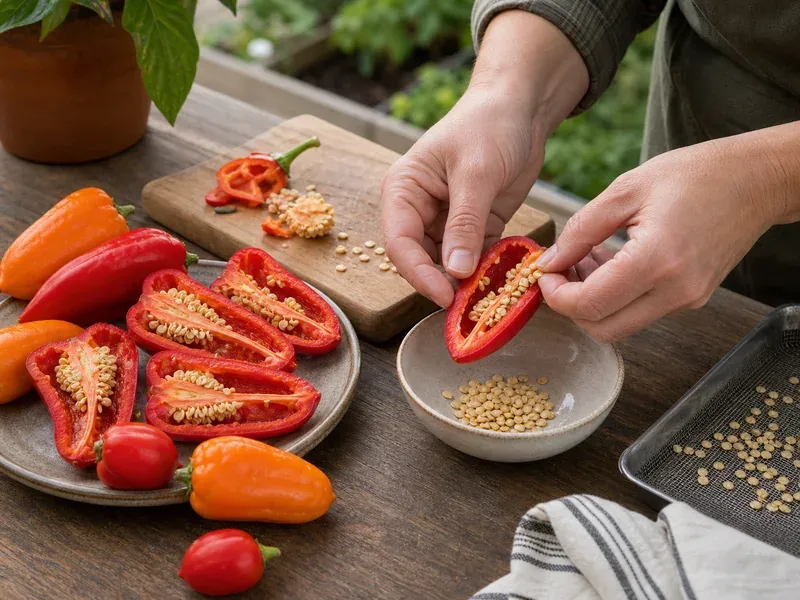
Peppers are much simpler. Cut open a fully mature fruit and scrape the seeds out with a knife tip or spoon.
Set them aside to dry. No fermenting is needed, as University of Maine Cooperative Extension explains.
Hot peppers call for care. Wear gloves while you handle cut fruit, and keep your hands away from your eyes and face, since the oils can burn skin and eyes for hours.
Wash your tools and cutting board afterward.
Pick out any bits of flesh that cling to the seed, because leftover pulp holds moisture. Then move the seeds to a plate or screen.
Keep this process separate from the tomato routine: no water bath, no waiting jar, just scraping and drying.
Dry and store seed only when it is completely dry
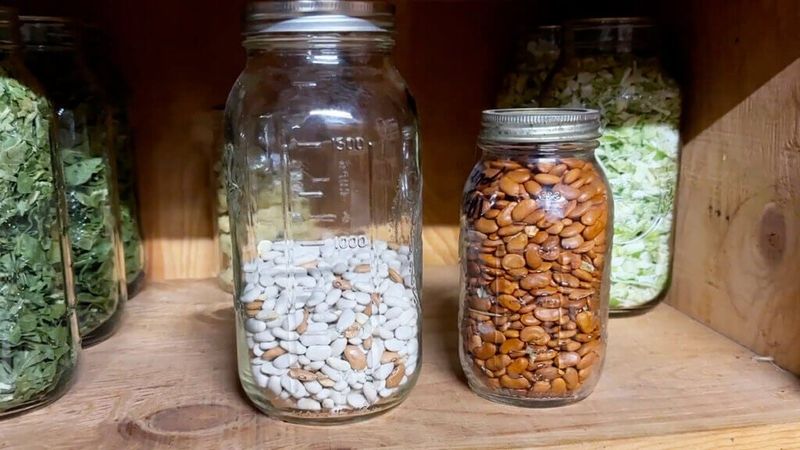
Finishing well is where drying earns its keep. Spread cleaned seeds out and dry them completely in a shaded, airy indoor spot, never in direct sun.
Humid Southern weather makes airflow extra important, since damp seed or pulp can mold. UGA Cooperative Extension stresses complete drying before storage.
Once the seed is fully dry, label each container with the variety and harvest year. Use an airtight container and keep it in a cool, dry, dark place.
Refrigeration is an option too, according to UGA’s organic grower guide.
If you refrigerate, let the container warm to room temperature before opening it, so condensation does not wet the seed. Never seal away seed that still feels damp.
Dry seed is a promise kept for next spring.