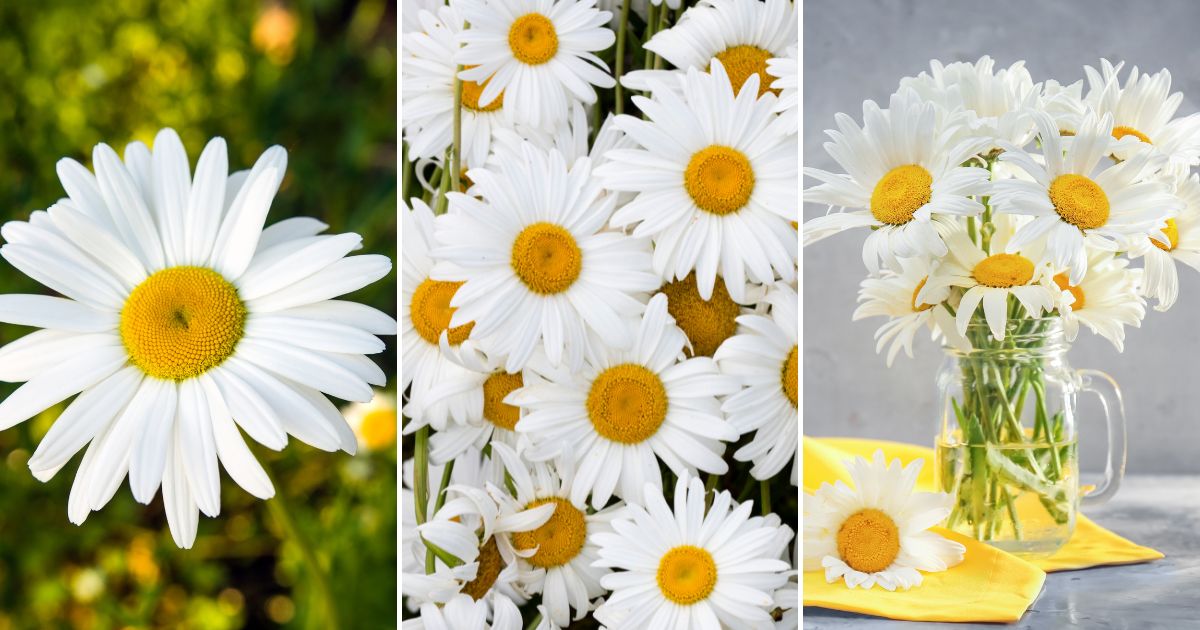
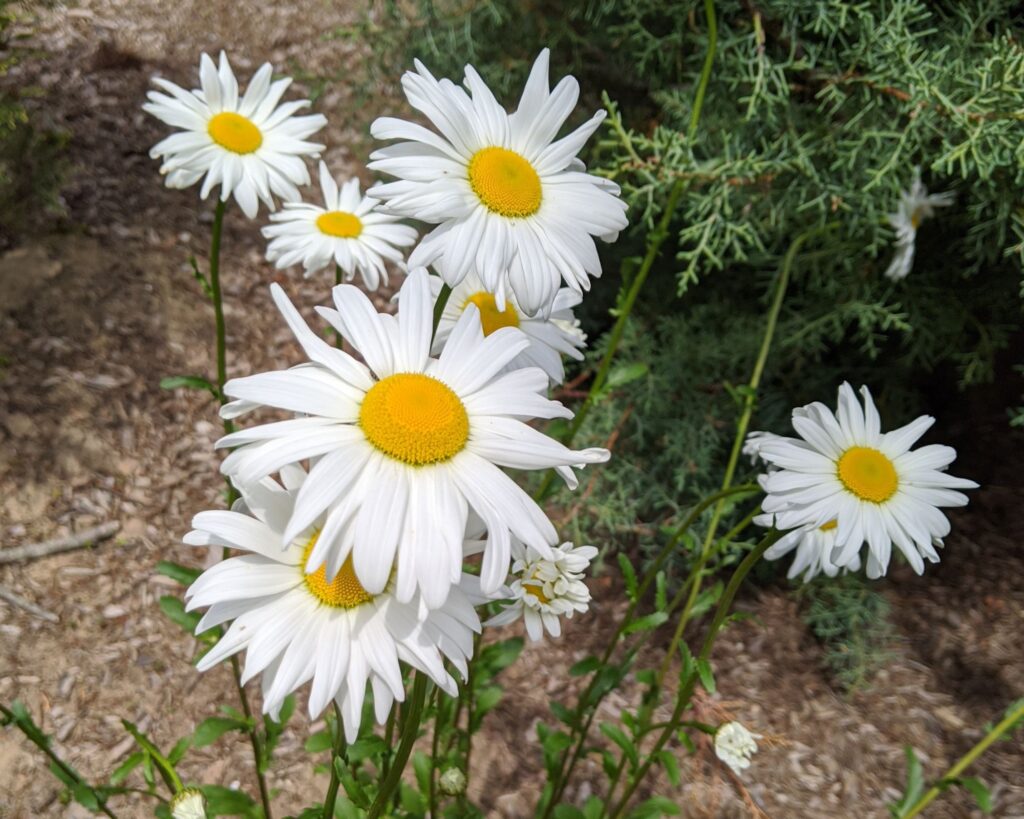
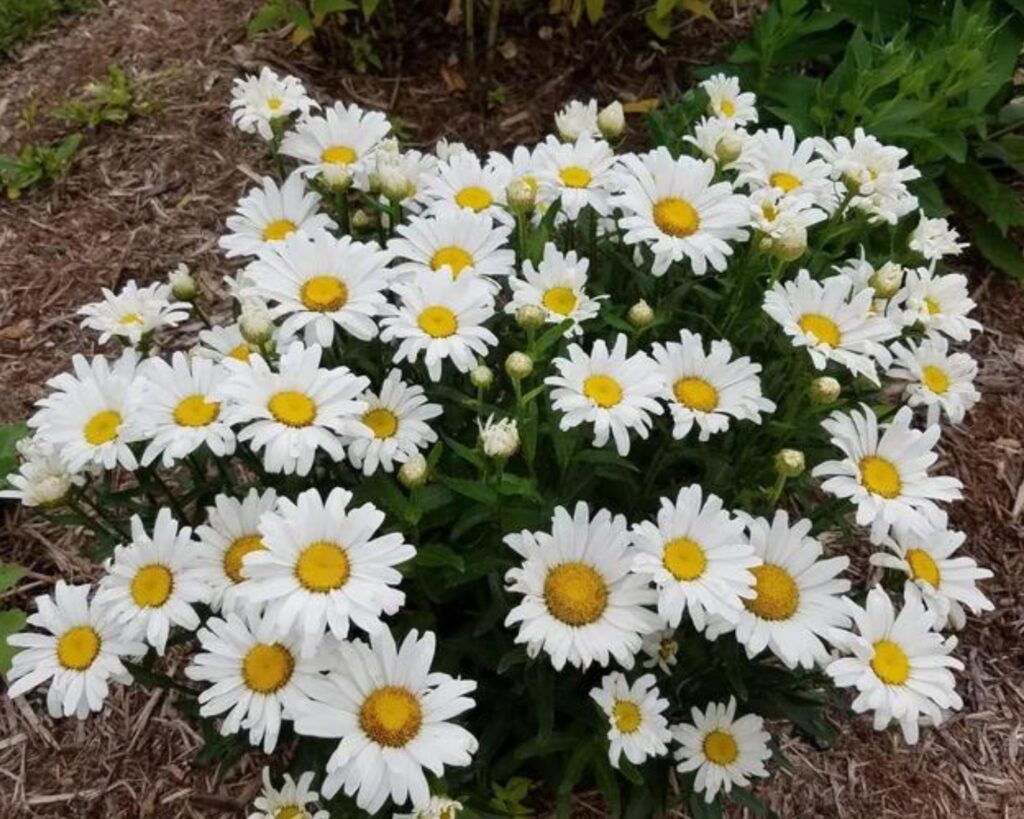
Looking to elevate your garden with effortless beauty? Shasta daisies might just be the answer. These striking white flowers, blooming from summer to fall, bring a sense of cheer to any outdoor space.
Surprisingly, growing them is not a daunting task—just a few easy steps, and they’ll thrive in almost any environment. All they need is sunlight and well-drained soil.
Curious to see how simple it can be to enjoy these stunning blooms year after year? Let’s explore how you can effortlessly cultivate healthy, flourishing Shasta daisies.

Getting Started with Shasta Daisies
Before you plant your Shasta daisies, you need to choose the right variety and understand the best time for planting. This ensures healthy growth and beautiful blooms.
Choosing the Right Variety
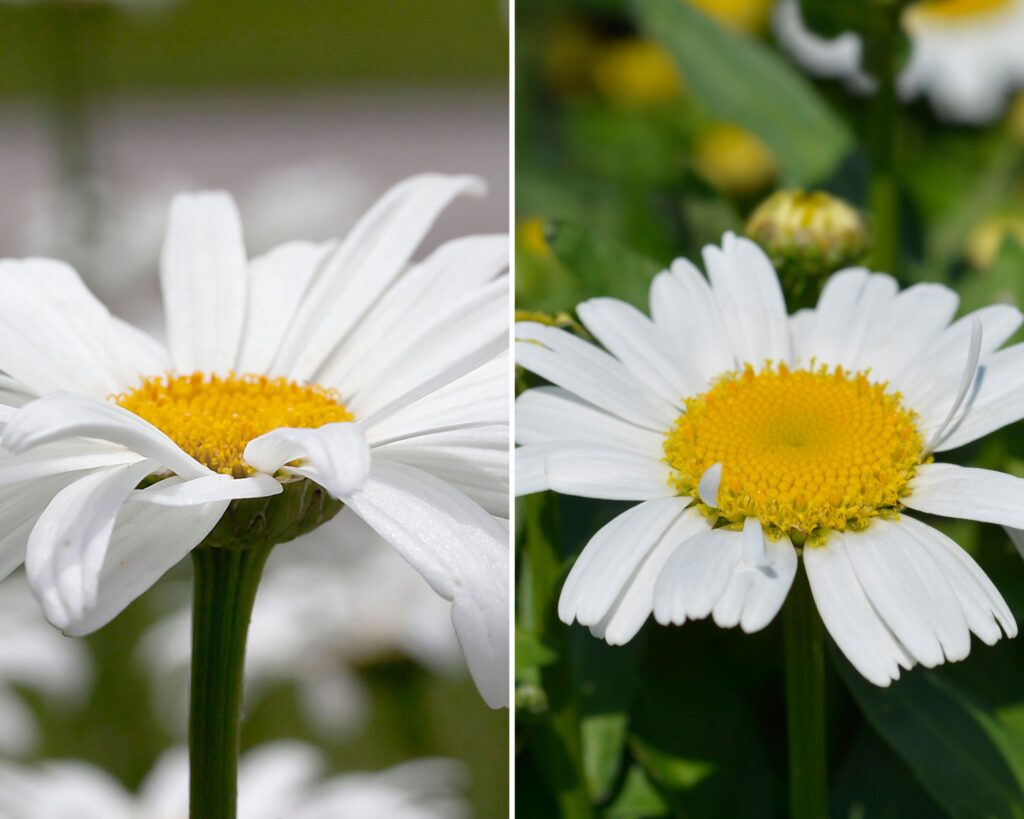
Shasta daisies come in many varieties, each with unique features. Popular types include ‘Becky’, known for its large blooms, and ‘Snow Lady’, which is shorter and perfect for borders. Select a variety that suits your garden’s size and aesthetic.
Additionally, consider the bloom time. Some varieties flower in early summer, while others bloom later. Knowing this helps you plan a continuous display of flowers.
Also, check the plant’s mature height. Taller varieties may need staking, while shorter ones can serve as ground cover. This helps you decide where to place them in your garden.
Variety selection impacts not just appearance but also hardiness. Choose a type that fits your climate zone for best results.
Understanding the Ideal Planting Time
The best time to plant Shasta daisies is in early spring or late summer. This is when the weather is mild, which helps the plants establish roots without stress.
Ensure the soil temperature is around 65°F (18°C). This promotes root growth and helps the plant to settle quickly. Use a soil thermometer to check.
Mulch around the base to retain moisture and regulate temperature. This protects the young plants from fluctuations in weather.
Planting at the right time also reduces the risk of pests and diseases. Healthy, established plants are better able to resist these challenges.
Planting Your Shasta Daisies
Shasta daisies are a delightful addition to any garden thanks to their bright, cheerful blooms. They grow best with the right soil preparation, proper seed sowing techniques, and mindful transplanting of seedlings.
Soil Preparation
Choosing the right soil is crucial for healthy Shasta daisies. They thrive in well-draining soil with a pH between 6.0 and 7.0. Test your soil’s pH and amend it if necessary. Sandy or loamy soil should be enriched with compost to improve fertility.
Ensure that the site receives full sun for at least six hours a day. Clear the area of weeds and debris, and till the soil to a depth of about 12 inches. This loosens the soil, making it easier for roots to establish themselves.
Consider adding a layer of mulch to help retain moisture and keep weeds at bay. A 2-3 inch layer is usually sufficient. Mulch also helps to keep the soil temperature consistent, which is beneficial for root development.

Sowing the Seeds
Sowing Shasta daisy seeds can be done directly in the garden after the last frost date. Plant the seeds about 1/8 inch deep in rows, spacing them approximately 12-18 inches apart. Lightly cover the seeds with soil and gently water them.
If starting indoors, sow seeds 8-10 weeks before the last expected frost. Use seed trays filled with seed-starting mix. Place the trays in a sunny window or under grow lights. Keep the soil consistently moist but not waterlogged.
Once the seeds germinate, which usually takes 14-21 days, thin the seedlings to prevent overcrowding. This ensures each plant has enough space to grow strong roots and produce vibrant flowers.
Transplanting Seedlings
Transplant Shasta daisy seedlings when they are about 4-6 inches tall and have at least two sets of true leaves. Harden off the seedlings by gradually exposing them to outdoor conditions for about a week. This helps them acclimate to the new environment.
Plant the seedlings in the prepared garden bed, maintaining the 12-18 inch spacing. Dig holes that are slightly larger than the root ball of each seedling. Place the seedlings into the holes and backfill with soil, pressing gently to remove air pockets.
Water thoroughly after planting to help settle the soil around the roots. Keep the soil consistently moist but not soggy during the initial establishment period.
Ongoing Care and Maintenance
Caring for Shasta daisies involves regular watering, appropriate fertilizing, and consistent weeding and mulching to ensure a thriving garden.
Watering Guidelines
Shasta daisies prefer consistent moisture but dislike being waterlogged. Water deeply once a week, ensuring the soil is moist to a depth of 6-8 inches. In hotter climates, you might need to water more frequently. It’s best to water early in the morning to reduce evaporation and allow foliage to dry, minimizing the risk of disease.
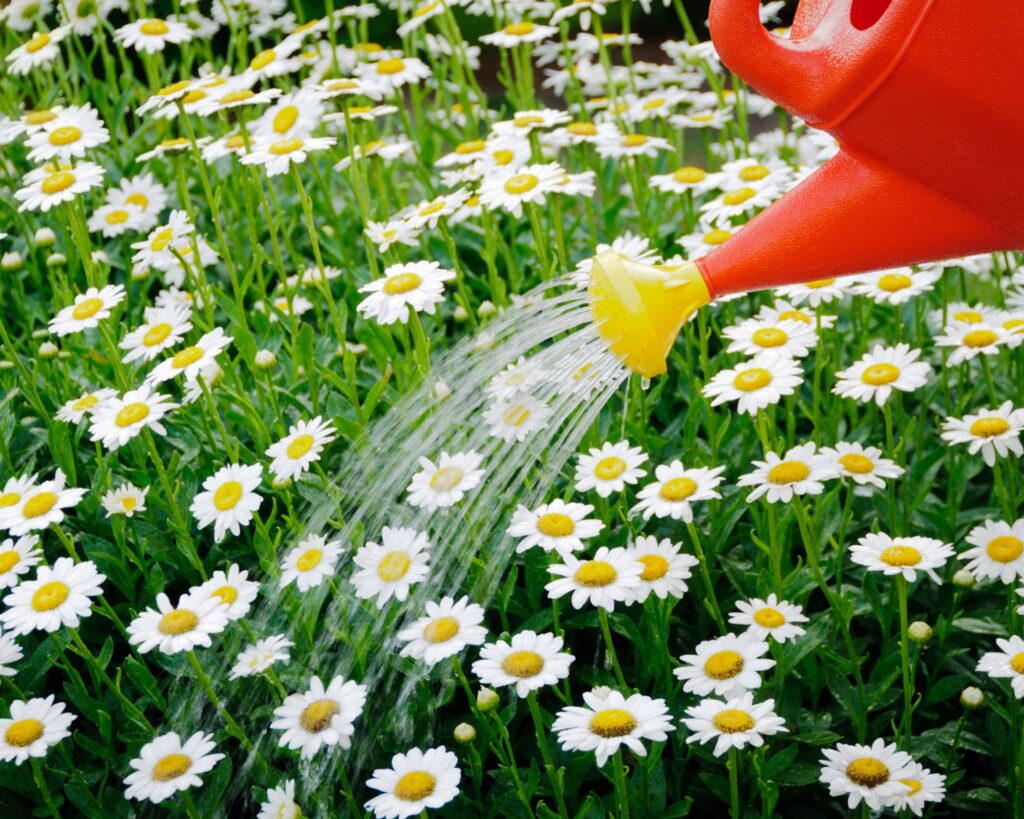
Mulching can help retain soil moisture and reduce the frequency of watering. Avoid overhead watering to prevent fungal issues. Use a soaker hose or drip irrigation system for more precise watering.
Fertilizing Techniques
Fertilize Shasta daisies in early spring and again mid-summer using a balanced, slow-release fertilizer. Opt for a 10-10-10 formula or similar. Apply the fertilizer according to package instructions, usually around the base of the plant, avoiding direct contact with the foliage.
If your soil is particularly rich, additional fertilizing may not be necessary. Too much fertilizer can lead to excessive foliage growth with fewer blooms. Compost or organic matter can also be worked into the soil to provide nutrients without the risk of over-fertilization.
Weeding and Mulching
Regular weeding helps Shasta daisies thrive by reducing competition for water and nutrients. Hand-pull weeds or use a hoe, being careful not to disturb the shallow roots of the daisies. Mulching around your plants can significantly reduce weed growth.
Apply a 2-3 inch layer of organic mulch, such as bark chips or straw, around the base of the plants. Mulch not only suppresses weeds but also retains soil moisture and regulates soil temperature. Replenish mulch as needed, typically once or twice a year.
Common Issues and Solutions
In growing Shasta daisies, you might encounter pests, diseases, and varying weather conditions. Addressing these problems ensures your plants thrive.
Pest Control
Aphids and slugs often affect Shasta daisies. Aphids suck sap from the stems and leaves, weakening the plants. Use insecticidal soap or neem oil to manage them. Natural predators like ladybugs can also help.
Slugs target young growth, causing significant damage. Hand-picking slugs at night or using slug traps can reduce their numbers. You can create barriers with crushed eggshells or copper tape around the plants.
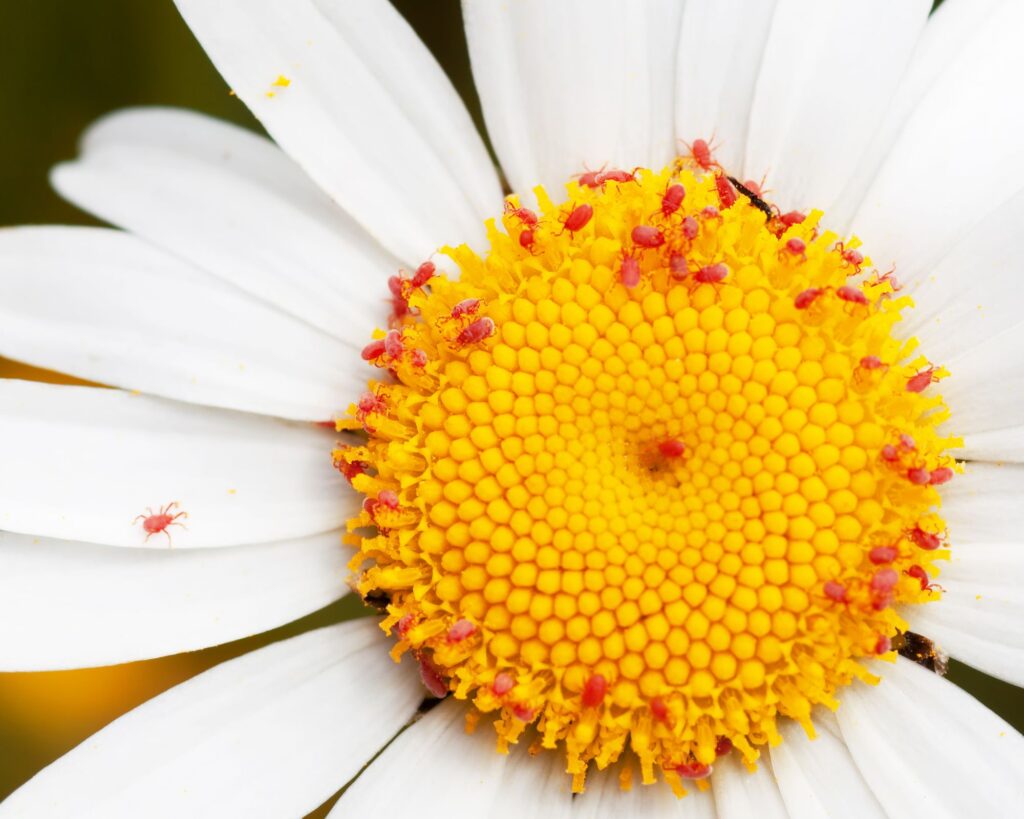
Tip: Keep the garden area clean and free of debris, as this reduces hiding spots for pests.
Disease Prevention
Fungal diseases like powdery mildew and leaf spot are common in Shasta daisies. These diseases thrive in humid conditions and can be identified by white powdery spots or dark lesions on leaves.
Ensure adequate air circulation by spacing your plants properly. Water at the base of the plants to keep foliage dry, and avoid overhead watering. Remove and destroy infected leaves to prevent the spread of diseases.
Applying a fungicide early in the season can provide extra protection.
Dealing with Weather Extremes
Shasta daisies are hardy but can struggle with severe weather conditions. Extreme heat can cause wilting. Water deeply during heatwaves to ensure roots stay hydrated.
Frost can damage the foliage. Cover young plants with frost cloths or old bed sheets during unexpected cold snaps. Proper mulching helps insulate roots against extreme temperatures.
In regions with strong winds, planting them near a windbreak can minimize damage. Regularly check for weather forecasts to take preventive steps.
Encouraging Blooms and Deadheading
Proper care can lead to more abundant blooms and a healthier plant. Encouragement can come from good feeding practices, and deadheading helps prolong the blooming period.
Promoting Flowering
Giving your Shasta Daisies the nutrients they need is key. Apply a balanced fertilizer, such as a 10-10-10 formula, in the spring when new growth appears. This helps set the stage for robust flowering.
Light is equally important. Shasta Daisies thrive in full sun, so ensure they get at least six hours of direct sunlight a day. Adequate light is crucial for bud formation.
Watering should be consistent but not excessive. Water the plants deeply once a week, and keep the soil moist but not waterlogged. Daisies prefer well-drained soil to prevent root rot, which can hinder flower production.
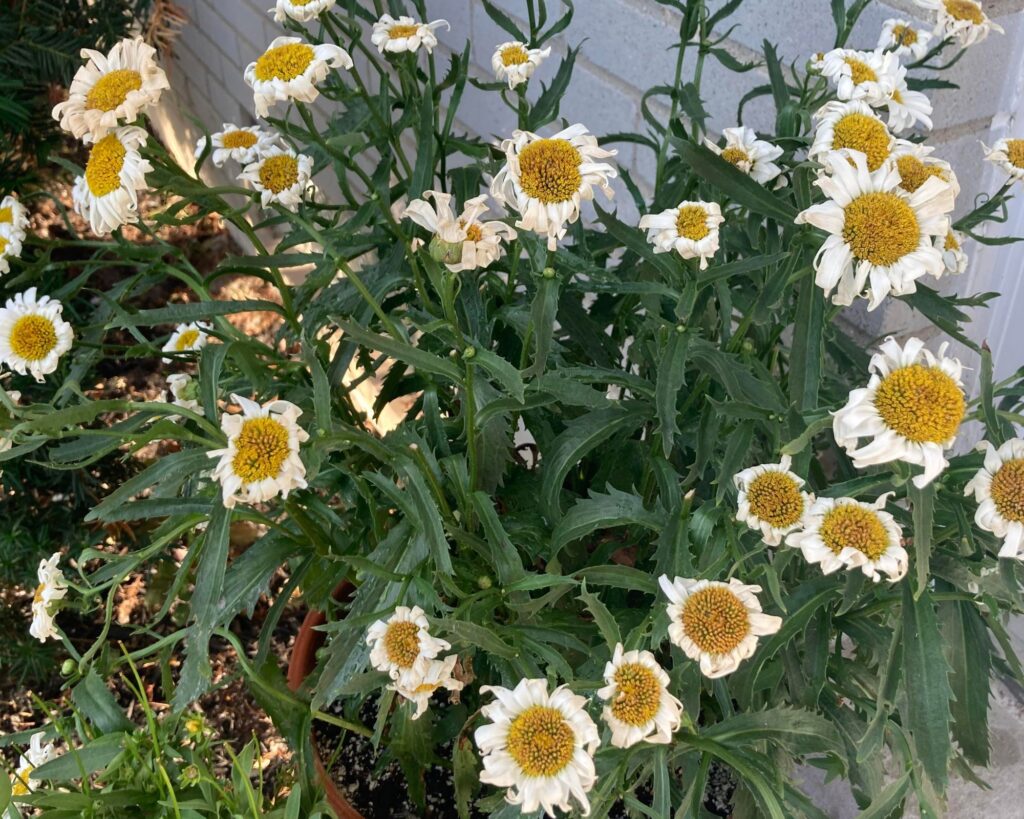
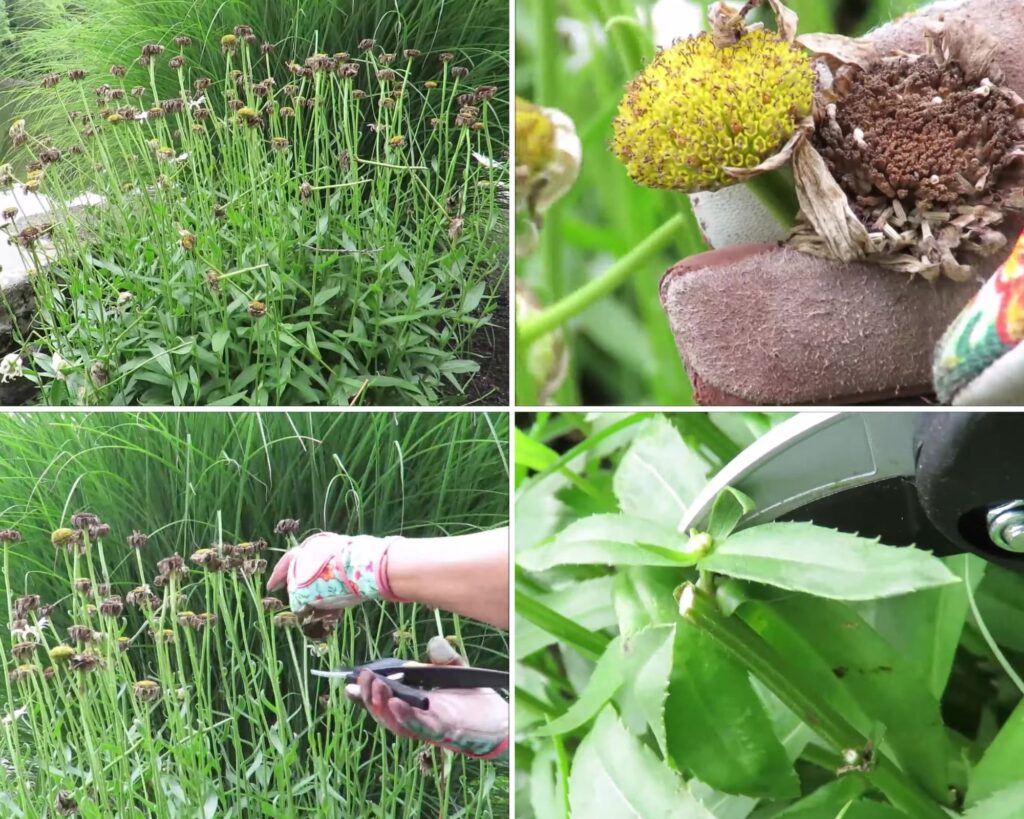
The Right Way to Deadhead
Deadheading spent blooms helps redirect the plant’s energy into producing more flowers rather than seeds. Use clean, sharp scissors or pruners to snip off the wilted flowers right above the next set of leaves or buds.
Be diligent with deadheading during the growing season. Regularly check for fading flowers and remove them promptly. This encourages a continuous display of fresh blooms.
Leave some flowers in late summer if you want to collect seeds. Otherwise, continue deadheading until the end of the blooming season to keep your plants looking vibrant and full of life.
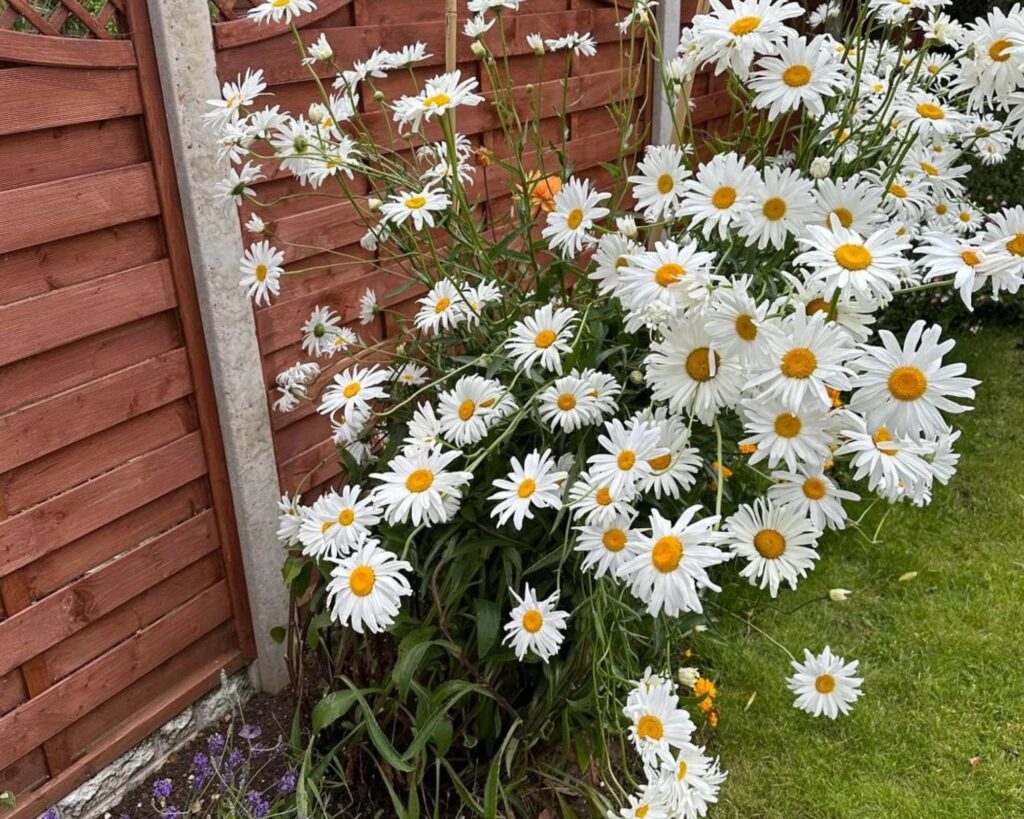
Growing Shasta daisies can be a rewarding experience, bringing a touch of elegance and charm to your garden with minimal effort. With the right care, including proper planting, consistent watering, and timely deadheading, you can ensure these resilient perennials thrive year after year.
By choosing the right variety, planting at the ideal time, and being proactive in addressing common issues, you’ll enjoy a stunning display of bright, cheerful blooms from early summer through fall.
Embrace the simplicity of Shasta daisy care, and watch as these delightful flowers enhance your outdoor space with their enduring beauty.