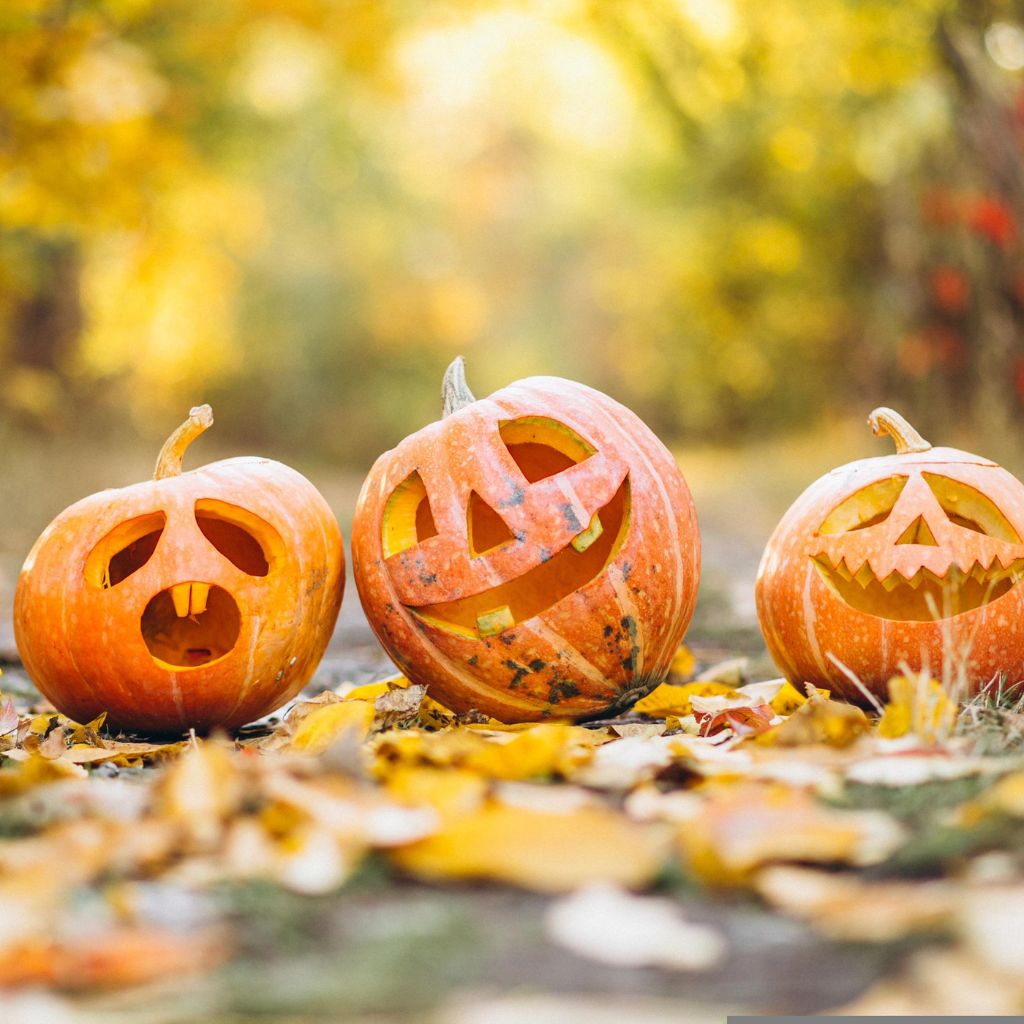
Growing your own pumpkins can be a rewarding experience, perfect for fall decorations and festive recipes.
With the right steps, you can cultivate healthy pumpkins right in your backyard. This process not only connects you with nature but also adds a personal touch to your autumn celebrations.
Pumpkin planting requires careful planning and some basic gardening skills. You’ll need to select the right variety, prepare the soil, and ensure your pumpkins receive proper sunlight and water.
By following this guide, you can enjoy the satisfaction of watching your pumpkins grow from seed to harvest.
Whether you’re looking to create a spooky Halloween display or want fresh ingredients for pumpkin pie, this step-by-step approach will make the journey enjoyable and fruitful.
So grab your gardening tools, and let’s get started on this exciting pumpkin adventure!
1. Select the Right Pumpkin Seeds
Choosing the right pumpkin seeds is essential for your success. Here are some factors to consider:
Type of Pumpkin
Decide what kind of pumpkin you want to grow. Options include:
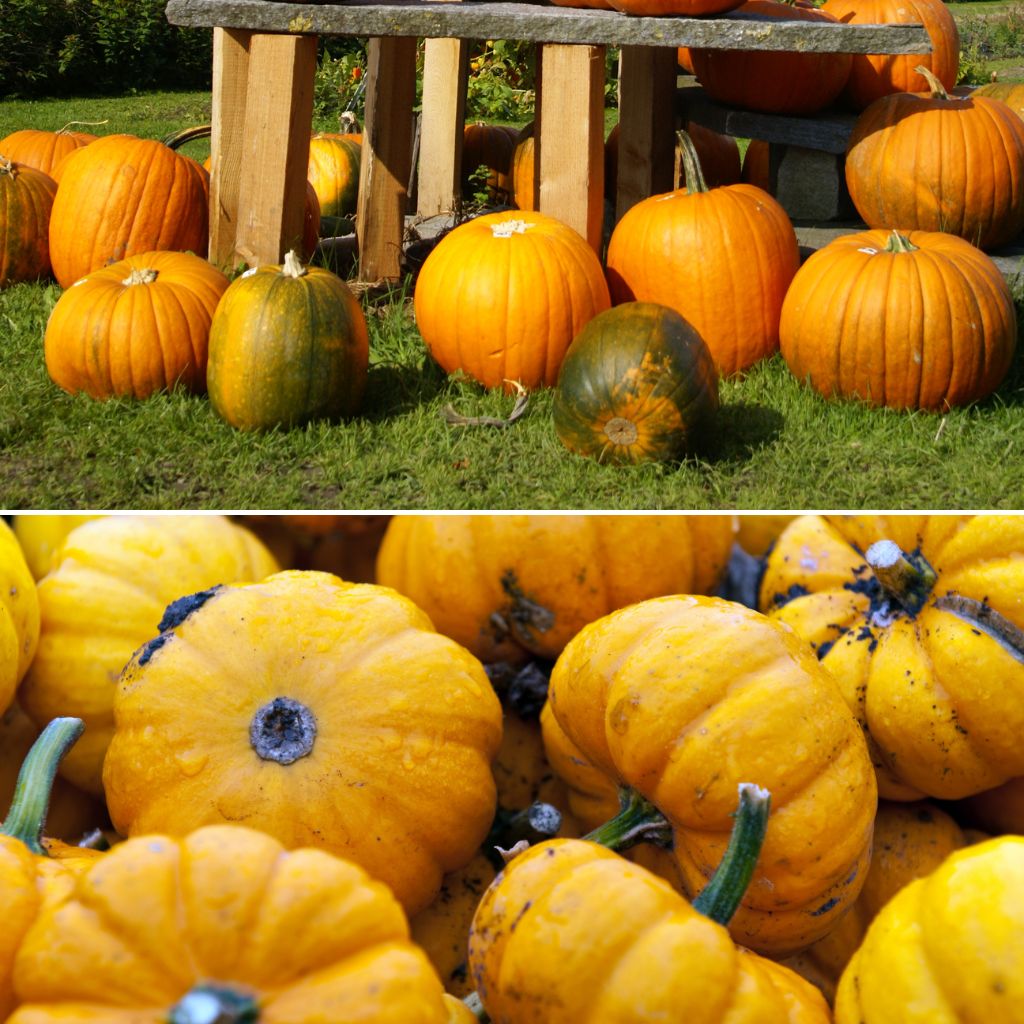
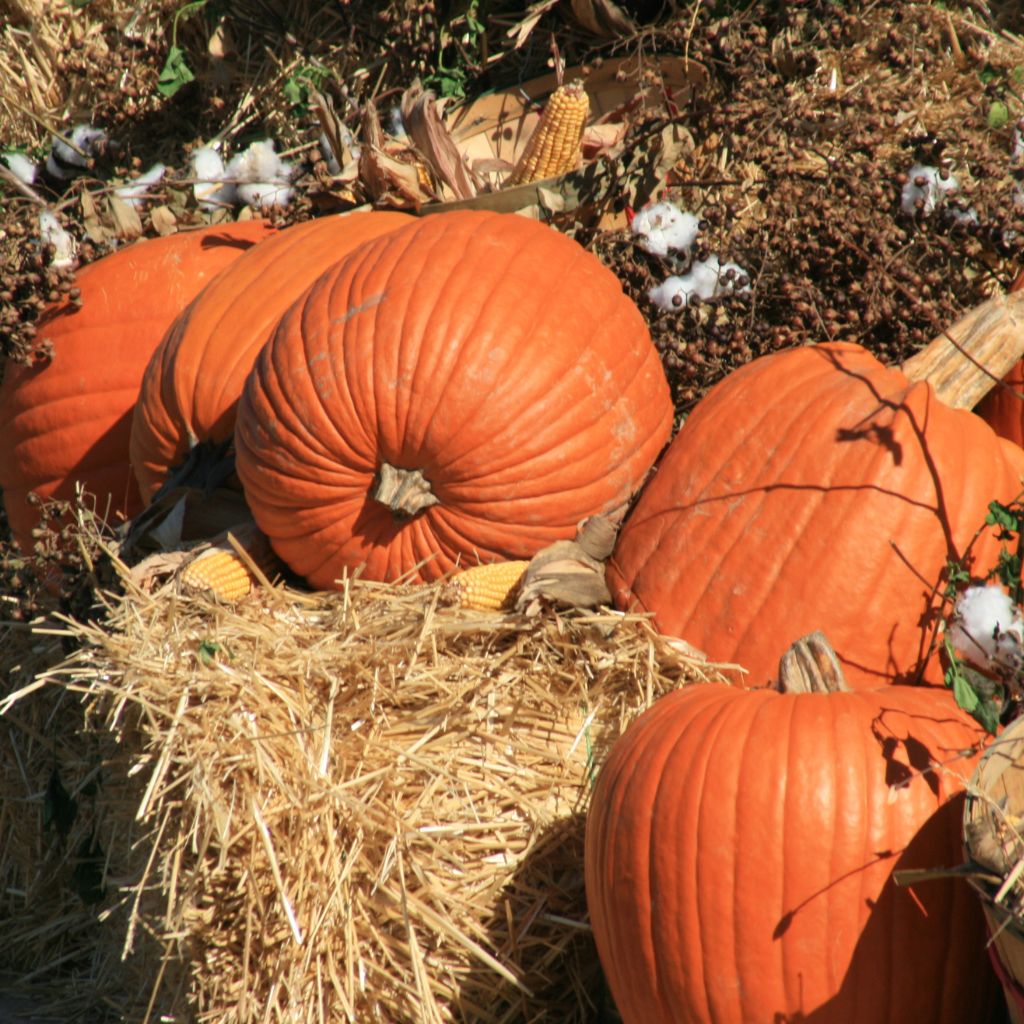
Carving pumpkins: These are large and perfect for Halloween.
Pie pumpkins: Smaller and sweeter, great for baking.
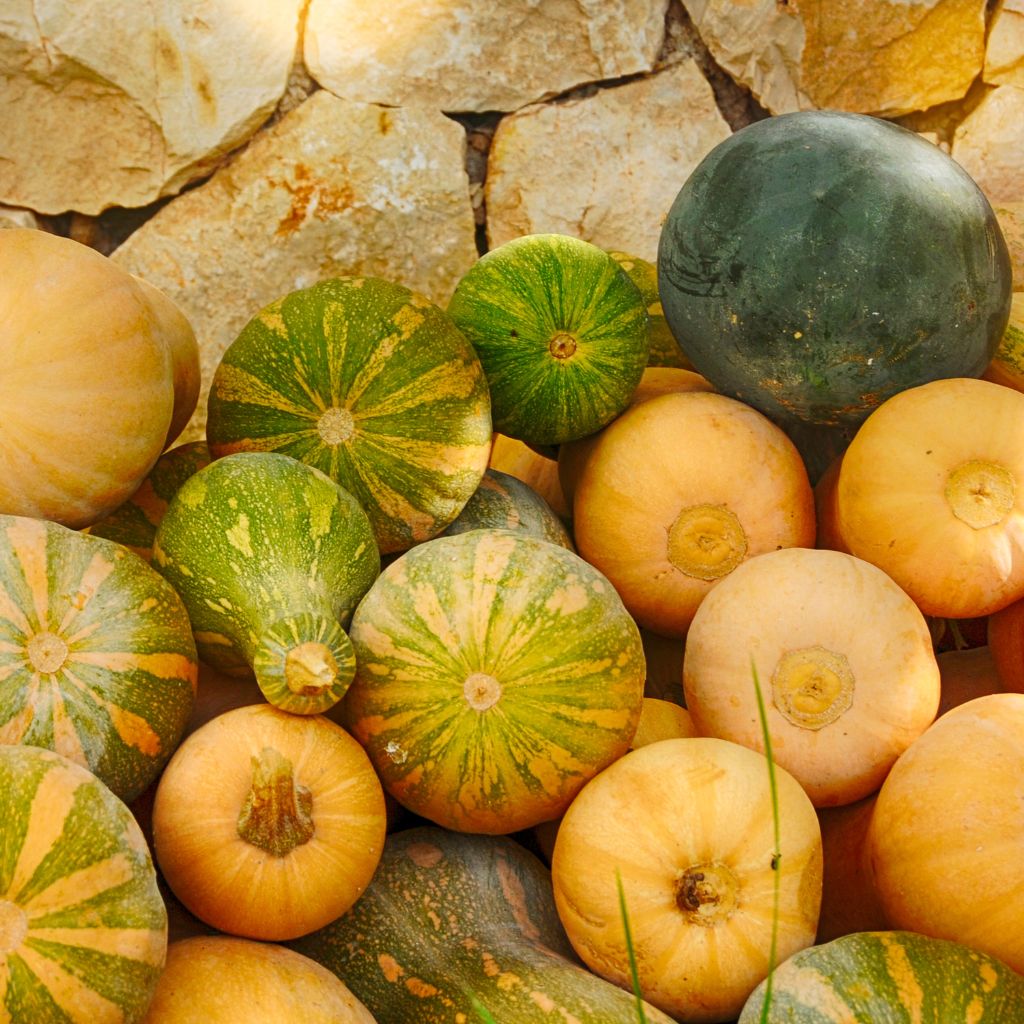
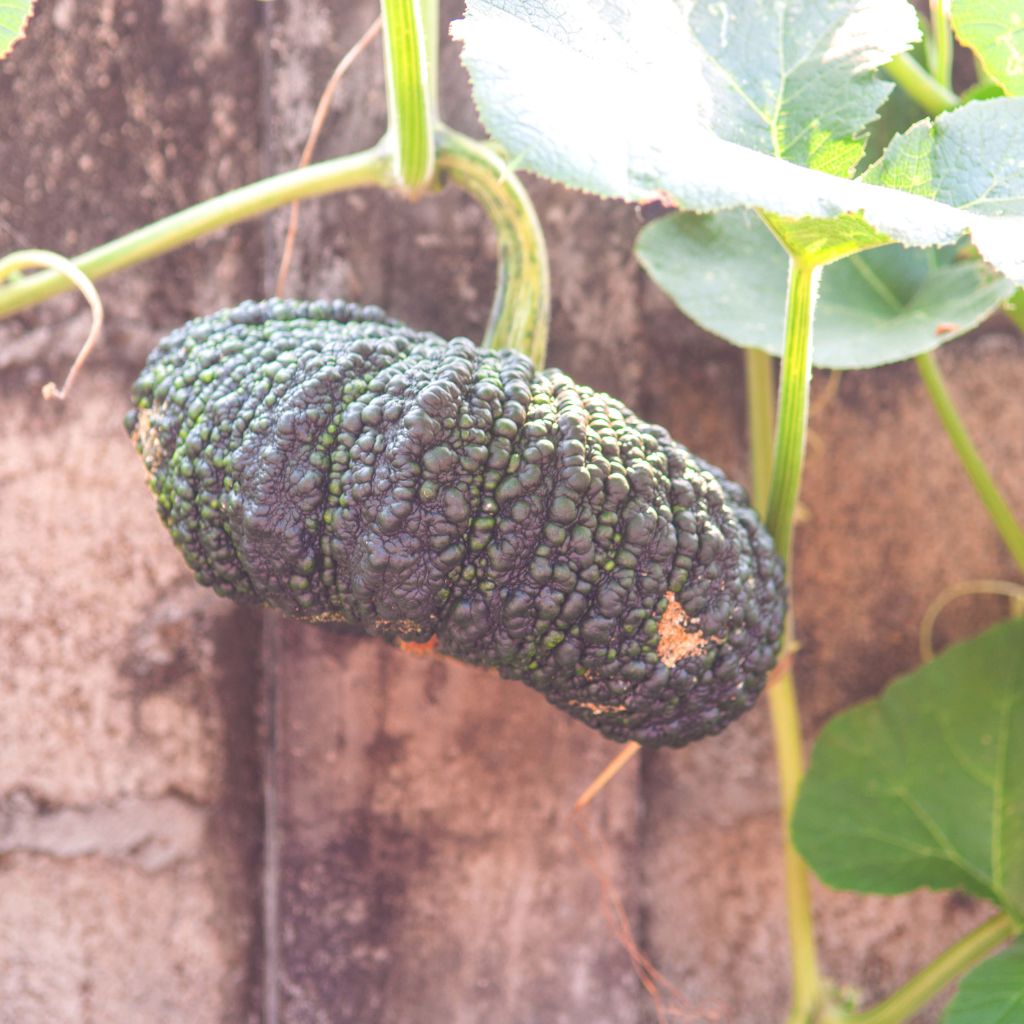
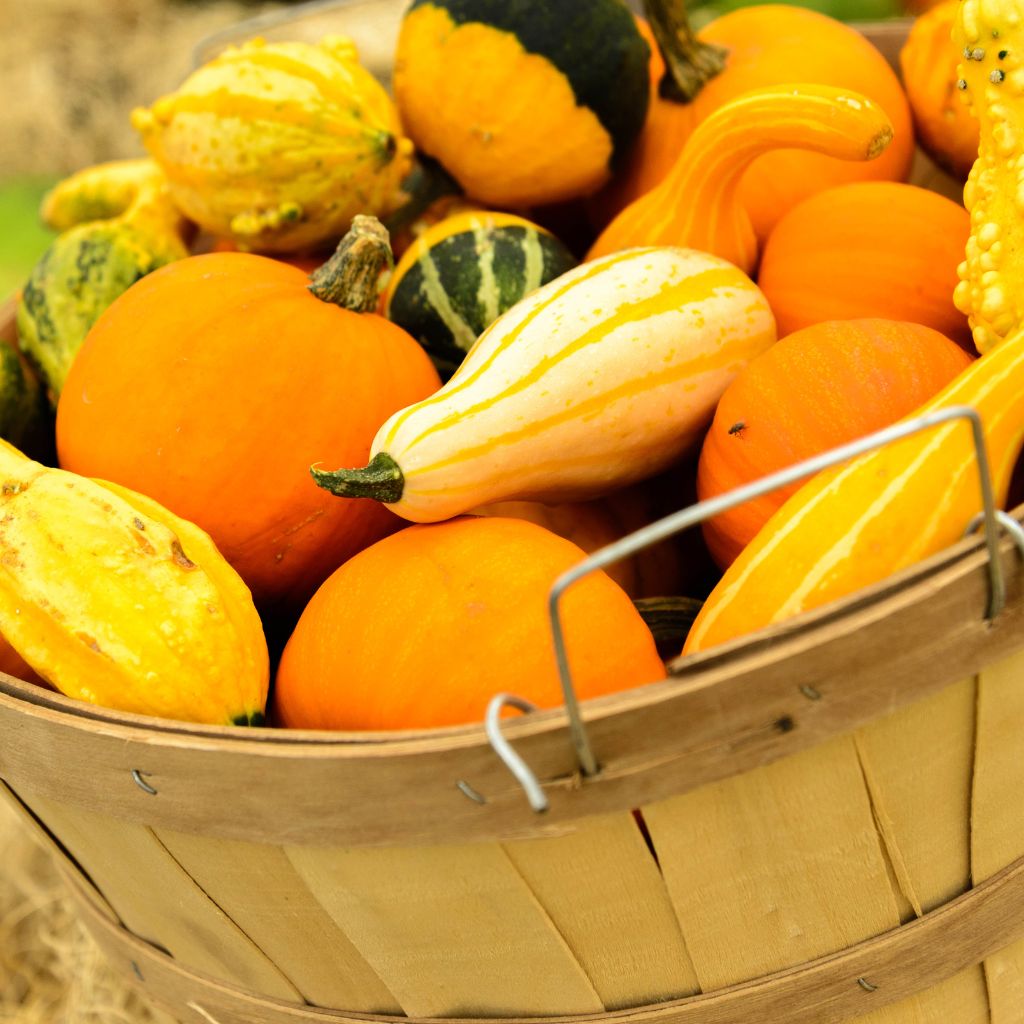
Ornamental pumpkins: Uniquely shaped and colored for decoration.
Seed Varieties
Look for reputable seed varieties to ensure good growth. Popular choices are:
Connecticut Field: Classic choice for carving.
Sugar Pie: Excellent for pies and cooking.
Jack Be Little: Small and cute, ideal for decorations.
Seed Source
Purchase seeds from trusted suppliers. You can find seeds at:
Local garden centers
Online retailers
Seed exchanges
Germination Rate
Check the germination rate on the seed package. A higher rate means better chances for successful growth.
Disease Resistance
Some seeds are bred to be resistant to diseases. Look for seeds labeled as disease-resistant for a healthier crop.
2. Plan Your Pumpkin Patch
Creating a successful pumpkin patch requires careful consideration of several factors. Your choices in location, soil preparation, and spacing will greatly impact your yield. Here’s how to plan effectively.
Choosing the Location
Select a location that receives full sunlight for at least 6-8 hours a day. Ideally, choose a spot with good air circulation to reduce the risk of disease.
Consider accessibility for watering and harvesting. Avoid areas that retain water, as pumpkins prefer well-drained soil.
You may want to implement companion planting. This involves planting pumpkins near other crops that can enhance growth or deter pests. Just make sure nothing competes too much for space or nutrients.
Soil Preparation
Pumpkins thrive in nutrient-rich soil. Begin by testing your soil’s pH; pumpkins prefer a range of 6.0 to 6.8.
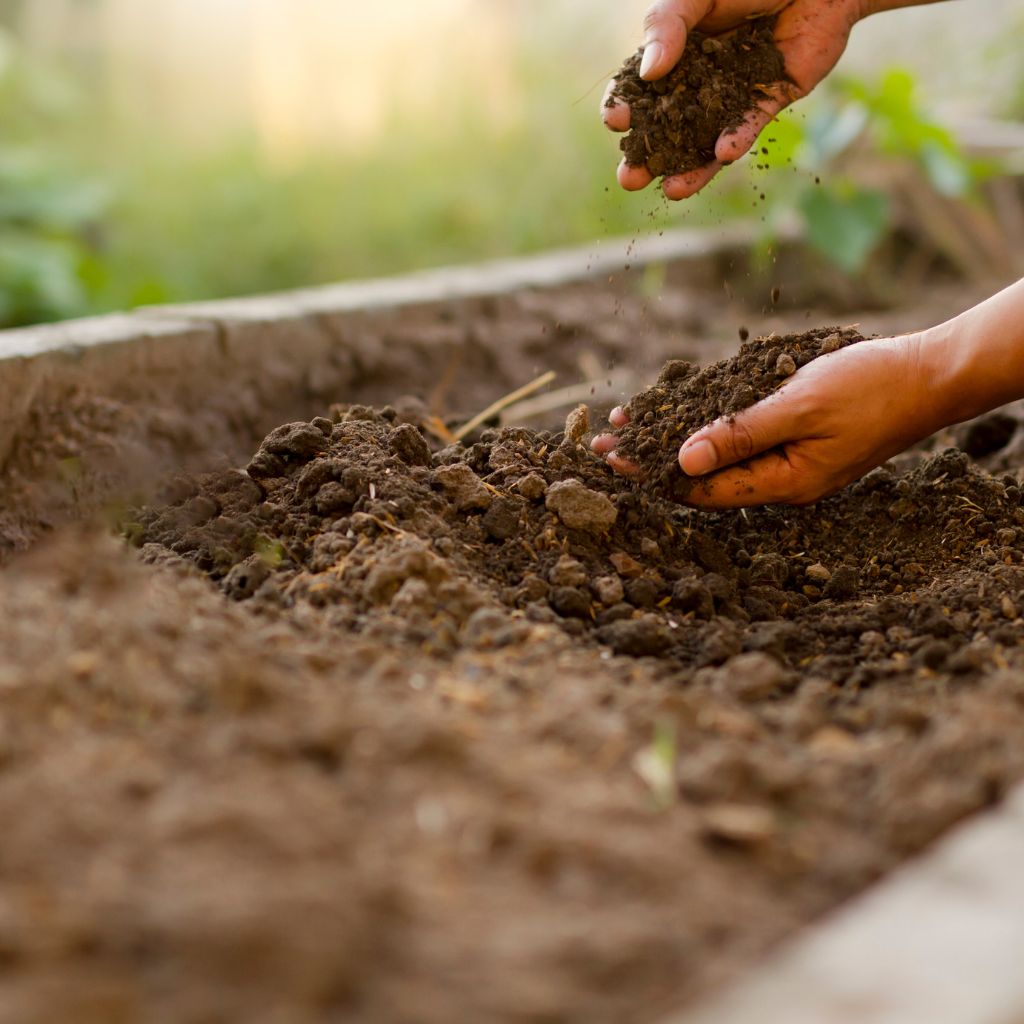
Add organic matter, like compost or well-rotted manure, to improve soil structure and fertility. This will help retain moisture while promoting healthy root development.
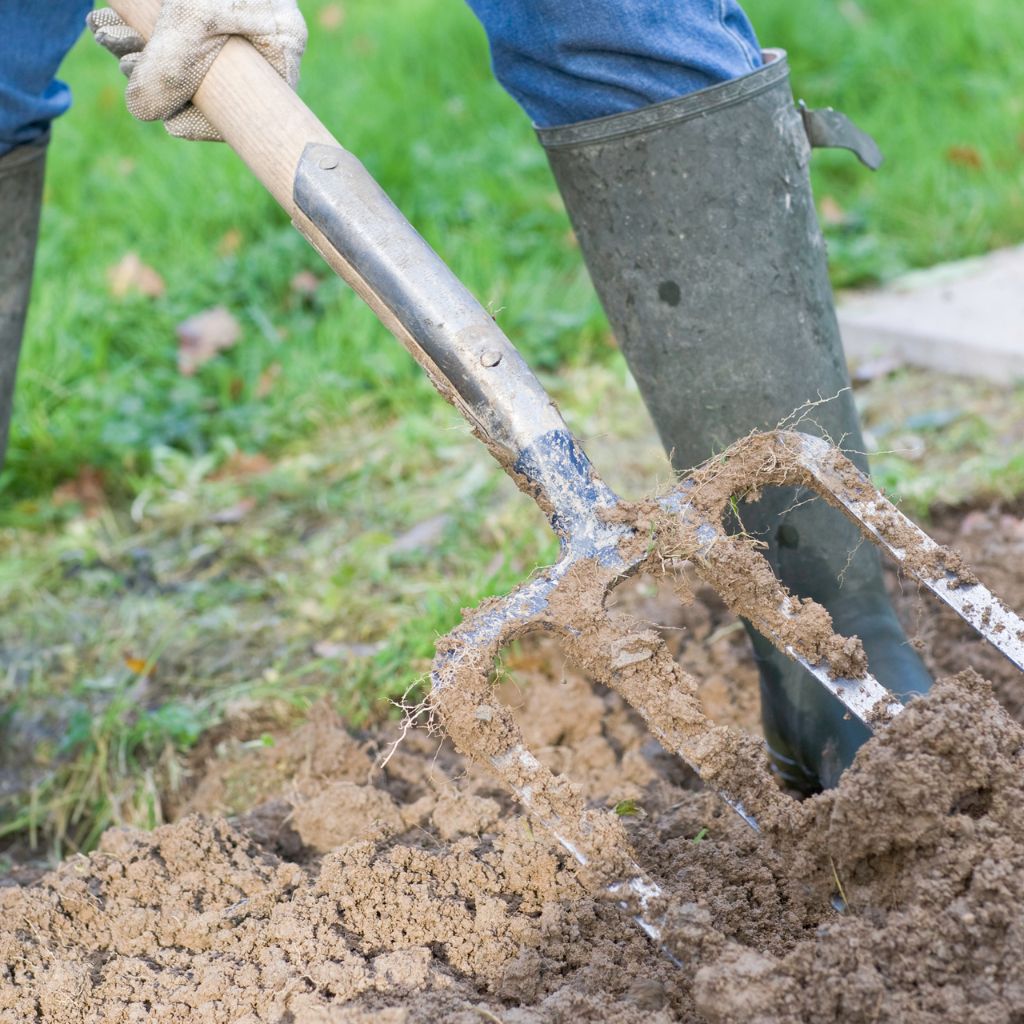
Before planting, loosen the soil to a depth of at least 12 inches. Remove any weeds or debris to create the best environment for your seedlings.
Also, consider incorporating fertilizers that are high in potassium and phosphorus to support flowering and fruiting.
Spacing Considerations
Spacing is crucial for healthy pumpkin growth. Generally, you should space your pumpkin plants about 24 to 36 inches apart. This allows for adequate sunlight and airflow, reducing the risk of disease.
If you plan to grow large carving pumpkins, give them even more room—up to 48 inches apart.
When planting in rows, keep at least 6 feet between rows to make it easier to navigate with tools or while harvesting. This spacing also helps in managing pests and diseases more effectively.
3. Plant Your Pumpkin Seeds
Getting your pumpkin seeds planted at the right time and depth, along with proper watering, sets you up for a fruitful harvest. Here’s what you need to know.
Best Time to Plant
The ideal time to plant pumpkin seeds is in late spring to early summer. Aim for after the last frost date in your area, as pumpkins thrive in warm soil.
- Soil Temperature: Ensure that the soil temperature is at least 70°F (21°C).
- Climate Factors: Look for a forecast with consistent warm weather to boost seed germination.
For most regions, late May to early June works well. Check local gardening resources for specific dates based on your climate.
Seed Sowing Depth
When planting your seeds, the depth is crucial for successful germination.
- Recommended Depth: Plant seeds about 1 to 2 inches deep in the soil.
- Spacing: Space your seeds 2 to 5 feet apart to give the plants room to grow.
If you are starting seedlings indoors, consider transplanting them outdoors once they are about 3 inches tall. This helps them acclimate and ensures your plants develop strong roots.
Watering After Planting
Once your seeds are in the ground, proper watering is essential.
- Initial Watering: Water immediately after planting to settle the soil around the seeds.
- Frequency: Keep the soil consistently moist but not soggy, especially during germination.
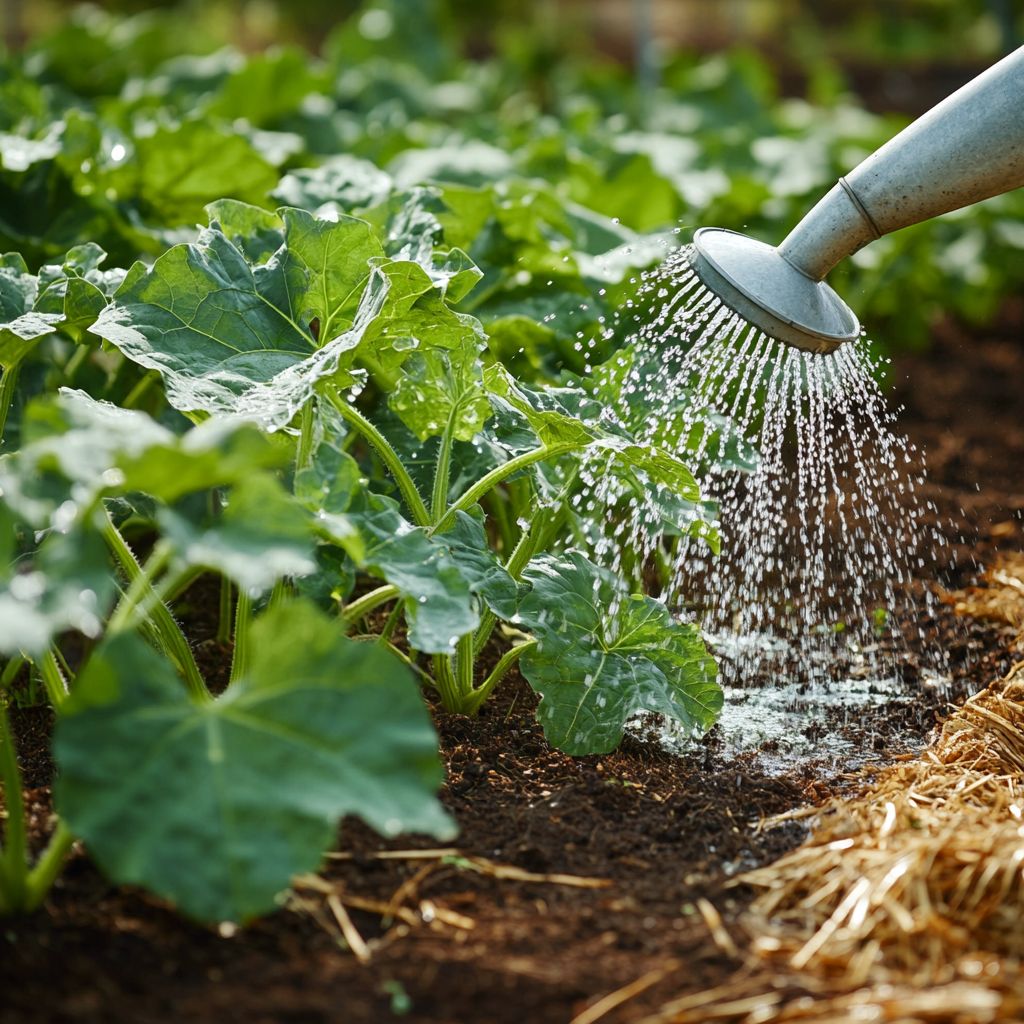
Use a gentle spray to avoid displacing the seeds. After the seeds sprout, gradually reduce watering to encourage deeper root growth. Avoid water on the leaves to minimize the risk of fungal diseases.
4. Care for Your Pumpkin Plants
To ensure healthy pumpkin growth, it’s essential to focus on proper watering, fertilizing, weed control, and pruning. These practices will help your plants thrive and produce a bountiful harvest.
Watering Schedule
Pumpkin plants require consistent watering, especially during their early stages. Aim for about 1 inch of water per week, either from rainfall or irrigation.
Water your plants deeply, soaking the soil to encourage strong root development. Morning is the best time to water to reduce evaporation and prevent fungal diseases.
If your region experiences hot weather, consider checking the soil moisture regularly. You might need to increase your watering frequency during dry spells. Signs of distress in your plants, such as drooping leaves, indicate that they need more water.
Fertilizing
Fertilization is crucial for pumpkin plants, particularly at the start of the growing season. Begin with a balanced fertilizer (like a 10-10-10 NPK) when you plant your seeds or seedlings.
As the plants grow, switch to a fertilizer richer in phosphorus and potassium to promote flowering and fruiting. You can apply a fertilizer high in potassium, such as 5-10-10, once the plants show flowers.
Fertilize every four to six weeks throughout the growing season. Always follow the package instructions to avoid over-fertilizing, which can damage your plants.
Weed Control
Weeds compete with your pumpkin plants for water and nutrients. Employ mulching to suppress weeds and retain soil moisture. Use organic materials like straw or shredded leaves around your plants for the best results.
Regularly inspect your pumpkin patch for emerging weeds. Hand-pulling is effective for isolated weeds, while hoeing can help in larger areas.
Avoid using herbicides, especially while your plants are young, as these can harm them. A clean garden space leads to healthier pumpkin growth.
Pruning
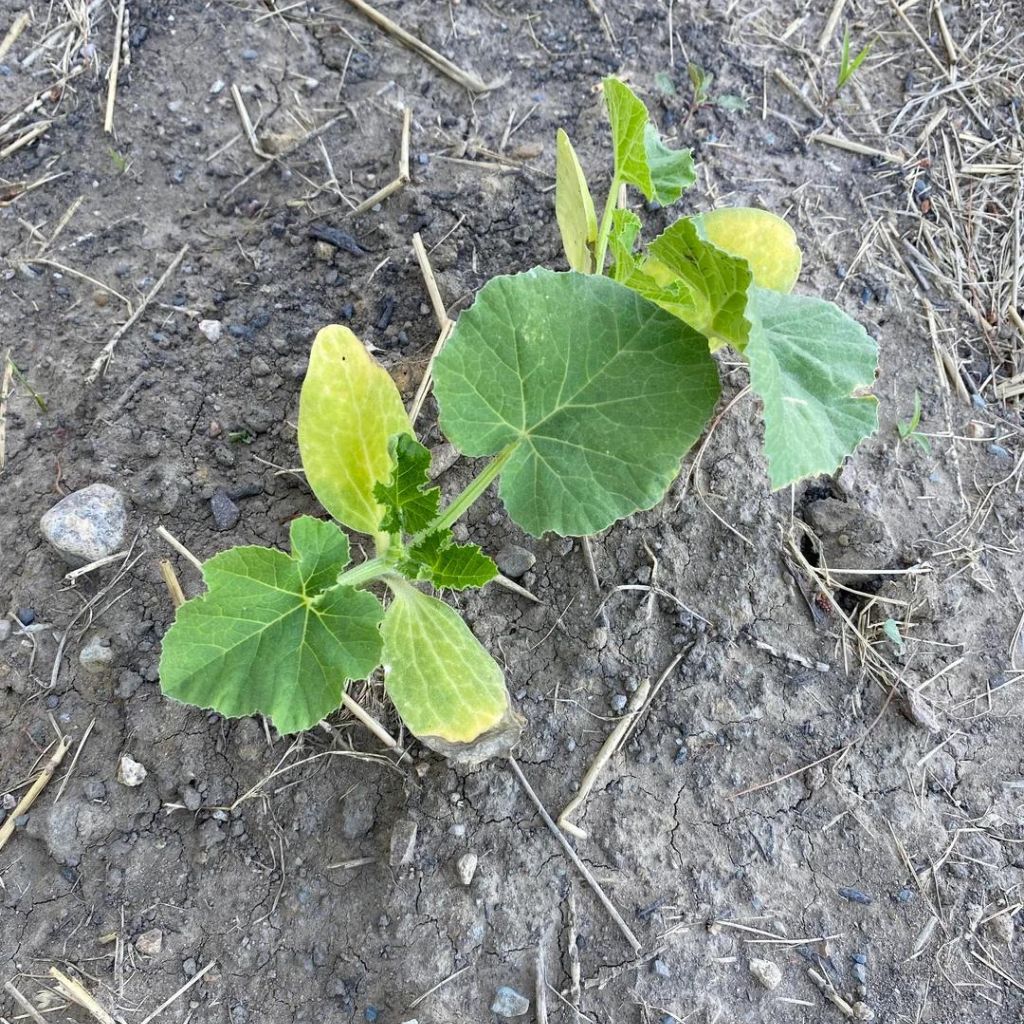
Pruning can help manage your pumpkin plants and enhance their yields. Start by removing any dead or yellowing leaves to improve air circulation.
You can also prune the vines to direct the plant’s energy into fruit production. Trimming back some of the runners will allow the plant to focus its resources on developing fewer, but larger pumpkins.
Make your cuts clean and at a slight angle to prevent disease. Always use sterilized tools to minimize the risk of infection. Regular pruning will lead to a healthier, more productive pumpkin patch.
Pumpkin Pests and Diseases Management
Managing pests and diseases is essential for a healthy pumpkin harvest. Identifying the threats and implementing effective strategies can safeguard your plants and improve yields.
Common Pests
Pumpkins are vulnerable to various pests. Squash bugs, which appear as dark gray or brown bugs, can damage leaves and stems.
Cucumber beetles are another threat, showing yellow and black stripes while spreading bacterial wilt. Aphids are tiny, soft-bodied insects that suck plant juices, leading to wilting and stunted growth.
To monitor for these pests, regularly inspect your plants. Look for holes in leaves, wilting, or the presence of insects. Early detection is crucial for effective management. Consider using traps, such as yellow sticky traps, to catch flying insects and reduce populations.
Disease Prevention
Preventing diseases involves good gardening practices. Start with healthy seeds and strong seedlings to reduce vulnerabilities. Crop rotation is also important; avoid planting pumpkins in the same spot every year to interrupt disease cycles.
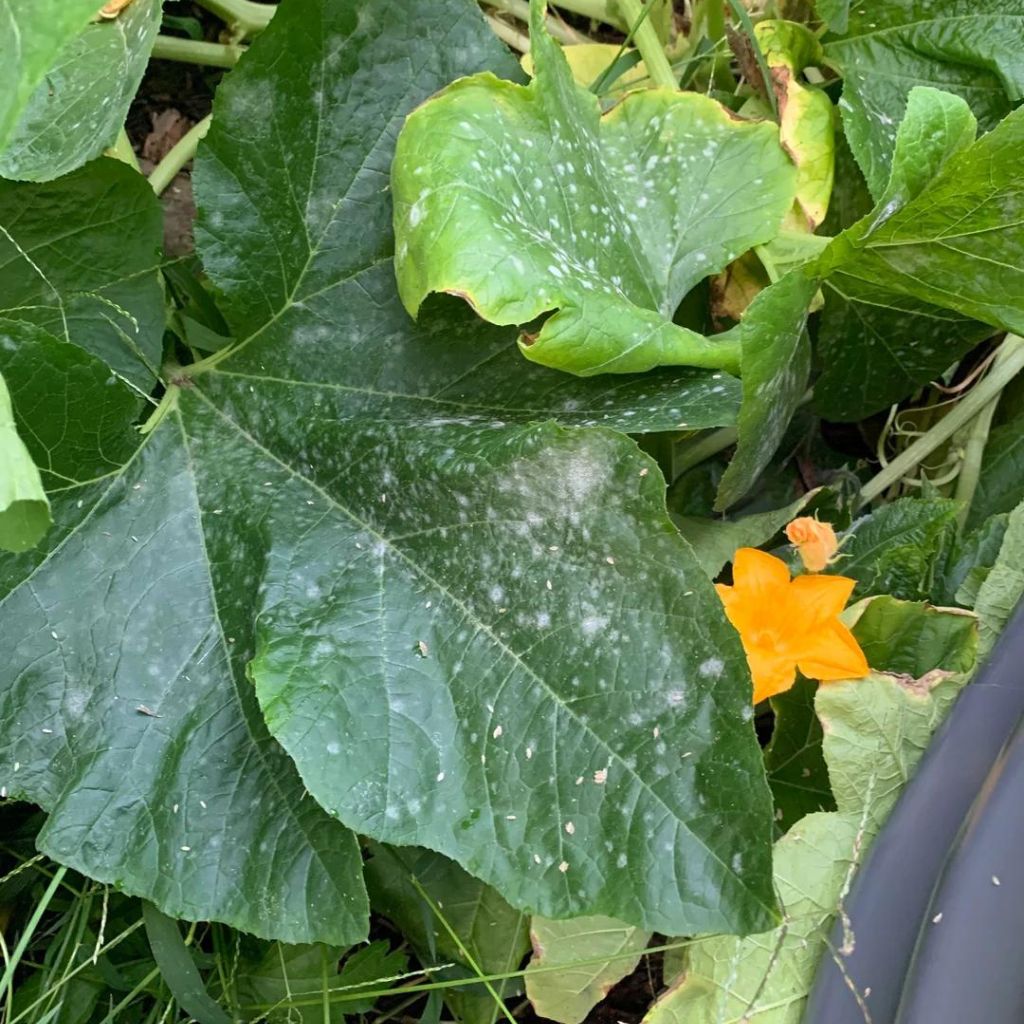
Maintain proper spacing between plants. This promotes air circulation and reduces humidity around your plants, which can help prevent fungal infections like powdery mildew.
Water your pumpkins at the base rather than overhead to keep foliage dry. Regularly remove any infected foliage to stop the spread of diseases.
Organic Control Methods
Using organic methods can help manage pests and diseases without chemicals. For instance, introducing beneficial insects like ladybugs can control aphid populations naturally.
You can also use neem oil or insecticidal soap to treat infestations. These products are effective against many pests and are safe for the environment.
Make sure to apply treatments early in the morning or late in the evening to avoid harming beneficial insects. Consistent monitoring and timely interventions will keep your pumpkin plants healthy and thriving.
Pollination
Pollination is a crucial process for growing healthy pumpkins. Understanding how this works can enhance your success. Bees and other pollinators play a vital role, and you can also assist yourself through hand pollination techniques.
The Role of Bees
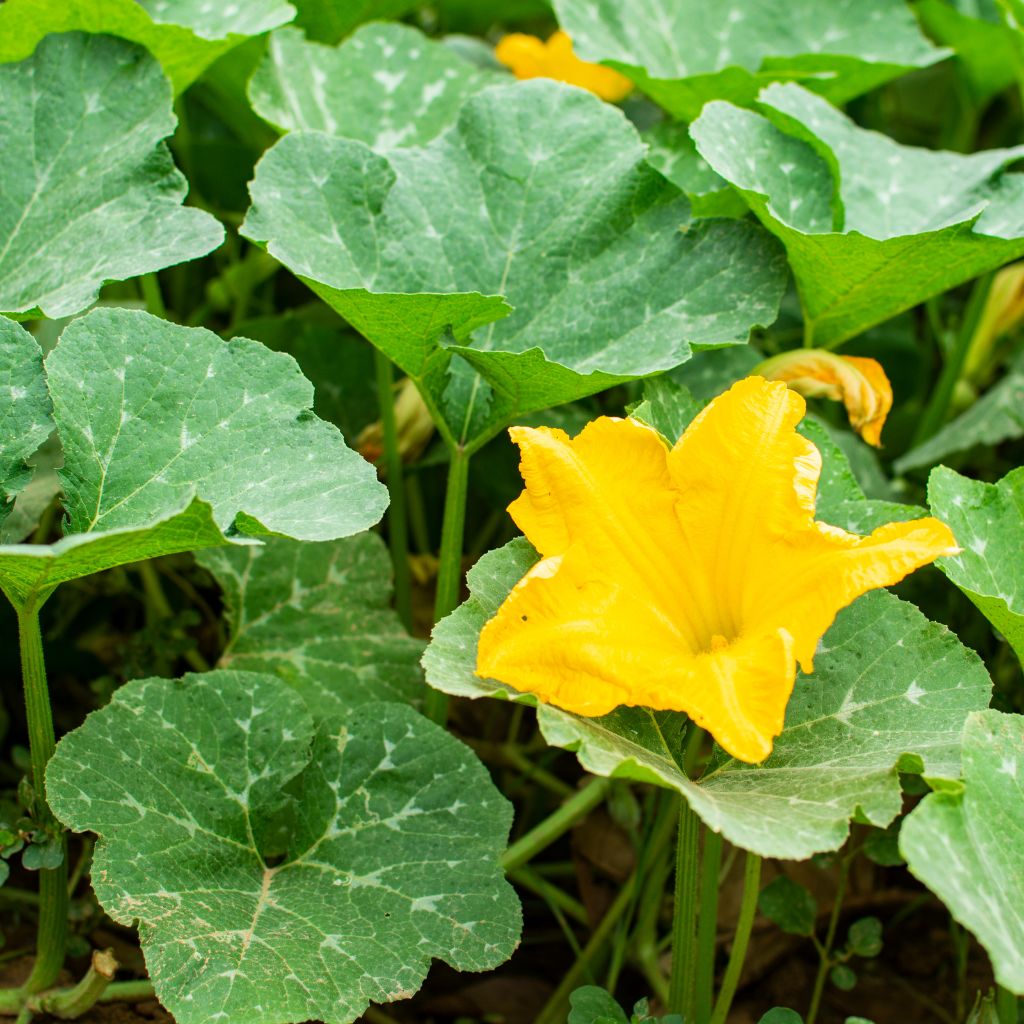
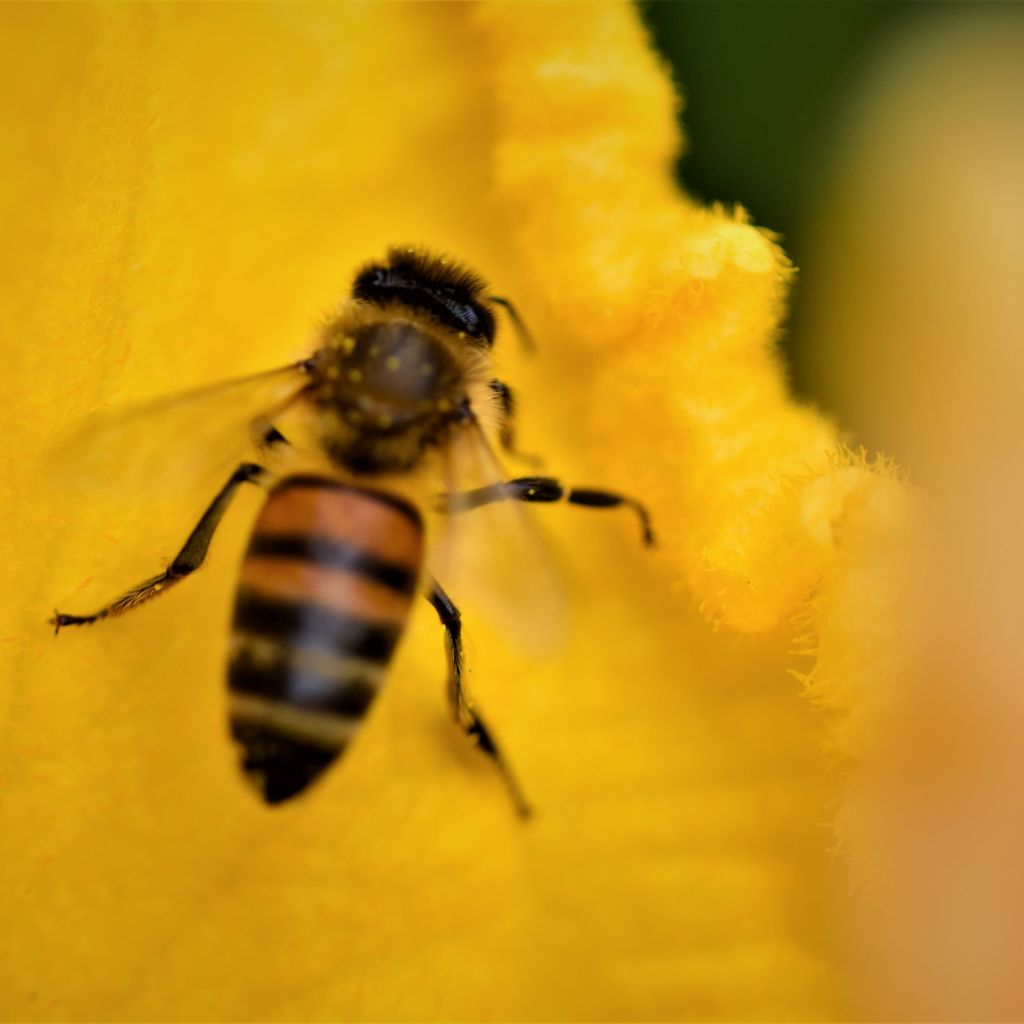
Bees are essential for the pollination of pumpkin plants. They transfer pollen from male flowers to female flowers, enabling fruit development. Each pumpkin plant produces both male and female flowers.
Male Flowers: Typically appear first and may not produce any fruit. They serve as the primary source of pollen.
Female Flowers: Have a small, swollen part at the base, which develops into the pumpkin.
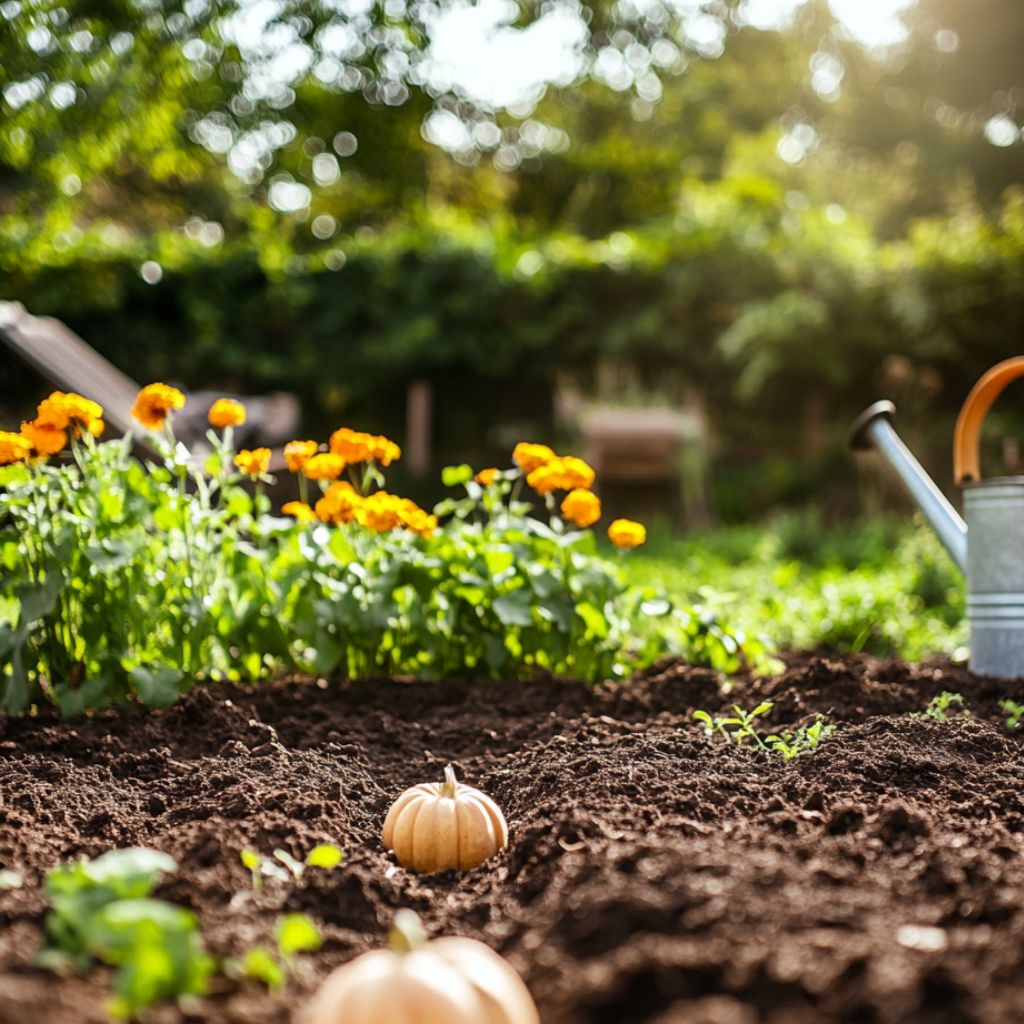
Encouraging bee activity can be as simple as planting flowers nearby to attract them. Avoid using pesticides during bloom time to protect these critical pollinators.
Hand Pollination
If bee activity is low in your garden, you can hand-pollinate your pumpkins. This method ensures effective pollination and can lead to better fruit yield. Here’s how to do it:
1. Identify Flowers: Locate the male and female flowers in the morning, when they are open.
2. Collect Pollen: Gently remove a male flower and peel back its petals. Use a small brush or your finger to collect pollen from the male flower.
3. Pollinate: Transfer the pollen to the stigma of the female flower by gently brushing it.
This process may need to be repeated for multiple female flowers to ensure a successful crop. Hand pollination is straightforward and increases your chances of growing healthy pumpkins.
Monitoring Pumpkin Growth
Keeping a close eye on your pumpkin plants is essential for successful growth. Understanding the different growth stages and addressing any issues that arise can help you cultivate healthy pumpkins.
Growth Stages
Pumpkin plants go through several distinct growth stages, each requiring different care.
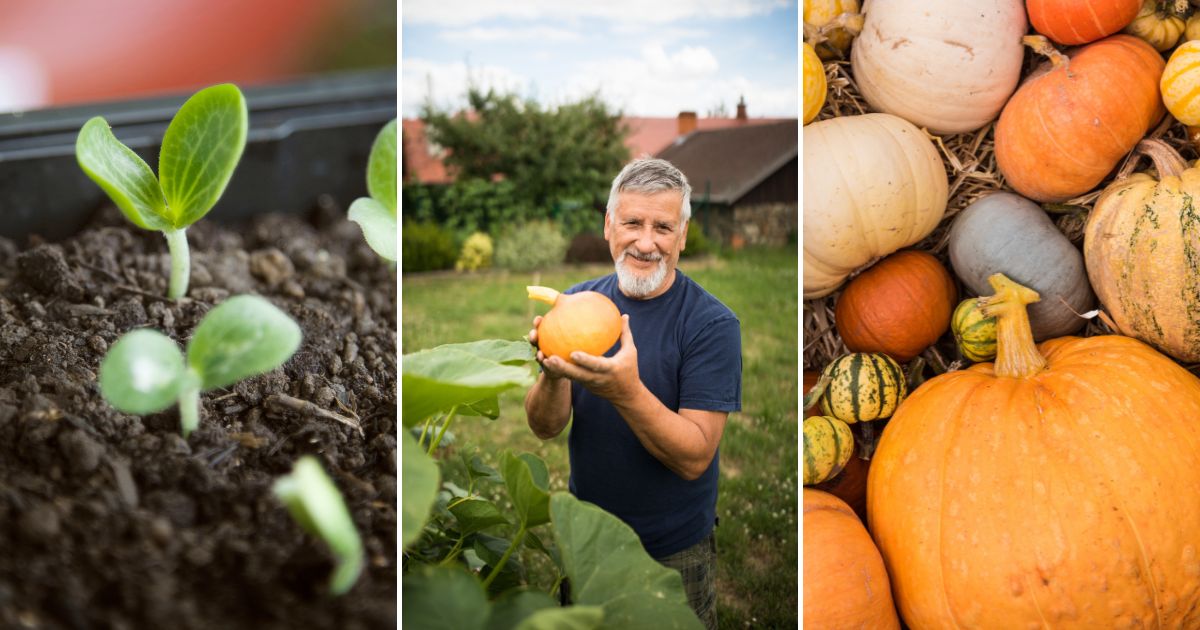
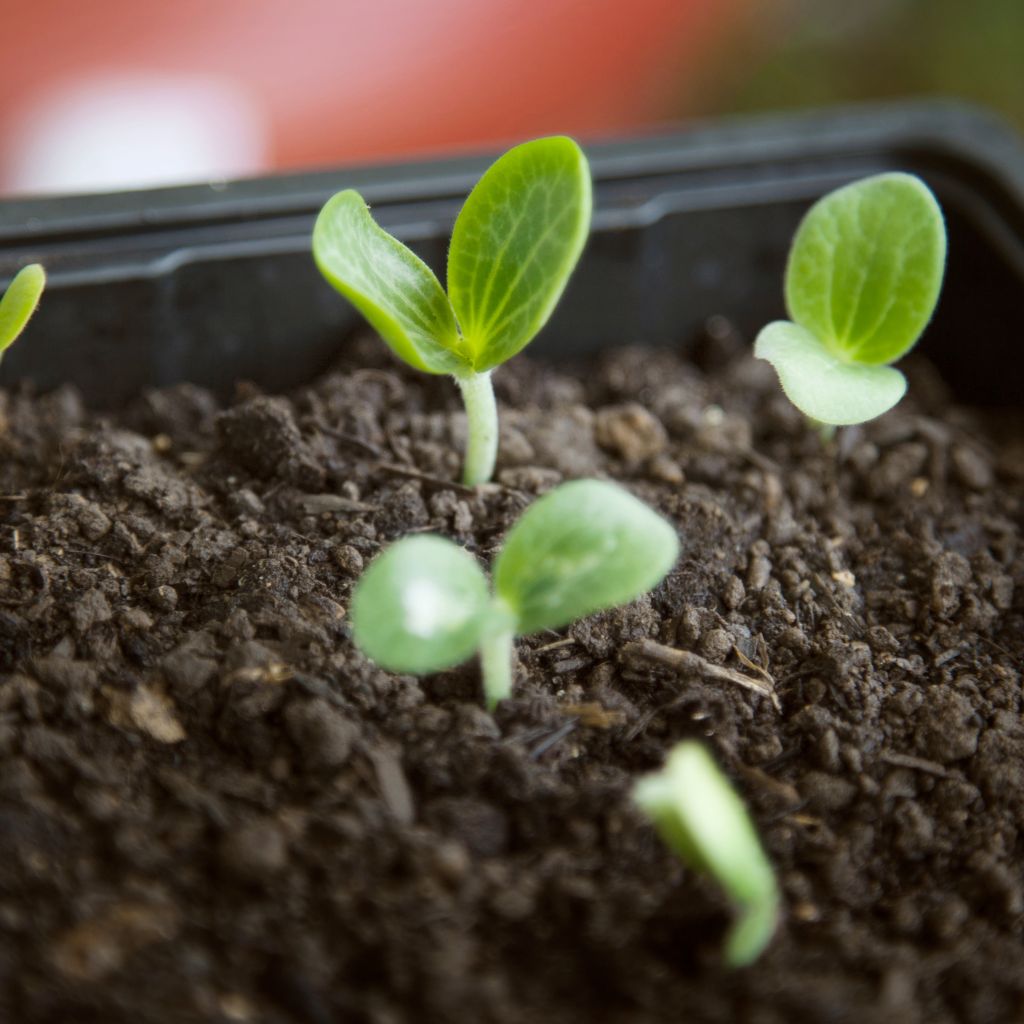
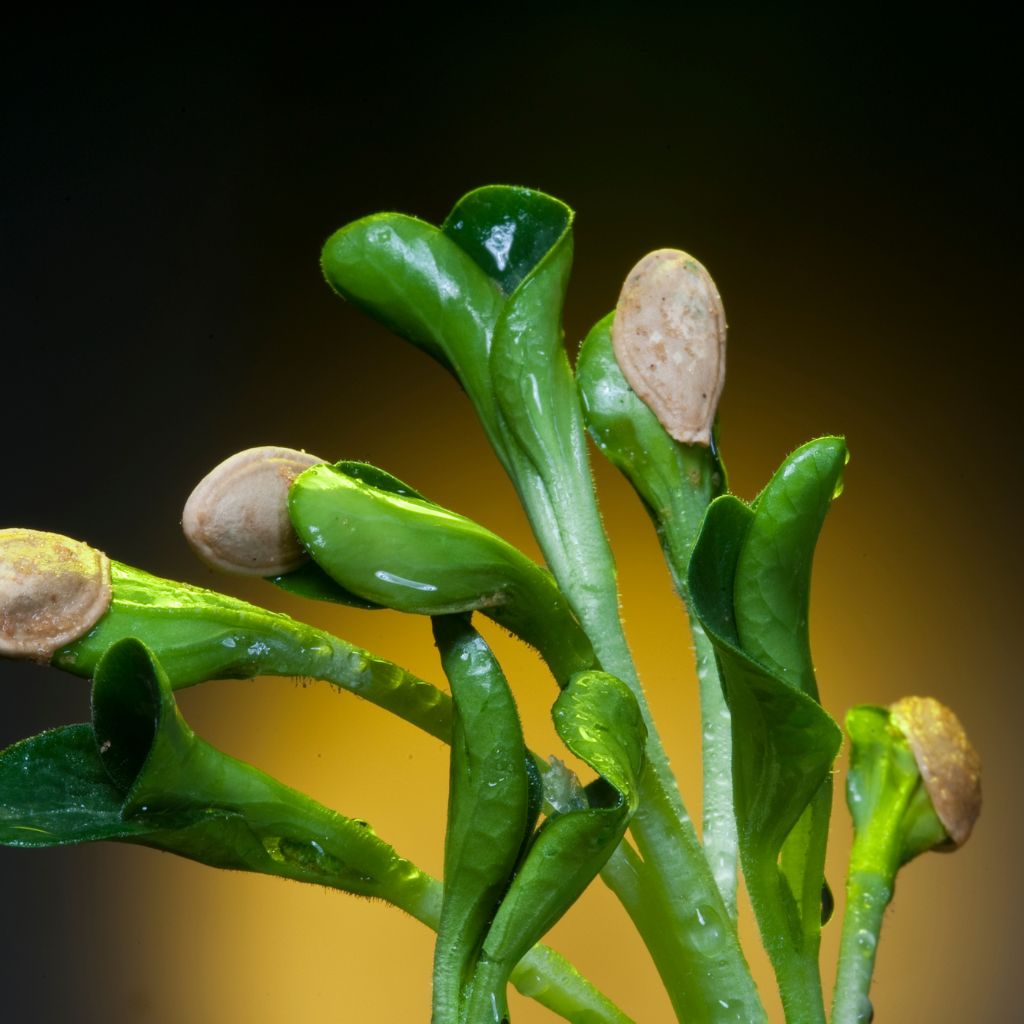
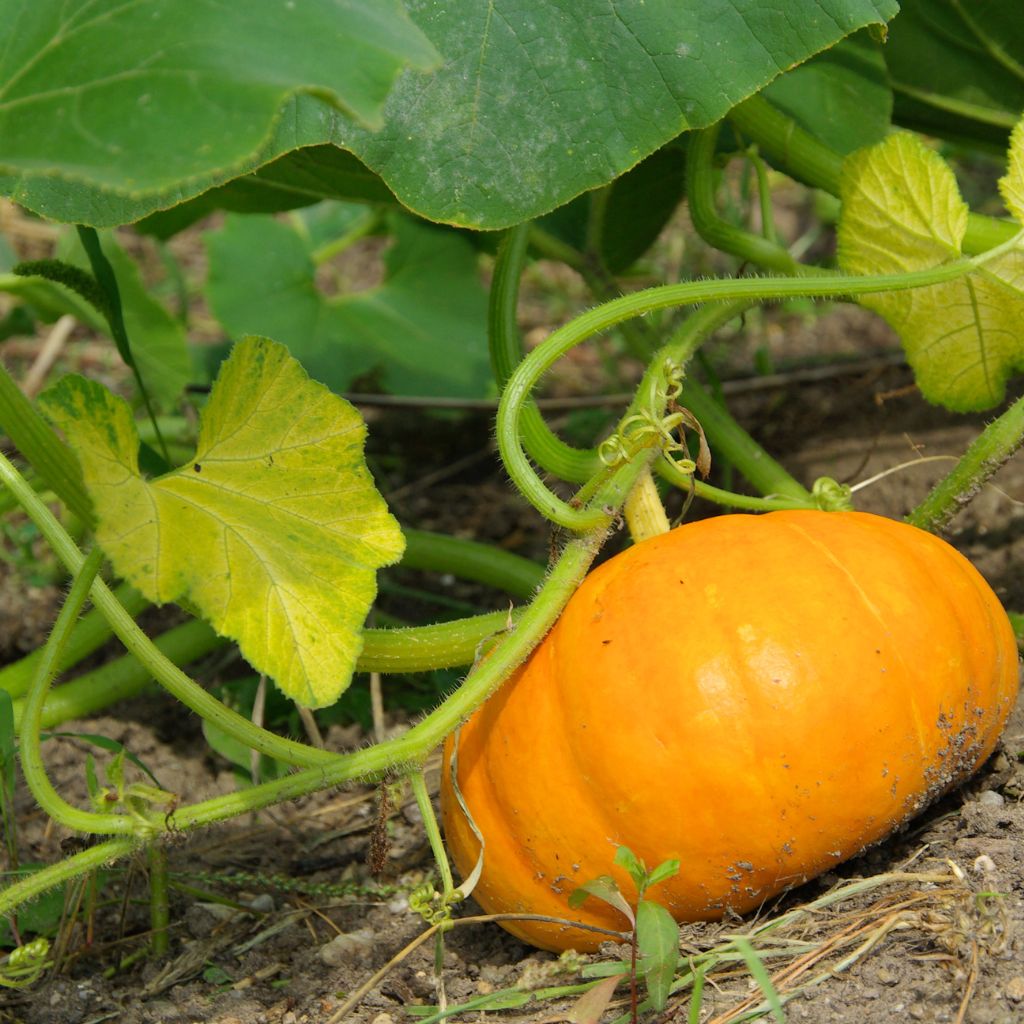
1. Seed Germination: Typically occurs within 5-10 days after planting. Ensure soil temperature is warm and keep it moist but not soggy.
2. Seedling Stage: In this phase, your pumpkins will develop true leaves. Provide ample sunlight and monitor for pests.
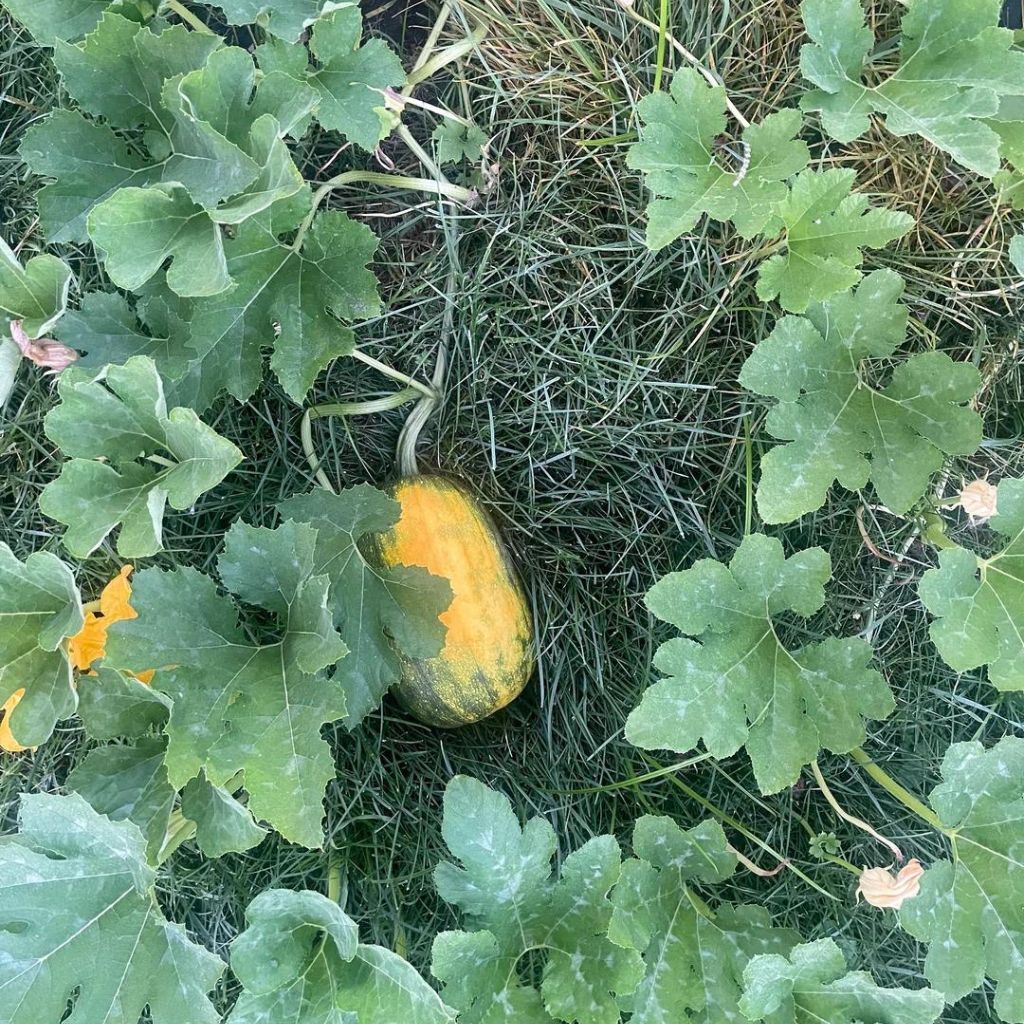
3. Vining Stage: The plants start to spread. During this stage, ensure they have room to grow, as they can take up a lot of space.
4. Flowering and Fruit Set: Expect yellow flowers to appear. Pollination usually occurs around this time, so be on the lookout.
5. Maturation: This is when the pumpkins grow to their full size. Keep soil moisture consistent and check for color changes indicating ripeness.
Troubleshooting Slow Growth
If your pumpkin plants aren’t growing as expected, it’s time to troubleshoot.
Check Soil Quality: Ensure your soil has adequate nutrients. A pH of 6.0 to 6.8 is ideal for pumpkins.
Watering Issues: Both under-watering and over-watering can affect growth. Aim for deep watering once a week, adjusting based on rainfall.
Sunlight Exposure: Pumpkins require full sun, around 6-8 hours daily. Ensure they aren’t shaded by taller plants.
Pest Infestation: Look for signs of pests like aphids or squash bugs. Organic pesticides or handpicking can help control populations.
Temperature Fluctuations: Pumpkins prefer warm conditions. Protect young plants from cold temperatures with row covers if necessary.
Harvesting Your Pumpkins
Knowing when and how to harvest your pumpkins is crucial for ensuring they are at their best. Additionally, proper curing and storage will help you enjoy your pumpkins longer.
When to Harvest
Pumpkins are usually ready for harvest when their skin has turned a deep, consistent color and feels hard to the touch. Most varieties mature about 75 to 100 days after planting. Look for the following signs:
Vine Health: The vines will yellow and begin to die back.
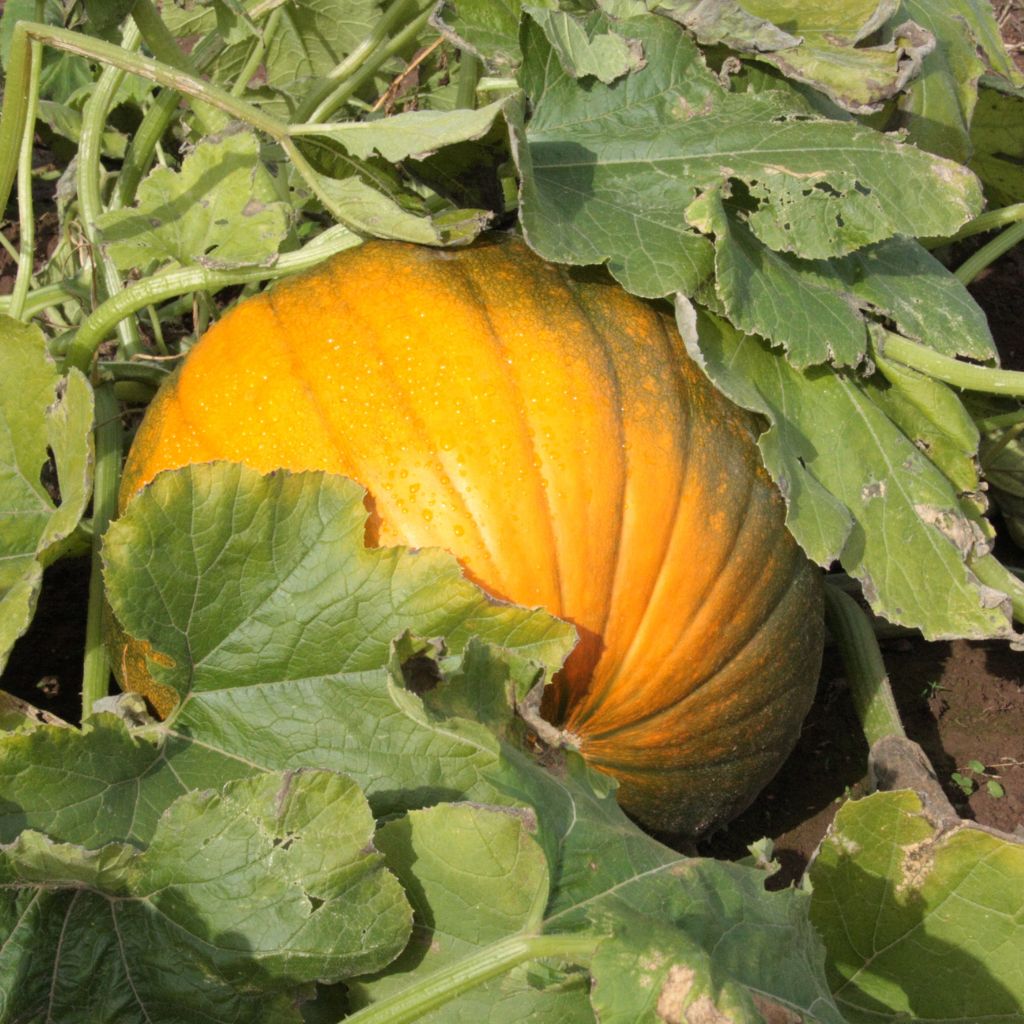
Color: The pumpkin should have a rich orange hue (or the color specific to your variety).
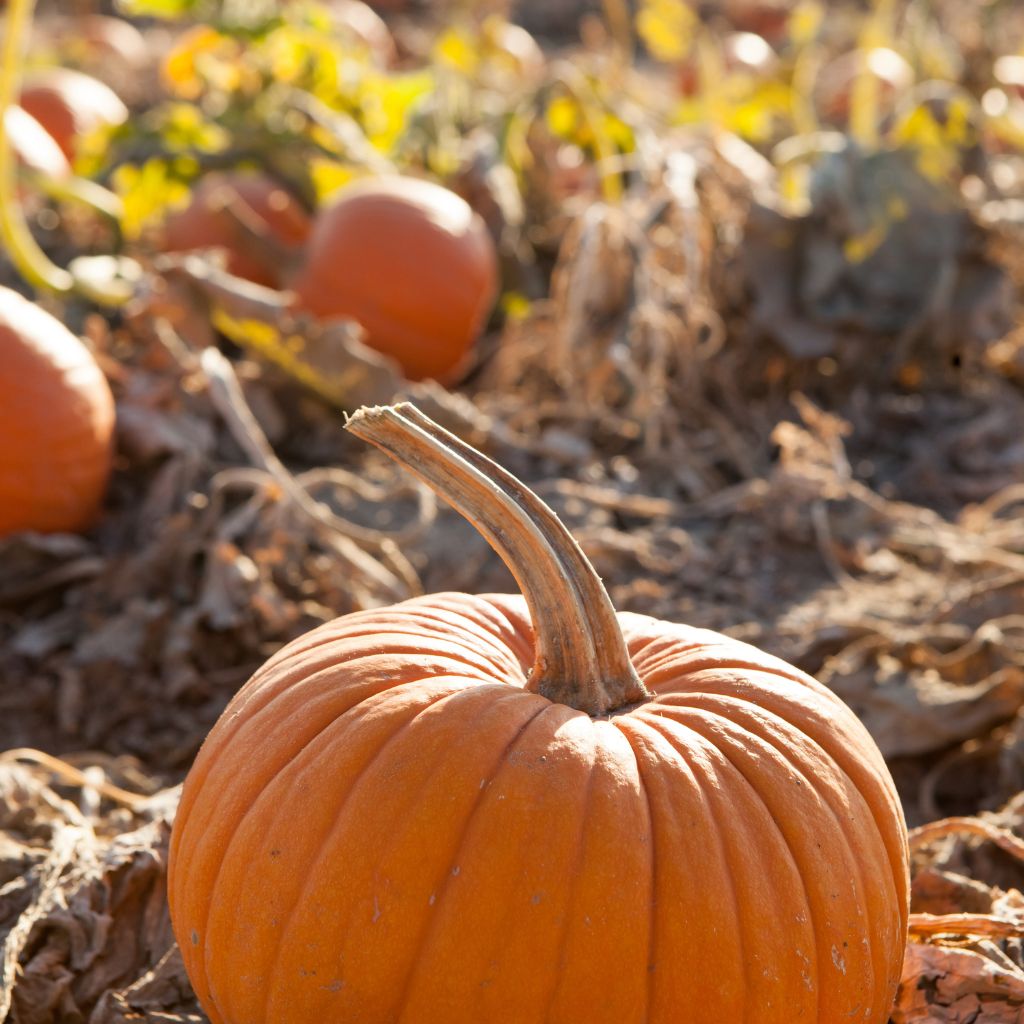
Stem Condition: The stem should be hardened and brown, indicating that the pumpkin is fully mature.
Harvest during dry weather for best results.
How to Harvest
To harvest pumpkins, use a sharp garden knife or pruners. Cut the stem about 3 to 4 inches above the fruit. Here are some steps to follow:
Choose the Right Time: Early morning is ideal to avoid the heat.
Wear Protective Gear: Use gloves to protect your hands from sharp stems or thorns.
Handle with Care: Lift the pumpkin gently to prevent bruising or damaging it.
Avoid pulling on the pumpkin, as this can break the stem and lead to rot.
Curing and Storage
Curing your pumpkins is essential for enhancing their flavor and increasing shelf life. Place them in a warm, dry area with good air circulation for about 10 to 14 days. This process helps toughen the skin and reduces the chance of spoilage.
For storage, keep pumpkins in a cool, dark place. Ideal conditions include:
Temperature: 50 to 60 degrees Fahrenheit.
Humidity: Low humidity to prevent molding.
Check regularly for signs of decay or soft spots. Promptly use any pumpkins that show these signs to maximize freshness.
Enjoying Your Homegrown Pumpkins
After putting in the effort to grow your own pumpkins, it’s time to get creative with your harvest. You can explore various cooking ideas and decorative uses for your pumpkins that will add flair to your home.
Cooking Ideas
Your homegrown pumpkins can be a delightful addition to your culinary repertoire. Here are some popular ways to use them:
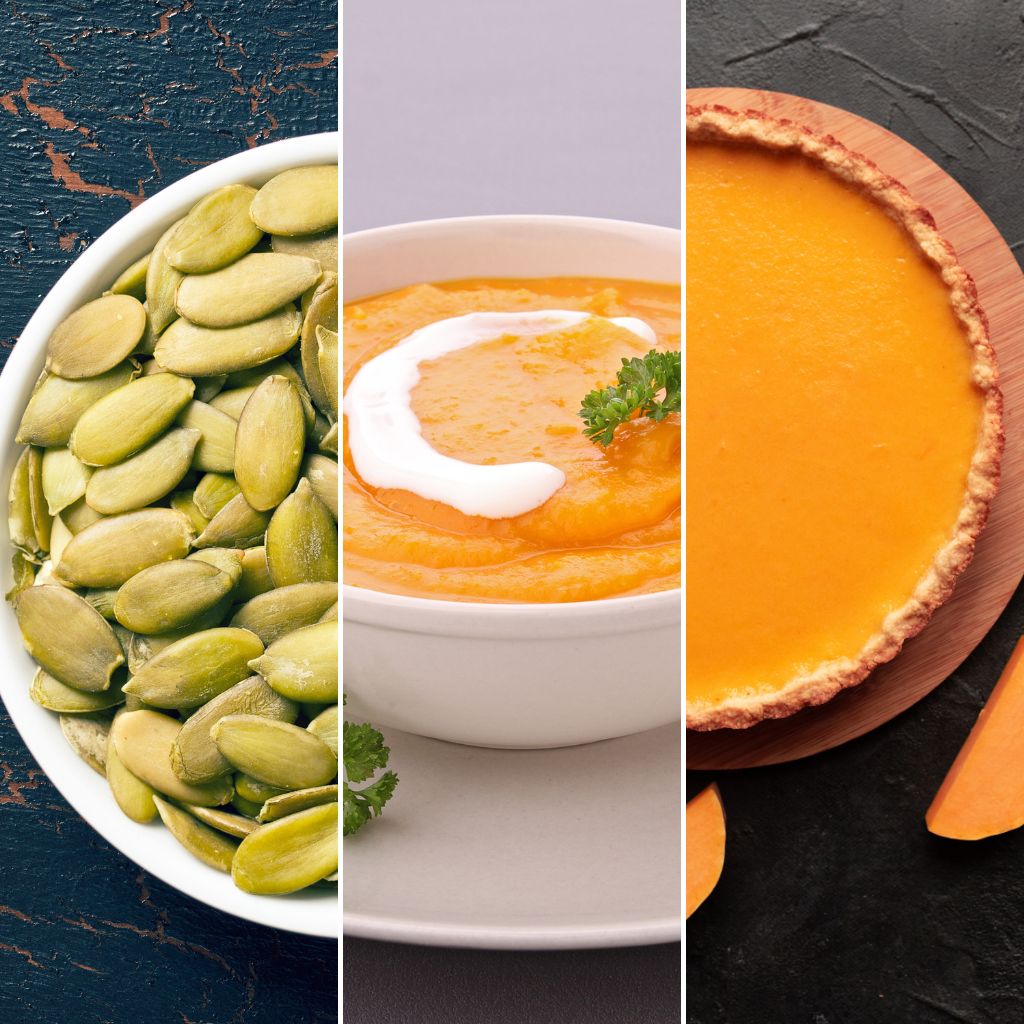
Pumpkin Soup: A warm, comforting dish perfect for fall. Simply roast your pumpkin, blend it with vegetable broth, and season with spices like nutmeg and cinnamon.
Pumpkin Pie: Classic Thanksgiving dessert. Use a simple recipe for crust and blend your cooked pumpkin with eggs, cream, sugar, and spices for a delicious filling.
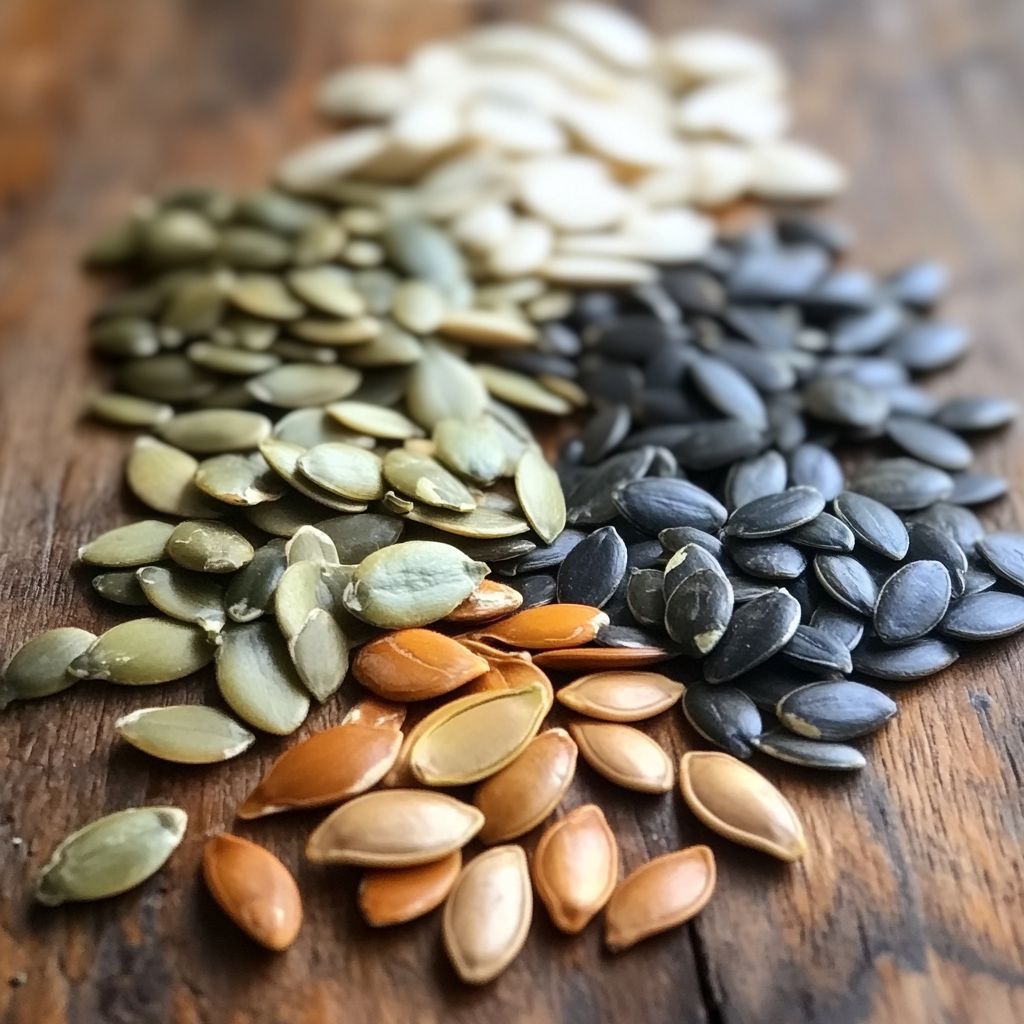
Roasted Pumpkin Seeds: Don’t throw away those seeds! Clean them, season with salt, and roast until crunchy for a healthy snack.
Pumpkin Bread: A moist loaf that makes great use of pureed pumpkin. Combine flour, sugar, and spices for a delightful sweet treat.
Decorative Uses
Transforming your pumpkins into decorations adds seasonal charm to your space. Here are some ideas:
Jack-o’-Lanterns: Carve faces into your pumpkins for fun Halloween decorations. You can get creative with designs that suit your style.
Table Centerpieces: Use whole pumpkins as beautiful centerpieces. Stack different sizes and colors for a vibrant display.
Pumpkin Planters: Hollow out a pumpkin and fill it with soil and seasonal flowers for a natural planter that looks stunning.
Fall Wreaths: Incorporate small pumpkins into your front door wreaths along with dried leaves and other autumnal decor.
Using your pumpkins in these ways can enhance your meals and add festive touches to your home. Enjoy the fruits of your labor!
