
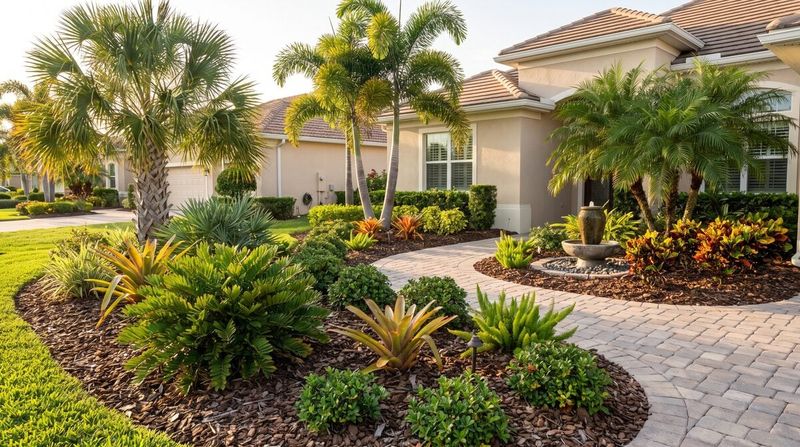
A tropical-looking yard should not keep you busy every weekend. Coontie brings glossy, palm-like leaves to Florida landscapes without constant clipping or heavy watering once established.
This slow-growing Florida native handles sun, shade, and sandy soil, but choosing the right spot makes a big difference. Here are eight places where it can make your yard look fuller while keeping the work light.
1. Along the Front Foundation
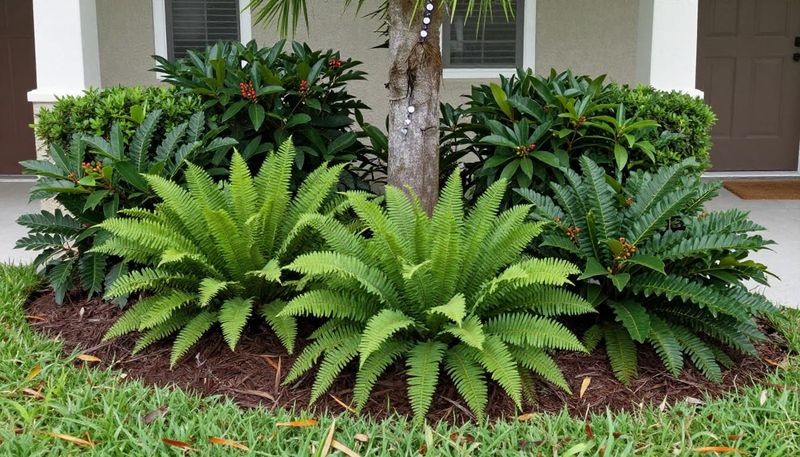
Your front windows should frame the garden, not disappear behind it. Coontie gives a foundation bed a lush, finished look without becoming the tall hedge that needs another trim every month.
Most plants stay around 2 to 3 feet tall, though mature size varies with growing conditions. Their arching leaves can spread wider, so place them far enough from walls and windows to allow room for a mature clump.
Use a small group beneath a broad window or repeat plants across a long wall. Around 3 to 4 feet between centers is a useful starting point, adjusted for the plants’ expected spread and the look you want.
Keep the root ball at its original soil level, and avoid spots where roof runoff collects. A thin mulch layer helps manage weeds, but leave space around the plant’s base.
One placement rule comes first: all parts of coontie are poisonous if eaten, especially the seeds. Skip accessible foundation beds if children or pets might chew plants or pick up seeds.
2. Under the Open Shade of Established Trees
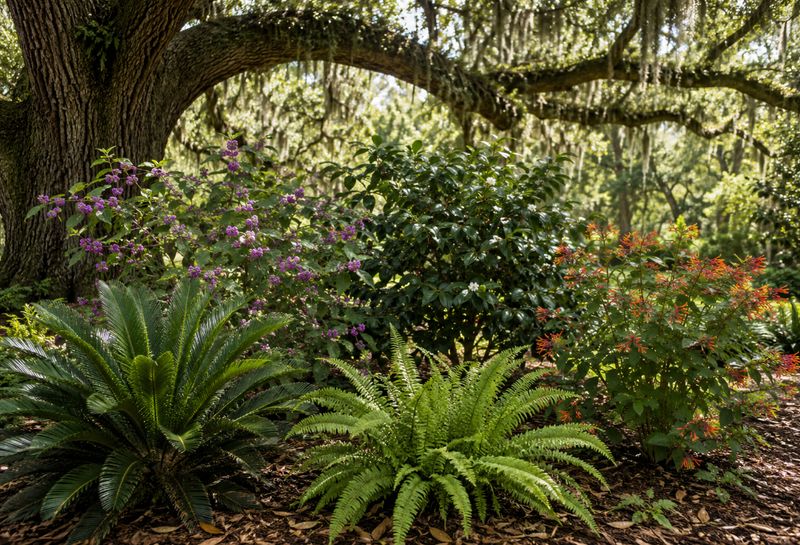
That patch beneath the trees does not have to stay a thin circle of struggling grass. Where sunlight filters through an open canopy, coontie can turn a difficult lawn area into a calm, leafy planting.
Its shade tolerance makes it useful beneath established trees, provided the ground drains well. Expect a looser, more open shape in shade than you would see on plants growing in stronger sunlight.
Protect the tree while you plant. Choose smaller nursery-grown coonties that fit into gaps between major roots, and move the planting hole rather than cutting a large root to make room.
Do not build a raised bed over the tree’s root system or pile soil against its trunk. Keep the trunk flare visible, and let fallen leaves provide some of the bed’s natural ground cover.
Water the new plants directly while they establish, since a tree canopy can intercept rain. Afterward, check soil moisture before watering rather than assuming every shaded bed stays damp.
The payoff is less mowing around roots and a softer woodland edge.
3. Beside a Sunny Walkway
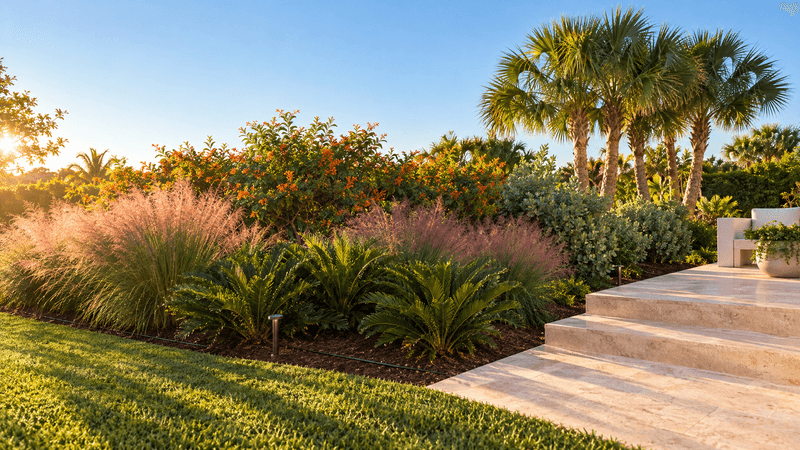
A few well-placed clumps can make an ordinary path feel like an entrance. Coontie’s repeated leaf pattern gives a walkway a clear border without creating a stiff row of clipped shrubs.
Choose a sunny stretch with enough bed width for the leaves to open naturally. Plants grown in sun often develop a denser look, making them especially useful where you want a neat outline.
Set each plant roughly half its expected mature spread back from the pavement, with extra clearance for comfortable walking. A narrow strip directly against the path is usually the wrong fit.
Repeat groups near a bend, a gate, or the approach to the front door rather than crowding the entire route. Leave access to irrigation parts and keep foliage away from steps, lights, and handrails.
New plants still need watering while their roots settle in, even when the label says drought tolerant. Once established, remove only dead or badly damaged leaves instead of shearing the whole plant.
That keeps the natural shape that makes this border appealing.
4. In a Dry Island Bed Instead of Thirsty Lawn
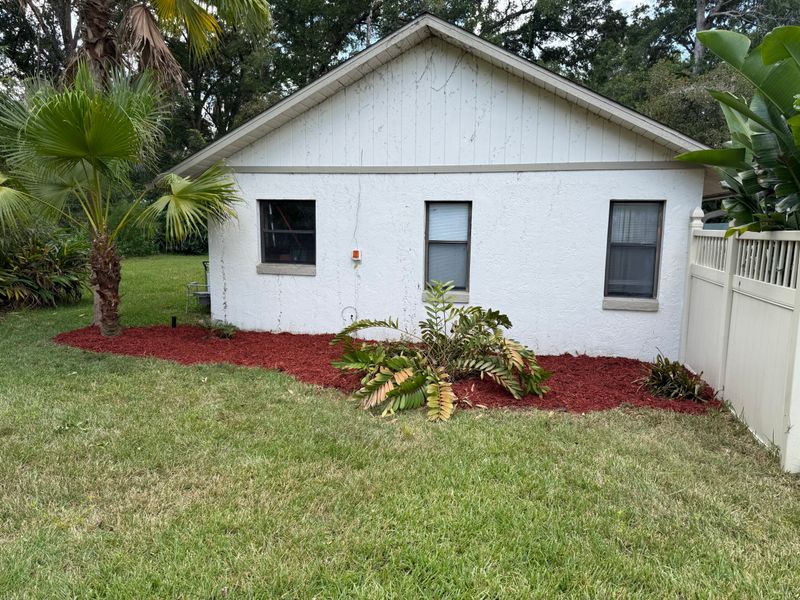
Some lawn patches ask for water and fertilizer without ever looking happy. A sunny, fast-draining island bed gives you another option, especially where Florida’s sandy soil dries quickly between rains.
Group coonties in a broad shape rather than dotting single plants across the grass. One defined bed is easier to mow around, and the repeating foliage looks more intentional from the street.
Remove the existing turf and persistent weeds before planting. Coontie grows slowly, so it will not quickly cover bare ground or push out weeds on its own.
Allow room for mature clumps, then mulch the open spaces while they fill in. Keep mulch clear of plant bases, and avoid packing in extra coonties just to make a new bed look finished immediately.
Separate this area from frequent lawn irrigation if possible. Established coonties generally need far less supplemental water than thirsty turf, but they are not plants for a soggy low point.
Check how the site drains after heavy rain before committing to the switch.
5. At the Front of a Palm or Native Shrub Bed
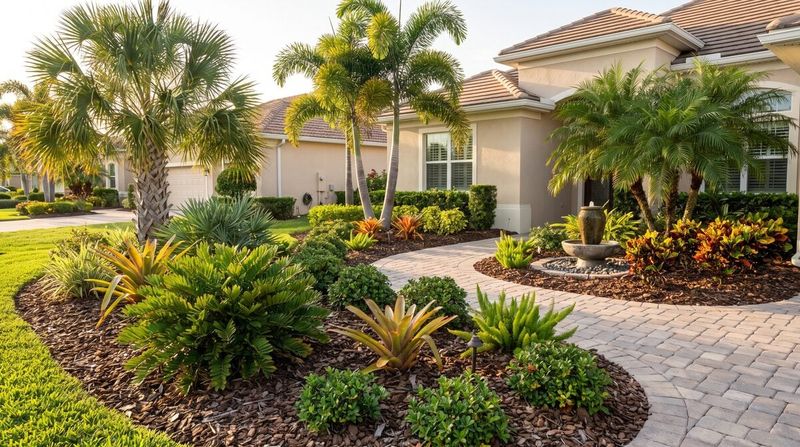
Tall palms supply the height, but their bare trunks do little to fill a garden at eye level. A foreground of coontie adds the missing lower layer without turning the bed into a wall of foliage.
Place it toward the front of a deep planting area, with taller shrubs or palms behind it. The contrast between broad shrub masses, upright trunks, and finely divided coontie leaves creates depth without requiring lots of plant varieties.
Match the entire group to the site’s light and drainage. Pairing drought-tolerant plants makes little sense if one nearby shrub needs the bed watered constantly.
Leave practical access around palm trunks for inspection and maintenance. Avoid planting directly where falling fronds are likely to crush foliage, and do not pile soil or mulch against any trunk.
For a relaxed arrangement, repeat uneven groups with open space between them. Coontie is a cycad, not a true palm or fern, but its shape blends comfortably with both.
That makes it a useful bridge between a native planting and a more tropical-looking yard.
6. On the Sheltered Side of a Coastal Yard
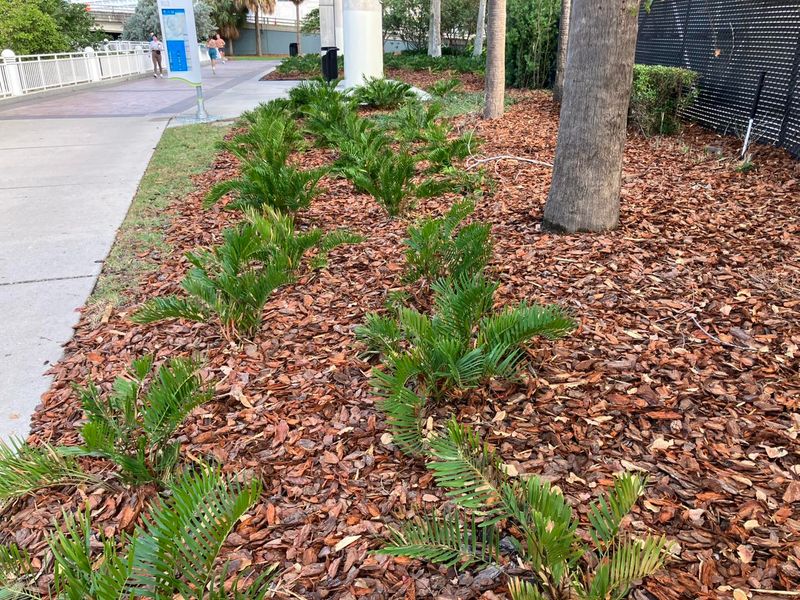
Living near the coast does not mean every planting bed has to look windswept. Coontie can bring a fuller green layer to protected parts of a coastal Florida yard where the soil drains freely.
Its tolerance of some salt exposure is useful, but that is not permission to plant it in the harshest beachfront position. A bed behind the house, a wall, or established shrubs is a better choice than a site receiving constant direct salt spray.
Drainage matters just as much as exposure. Avoid depressions that hold stormwater, areas subject to tidal flooding, and places where salty runoff collects.
Observe the bed during ordinary windy weather and after a heavy rain. Those two checks reveal more about the planting spot than its distance from the beach alone.
Use nursery-grown plants and water them through establishment, checking the root zone rather than following a rigid schedule. In a suitable sheltered location, coontie’s low profile and sturdy leaves provide tropical texture without the frequent pruning that larger coastal shrubs may require.
7. In a Quiet Butterfly Habitat Corner
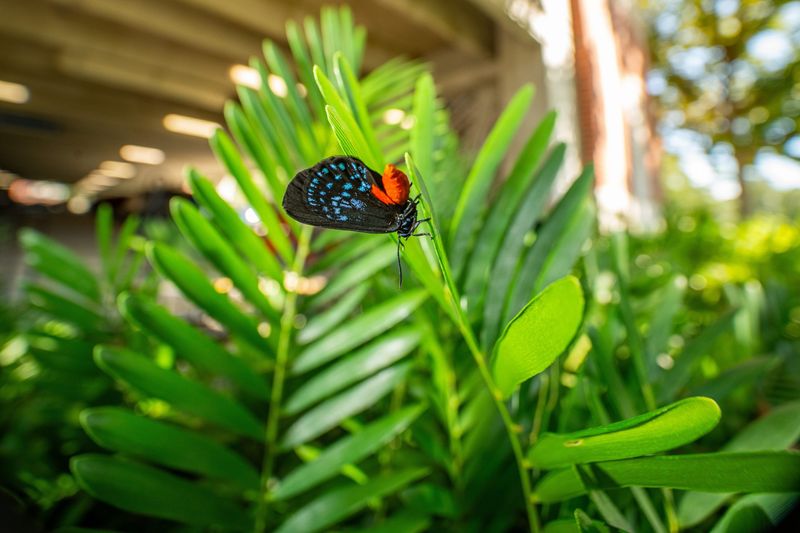
A few chewed leaves can mean your planting is doing exactly what you hoped. Coontie is a larval host plant for the atala butterfly, making it especially valuable in South Florida gardens within the butterfly’s range.
Give several plants space in a quiet bed where leaf damage will not bother you. Caterpillars can remove a surprising amount of foliage, so a habitat planting calls for different expectations than a picture-perfect entry bed.
Add locally suitable flowering plants nearby to provide nectar for adult butterflies. Coontie supplies caterpillar food, not the flower buffet adults need.
Avoid broad-spectrum insecticides in this area, and watch for eggs or caterpillars before removing damaged leaves. Atalas are not present throughout Florida, so planting coontie does not guarantee a visit.
Buy nursery-propagated stock rather than collecting wild plants. Locate the bed away from children’s play spaces and pets that chew vegetation because coontie is toxic if eaten.
With those limits respected, this corner offers something beyond good looks: a useful native host plant with a real role in local wildlife habitat.
8. Along a Partly Shaded Side Yard
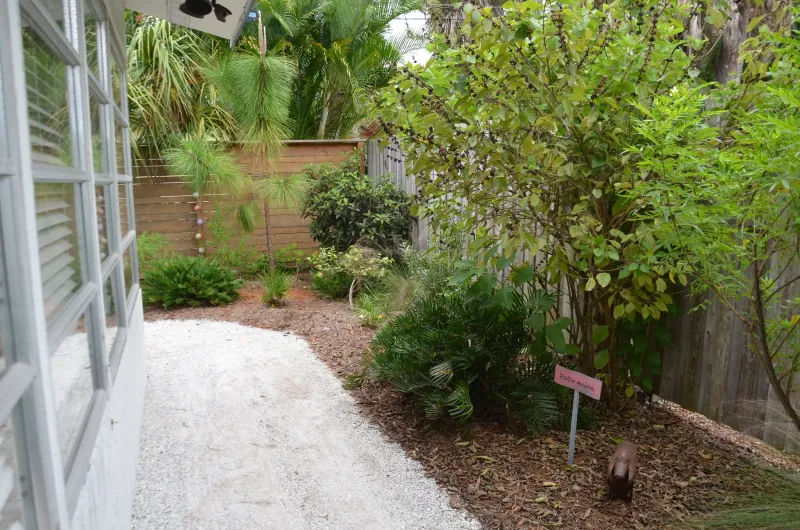
The side yard often gets whatever plants are left over. A planned row of coontie can make that overlooked passage feel connected to the rest of the landscape without adding a regular clipping chore.
Look for a stretch with partial shade, decent airflow, and enough width for both mature foliage and a clear walking route. Deep, cramped gaps between buildings are less promising than an open side bed.
Before digging, identify underground utilities and check where downspouts discharge. Keep plants clear of air-conditioning equipment, meters, hose connections, and any access space required for servicing them.
Watch this area after a downpour, too. A side yard that acts as a drainage channel is not suitable simply because it looks dry on planting day.
Repeat coonties loosely along the fence and use mulch to reduce exposed soil. During establishment, check moisture beneath roof overhangs, where rain may never reach.
Once the plants settle in, occasional weeding, careful watering during extended dry spells, and removal of dead foliage should cover much of the routine care.