Transform your cooking with the rich, aromatic flavor of homegrown garlic! This potent bulb not only enhances countless dishes but also offers health benefits like boosting immunity and heart health.
Easy to grow, garlic suits gardeners of all levels. This guide will walk you through each step, from selecting the best variety to harvesting and storing your crop.
Whether you’re an experienced gardener or just starting out, you’ll learn how to cultivate garlic that’s fresher and more flavorful than store-bought. Let’s explore the joys of growing your own garlic!
Why Grow Garlic?
Garlic is not only a culinary delight but also boasts numerous health benefits.
It’s known for its antibacterial, antiviral, and antifungal properties, and it’s rich in vitamins C and B6, manganese, and selenium.
Growing garlic is relatively easy and requires minimal space, making it an excellent choice for both seasoned gardeners and beginners.
Selecting the Right Variety

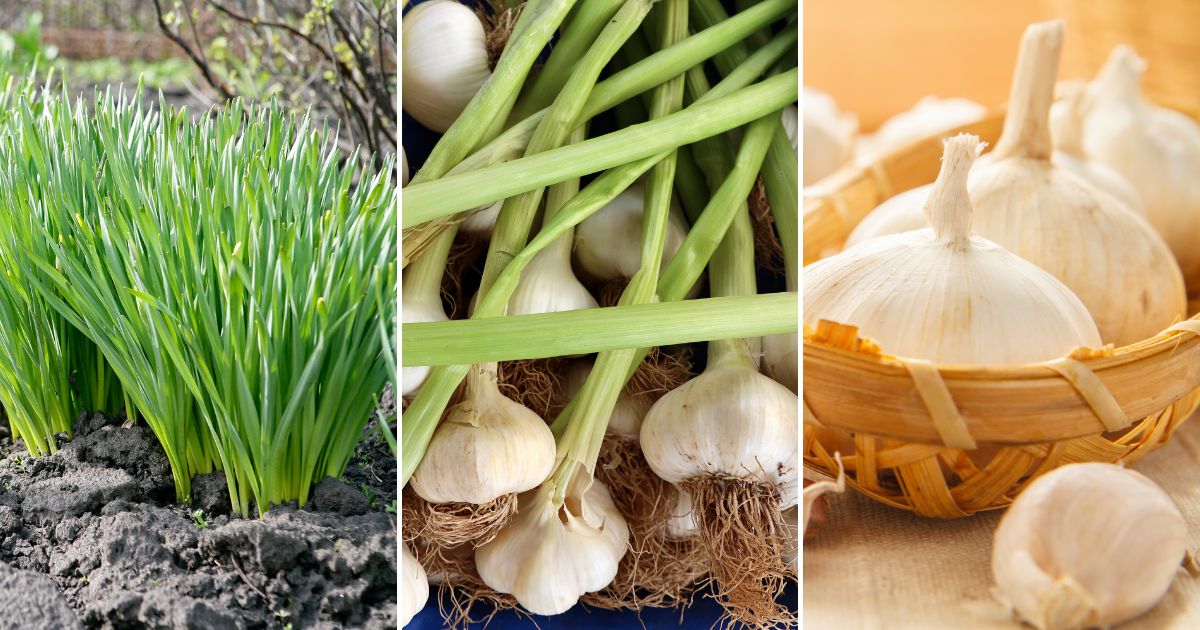
Garlic comes in two main types: hardneck and softneck.
- Hardneck Garlic: This type produces a flower stalk called a scape and has a hard stem running through the bulb. It typically has a stronger flavor and is more cold-hardy, making it ideal for northern climates. Popular varieties include Rocambole, Purple Stripe, and Porcelain.
- Softneck Garlic: This variety does not produce a scape and has a soft, flexible stem. Softneck garlic tends to have a milder flavor and a longer shelf life. It’s well-suited for warmer climates. Common varieties include Artichoke and Silverskin.
Preparing the Soil
Garlic thrives in well-drained, fertile soil with a pH between 6.0 and 7.0. Here are the steps to prepare your soil:
1. Choose the Right Location: Select a sunny spot in your garden that receives at least six hours of direct sunlight daily.
2. Test the Soil: Conduct a soil test to determine its pH and nutrient levels. Amend the soil with compost or well-rotted manure to improve fertility.
3. Prepare the Bed: Loosen the soil to a depth of at least 12 inches, removing any weeds or debris. Create raised beds if your soil is heavy clay to ensure proper drainage.
Planting Garlic
Garlic is typically planted in the fall, about six weeks before the first hard frost. Here’s how to do it:
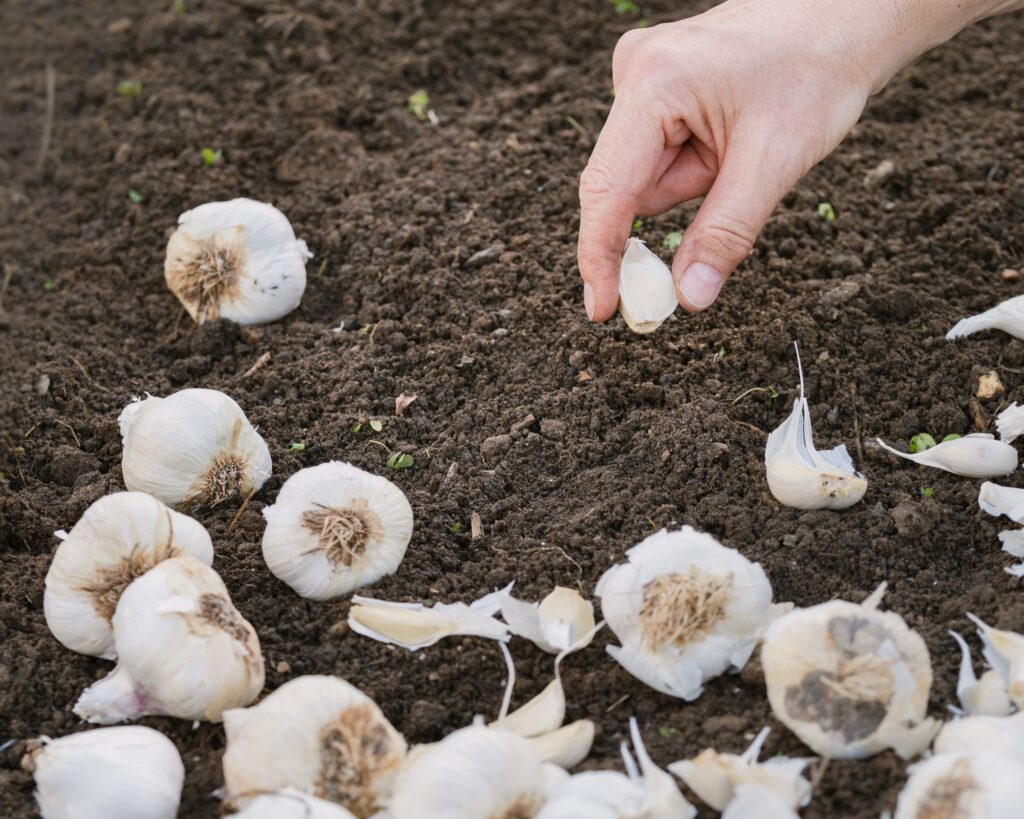
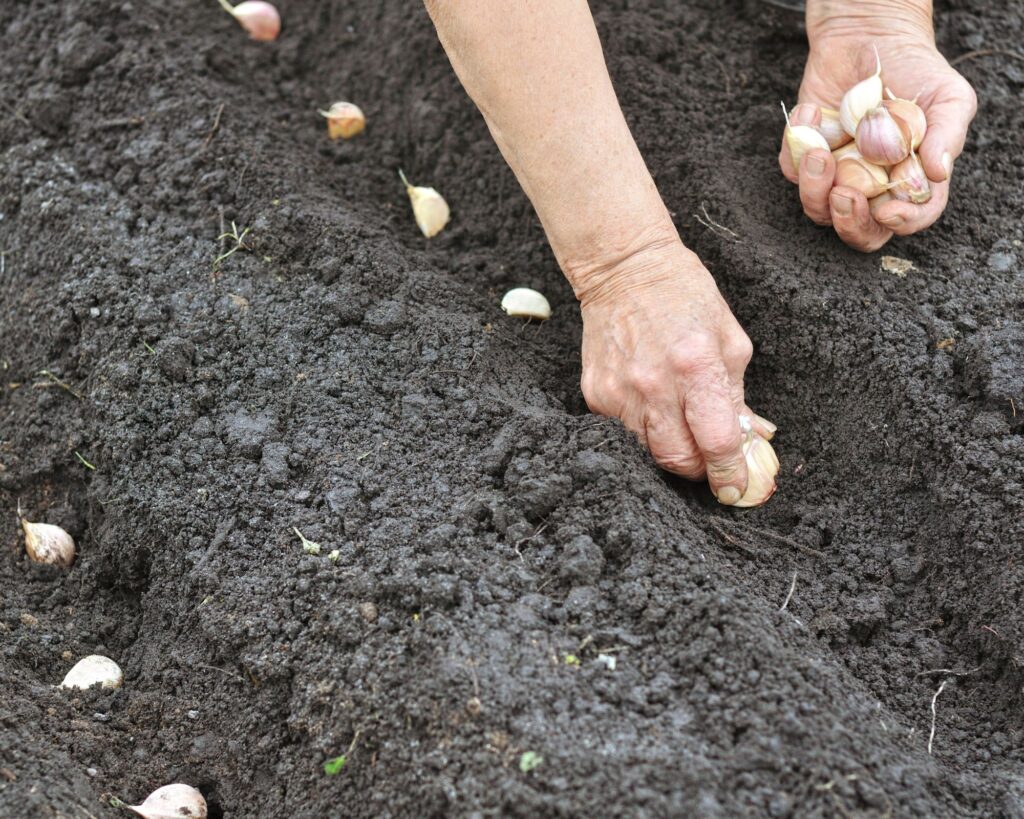
1. Separate the Cloves: Break apart the garlic bulbs into individual cloves, leaving the papery skin intact. Select the largest cloves for planting as they will produce the biggest bulbs.
2. Plant the Cloves: Plant the cloves about 2 inches deep, with the pointed end facing up, and space them 6 inches apart. Rows should be spaced 12 inches apart.
3. Mulch: Apply a 3-4 inch layer of mulch, such as straw or leaves, to insulate the soil, retain moisture, and suppress weeds.
Caring for Your Garlic
Garlic requires minimal maintenance, but there are a few key practices to ensure a healthy crop:
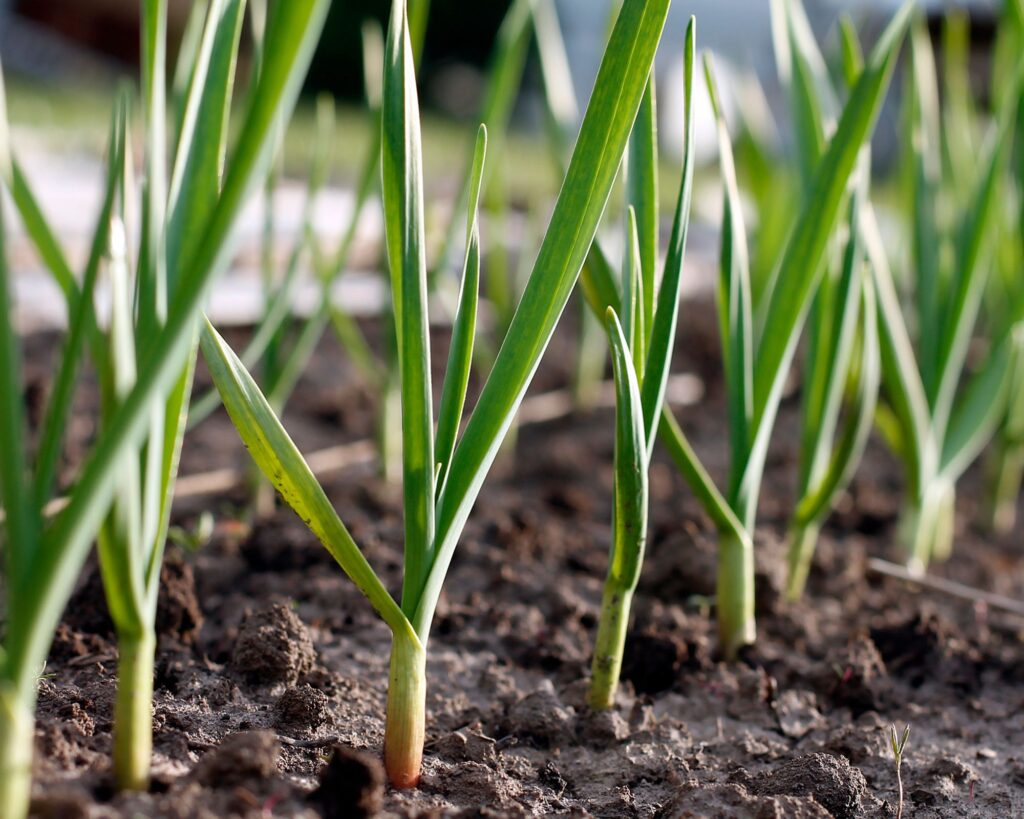
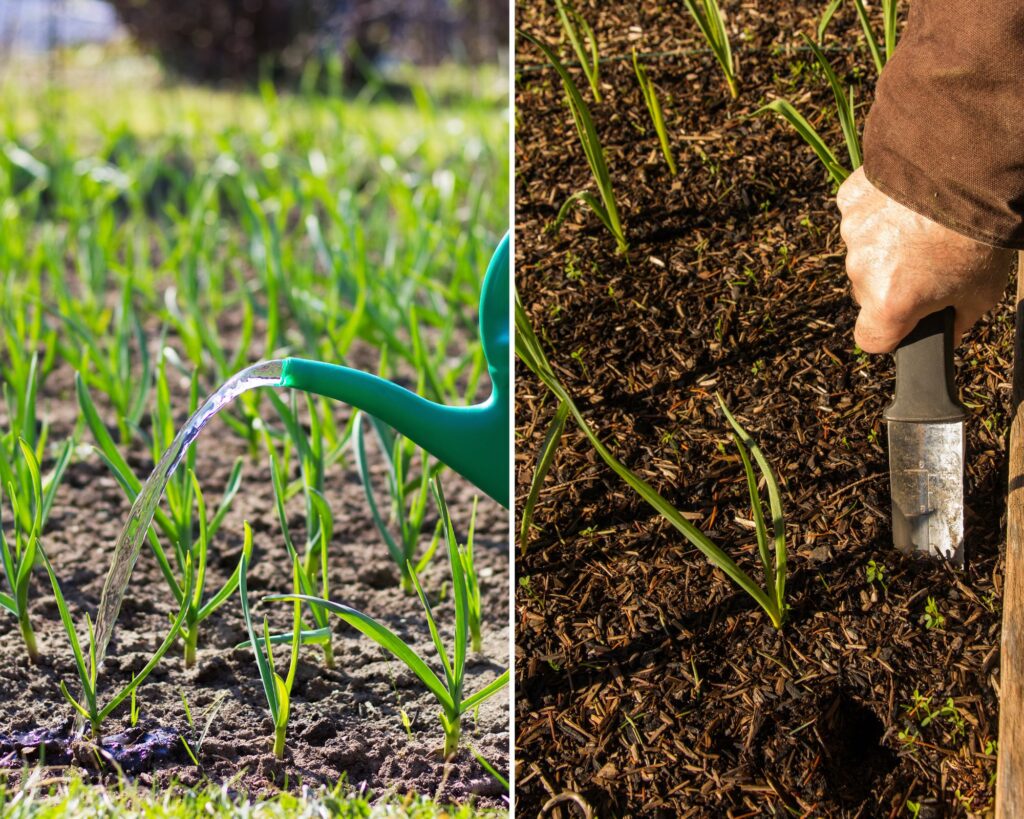
1. Watering: Garlic needs consistent moisture, especially during the early stages of growth and bulb formation. Water deeply, providing about 1 inch of water per week. Reduce watering as the plants mature to prevent rot.
2. Fertilizing: Feed your garlic with a balanced fertilizer or compost tea in early spring when the shoots begin to emerge. Avoid high-nitrogen fertilizers as they can promote excessive leaf growth at the expense of bulb development.
3. Weeding: Keep the garlic bed free of weeds, which can compete for nutrients and water. Mulching helps reduce weed growth, but hand-weeding may still be necessary.
4. Scape Removal: If you’re growing hardneck garlic, remove the scapes (flower stalks) when they start to curl. This directs the plant’s energy toward bulb development. Scapes are edible and can be used in cooking.
Harvesting Garlic
The timing of garlic harvest is crucial for obtaining the best flavor and storage quality. Garlic is usually ready to harvest in mid to late summer, depending on the variety and growing conditions.
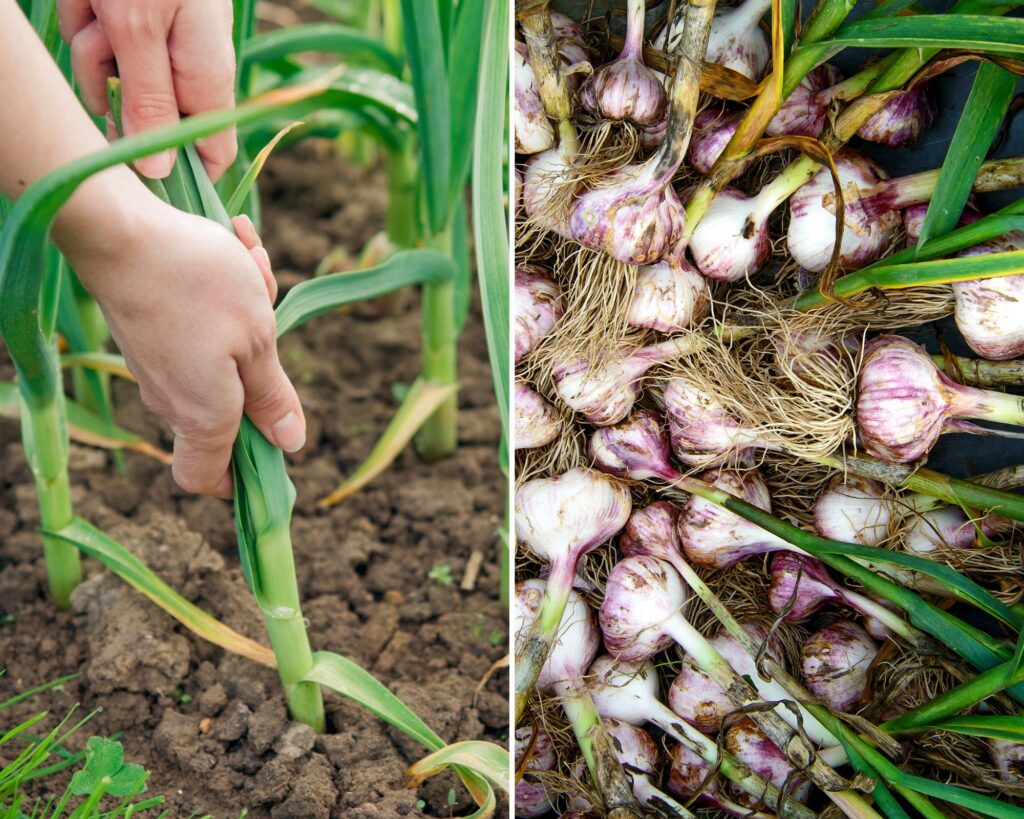
1. Watch for Signs: When the lower leaves turn yellow and start to die back, it’s a sign that the garlic is ready to harvest. Typically, about half to two-thirds of the leaves will have turned brown.
2. Check the Bulbs: Carefully dig up a few bulbs to check their size and wrapper quality. The bulbs should be plump and fully formed, with tight, dry skins.
3. Harvesting: Use a garden fork or shovel to gently lift the bulbs out of the soil. Be careful not to bruise or damage the bulbs as this can affect their storage life.
Curing and Storing Garlic
Proper curing is essential for long-term storage of garlic. Follow these steps:
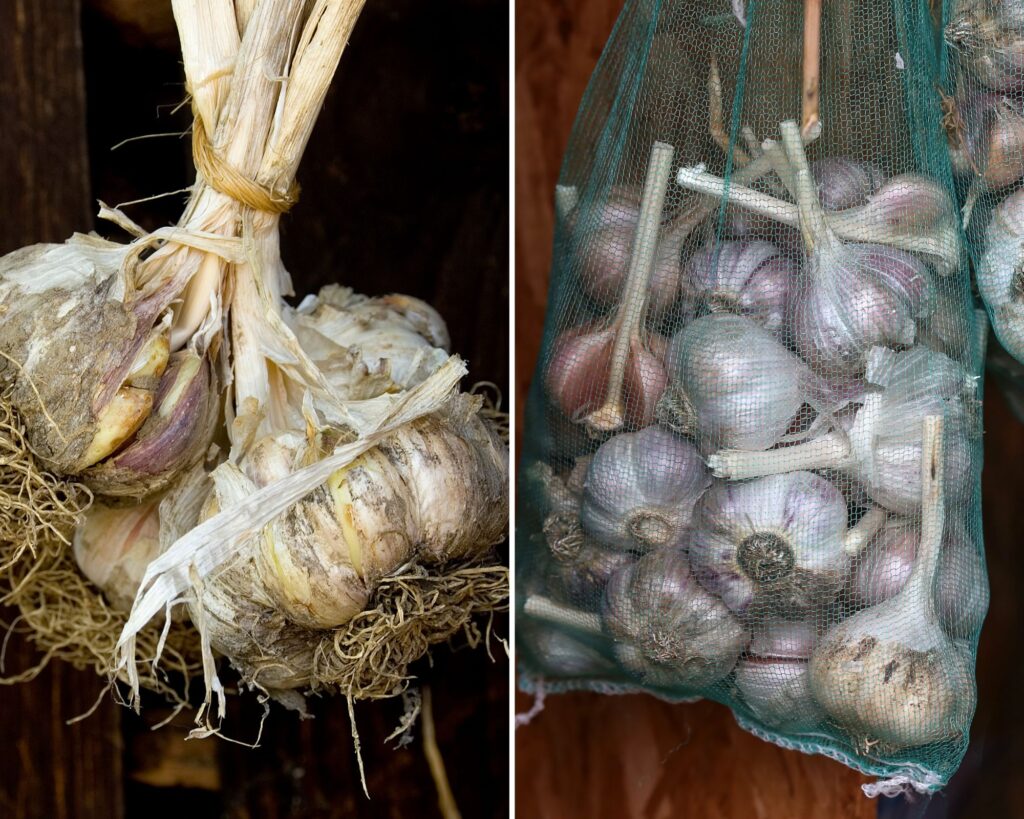
1. Drying: Brush off excess soil but do not wash the bulbs. Lay the garlic in a single layer or hang them in bunches in a well-ventilated, dry, and shaded area. Avoid direct sunlight, as it can scorch the bulbs. Allow the garlic to dry for 3-4 weeks.
2. Cleaning: After the garlic is fully cured, trim the roots and cut the stems to about 1 inch above the bulb. Remove any dirty or loose outer skins, but be careful not to expose the cloves.
3. Storage: Store garlic in a cool, dry, and dark place with good air circulation. Ideal storage conditions are between 60-65°F and 40-60% humidity. Avoid storing garlic in the refrigerator, as the cold temperature can cause it to sprout.
Common Problems and Solutions
While garlic is relatively easy to grow, it can be susceptible to certain pests and diseases. Here are some common issues and how to address them:
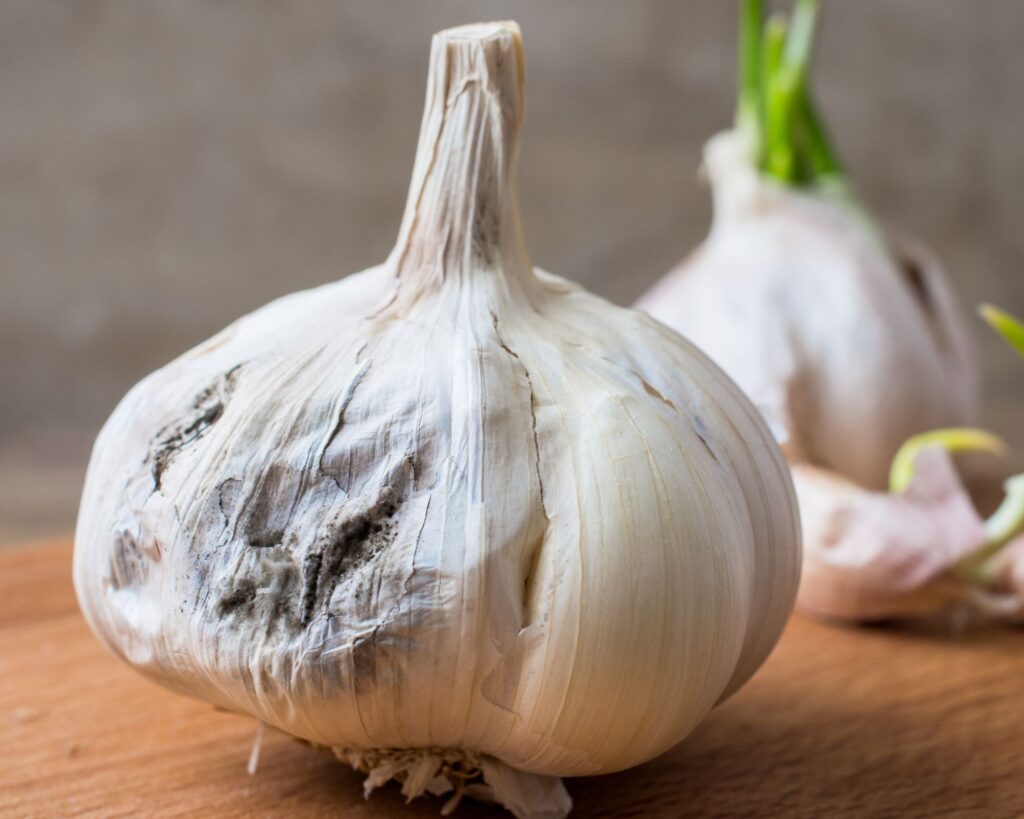
1. Garlic Rust: This fungal disease appears as orange spots on the leaves. Remove and destroy affected leaves, and avoid overhead watering to reduce humidity around the plants.
2. White Rot: This soil-borne disease causes yellowing leaves and white fungal growth at the base of the plant. Rotate crops and avoid planting garlic in the same spot for several years to prevent this issue.
3. Onion Maggots: These pests can damage the bulbs by burrowing into them. Use row covers to protect young plants and practice crop rotation to minimize infestations.
Growing your own garlic is a fulfilling endeavor that yields flavorful, healthy bulbs for your kitchen.
By selecting the right variety, preparing the soil, planting correctly, and providing proper care, you can enjoy a bountiful harvest.
With this complete guide, you’re well-equipped to start your garlic-growing journey and reap the rewards of homegrown garlic.