Discover the ancient art of using ollas to effortlessly keep your garden hydrated. This time-tested, eco-friendly method requires no hoses and significantly reduces water waste.
Embrace these seven essential tips to create your own olla system and ensure your plants remain lush and vibrant.
1. Gather Your Materials
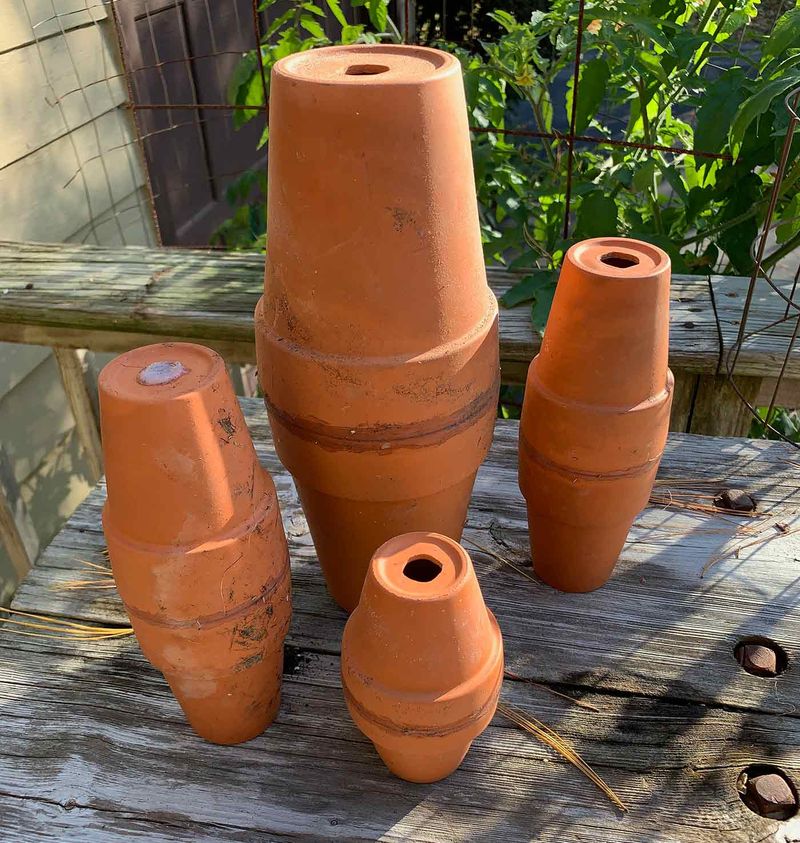
Begin your olla adventure by gathering the necessary materials. You’ll need two unglazed terracotta pots of the same size, each with a drainage hole. Don’t forget waterproof silicone or a robust outdoor-safe adhesive. A small terracotta saucer or tile acts as a perfect lid. Keep water and a rag handy for cleaning. Ensuring these materials are within reach will set you up for seamless gardening success.
2. Seal the Bottom Drainage Hole
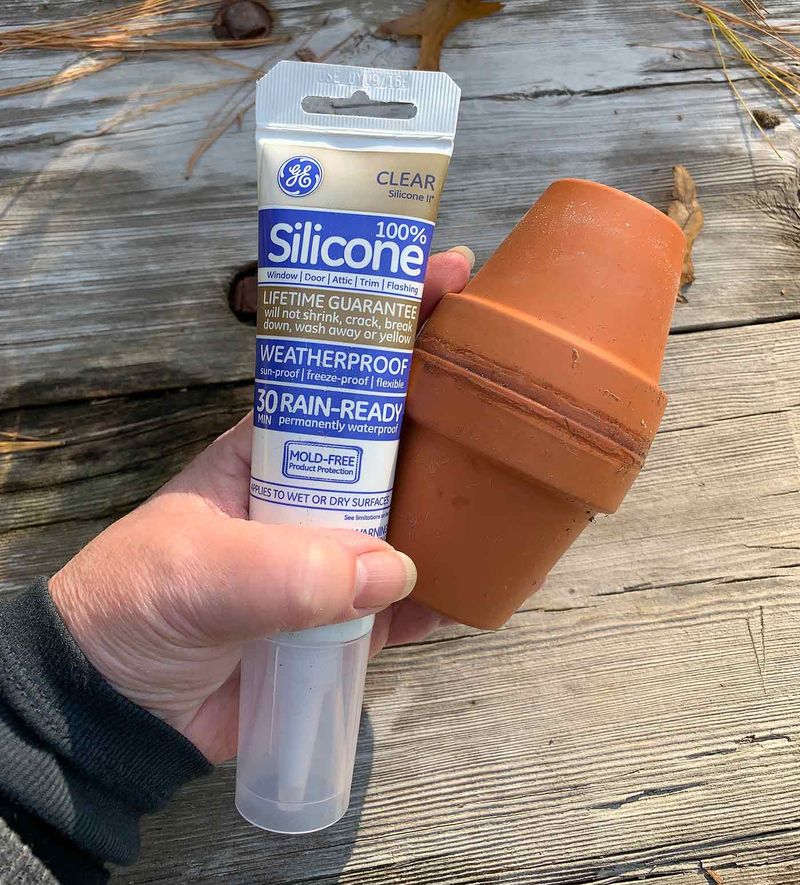
Sealing the drainage hole is a pivotal step. Use silicone or adhesive to completely close the drainage hole of one pot. This creates a watertight base essential for the olla’s function. Allow the seal to cure fully, typically over a 24-hour period. This step ensures water retention and efficient irrigation, paving the way for thriving plants.
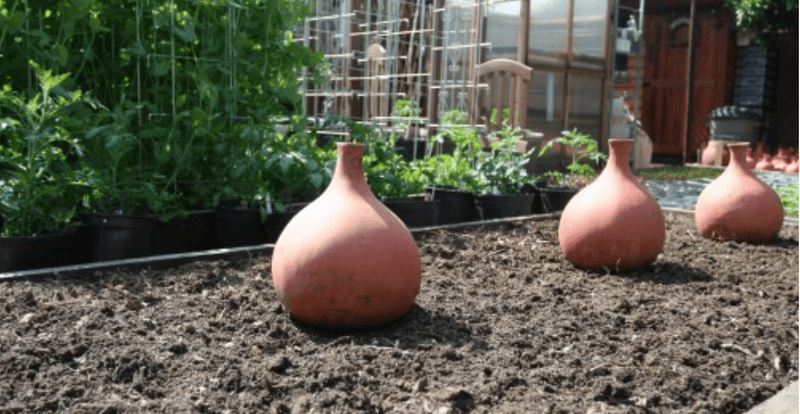
3. Join the Pots Together
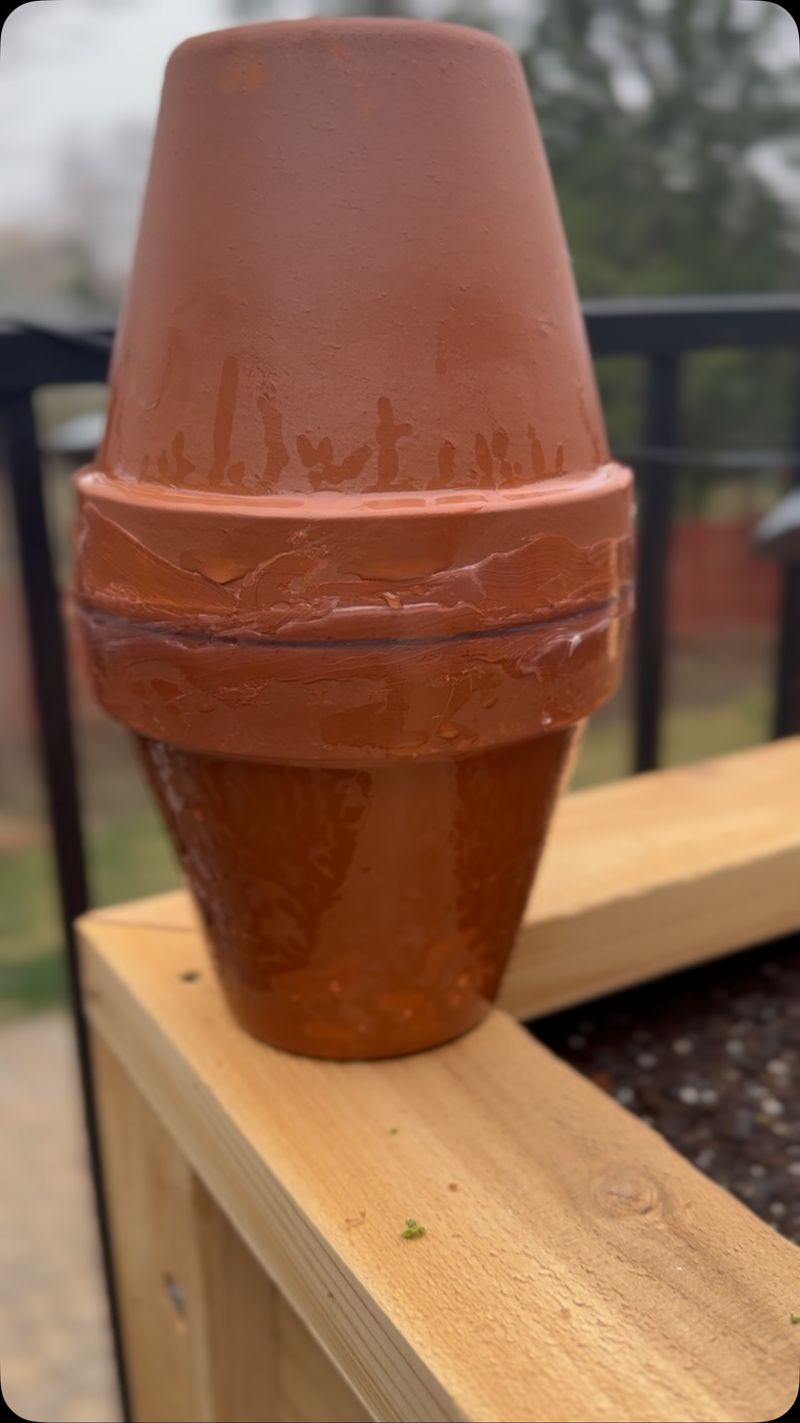
Form your olla by joining the pots. Apply silicone generously around the rim of the sealed pot. Carefully press the second pot, keeping its hole open, atop the first pot to create a sealed chamber. Ensure a tight fit and allow the adhesive to dry completely. This clever union forms the heart of your DIY irrigation system, promising consistent hydration for your garden.
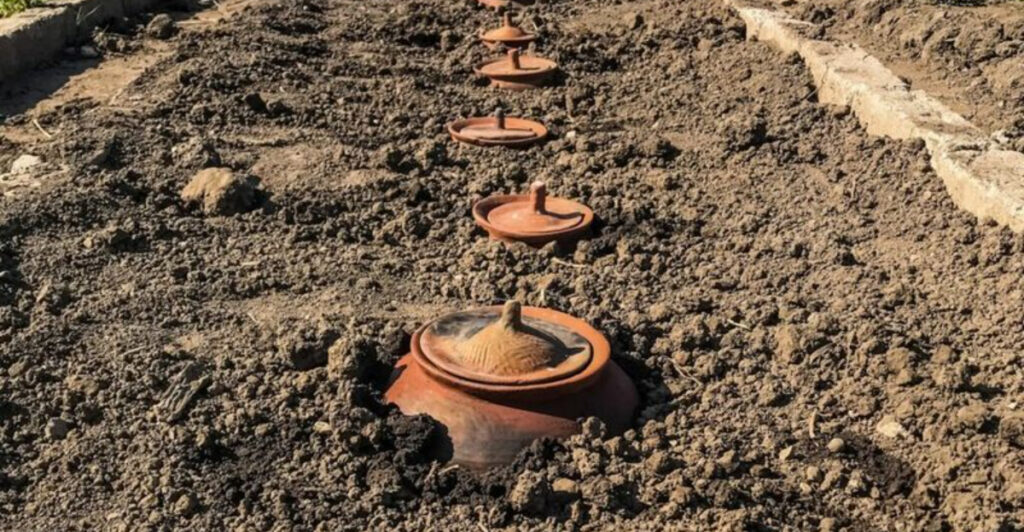
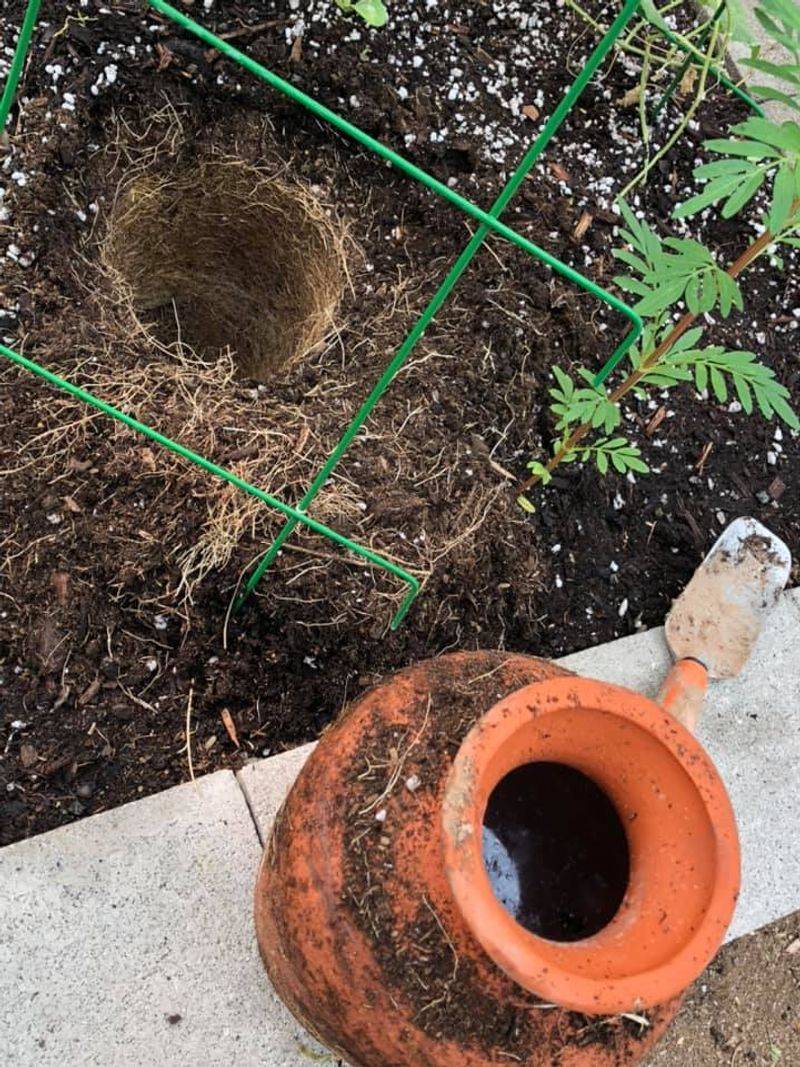
4. Bury Your Olla
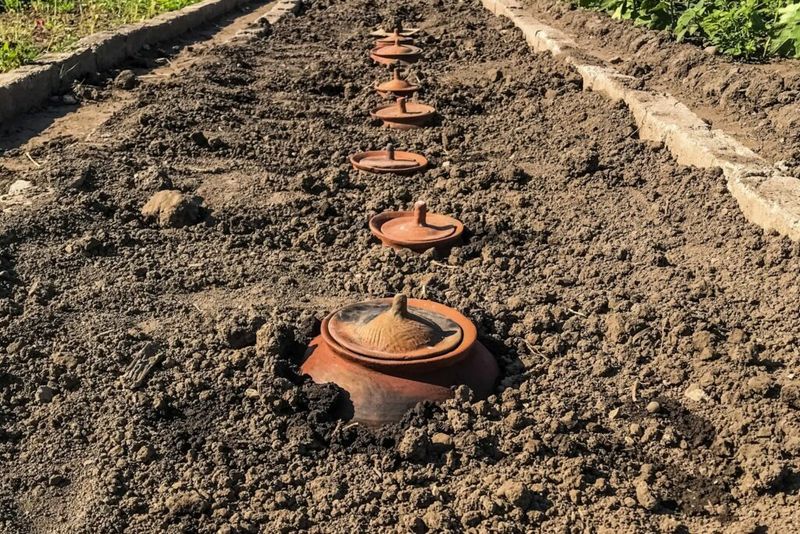
Transform your garden by burying the olla. Dig a hole deep enough so only the top peeks above the ground. Place the olla snugly in position and backfill the soil around it. This strategic placement allows water to slowly seep into the soil, reaching plant roots directly. Your garden will flourish, reaping the benefits of this ancient technique.
5. Fill and Cover
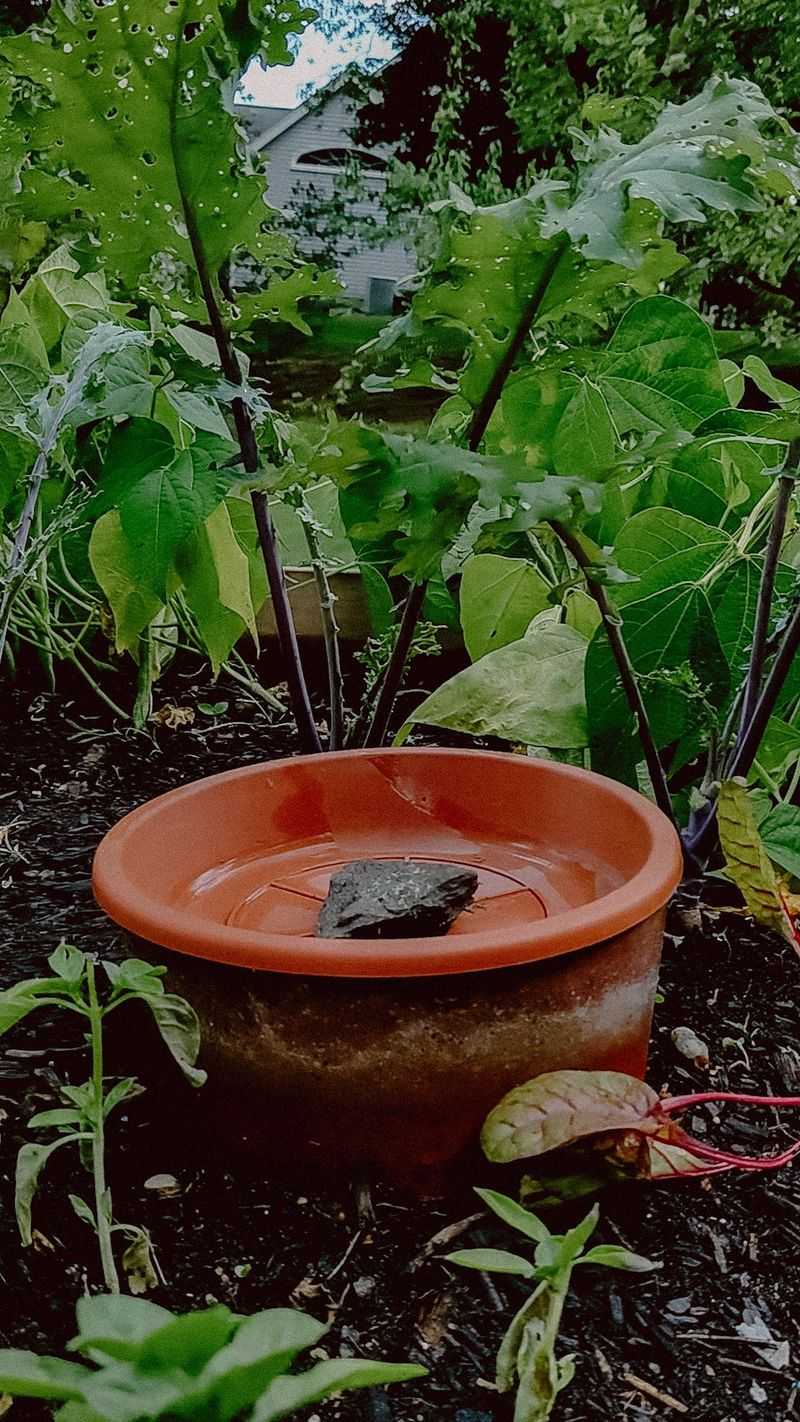
Maximize efficiency by filling the olla with water through its open top hole. Cover it with a terracotta saucer, tile, or a rock to minimize evaporation and block debris. This simple act ensures your plants receive a steady trickle of moisture. By maintaining a well-covered olla, you enhance its effectiveness, watering your garden for days without effort.
6. Plant Around It
Achieve thriving greenery by strategically planting water-loving species like tomatoes, cucumbers, or herbs around your olla. This method ensures consistent moisture directly to the roots, fostering robust plant growth. The olla’s slow water release nurtures a vibrant, sustainable garden. Implementing this technique aligns with an eco-conscious gardening ethos, promoting lush landscapes without excessive water use.
7. Refill as Needed
Maintain optimal garden health by regularly checking and refilling the olla every 3–5 days. Weather conditions and plant needs can influence the frequency. This practice ensures a continual water supply, adapting to changing environmental demands. The art of refilling aligns with nature’s rhythms, emphasizing a responsive approach to your garden’s hydration.