Imagine having the power to grow one of the world’s most cherished spices right on your windowsill, no matter where you live. If you’ve ever thought that growing turmeric requires a vast tropical garden, think again!
With just a little space and the right approach, you can cultivate this golden spice in a container, even in the smallest of spaces. Whether you’re in the heart of a bustling city or tucked away in a cooler climate, growing turmeric is within your reach.

All it takes is sourcing some fresh turmeric rhizomes, easily found online or at your local garden center, and setting up your container in a warm, sunny spot. For those in colder regions, don’t worry—using a grow light can mimic the tropical conditions that turmeric loves.
With regular care, including proper watering and organic fertilizing, you’ll be on your way to harvesting your very own turmeric in as little as 8-10 months.
Ready to embark on this rewarding gardening journey? Let’s dive into the steps to turn your container into a thriving turmeric oasis.
Understanding Turmeric
Turmeric is a tropical plant known for its medicinal properties and culinary uses. Proper knowledge of its origins and characteristics, as well as its health benefits and uses, will help you grow it successfully.
Origins and Characteristics
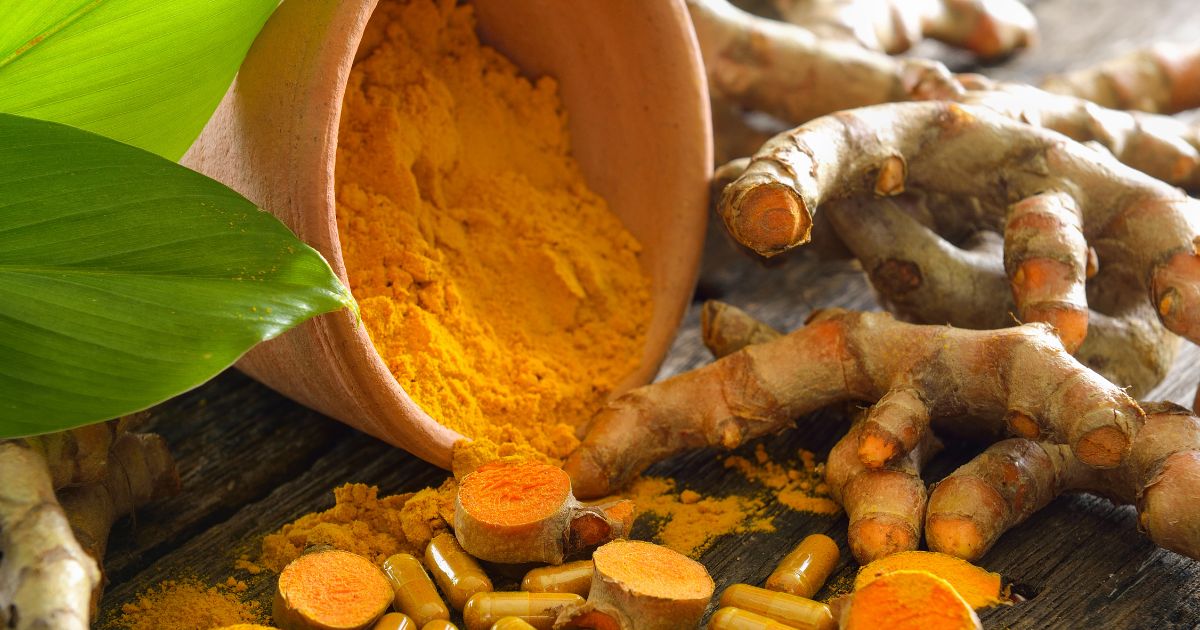
Turmeric (Curcuma longa) originates from South Asia, particularly India. This perennial herb belongs to the ginger family. It thrives in warm, humid conditions and requires well-drained, fertile soil.
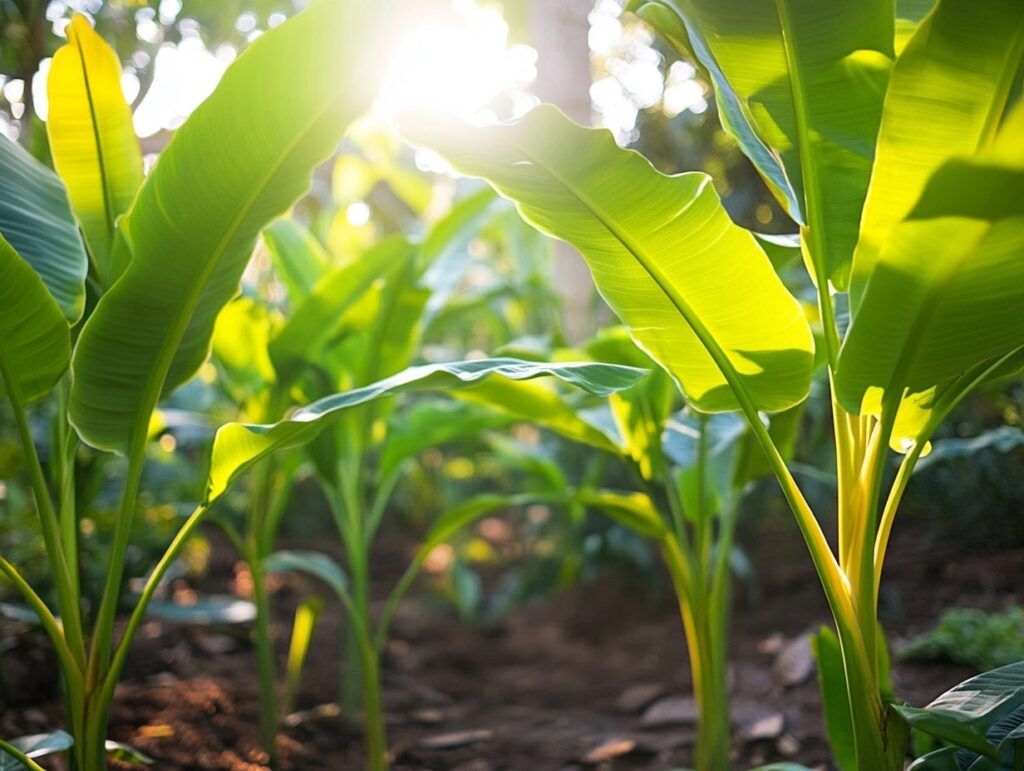
The plant typically reaches a height of about 3 feet, producing large, lance-shaped leaves and yellow flowers.
Its rhizomes are the most valued part, containing curcumin, which gives turmeric its characteristic yellow color. Rhizomes are harvested after 8-10 months of growth. Key environmental needs include:
- Temperature: 68-86°F (20-30°C)
- Humidity: High
- Sunlight: Partial shade to full sun
- Soil: Well-draining, rich in organic matter
Health Benefits and Uses
Turmeric is notable for its anti-inflammatory, antioxidant, and antimicrobial properties. Curcumin, its primary active compound, plays a critical role in these health benefits. You can use turmeric in various forms, such as fresh roots, dried powder, or supplements.

Common uses include:
- Culinary: Adds flavor and color to dishes
- Medicinal: Used in traditional medicine to treat conditions like arthritis and digestive issues
- Skincare: Applied in masks for its soothing properties
Scientific research supports many of these benefits, emphasizing its role in promoting overall health and wellness. Regular consumption within recommended limits is advised.
Choosing the Right Container
Selecting the proper container for growing turmeric is crucial. The right container can affect growth, water retention, and overall health of the plant.
Container Size and Material
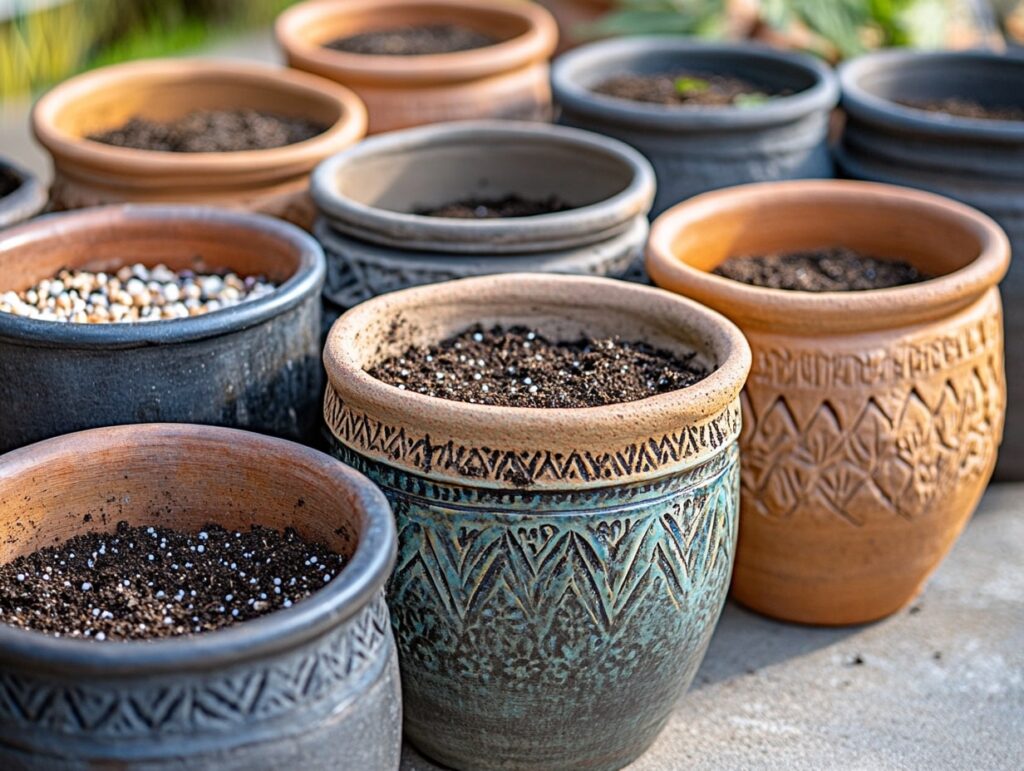
When growing turmeric, choose a container that is at least 12 inches deep and 12-18 inches wide. This provides ample room for the roots to spread. A larger container can support more rhizomes and result in a bigger harvest.
Material matters: Plastic, ceramic, or unglazed clay are excellent choices. Plastic is durable and retains moisture well, while ceramic offers better insulation. Unglazed clay pots allow for air circulation, which can prevent root rot.
Tips:
- Avoid materials that heat up too quickly in the sun.
- Consider weight and portability; filled containers can be heavy.
Drainage Considerations
Turmeric does not tolerate waterlogged soil. Containers must have drainage holes to ensure excess water can escape. Poor drainage leads to root rot and other issues.
Improving drainage:
- Add a layer of gravel or small stones at the bottom.
- Use well-draining potting mix. Look for mixes labeled “cactus” or “succulent.”
Also, raise the container slightly off the ground using pot feet or small blocks. This helps excess water drain more easily, preventing the bottom from sitting in water. Ensuring good drainage is vital for healthy turmeric growth.
Preparation for Planting
Knowing how to properly prepare the soil mix and select the right turmeric rhizomes is crucial for a successful harvest. Focus on creating the perfect environment for turmeric.
Soil Mix and pH
Turmeric thrives in well-drained, fertile soil with a pH of 5.5 to 7.0. Use a mix of 60% potting soil, 20% coconut coir, and 20% compost to ensure proper drainage and nutrients.
Check the pH with a soil tester kit. Adjust with lime to raise the pH or sulfur to lower it if necessary. Ensure the soil is moist but not waterlogged. Add organic matter like well-rotted manure or leaf mulch to enrich the mixture further.
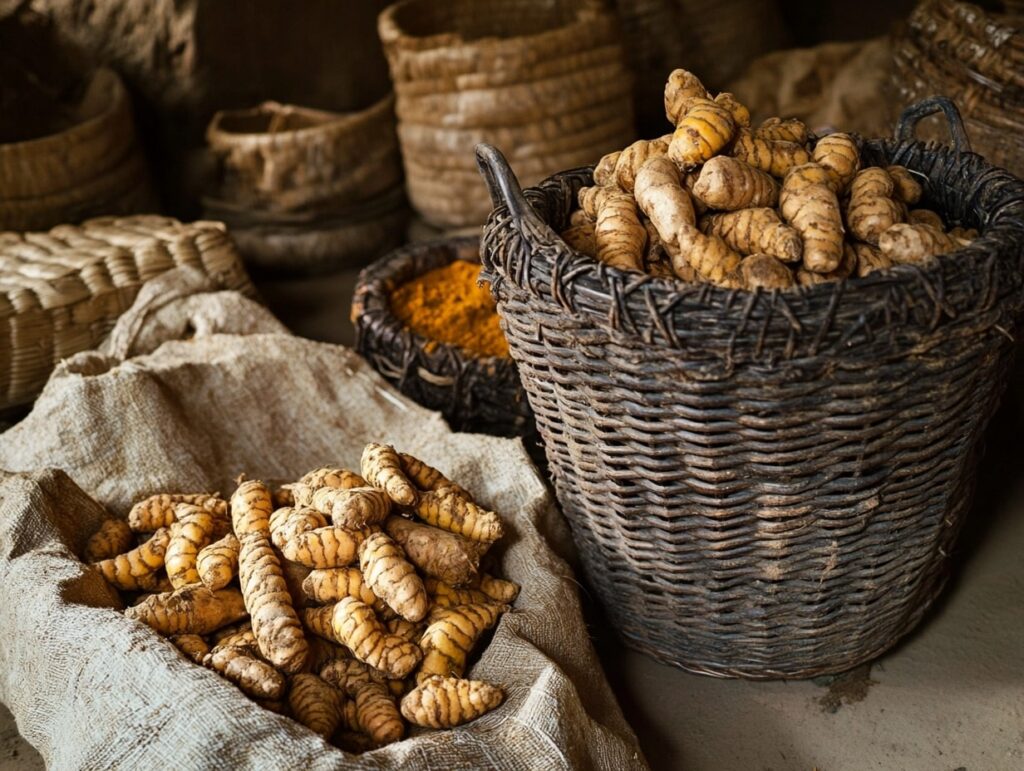
Turmeric Rhizome Selection
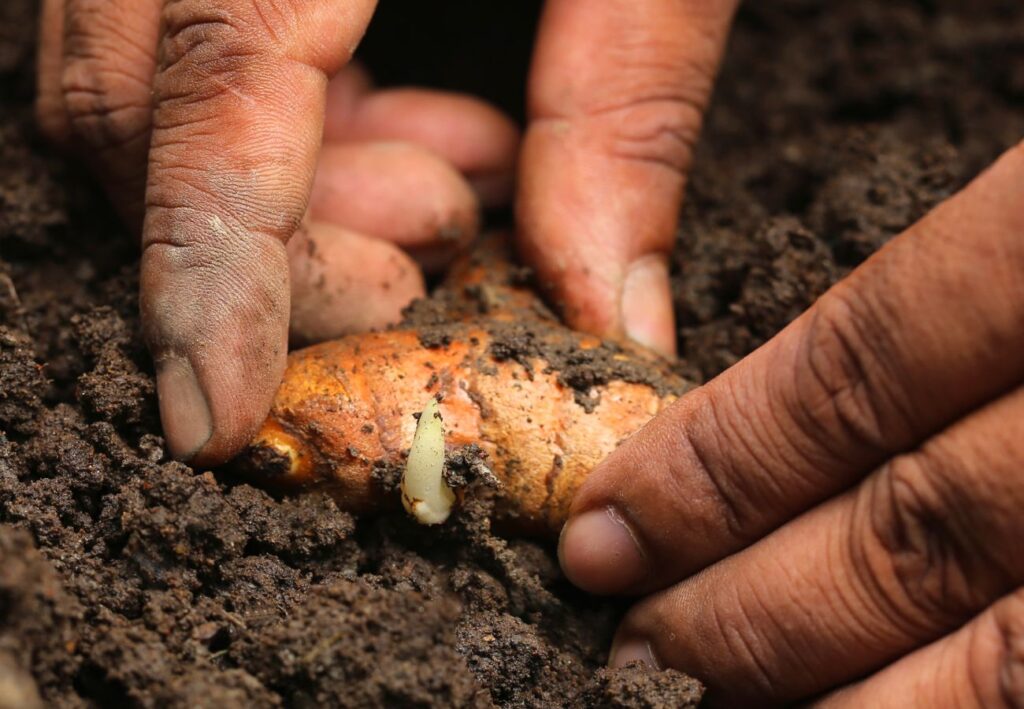
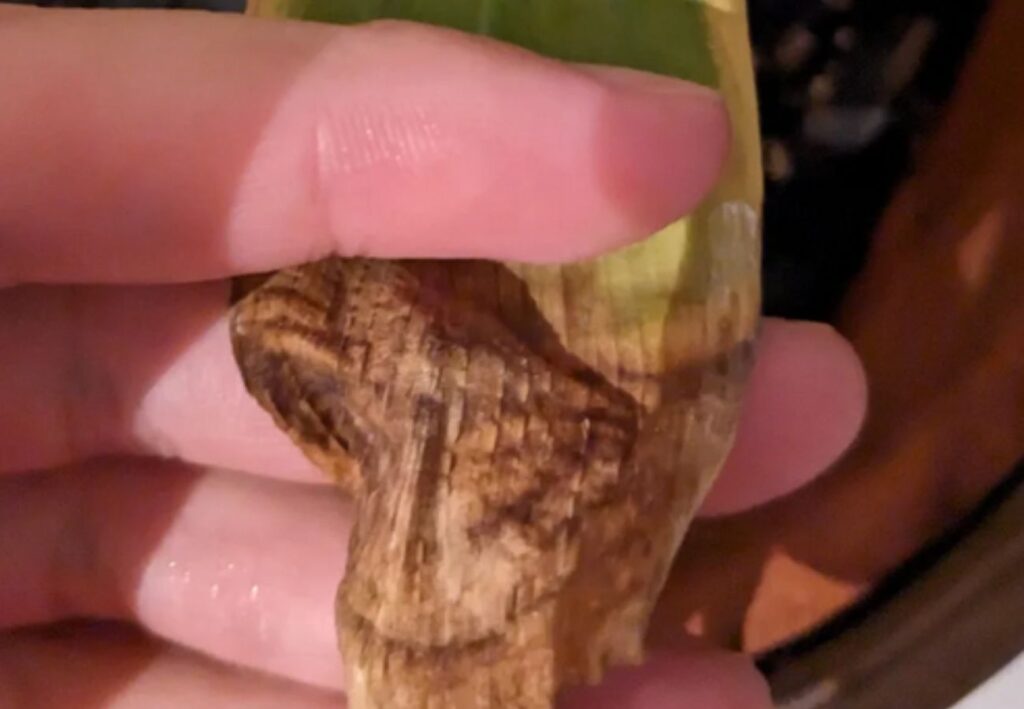
Select rhizomes that are plump, firm, and free from blemishes or signs of disease. Look for pieces that have at least a couple of buds or eyes. You can buy these from garden centers or organic grocery stores.
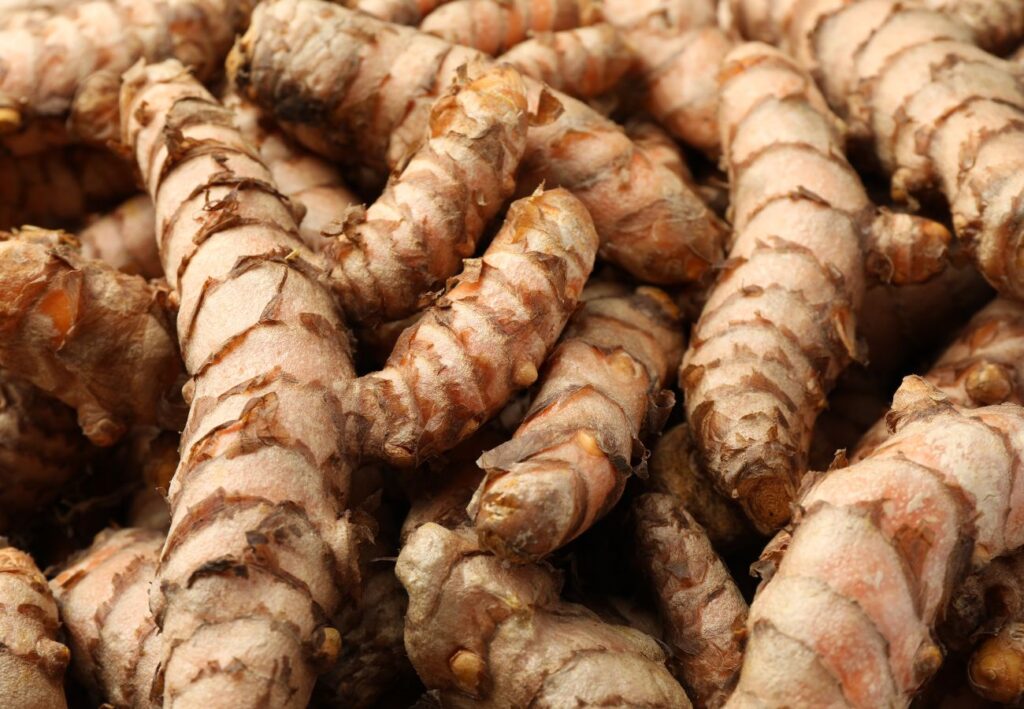
Soak rhizomes in water for a few hours before planting to stimulate growth. If you plan to store them before planting, keep them in a cool, dry place with good ventilation. Avoid rhizomes that appear dried out or shriveled.
Growing and Caring for Turmeric
Turmeric thrives with the right watering and feeding regimen, proper temperature and sunlight exposure, and diligent pest and disease control. Mastering these aspects ensures healthy plants and a bountiful harvest.
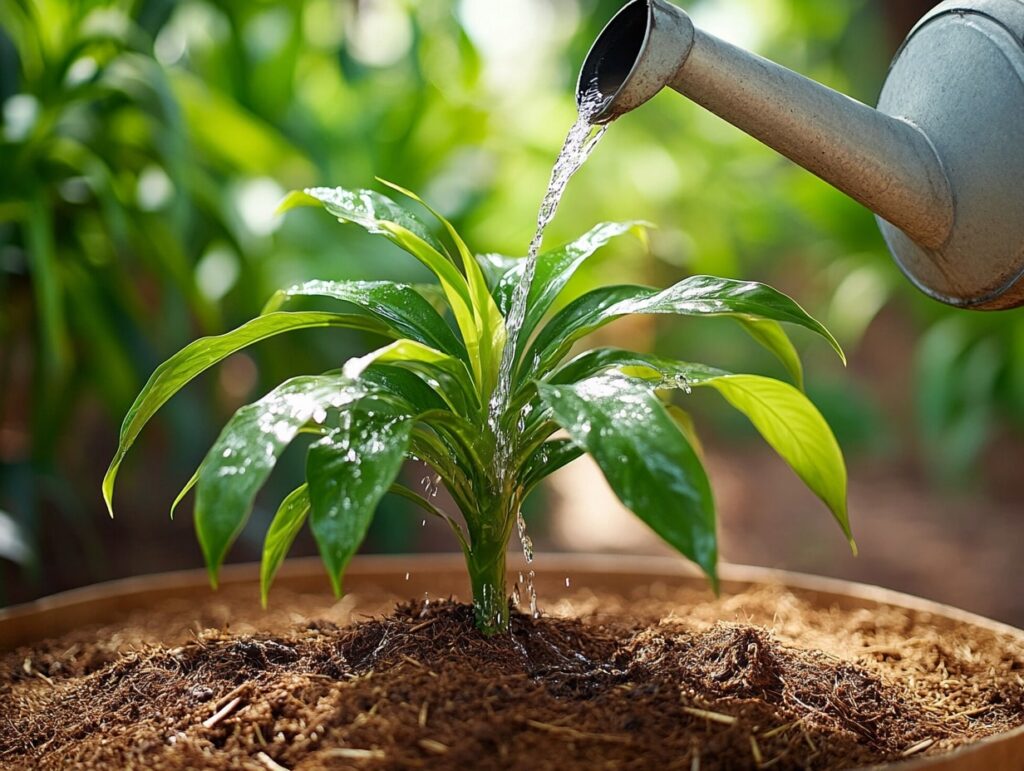
Watering and Feeding
Turmeric requires consistent moisture throughout its growing period. Water the plant deeply once or twice a week, ensuring the soil remains moist but not waterlogged. Using a well-draining potting mix can help prevent root rot.
For feeding, use a balanced, organic fertilizer every 4-6 weeks during the growing season. Bone meal and compost tea are excellent supplements. Avoid high-nitrogen fertilizers as they promote foliage growth over rhizome development.
Mulch the surface with straw or compost to retain moisture and regulate temperature.
Temperature and Sunlight Needs
Turmeric thrives in warm climates, ideally between 70-95°F (21-35°C). If you live in a cooler zone, start your plant indoors and move it outside after the last frost. The plant needs at least 6-8 hours of direct sunlight daily.
In the hottest months, provide partial shade to prevent leaves from scorching. You can use shade cloth or position containers where they receive morning sun and afternoon shade.
For indoor growing, use grow lights set to provide about 12 hours of light per day.
Dealing with Pests and Diseases
Turmeric can be affected by pests such as aphids, spider mites, and nematodes. Regularly inspect your plants and use insecticidal soap or neem oil to control infestations.
Disease-wise, watch for signs of fungal infections like leaf blight and root rot. Maintain good air circulation, avoid overhead watering, and ensure proper drainage to prevent these issues.
If you spot diseased parts, remove them immediately and consider applying a natural fungicide. Regularly cleaning your tools and containers also helps prevent disease spread.
Harvesting and Storing
Proper harvesting and storage are crucial for ensuring your turmeric retains its flavor and nutritional value. You’ll learn when it’s best to harvest your turmeric and the techniques for curing and storing it properly.
Knowing When to Harvest
Turmeric plants are typically ready for harvest 8-10 months after planting. Look for signs like yellowing leaves and a decline in plant vigor. These indicators suggest that the rhizomes are mature.
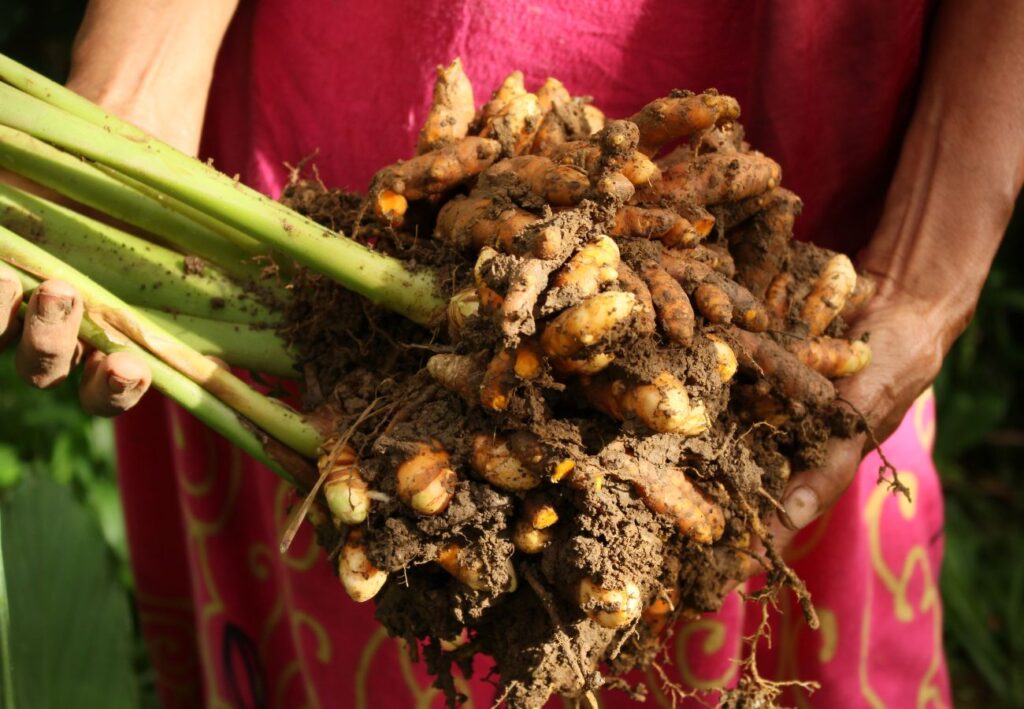
To harvest, carefully dig around the plant using a trowel or small shovel. Avoid damaging the rhizomes as you lift them from the soil.
Once harvested, rinse the rhizomes under running water to remove soil and debris. Pat them dry with a clean cloth or paper towel.
Curing and Storage Techniques
Curing your turmeric rhizomes is essential for long-term storage. Place cleaned rhizomes in a warm, dry area for about a week, turning them occasionally. This process helps to harden the skin and reduce moisture content.
After curing, store turmeric in a cool, dark, and dry place. You can use mesh bags, baskets, or breathable containers to allow airflow.
Avoid storing turmeric in plastic bags or airtight containers, as this can lead to mold and spoilage. Properly stored turmeric can last up to six months without losing its potency.
Growing turmeric at home might seem like a daunting task, but with the right knowledge and preparation, it’s entirely achievable—even in the smallest of spaces.
From understanding its tropical origins to mastering the nuances of container gardening, you now have the tools to cultivate this vibrant and versatile spice on your own.
By providing the right environment, consistent care, and timely harvesting, you’ll be rewarded with fresh, homegrown turmeric that enhances your culinary creations and supports your health.
So, why wait? Start your turmeric-growing journey today and enjoy the satisfaction of nurturing one of the world’s most cherished spices right at your fingertips.