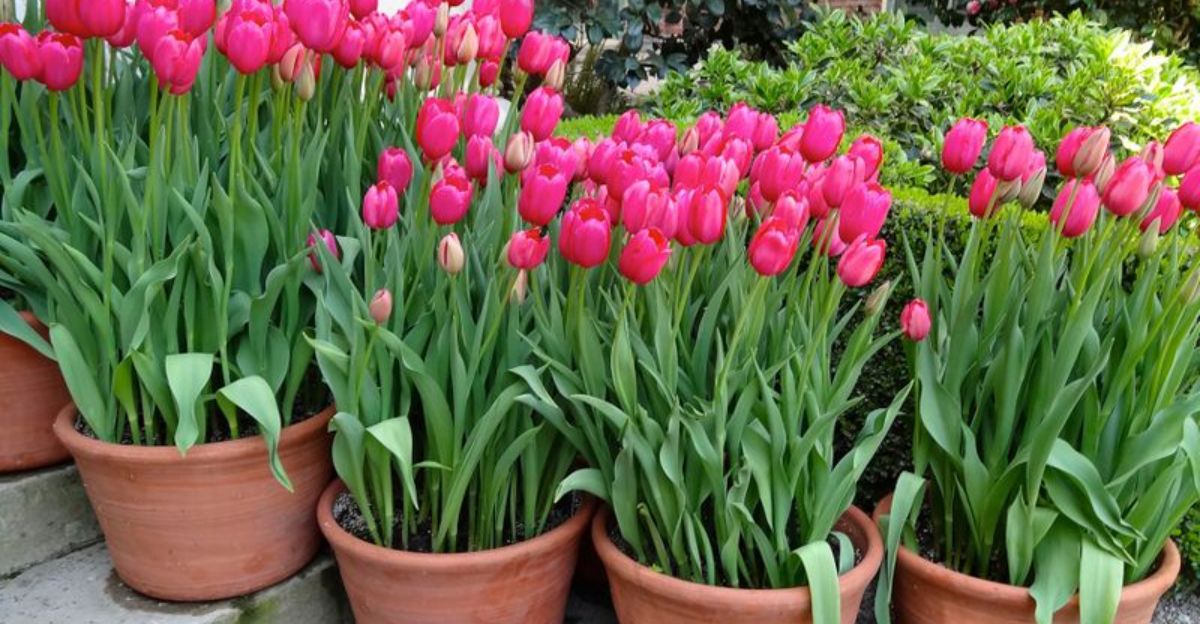
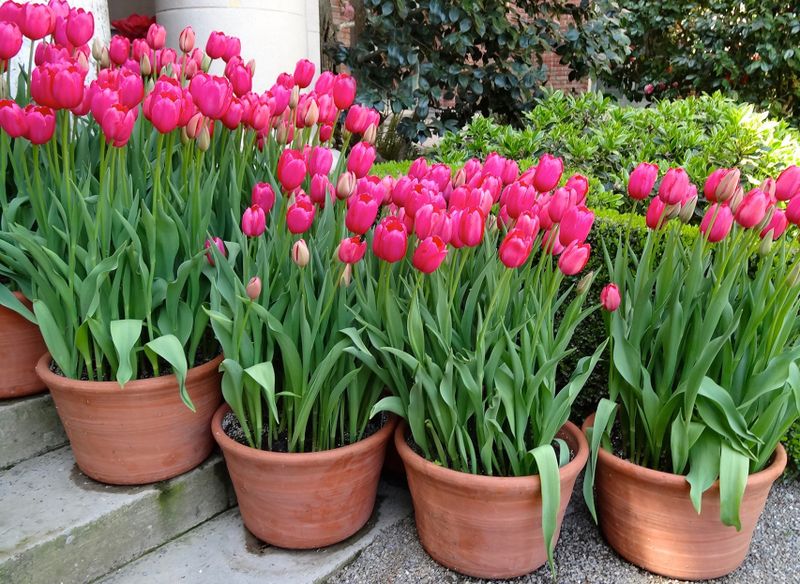
Tulips are a gardener’s delight, adding vibrant colors to any garden every spring.
However, many people make common mistakes in their care routines.
Here, we debunk eight misconceptions and provide you with the correct steps to ensure your tulips bloom beautifully year after year.
1. Deadhead the Flowers (But Leave the Stems!)
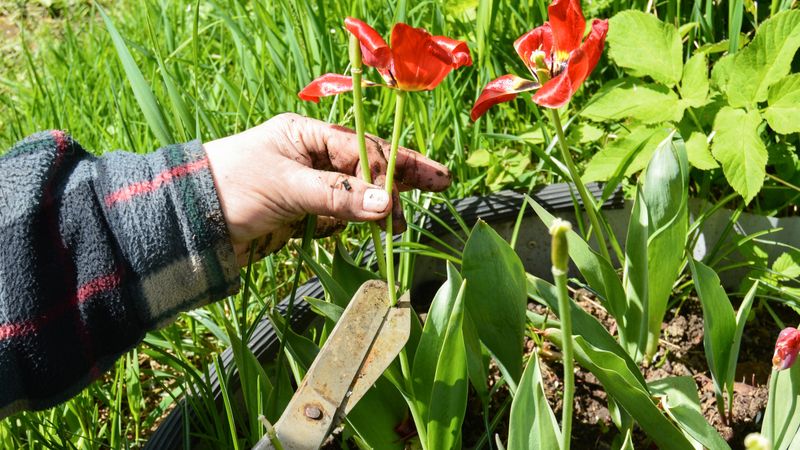
As tulip petals start to lose their vibrant glow, it’s crucial to snip off the flower heads. This practice, known as deadheading, prevents the plant from wasting energy on seed production. By redirecting nutrients back into the bulb, you ensure robust blooms for the following spring.
Leaving the stems allows the plant to continue absorbing sunlight, crucial for photosynthesis. Thus, the bulb stores more energy for next year’s growth. This small task can make a significant difference in the health and vitality of your tulips.
2. Leave the Foliage Alone—Seriously!
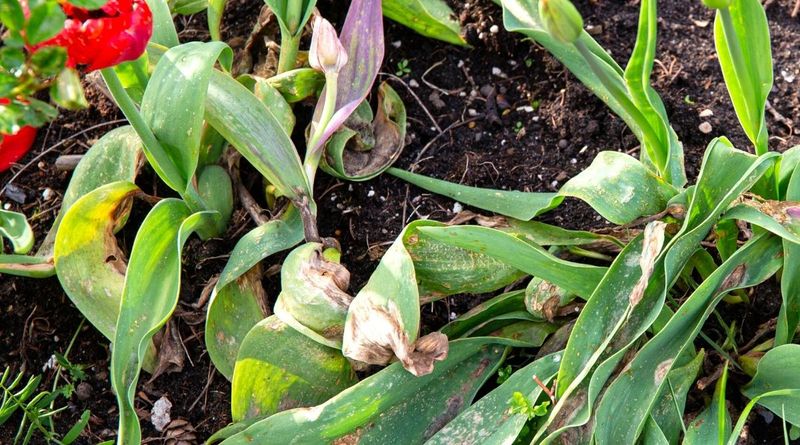
Resist the temptation to cut back the leaves as soon as the flowers fade. Allowing the foliage to yellow and die back naturally over about six weeks is vital. During this time, the leaves are hard at work photosynthesizing, thus feeding the bulb.
Removing them too soon weakens the bulb and affects the next year’s blooms. Think of it as giving your tulips a chance to recharge. The lush leaves might not be visually appealing as they wither, but they play an indispensable role in the tulip’s lifecycle.
3. Fertilize After Blooming
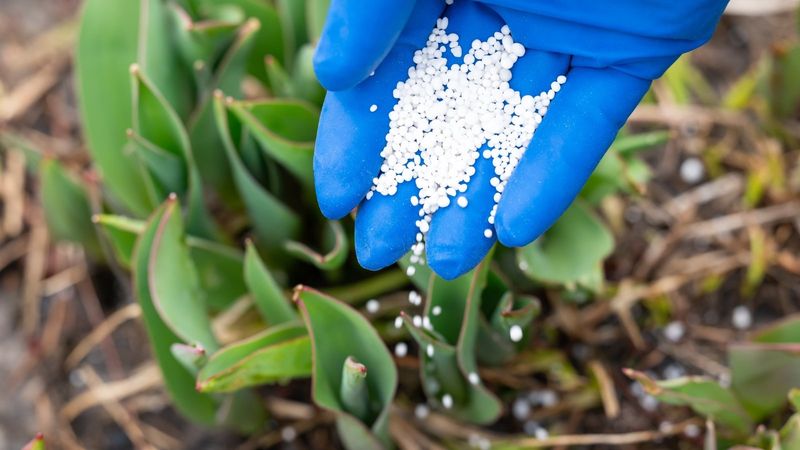
Once the vibrant display of tulip blooms has passed, it’s time to give them a little nourishment. Apply a low-nitrogen, high-potassium fertilizer right after flowering. This boosts the bulb’s strength and encourages larger, more vibrant blooms next spring.
Fertilizing helps in replenishing the nutrients that the plant has used up during the blooming period. Remember, it’s not just about the flowers you see today but ensuring that next season is just as spectacular, if not more. A well-fed bulb is a happy bulb!
4. Water Sparingly
While tulips need regular watering, too much can be detrimental. Continue to water your tulips until the foliage dies back, but be cautious not to overdo it. The soil should remain moist but not soggy.
Excess water can lead to bulb rot, especially if the soil doesn’t drain well. Proper watering techniques ensure that the bulbs stay healthy and ready to produce stunning flowers next year. Think of it as providing just the right amount of care—not too much, not too little.
5. Mark the Spot

Once tulip leaves have completely disappeared, it’s easy to forget where they were planted. That’s why placing plant markers or tags where your tulips are growing is so helpful. These markers act as a gentle reminder of where your hidden treasures lie beneath the soil.
Knowing their location is especially useful for garden planning or adding companion plants. It also prevents accidental digging and disturbance. This simple step ensures you don’t lose track of your tulip bulbs in the garden.
6. Dig Up or Leave In? (Depends on Your Zone)
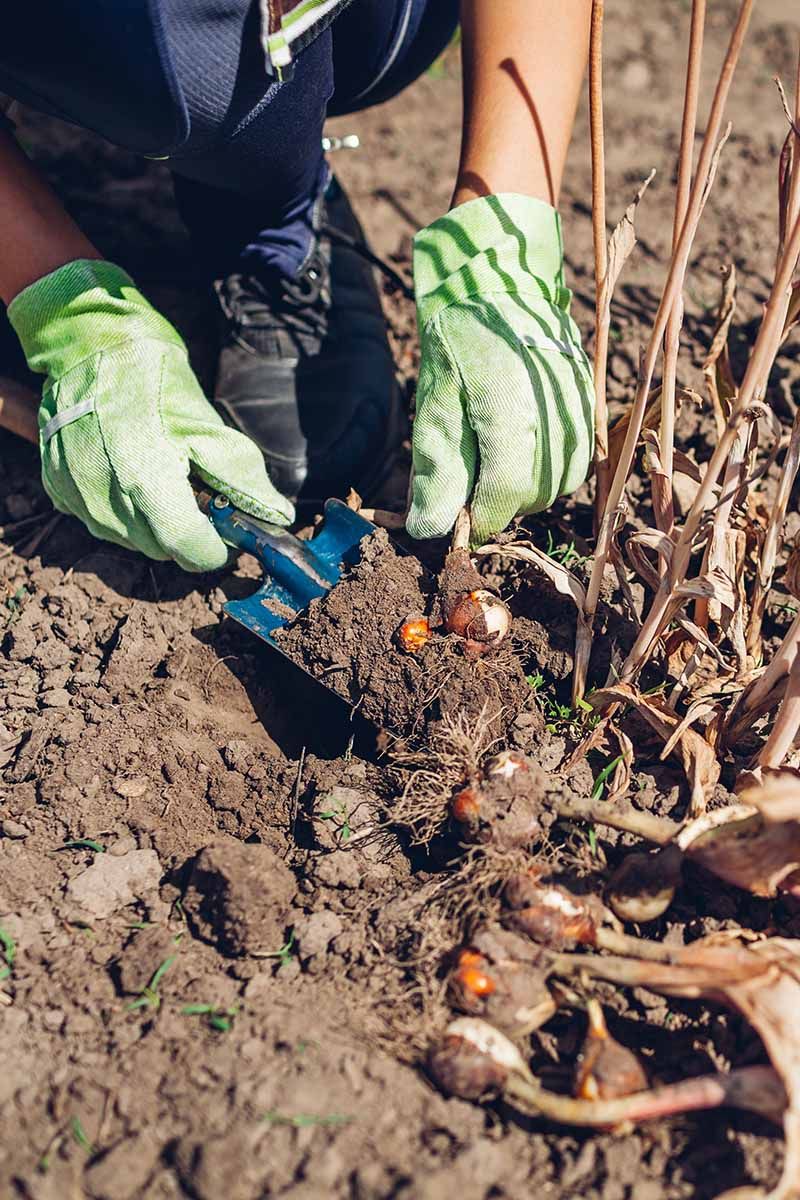
In warmer climates—zones 8 and above—tulip bulbs should be dug up and chilled over the summer. This simulates the cold dormancy they naturally require to bloom again. In cooler zones, typically, you can leave them in the ground year-round.
Understanding your planting zone helps in deciding the best approach for your tulips. Ensuring they experience a period of cold dormancy is crucial for reliable blooming. This tailored care based on climate ensures your tulips remain perennial favorites.
7. Divide Clumps Every Few Years
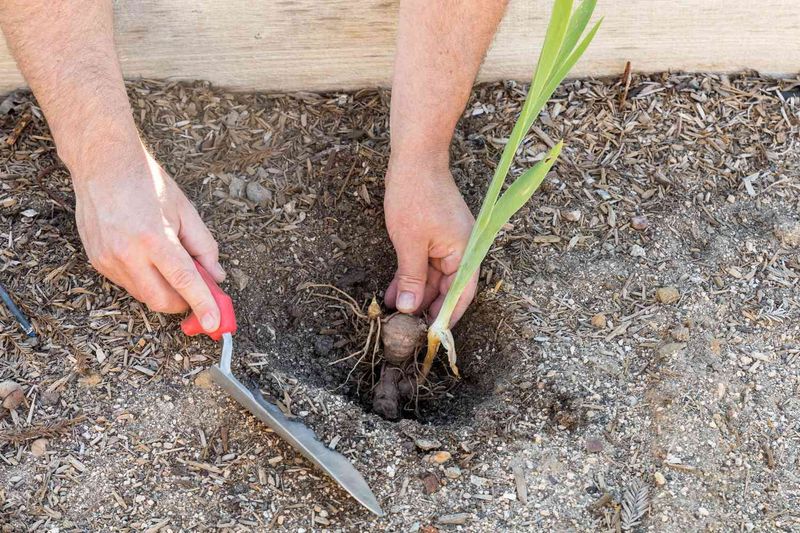
If your tulips start to bloom weakly, it might be time to dig up and divide the bulbs. This is best done in early summer after the foliage has died back completely. Overcrowded bulbs compete for nutrients and space, leading to smaller blooms.
Dividing clumps helps each bulb grow stronger and more robust. It’s like giving them a little breathing space to flourish. Regular division can lead to a healthier garden and more striking blooms, rewarding your efforts every spring.
8. Store Properly If Lifting Bulbs
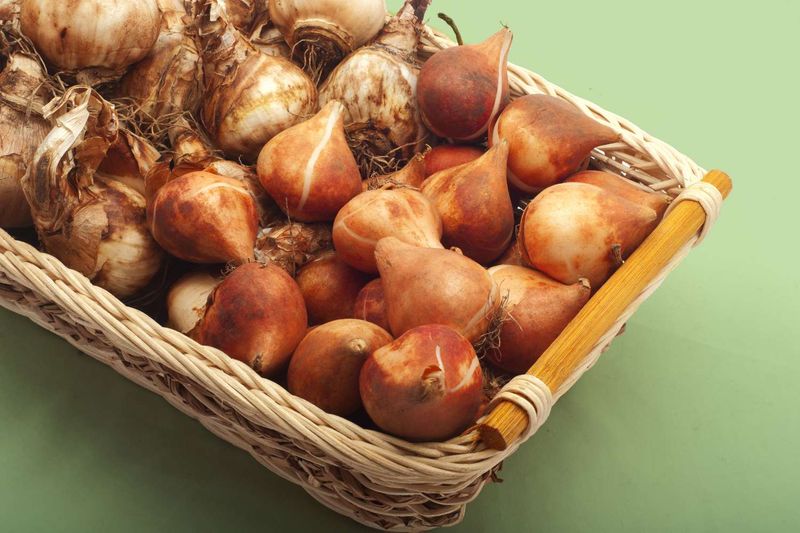
When lifting bulbs, proper storage is key to preventing rot and ensuring they remain dormant until fall planting. Store bulbs in a cool, dry place—paper bags or mesh nets work well. This environment helps maintain their health and readiness for the next planting season.
A well-stored bulb carries the promise of future blooms. By taking these precautions, you safeguard the beauty of your tulips for years to come. Consider it a little investment into the vibrant future of your garden.