Growing clematis vines can transform any garden with their vibrant blooms and lush growth. Whether you’re new to gardening or a seasoned green thumb, these 12 essential tips will guide you in nurturing clematis that not only survive but thrive.
From choosing the right variety to mastering pruning techniques, each tip is crafted to ensure your clematis vines flourish beautifully and become the centerpiece of your garden.
Let’s explore these strategies together, making sure your clematis vines reach their full potential!
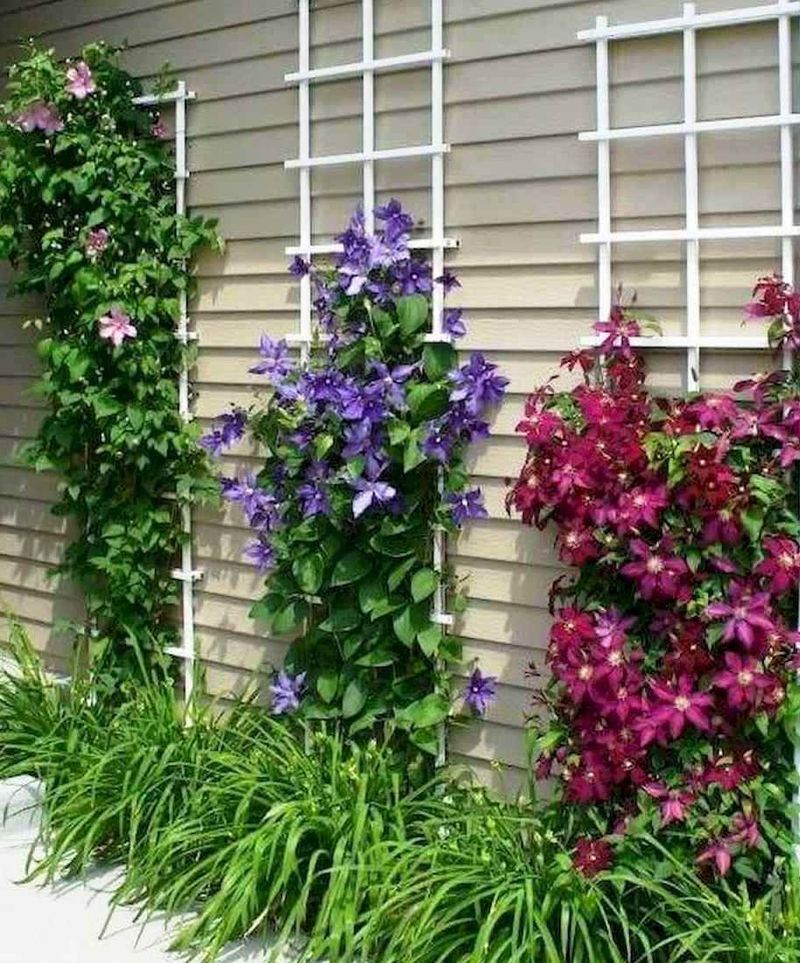
1. Choose the Right Variety for Your Zone
Selecting the right clematis variety is crucial for successful growth. Consider the climate zones since some varieties flourish in cooler areas, while others thrive in warmth.
Research the clematis varieties suitable for your region to ensure they receive optimal growing conditions. It’s important to choose varieties that align with your local climate to avoid unnecessary gardening challenges.
When planting, prioritize those varieties that are resilient to the specific weather patterns of your area. This thoughtful selection process will pave the way for a flourishing clematis display that complements your garden environment beautifully.
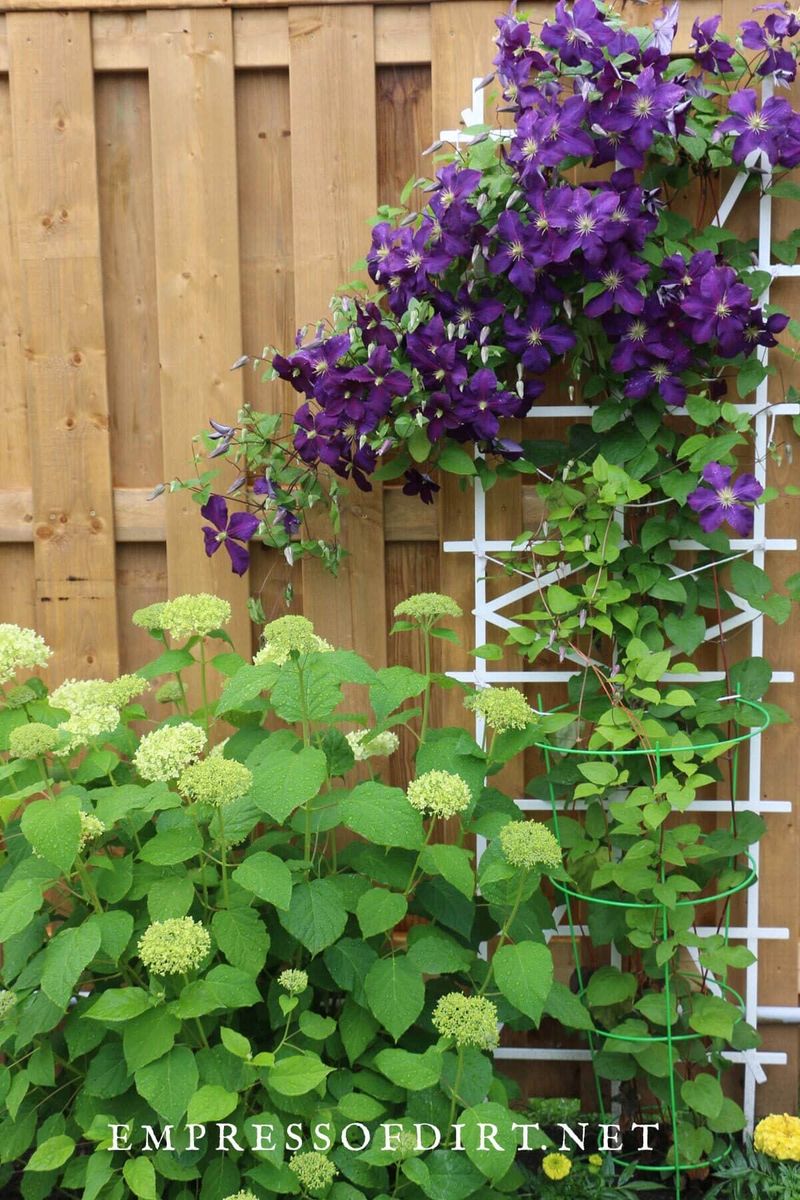
2. Plant in the Right Spot
Clematis vines have a distinctive planting requirement: they prefer their “head in the sun, feet in the shade.” Locate a spot where the vine can bask in sunlight while its roots remain cool and shaded.
This can be achieved by planting other low-growing plants around the base or using mulch. Such conditions mimic their natural habitat and foster robust growth. Ensuring the roots are shaded prevents them from drying out too quickly.
This balance of sun and shade is essential for the health and vibrancy of your clematis, promoting blooms that are both abundant and spectacular.
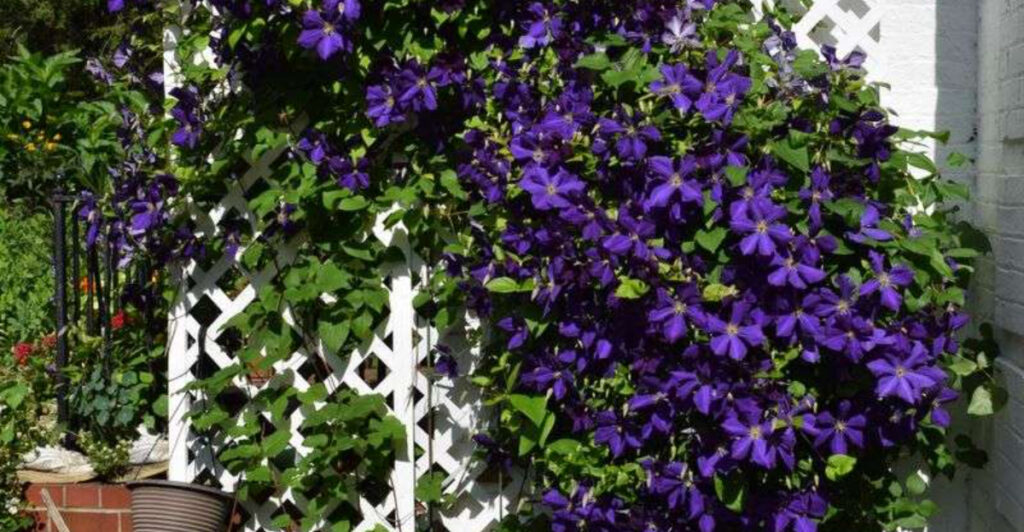
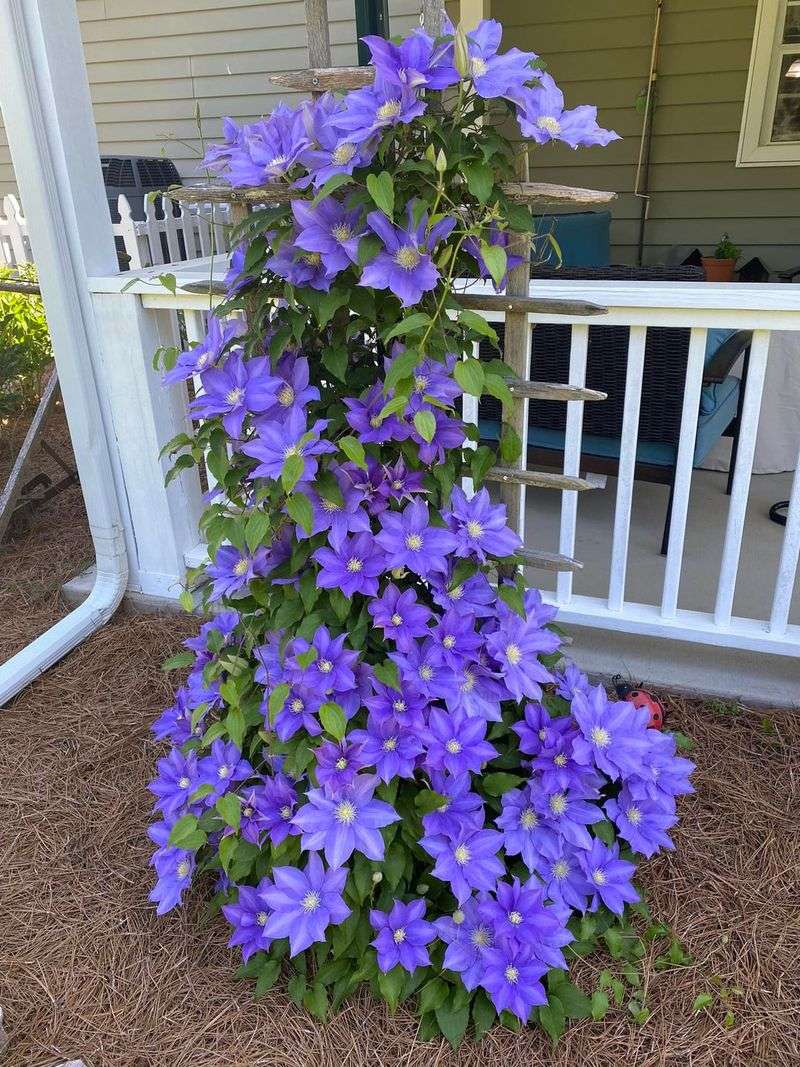
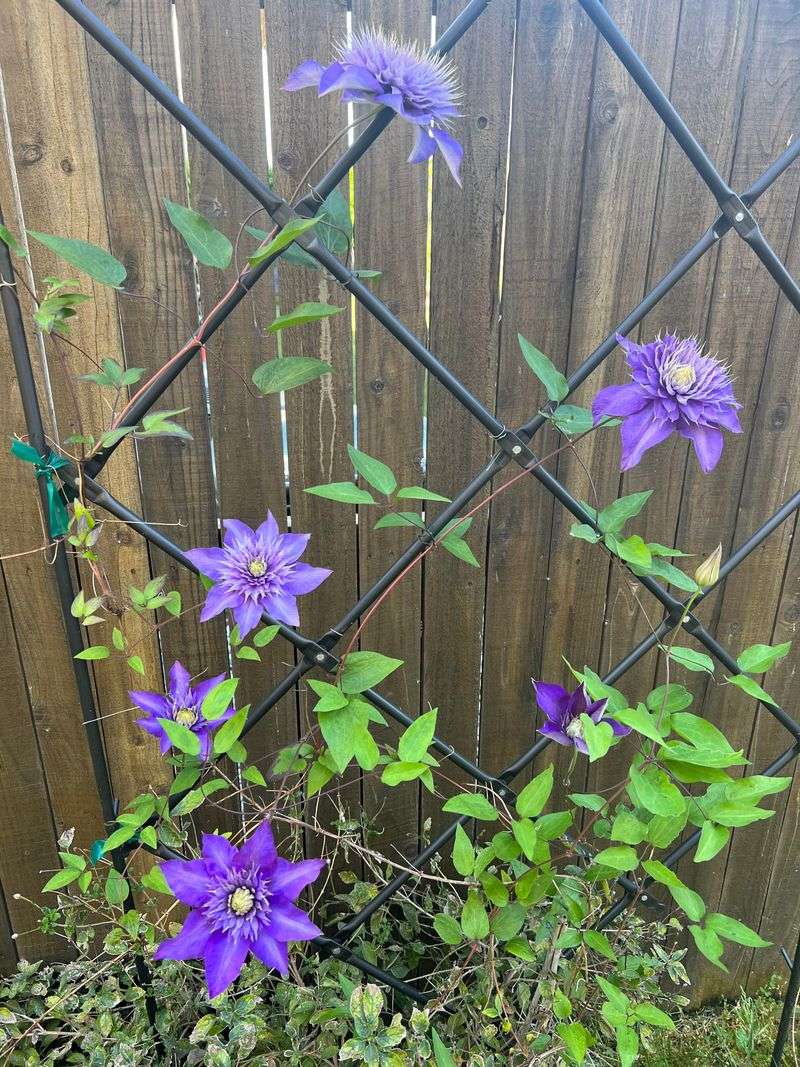
3. Provide Strong Support
Clematis vines require sturdy support to showcase their full beauty. Install a trellis, arbor, or even a fence for the vines to climb. Early support is crucial as clematis naturally twine and need something to wrap around as they grow.
Choosing the right structure not only aids in growth but also enhances the aesthetic appeal of your garden. Ensure the support is firmly anchored; a strong gust shouldn’t topple it.
With the right framework, your clematis will climb confidently, transforming vertical spaces into living walls of color and texture.
4. Amend the Soil Before Planting
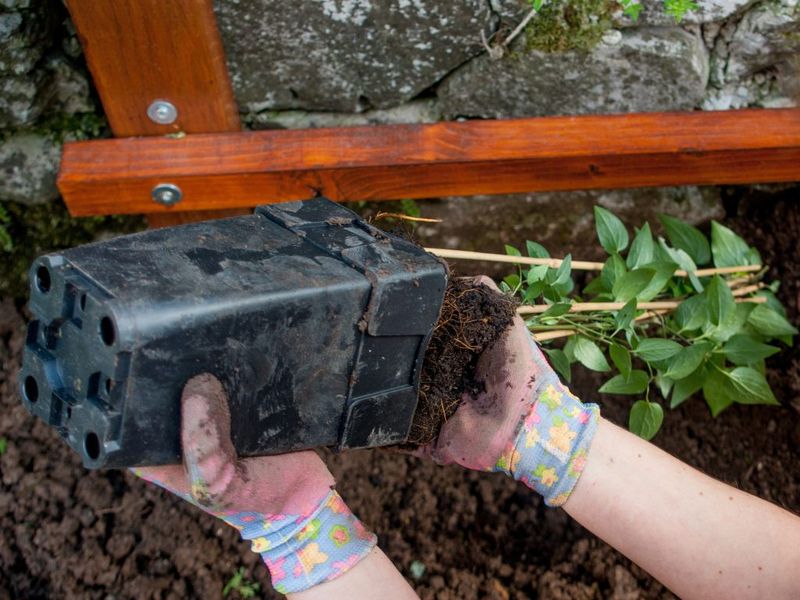
Clematis thrives in well-draining, fertile soil. Before planting, enrich the soil with compost or aged manure to provide essential nutrients. This preparation ensures the plant has a strong start, promoting healthy root development and vigorous growth.
Well-amended soil allows for better water retention and air circulation, which are vital for clematis health. Testing soil pH and adjusting if necessary can also enhance growth conditions.
By investing time in soil preparation, you’re setting the stage for a stunning display of blooms that are nourished and vigorous throughout the growing season.
5. Plant Deep for Strength

Planting clematis deeply is a key step in fostering robust growth. Position the crown of the plant 2–3 inches below the soil surface. This technique encourages strong root development and helps protect against clematis wilt.
Deep planting also contributes to the plant’s stability, ensuring it can withstand adverse weather conditions. As roots establish deep in the soil, the plant gains resilience and vigor.
This method is especially beneficial in colder climates, where deep roots are better protected from frost. By planting deeply, you’re giving your clematis the foundation it needs to thrive.
6. Water Deeply, Not Frequently
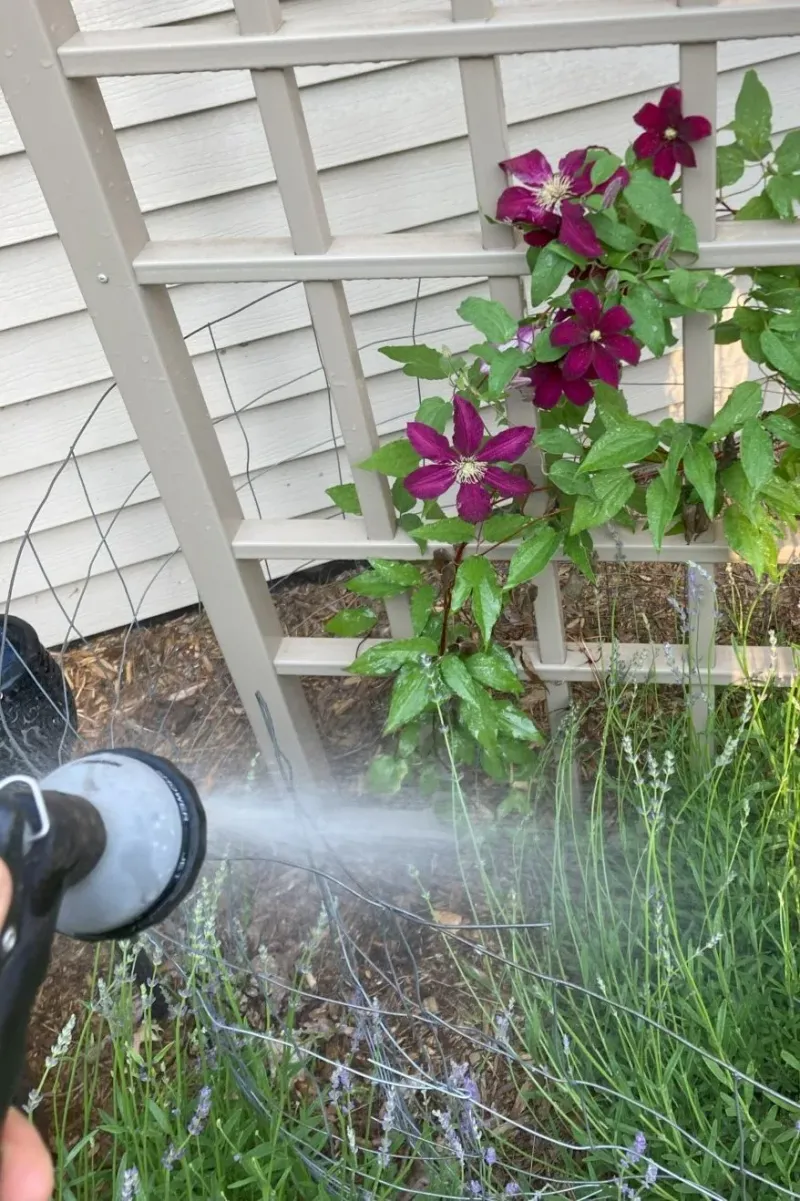
Clematis vines require consistent moisture, but it’s crucial to water deeply rather than frequently. Deep watering encourages roots to grow downward, establishing a strong anchor for the plant.
This method reduces the risk of shallow root growth, which can be detrimental during dry spells. Ensure the soil is moist but not waterlogged; overwatering can lead to root rot.
Depending on weather conditions, watering once a week might suffice. Adjust watering frequency based on rainfall and soil moisture levels. This approach keeps the root system healthy and supports the clematis in producing vibrant blooms.
7. Mulch the Base Generously
Mulching the base of clematis is essential for maintaining soil moisture and regulating temperature. Use materials like bark, compost, or stones to shade the roots and conserve water.
Mulch acts as an insulator, protecting the roots from temperature extremes and drying winds. It’s a simple yet effective way to ensure your clematis remains healthy, particularly during hot summers.
Moreover, mulch suppresses weeds, reducing competition for nutrients and water. Regularly top up the mulch layer to keep it effective. With a well-mulched base, your clematis will have the ideal environment to flourish.
8. Feed Regularly During Growing Season
Regular feeding is vital for promoting lush growth and abundant blooms in clematis. Apply a balanced fertilizer, such as a 10-10-10 mix, every 4–6 weeks during the growing season.
This routine ensures the plants receive essential nutrients needed for vigorous growth. Fertilizing not only boosts flowering but also strengthens the plant’s immune system against pests and diseases.
Be cautious not to over-fertilize, as excessive nutrients can harm the plant. Monitor your clematis’ response to feeding and adjust accordingly. By maintaining a consistent feeding schedule, your clematis will reward you with a stunning floral display.
9. Prune According to Type
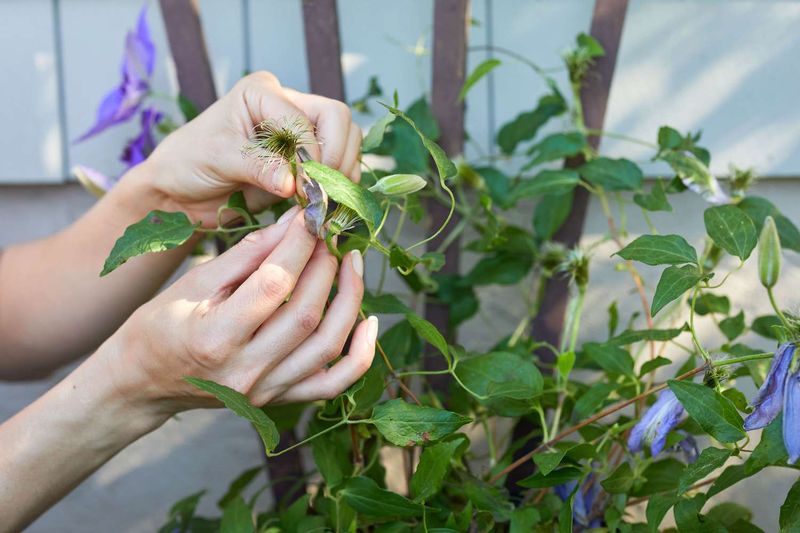
Pruning clematis vines correctly is crucial for healthy growth and abundant blooms. Clematis are categorized into three pruning groups, and knowing your plant’s group is essential.
Group 1 varieties bloom on old wood, so prune after flowering. Group 2 blooms on both old and new wood, requiring careful pruning to avoid cutting off buds. Group 3 blooms on new wood, allowing for more aggressive pruning in late winter or early spring.
Pruning not only shapes the plant but also encourages new growth and more flowers. Understanding and applying the right pruning technique will enhance your clematis’ beauty.
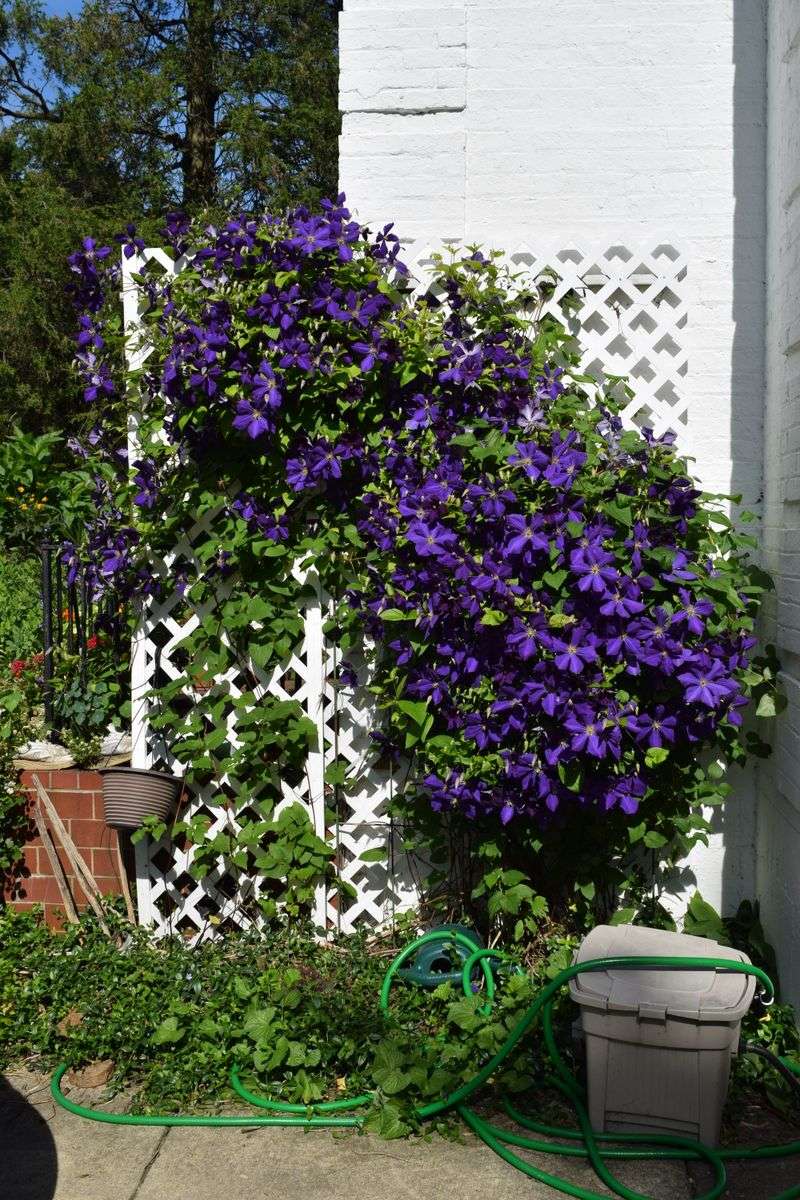
10. Train and Tie Young Vines
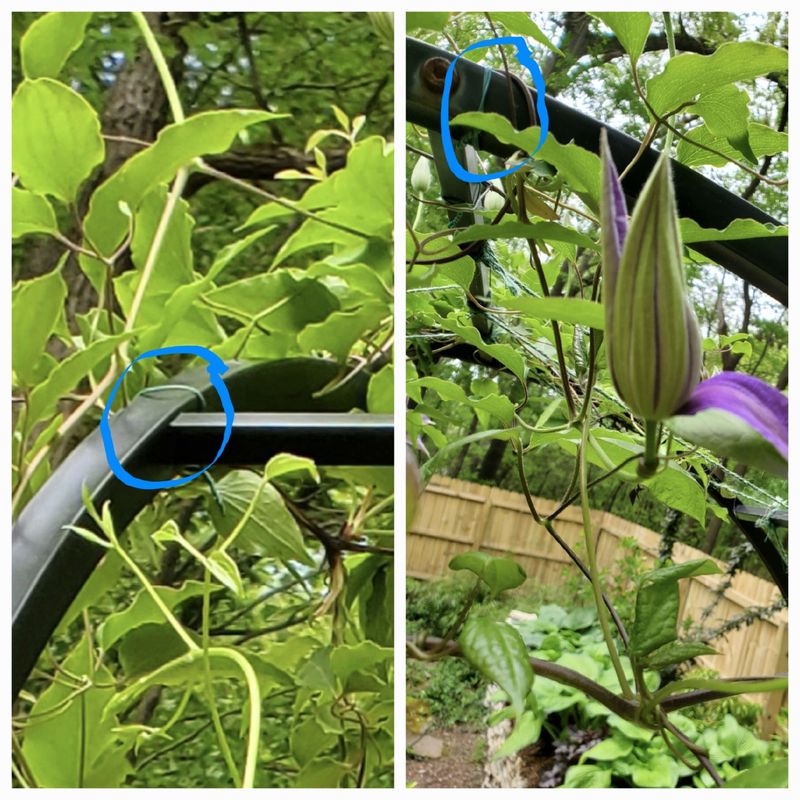
Training young clematis vines is essential for encouraging proper growth direction. As clematis are natural twiners, they require guidance to wrap around support structures effectively.
Begin training early by gently tying the vines to the support with soft ties, ensuring they aren’t too tight. This early intervention helps prevent tangling and promotes a more organized appearance.
Regularly check and adjust ties as the plant grows to accommodate new growth. Properly trained plants are easier to manage and produce a pleasing aesthetic in the garden. This foundation will lead to a spectacular vertical display.
11. Watch for Pests and Disease
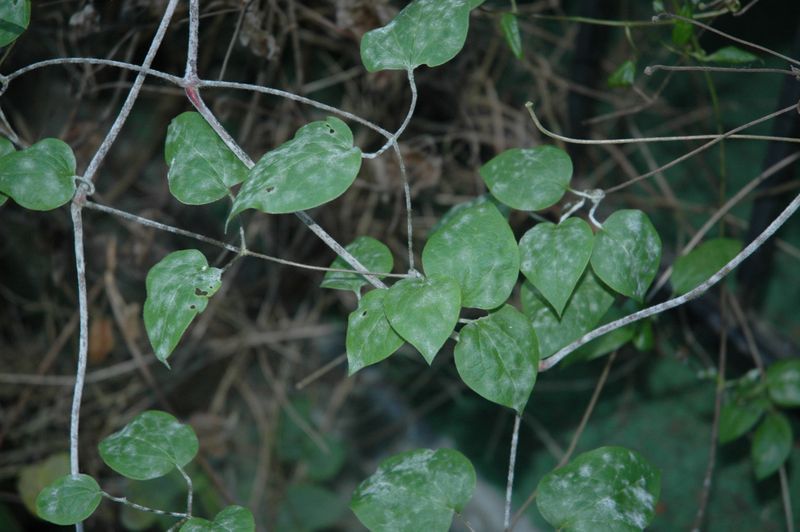
Vigilance is key when it comes to pests and diseases affecting clematis. Common issues include slugs, aphids, and clematis wilt. Regularly inspect the plants for signs of infestations or disease.
Good air circulation around the plant can help prevent disease spread. Organic insecticides or natural predators, like ladybugs, can manage pest populations. If you notice any signs of wilting, identify the cause quickly to apply the appropriate treatment.
Keeping your clematis healthy and pest-free requires consistent monitoring and timely interventions. Proactive care will ensure your vines remain lush and vibrant.
12. Be Patient — First Year, It Sleeps
Patience is vital when growing clematis, especially in the first year. The saying goes: “First year, it sleeps; second year, it creeps; third year, it leaps.” In the initial year, the plant focuses on establishing its root system, with minimal above-ground growth.
Don’t be discouraged by the slow start; this is normal and beneficial for long-term health. By the third year, you can expect a dramatic growth spurt and an impressive display of blooms.
Understanding this growth cycle helps manage expectations and encourages you to focus on nurturing your clematis for future success.