
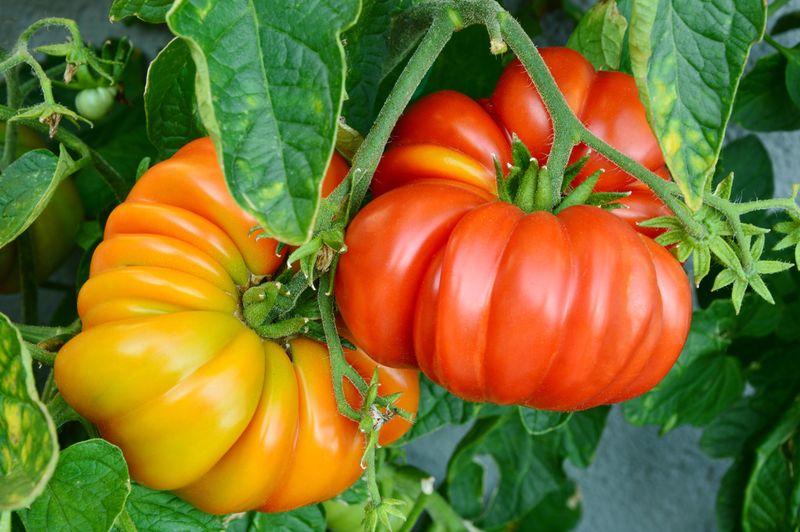
Few things beat slicing into a homegrown beefsteak tomato that is heavy, juicy, and bursting with flavor. If your plants have been giving you small fruit, cracked skins, or leaves that yellow and curl, you are not alone, and the good news is that most of those problems have easy fixes. The tricks below walk you through the exact steps to grow bigger, healthier tomatoes and dodge the trouble that usually sinks a harvest. Grab your gloves, and let us turn those struggling vines into your best crop yet.
1. Plant Deep to Build a Stronger Root System
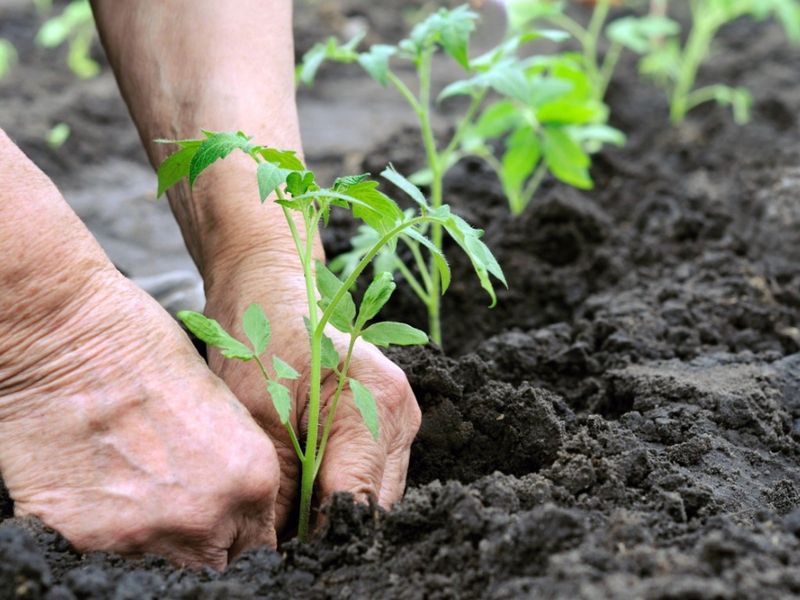
Ever notice how a leggy tomato seedling looks like it will topple over in the first strong wind? Beefsteaks solve that on their own if you give them the chance, because their fuzzy stems can sprout roots anywhere they touch soil.
When you transplant, bury the seedling so that two-thirds of the stem sits underground, pinching off the lower leaves first. Those buried hairs turn into a thick web of roots within a couple of weeks.
A deeper root system usually means the plant can pull up more water and nutrients, which often translates into larger, meatier fruit later in summer. It also helps the vine stand up to heat waves and dry spells that leave shallow-rooted plants wilting by afternoon.
If your ground is heavy or rocky, try the trench method instead. Lay the seedling on its side in a shallow trench and gently bend the top upward, then cover the stem. Within days it straightens toward the sun.
Give it a slow, deep drink after planting so the fresh roots settle in without shock.
2. Give Each Plant Room to Breathe
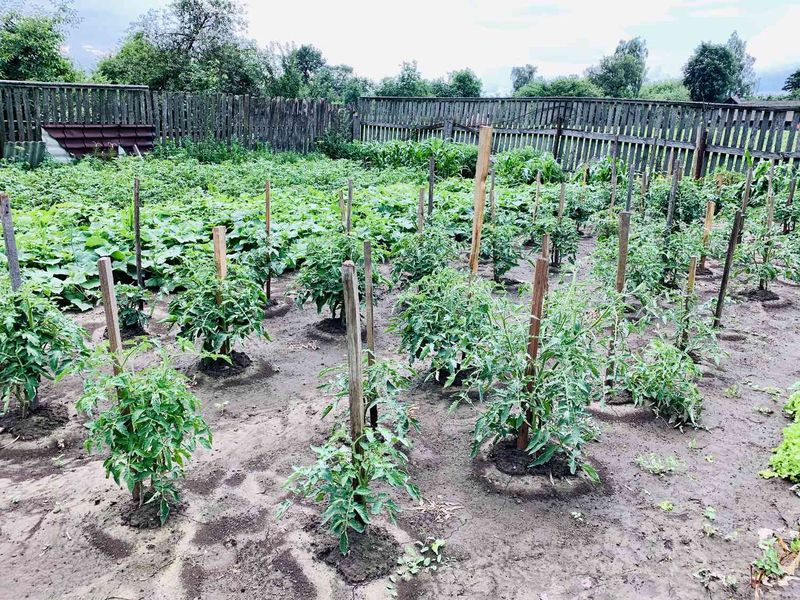
Crowding is one of the sneakiest reasons a beefsteak crop disappoints. When vines press against each other, air stops moving between the leaves, and damp foliage becomes an open door for fungal diseases like early blight.
Space beefsteak plants about 30 to 36 inches apart, and leave three to four feet between rows if you can. It feels like a lot of empty space when the seedlings are tiny, but these are big, sprawling plants by July.
Good spacing lets sunlight reach the lower leaves and helps morning dew dry off quickly, which can reduce the spread of spotting and mildew. It also makes picking far easier, since you are not fighting through a tangled jungle to find ripe fruit.
If your garden is small, grow fewer plants and treat them well rather than squeezing in extras. Five healthy, well-fed vines will almost always outproduce ten crowded, struggling ones.
Container growers should stick to one beefsteak per large pot, at least five gallons, so roots are not competing for the same water.
3. Feed the Soil Before You Feed the Plant
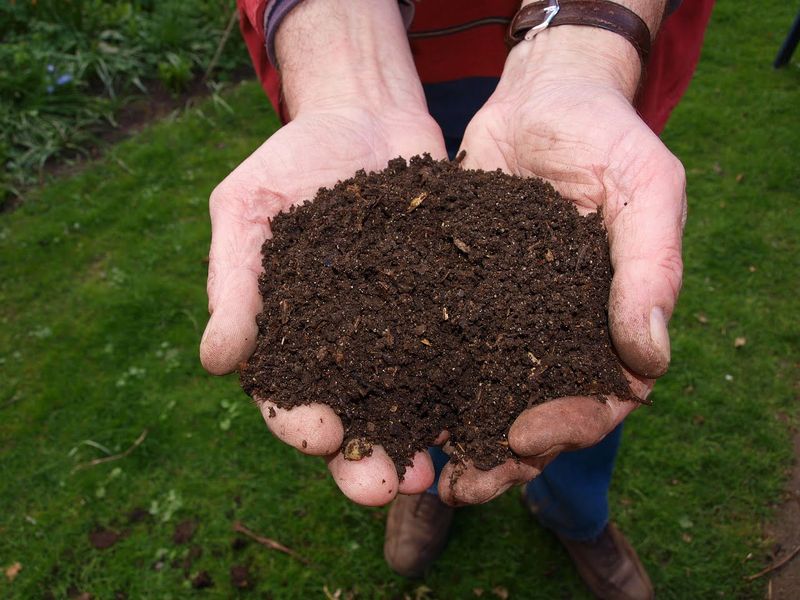
Beefsteaks are hungry giants, and skinny soil is behind a lot of small, pale harvests. Before a single seedling goes in, work two or three inches of finished compost or aged manure into the top foot of your bed.
Rich, crumbly soil holds moisture and feeds your plants slowly all season, which often beats relying on a quick chemical fix later. A soil test from your county extension office can tell you exactly what is missing, taking the guesswork out of the whole thing.
Most tomatoes thrive in slightly acidic soil, somewhere around a pH of 6.2 to 6.8. If yours drifts too high or low, plants may struggle to absorb the nutrients that are already there.
Mix in a handful of crushed eggshells or a bit of garden lime if your test shows a calcium shortage, since that can help head off blossom end rot down the road.
Healthy soil is alive with worms and microbes, and that quiet activity underground is doing more for your future tomatoes than almost anything you buy in a bag.
4. Water Deeply and On a Steady Schedule
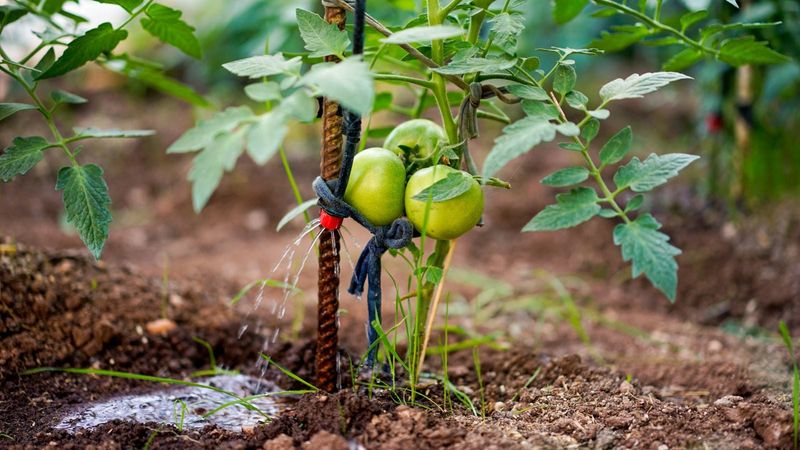
Splashing a little water on your tomatoes every evening feels caring, but it can actually work against you. Shallow sips train roots to stay near the surface, where they cook and dry out fast during a July heat wave.
Instead, water deeply two or three times a week so moisture soaks down six to eight inches. A slow soak from a hose or drip line beats a quick sprinkle every time.
Steady watering matters just as much as amount. When soil swings from bone dry to soaking wet, fruit skins often crack and blossom end rot creeps in, so try to keep moisture even.
Water at the base of the plant early in the day, and keep the leaves dry. Wet foliage sitting overnight can invite the fungal spots that ruin so many crops.
Stick a finger two inches into the soil before you water. If it comes out damp, wait a day.
A layer of mulch, covered in the next trick, makes holding that steady moisture far easier during the hottest stretches.
5. Mulch to Lock In Moisture and Block Disease
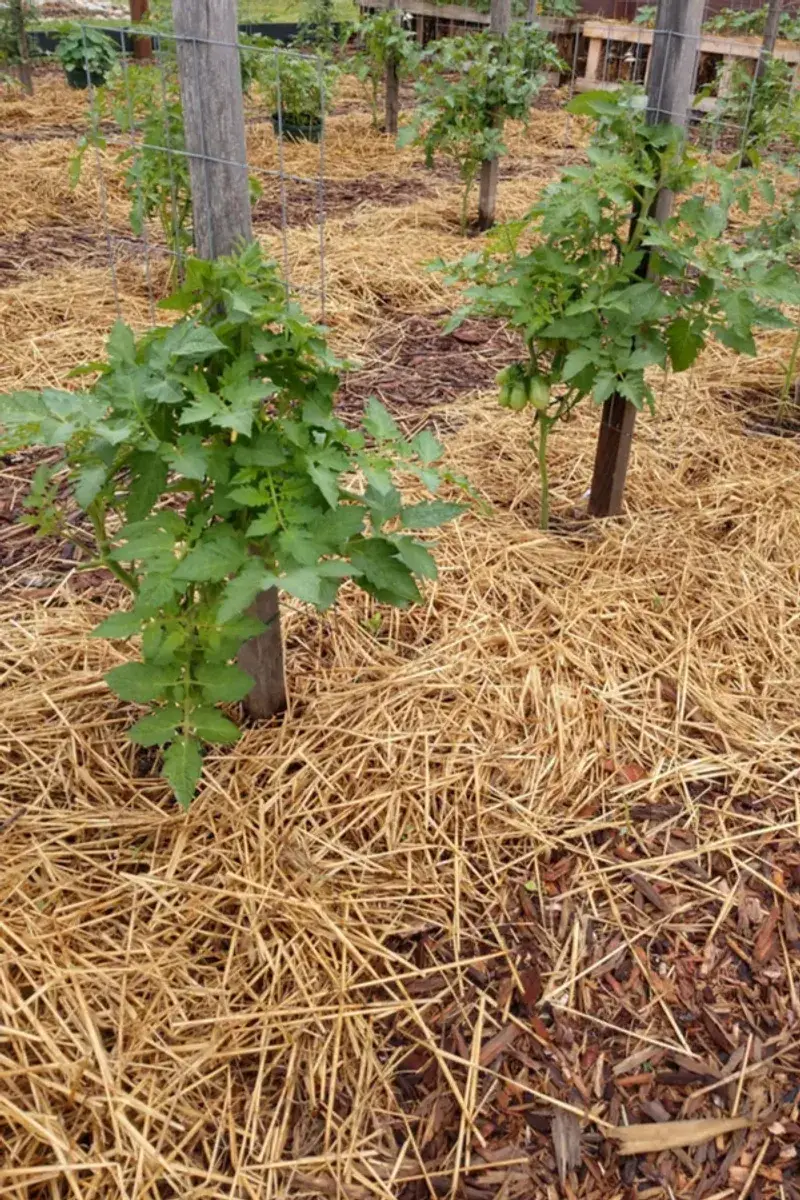
Picture the soil around your tomatoes staying cool and damp even on a scorching afternoon. A two to three inch blanket of mulch makes that happen, and it might be the most underrated trick on this list.
Straw, shredded leaves, or grass clippings all work well. Spread the layer once the ground has warmed, keeping it an inch or two away from the stem so it does not trap rot against the plant.
Beyond holding moisture, mulch does a second quiet job. Many tomato diseases live in the soil and splash up onto lower leaves when rain hits bare dirt, so a mulch barrier can noticeably reduce those first spots of blight.
It also smothers weeds that would otherwise steal water and nutrients from your hungry vines. Less weeding is a welcome bonus on a hot weekend.
As organic mulch breaks down over the season, it feeds the soil too, so you are improving next year’s bed while helping this year’s crop.
Refresh the layer midsummer if it thins out or starts to break apart.
6. Stake or Cage Before the Vines Sprawl
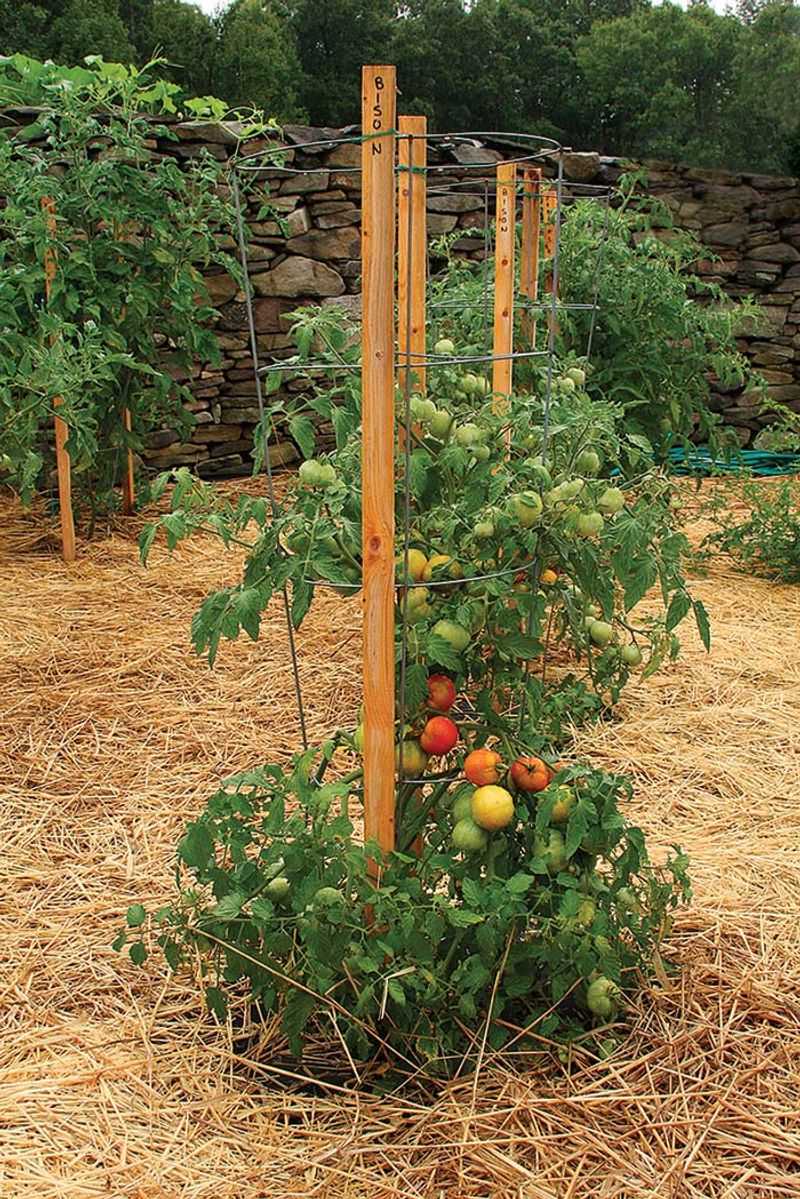
A beefsteak vine loaded with one-pound fruit is surprisingly heavy, and an unsupported plant will flop to the ground where its tomatoes rot and pests move in. Set up support at planting time, not after the vine is already a tangled mess.
Skip the flimsy little cones sold at big box stores. Beefsteaks need heavy-duty tall cages, sturdy wooden stakes, or a string trellis anchored well into the ground.
Keeping fruit and leaves off the dirt has real payoff. Better airflow around lifted foliage can lower disease pressure, and clean, hanging tomatoes are less tempting to slugs and soil-borne rot.
Tie the main stems loosely to your support with soft strips of cloth or garden tape as the plant climbs. Snug ties bruise stems, so leave a little slack for growth.
Check the ties every couple of weeks through the season, since a stem that thickens against a tight tie can get pinched and weakened.
Good support also makes harvest a joy, letting you spot ripe beefsteaks at eye level instead of hunting through a heap on the ground.
7. Prune Suckers to Direct the Plant’s Energy
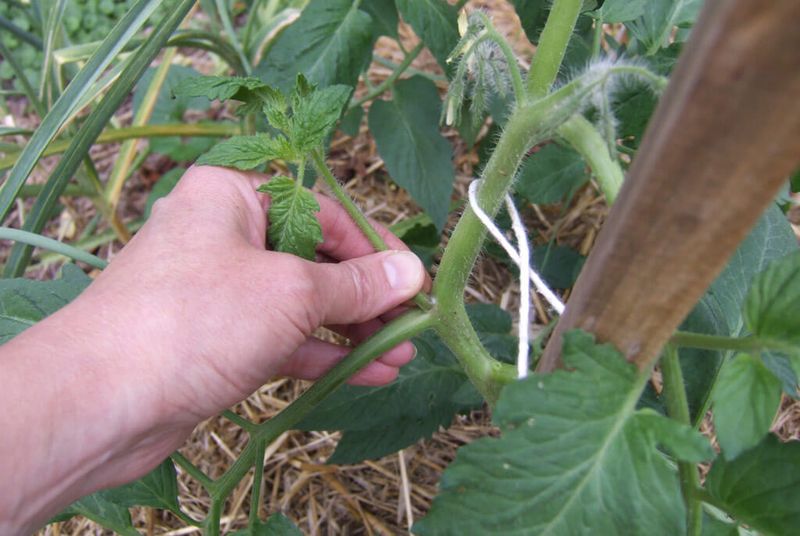
Those little shoots that pop up in the V between the main stem and a branch are called suckers, and left alone they turn one tidy plant into a bushy thicket. For beefsteaks, more leaves does not mean more or bigger fruit.
Pinch out most suckers while they are small, using your fingers on a dry morning. Focus the plant on one or two main stems, and its energy flows into fewer, larger tomatoes rather than endless foliage.
Thinning the interior also opens the plant to light and air, which often helps ward off the fungal problems that thrive in dense, shady growth.
Do not go overboard. Leave enough upper leaves to shade the fruit, because bare tomatoes exposed to harsh afternoon sun can develop pale, sunscalded patches.
Late in the season, some gardeners top the plant by cutting the growing tip. That signals the vine to ripen the fruit it already has instead of starting new ones it will never finish.
Always prune with clean hands or sanitized snips so you are not spreading disease from plant to plant.
8. Fertilize at the Right Time, Not All the Time
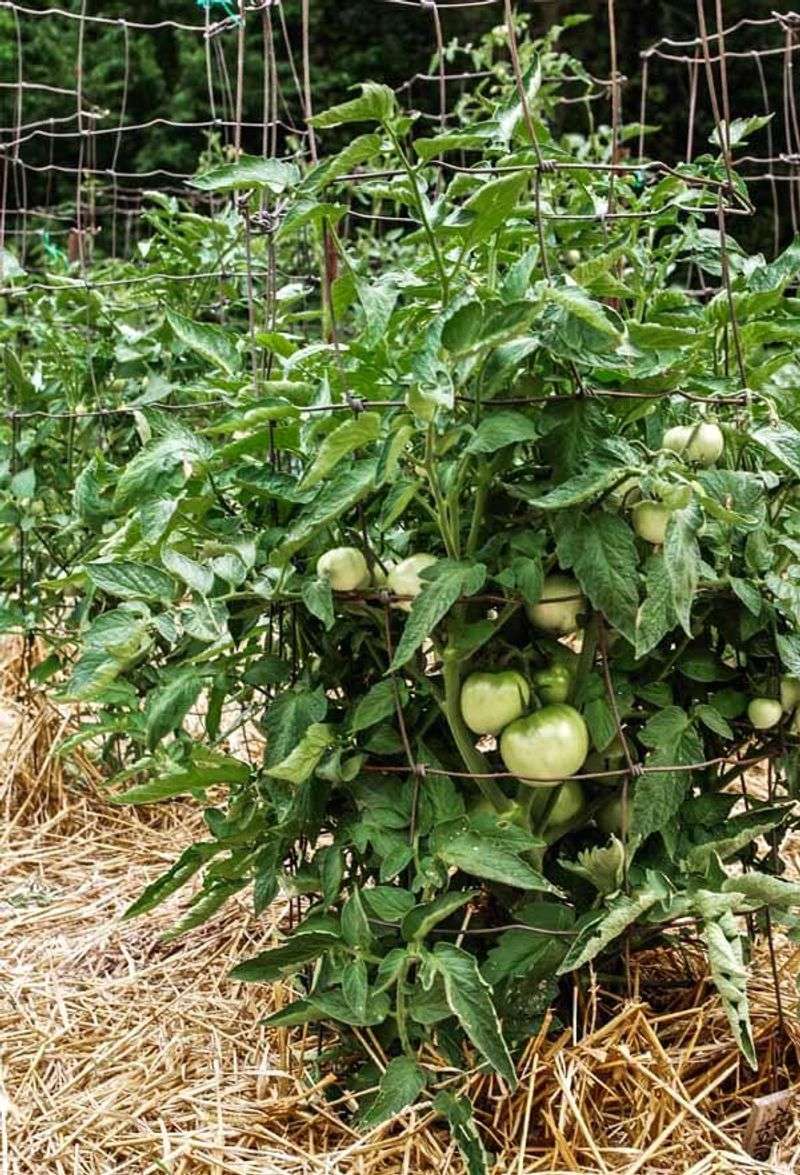
Loading your tomatoes with nitrogen sounds generous, but it is a classic trap. Too much early nitrogen grows a lush, leafy jungle with almost no fruit to show for it.
Early on, a balanced feed supports healthy growth. Once flowers appear, switch to a fertilizer higher in phosphorus and potassium, which supports blooms and fruit rather than more greenery.
Feed lightly and regularly instead of dumping a big dose at once. A steady supply every two to three weeks tends to produce better results than one heavy meal that can burn roots or push soft, floppy growth.
Watch the plant for clues. Deep green leaves with curling tips and few flowers usually mean you have overdone the nitrogen, while pale, yellowing lower leaves can signal the plant is hungry and needs a boost.
Organic options like compost tea, fish emulsion, or worm castings release nutrients slowly and are hard to overdo. They also feed the soil life that keeps roots healthy.
Always water before and after feeding so the nutrients reach the roots instead of scorching them.
9. Head Off Blossom End Rot Before It Starts
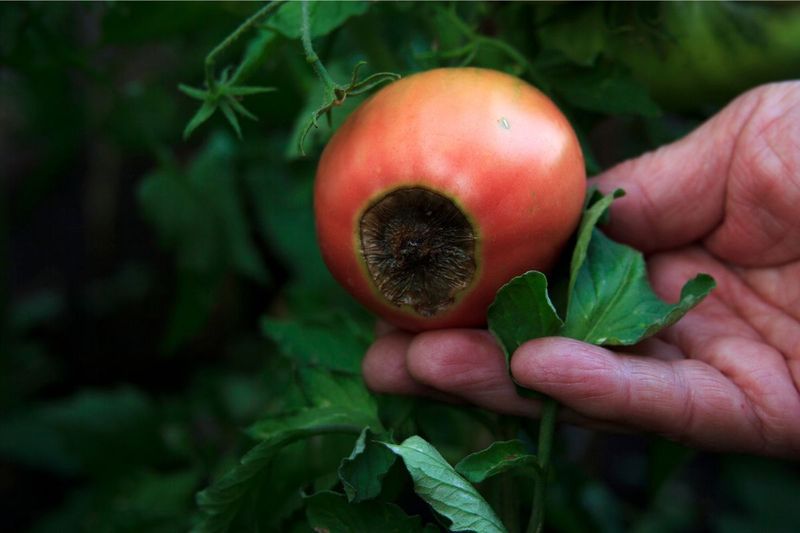
There is little more heartbreaking than watching a gorgeous beefsteak develop a sunken, leathery black patch on its bottom just as it starts to ripen. That is blossom end rot, and it is not a disease you can spray away.
The real cause is usually a calcium delivery problem, often triggered by uneven watering rather than a lack of calcium in the soil itself. When moisture swings wildly, the plant cannot move calcium into the growing fruit.
Keep watering steady and mulch well, and you have solved most cases before they begin. Even soil moisture is the single biggest factor in preventing it.
A soil test can confirm whether calcium is truly low. If it is, working crushed eggshells or garden lime into the bed before planting can help over time.
Do not panic and yank the plant. Simply pick off the affected fruit so the vine can pour its energy into the healthy tomatoes still forming.
Later fruit on the same plant often comes out perfect once your watering routine steadies out.
10. Outsmart Hornworms and Common Tomato Pests
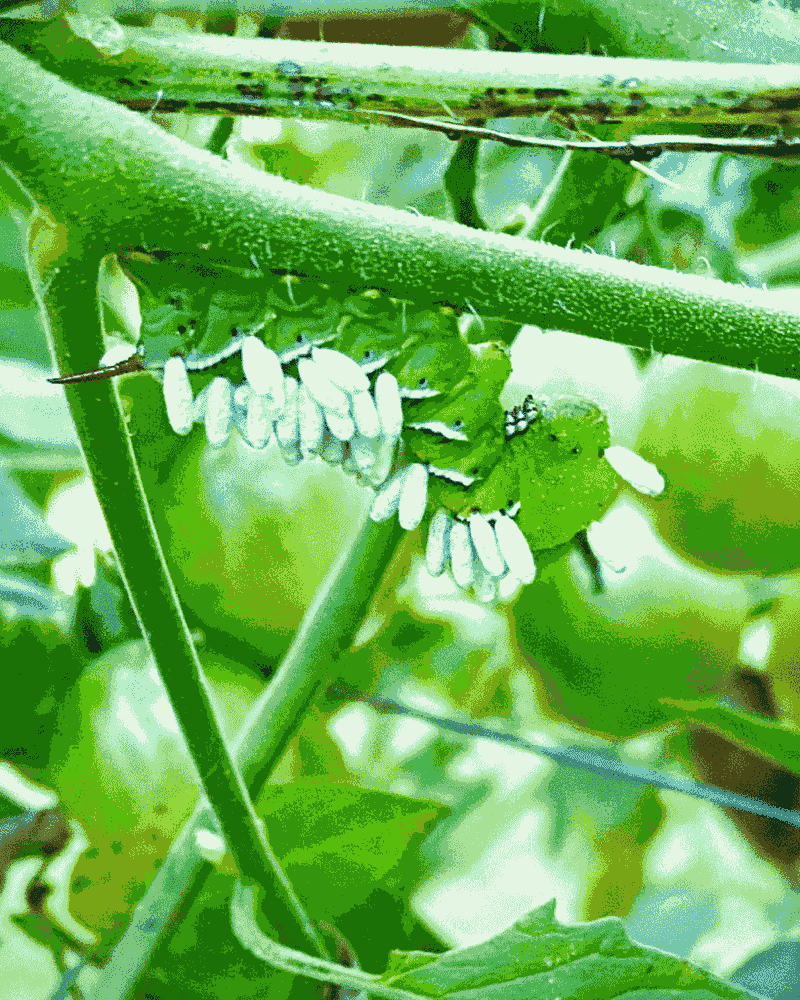
You walk out one morning and half a plant is stripped bare overnight. Chances are a tomato hornworm, a fat green caterpillar the size of your finger, is the culprit, blending in almost perfectly with the stems.
Hand-picking is the most effective fix. Check plants every day or two, look for dark droppings on leaves below the damage, and drop any hornworms you find into a bucket of soapy water.
Aphids are the other frequent troublemaker, clustering on tender new growth and leaving sticky residue. A strong blast of water knocks many off, and insecticidal soap can reduce heavier infestations.
Inviting good bugs helps too. Ladybugs and tiny parasitic wasps feed on pests, so planting a few flowers nearby can encourage them to stick around and patrol your tomatoes for free.
If you spot a hornworm covered in little white rice-like cocoons, leave it be. Those are wasp larvae that will hatch and hunt more hornworms for you.
Early daily scouting beats any single spray, because catching a problem small keeps it from wrecking your crop.
11. Protect Ripening Fruit From Hungry Wildlife
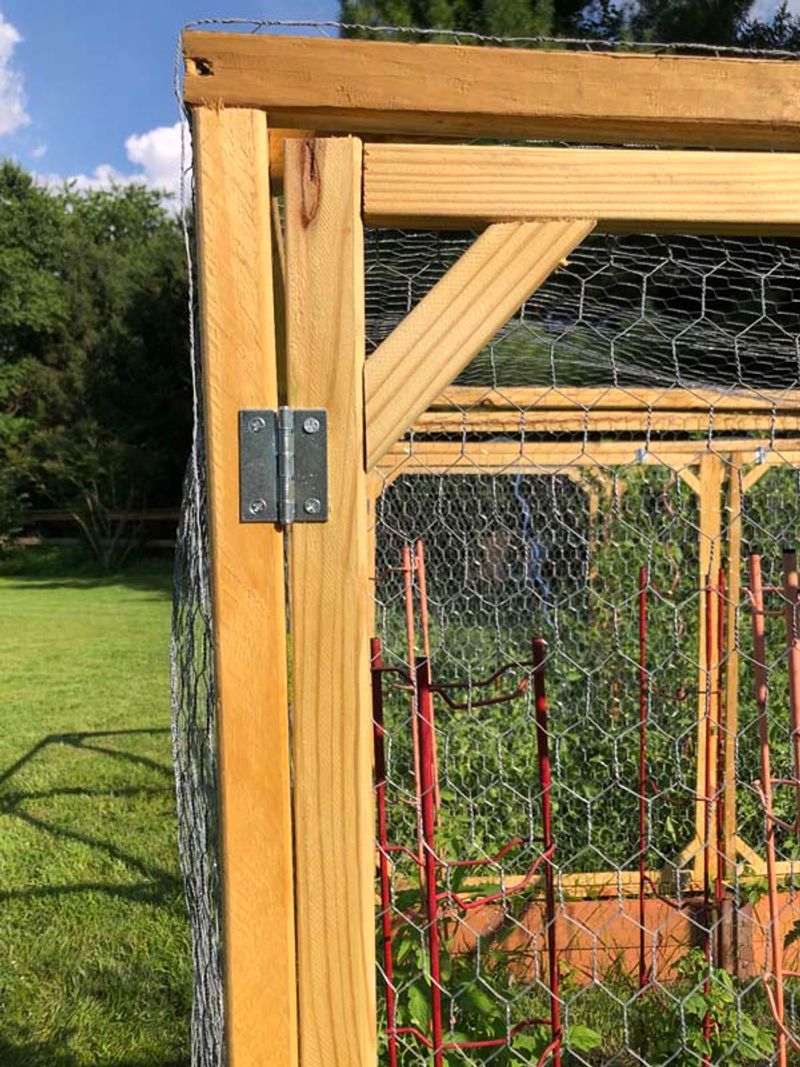
Nothing stings quite like finding your first ripe beefsteak with a single perfect bite taken out of it, courtesy of a squirrel, bird, or wandering deer. Wildlife knows a good tomato when they smell one.
For deer, which get bolder as summer forage dries up, a tall physical barrier is your best bet. Fencing around seven to eight feet high is the most reliable deterrent, since sprays and scent repellents only sometimes discourage a determined animal.
Birds and squirrels are trickier. Draping lightweight bird netting over caged plants can keep beaks and paws off ripening fruit, though you will want to secure the edges so critters cannot slip underneath.
Some gardeners pick beefsteaks at the first blush of color and ripen them on a windowsill, staying a step ahead of the local wildlife entirely. The flavor stays nearly as good.
Motion-activated sprinklers can startle animals and may reduce visits, especially for deer and rabbits testing the edges of your garden.
Rotate your tactics now and then, because clever backyard visitors quickly learn to ignore a trick that never changes.
12. Harvest at Peak Ripeness for the Best Flavor
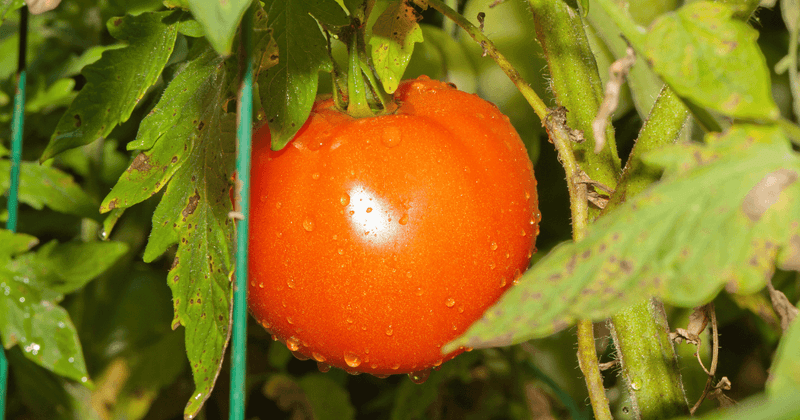
All that work comes down to one satisfying moment, and picking at the right time makes or breaks it. A beefsteak grabbed too early is firm but flat-tasting, while one left too long turns mushy and splits.
Look for deep, even color and a gentle give when you cup the fruit in your palm. The tomato should release from the vine with a light twist, no tug-of-war required.
Warmth on a summer afternoon is when the flavor peaks, so try to harvest in the heat of the day rather than early morning if you plan to eat right away.
Skip the refrigerator. Cold temperatures dull the taste and turn the flesh mealy, so keep ripe beefsteaks on the counter, stem side down, and use them within a few days.
If frost threatens at season’s end, pick every fruit showing a hint of color and let them finish indoors. You will keep eating garden tomatoes for weeks after the vines are gone.
Save seeds from your best-tasting fruit, and next year’s crop starts with a proven winner.