
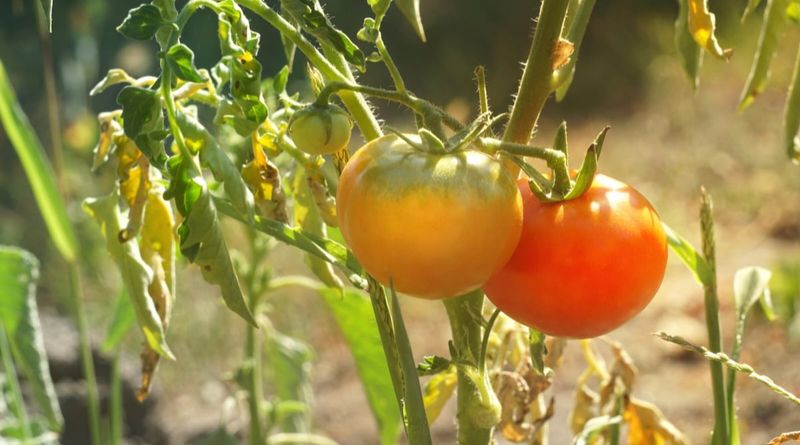
Watching your tomato plants slow to a crawl in late July is genuinely frustrating, especially when you have been doing everything right all season. Flowers drop before they set fruit, green tomatoes sit stubbornly on the vine, and new growth looks thin or tired. Before you reach for a fertilizer bag, though, the most useful thing you can do is look closely at what the plant is actually telling you, because heat and hunger look different and call for different responses.
Heat can pause tomatoes without starving them
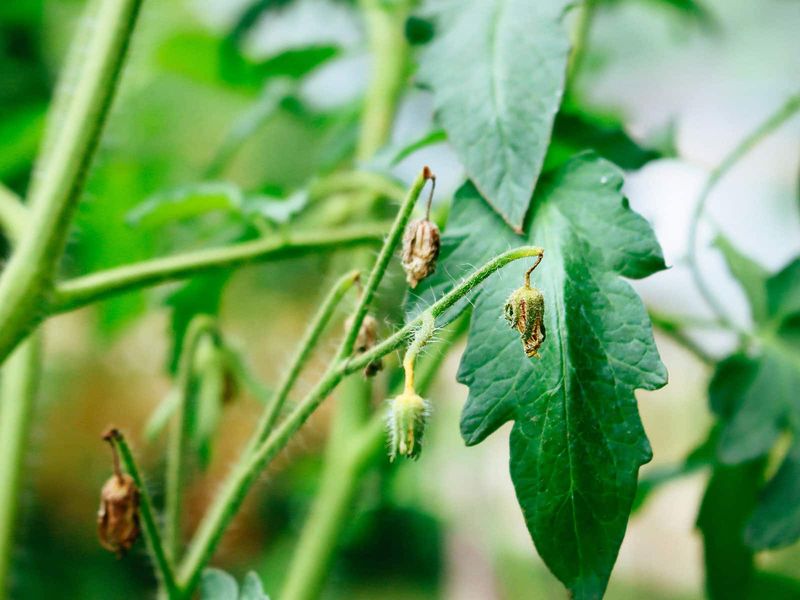
Sustained summer heat does more to a tomato plant than make the gardener uncomfortable. When daytime temperatures climb into the upper 80s and 90s Fahrenheit, and especially when nights stay warm, the plant’s ability to set new fruit can drop sharply. Pollen becomes less viable, flowers abort before they can develop, and the vine may simply stop producing new tomatoes for a stretch of weeks. According to University of Minnesota Extension guidance on heat and vegetable gardens, there may be little a gardener can do during the hottest stretch except support the plant and wait for temperatures to moderate.
Ripening can stall too, and for a specific chemical reason. The pigments that turn tomatoes red are not produced efficiently when temperatures stay above roughly 85 degrees Fahrenheit. Green tomatoes that sit motionless on the vine in August are often waiting for cooler nights, not a dose of fertilizer. Illinois Extension’s overview of high-temperature stress in specialty crops notes that color development typically improves once nighttime temperatures drop.
Recognizing a heat pause matters because it changes what you should do next. A plant that has stopped setting fruit during a heat wave but still looks dark green and vigorous is responding to temperature, not asking for more nitrogen. Treating that pause as a nutrient deficiency and fertilizing heavily can create a new problem without solving the original one.
What does a truly hungry tomato look like?
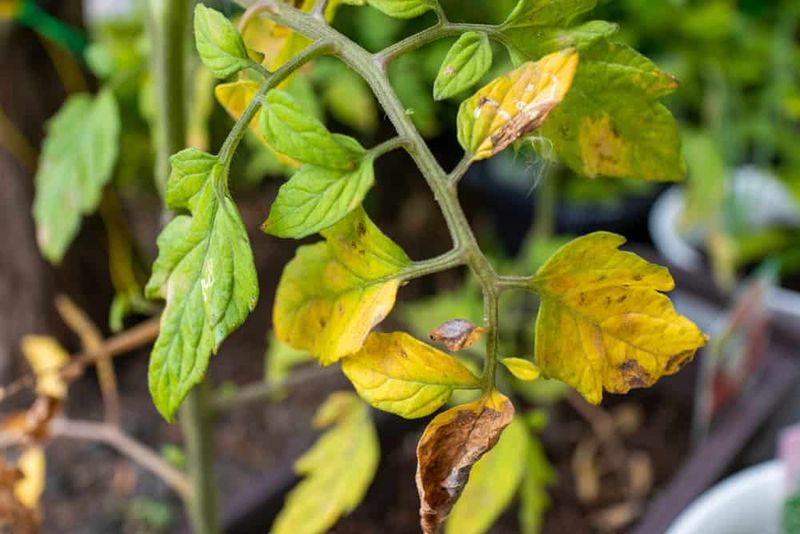
Nitrogen deficiency in tomatoes has a fairly recognizable pattern if you know what to look for. Older, lower leaves turn uniformly yellow first, while the rest of the plant may still appear somewhat green. Growth slows noticeably, new leaves come in smaller or thinner than usual, and the overall plant looks less vigorous than it did a month earlier. That combination of symptoms, especially when it appears on the lowest leaves first and moves upward gradually, gives you stronger grounds for suspecting a nutrient shortage than yellowing alone.
Contrast that image with a plant that is dark green, putting out new growth, and still covered in healthy-looking foliage, but whose flowers shrivel and fall off during a heat wave. Colorado State University Extension’s tomato growing guide distinguishes between plants that genuinely need feeding and those that are losing flowers to heat-related stress. That second plant is not hungry. Adding nitrogen to it is unlikely to restart fruiting while the heat persists.
One more caution worth keeping in mind: older-leaf yellowing is not exclusive to nitrogen deficiency. Normal leaf aging, early blight, wilt diseases, and root damage can all produce similar discoloration. University of Minnesota Extension’s quick guide to fertilizing plants makes clear that diagnosis should not rest on leaf color alone. If the yellowing is patchy, distorted, or accompanied by spots or lesions, disease or another cause may be the real culprit.
Feed only when the symptoms support nitrogen deficiency
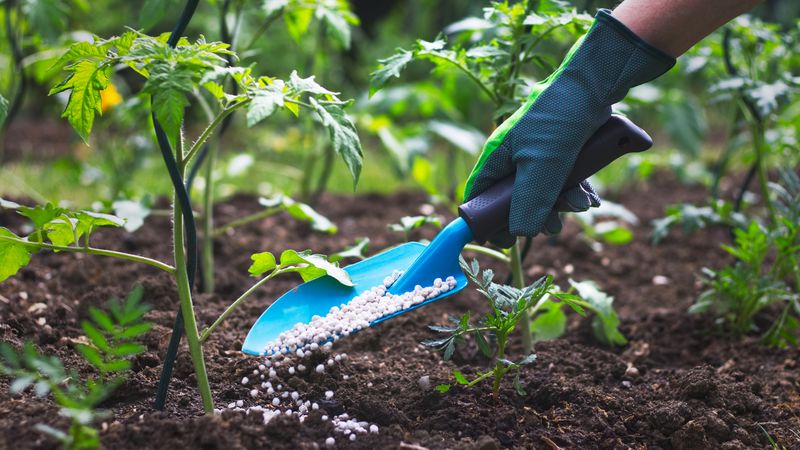
When the symptom pattern genuinely points toward nitrogen deficiency, a light, soil-applied feeding can be a reasonable response. The key word is light. A modest, label-directed application is the goal, not a heavy rescue dose intended to jolt the plant back into production. Extension recommendations for mid-season nitrogen feeding vary widely depending on the soil’s organic matter content, what fertilizer has already been applied, how old the crop is, and whether you are growing in the ground or in containers, so no single rate fits every situation.
Colorado State University Extension suggests that tomatoes may benefit from a light fertilizer application once early fruits reach about two inches in diameter, with water-soluble products used at label-directed intervals of roughly every two to four weeks depending on soil conditions. Other Extension programs recommend a side-dress after the first fruits enlarge or after the first ripe harvest. These are examples of how timing and rate can differ by region and soil type, not a universal prescription. Your product label, combined with any soil-test results you have, is the most reliable guide for your specific situation.
Excess nitrogen carries real risks that are easy to underestimate. University of Minnesota Extension’s guide to growing tomatoes at home warns that too much nitrogen produces lush, heavy vine growth at the expense of flowering and fruit development, can delay maturity, reduce yields, and increase the likelihood of problems like blossom-end rot. A plant that looks hungry may only need a small correction, and a plant that does not show deficiency symptoms probably does not need nitrogen at all.
Apply the feed beside the root zone, not onto the plant
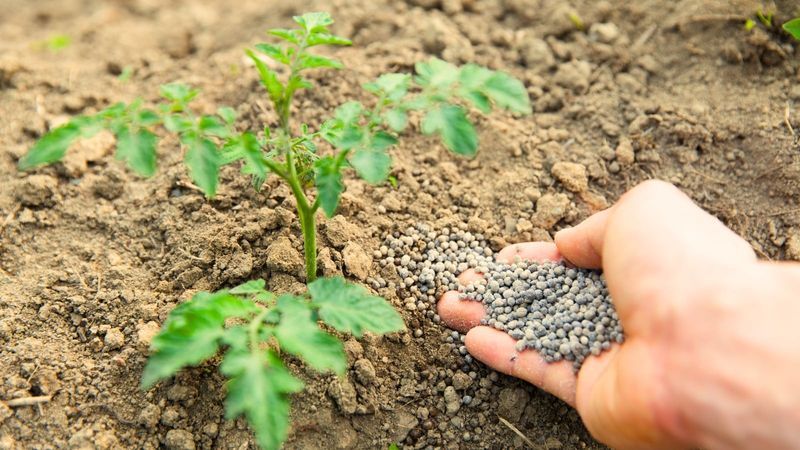
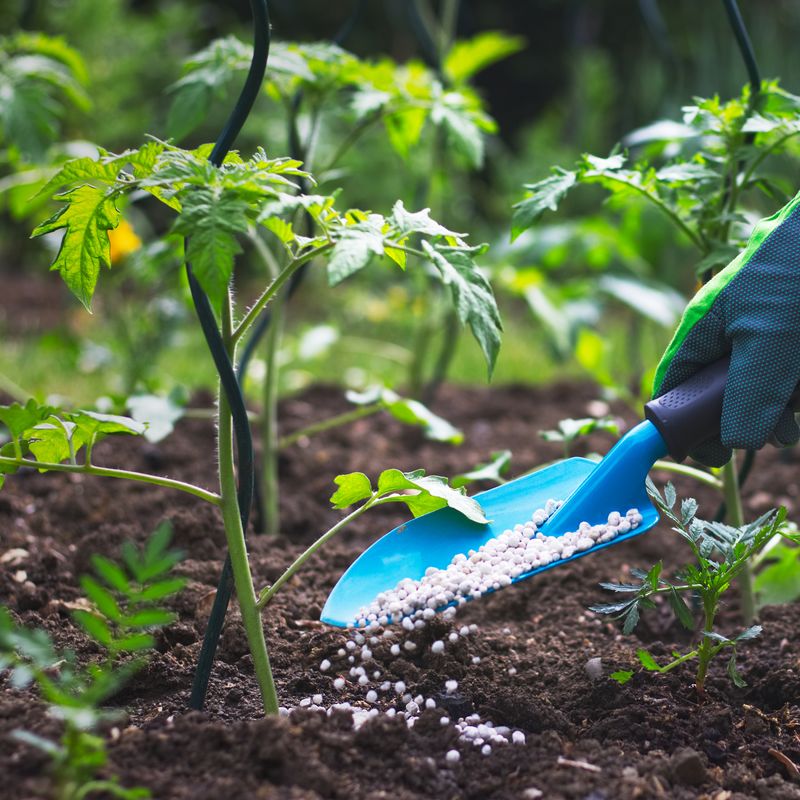
Getting fertilizer to the right place matters as much as choosing the right product. For in-ground tomatoes, spread granular fertilizer in a band or wide circle near the plant’s active root zone rather than piling it against the stem. Roots extend well beyond the base of the plant, and applying fertilizer in a ring several inches out from the stem puts it where roots can actually reach it.
Keep dry granular fertilizer off the foliage and away from direct stem contact. Concentrated fertilizer salts can injure plant tissue, and a product sitting against the stem or on leaves can cause localized burning. UMN Extension’s tomato growing guidance recommends incorporating granular fertilizer lightly into the soil surface only when the product label calls for it, then watering it in thoroughly so nutrients move toward the roots.
One situation that requires extra care is a plant that is already severely dry or visibly wilted. Adding fertilizer salts to an already stressed root zone can intensify the damage rather than help. Water the root zone appropriately first, allow the soil to recover to a reasonably moist state, and then apply fertilizer according to the label. CSU Extension’s tomato guide reinforces that correct application technique is part of safe fertilizer use, and that following the label protects both the plant and the investment in fertilizer.
Container tomatoes need a different delivery method
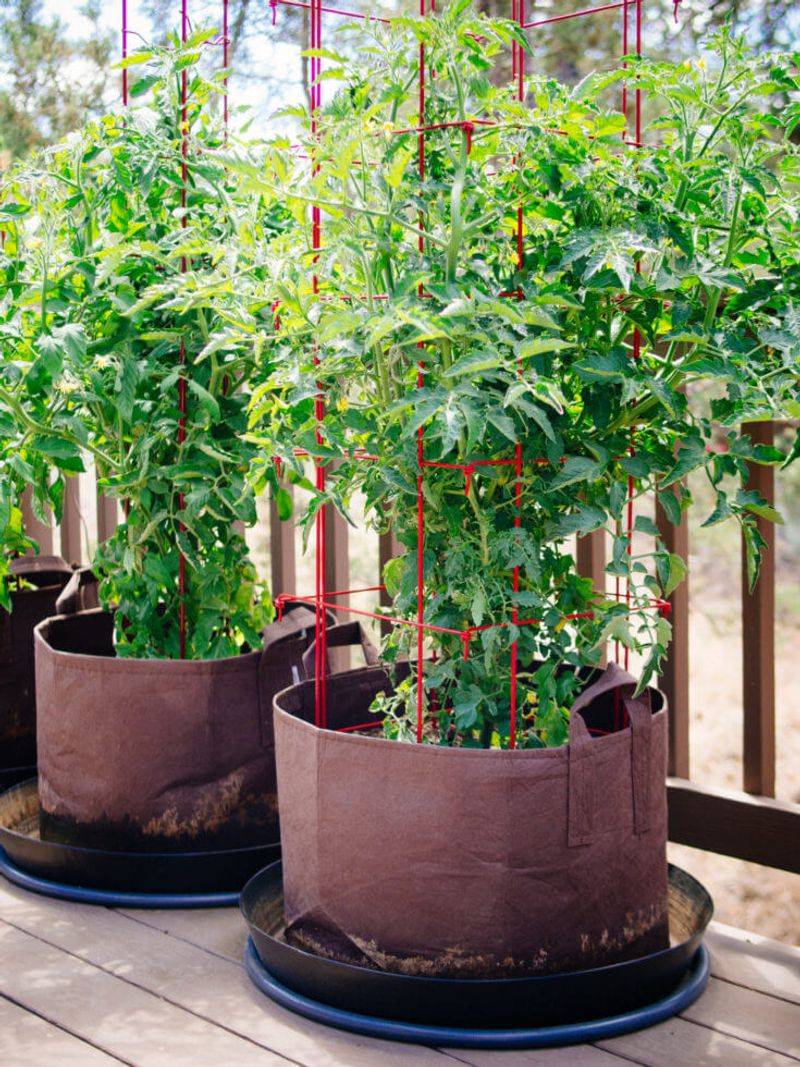
Growing tomatoes in containers changes the nutrient equation in a meaningful way. Every time you water a container plant, some dissolved nutrients move through the potting mix and drain out the bottom. Over a long, hot summer with frequent watering, that leaching can gradually reduce the nitrogen available in the mix, making a container tomato somewhat more likely to develop a genuine deficiency than an equivalent in-ground plant in decent soil.
When nitrogen deficiency is confirmed or strongly indicated in a container plant, a water-soluble fertilizer is often the most practical delivery method. University of Minnesota Extension’s guidance on fertilizing and watering container plants identifies soluble fertilizer as useful for containers where nutrient levels have dropped. The approach lets you apply nutrients directly to the root zone with each watering, and the plant can access them relatively quickly.
Use the product label as your rate guide rather than copying whatever you might apply to an in-ground bed. Container mixes, pot sizes, and watering frequencies all affect how much fertilizer is appropriate. Connecting feeding to adequate soil moisture also matters: a container that has dried out completely needs water first, and the fertilizer solution should go into moist, not bone-dry, media. Changing the delivery method for containers does not change the underlying rule.
If the plant is dark green and vigorous but losing flowers to heat, more fertilizer in any form is unlikely to restart fruiting until temperatures ease.
Support heat-stressed plants while you wait for cooler weather
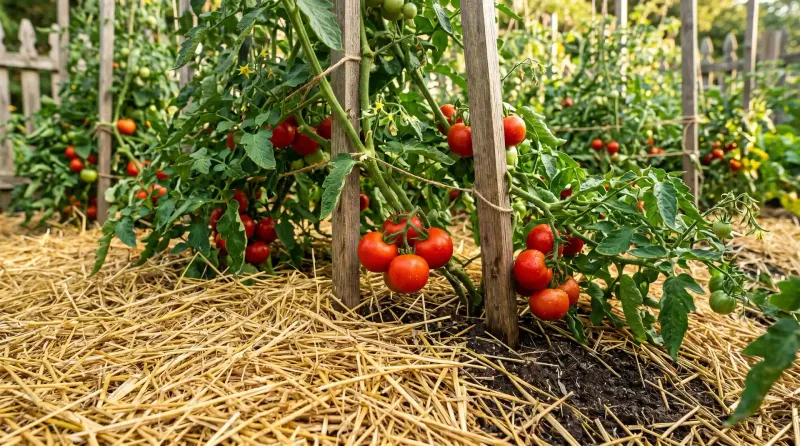
Consistent soil moisture is one of the most effective tools available when a tomato is under heat stress. Deep, infrequent watering that reaches the root zone does far more good than repeated shallow sprinkling, which wets only the top inch or two of soil and encourages roots to stay near the surface where they are most vulnerable to heat and drying. A general target of about one inch of water per week is commonly cited, but containers and sandy soils may need more frequent attention during extreme heat.
Mulch is worth applying or refreshing around the base of the plant at this point in the season. A few inches of straw, wood chips, or shredded leaves helps moderate soil temperature, slow evaporation, and keep moisture more consistent between waterings. UMN Extension’s growing tomatoes guide recommends mulching as a standard practice for moisture retention, and it becomes especially valuable during hot stretches.
Avoid major pruning while the plant is heat-stressed, as removing foliage adds another stressor when the plant is already working hard to cope with high temperatures. Temporary shade cloth over the most exposed plants can reduce heat load during the worst days, but neither shade nor any other measure can repair flowers that have already aborted. Minnesota Extension’s heat and vegetable garden resource is direct on this point: renewed fruit set generally requires cooler conditions and cannot be guaranteed by any single intervention.
When fertilizer is the wrong rescue
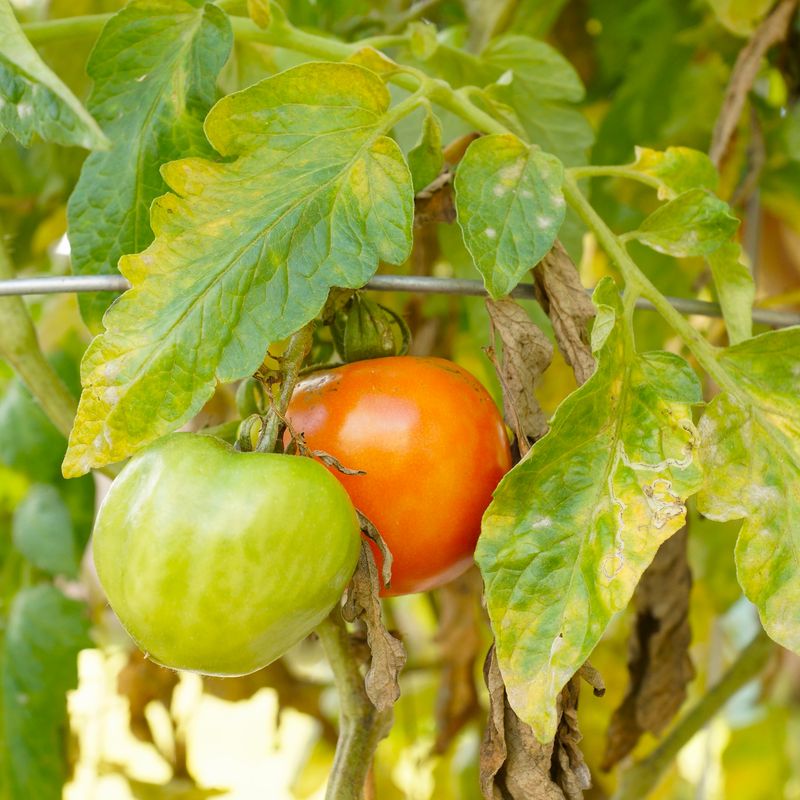
Some of the most common reasons tomatoes look sick in late summer have nothing to do with what they have been fed. Early blight moves up the plant from the soil, producing brown spots with yellow halos on lower leaves that can look like nutrient deficiency at a glance. Wilt pathogens, herbicide drift from a neighboring yard, waterlogged roots, or physical root damage from cultivation can all cause yellowing, stunting, or wilting that fertilizer cannot correct and may worsen. CSU Extension’s tomato growing guide identifies disease and root problems as important alternative explanations when a plant declines despite adequate care.
Blossom-end rot is another condition that often triggers a misguided fertilizer response. The dark, sunken spot at the bottom of developing fruit is not usually a sign of calcium-poor soil. UMN Extension’s tomato disorders resource explains that blossom-end rot typically reflects impaired calcium movement into the fruit, caused by inconsistent moisture, rapid growth, root damage, or heat, not a straightforward soil deficiency. Consistent irrigation and mulch address the underlying cause more reliably than calcium sprays or supplements.
UMN Extension’s review of common soil remedies also makes clear that Epsom salts do not prevent blossom-end rot and that excess magnesium can interfere with calcium uptake.
Finally, consider the plant type before assuming something has gone wrong. The University of Georgia Cooperative Extension’s commercial tomato handbook notes that determinate varieties are bred to produce a concentrated crop over a relatively short window and then slow down naturally. A determinate plant that seems to be winding down in late July may simply be finishing its intended production cycle, not failing due to a feeding gap.
Feed the deficiency, not the thermometer
The practical decision rule comes down to what you actually see on the plant. Uniform yellowing beginning on the older, lower leaves combined with noticeably weak or slowed growth gives you reasonable grounds to apply a modest, label-directed feeding to the root zone. That symptom pattern, especially when the soil is low in organic matter or the plant has not been fed in some time, suggests nitrogen may genuinely be in short supply.
A dark green, vigorous vine that is losing flowers or stalling on ripening during peak summer heat is telling a different story. That plant needs consistent root-zone moisture, mulch, possibly some temporary shade during the worst days, and time for temperatures to moderate. CSU Extension’s tomato guide and Minnesota Extension’s heat stress resource both point toward patience and moisture management rather than heavier fertilization when heat is the dominant stressor. Overfeeding a plant that is not deficient creates a new problem without solving the original one.
Check the leaves before you open the fertilizer bag. The symptoms are the most honest indicator you have.