
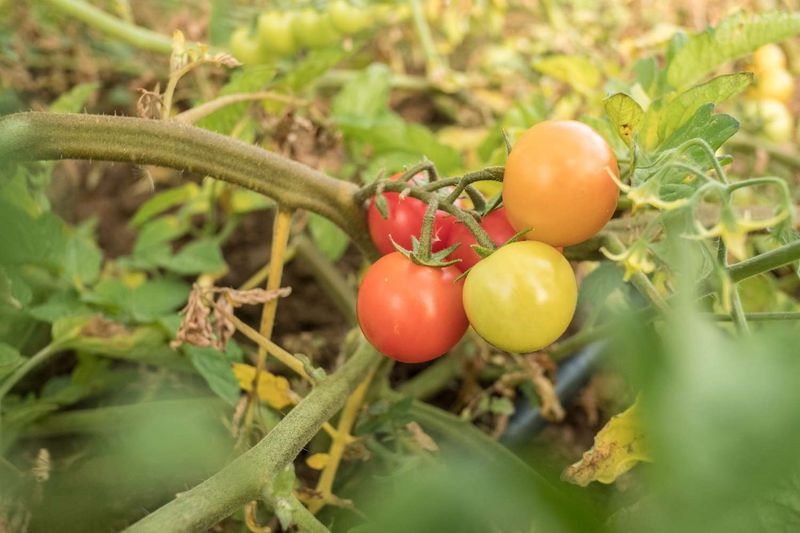
Spotting yellow leaves creeping up your tomato plant from the bottom is enough to make any gardener nervous, especially during a stretch of hot weather. The good news is that yellowing on older, lower leaves does not automatically mean your plant is doomed. Several different problems can produce this pattern, and many of them are correctable once you know what you are actually looking at. Working through a quick visual inspection before reaching for the watering can or fertilizer bag will save you a lot of guesswork.
Bottom-up yellowing is a clue, not a diagnosis
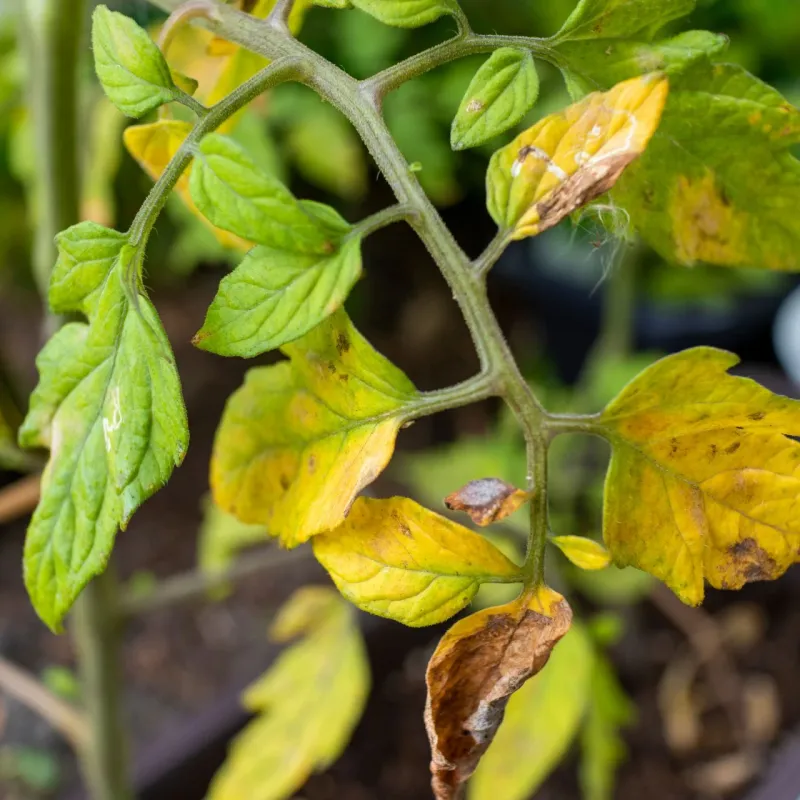
Older leaves showing symptoms before newer ones is a pattern worth paying attention to, but the direction of yellowing does not tell you what caused it. Mobile nutrients inside the plant move from older tissue to younger growth when supplies run low, so deficiency symptoms often appear on lower leaves first. Root-zone stress that limits water or nutrient uptake can produce the same visual result. At the same time, diseases like early blight in tomato also begin on older, lower foliage and spread upward as the season progresses.
Natural aging adds another layer of complexity. The oldest leaves on a vigorous, healthy tomato plant will eventually yellow and drop without any disease or deficiency involved. Treating that as an emergency can lead to unnecessary intervention and even additional plant stress.
According to Penn State Extension guidance on diagnosing poor plant health, matching a symptom to a single cause too quickly is one of the most common diagnostic mistakes. The approach here is to look carefully at the yellowing pattern itself, then check the root zone and the rest of the plant before taking any corrective action. That sequence keeps you from treating the wrong problem.
Read the leaf pattern before touching the soil
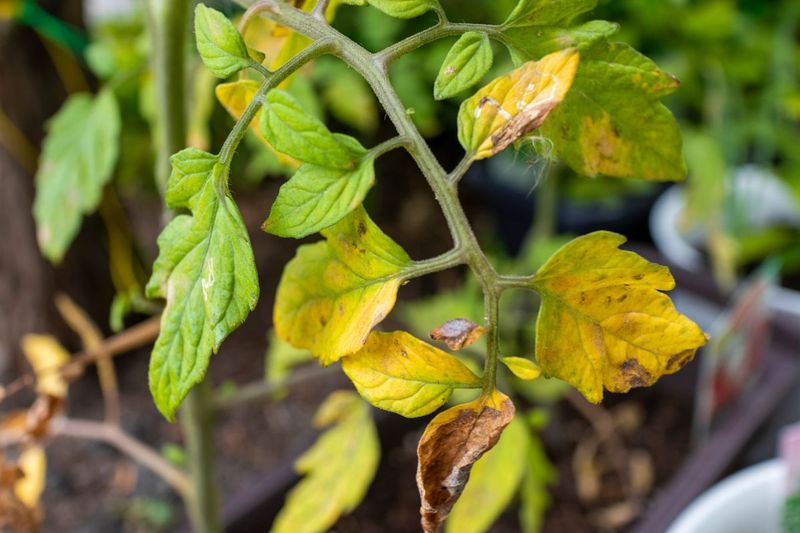
Where and how the yellow appears on the leaf surface gives you a much more useful starting point than the simple fact that lower leaves are affected. Older leaves that turn uniformly pale yellow while the newer growth at the top stays green are compatible with nitrogen stress, because Colorado State University Extension notes that nitrogen is a mobile nutrient and deficiency symptoms commonly show up first in older foliage, particularly in mid- to late-season plants grown in low-organic-matter soil.
A different pattern points toward a different possibility. Yellowing that develops between the leaf veins while the veins themselves stay green on older leaves can suggest magnesium stress, according to Penn State research on tomato nutrient management. Brown or dead edges on older leaves shift the list of suspects toward potassium deficiency, drought stress, salt injury, or disease.
When only the very oldest leaves are affected and the rest of the plant looks vigorous, natural aging is a real possibility rather than a sign of trouble. Newer growth is your reference point: if it is healthy and green, the problem may be confined to tissue that was already at the end of its useful life. These patterns suggest possibilities rather than prove any specific cause, and UMN Extension cautions that nutrient problems can look alike and multiple issues may overlap.
Heat can expose a root-zone problem
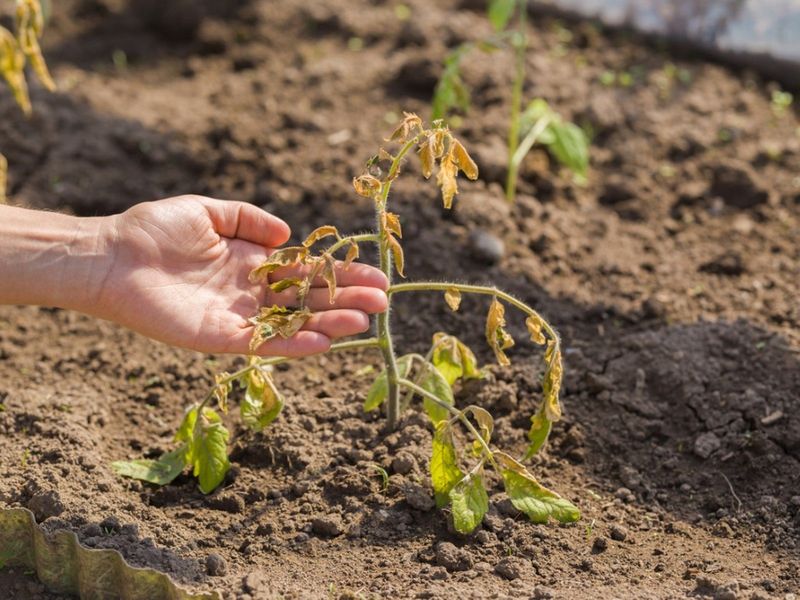
Hot weather does not directly cause bottom-up yellowing in most cases, but it can make an existing root-zone problem much worse. When temperatures climb, tomato plants demand more water. If irrigation is shallow or infrequent, the upper soil dries out quickly while deeper roots struggle to compensate. Compacted soil, poor drainage, waterlogged beds, or root injury from pests, disease, or rough cultivation can all reduce the plant’s ability to pull water and nutrients upward, and UMN Extension guidance on heat stress in gardens confirms that heat magnifies drought and root-zone stress rather than acting as a standalone cause of leaf discoloration.
Knowing the difference between heat symptoms and root-zone symptoms helps you respond accurately. Heat stress more typically shows up as leaves curling inward, plants wilting even when the soil still feels moist, scorched or crispy leaf edges, stalled growth, and flower drop. Those signs call for shade cloth, adjusted watering timing, and mulch, not fertilizer.
Yellowing lower leaves alongside adequate soil moisture, on the other hand, suggest that something else is limiting nutrient uptake, whether that is waterlogged roots, root rot, salt buildup, or a deficiency. Penn State Extension notes that saturated soil can damage root function and impair the uptake of both water and nutrients, which is why soil that looks moist can still be part of the problem. Evaluate what the plant is doing alongside what the soil is doing before drawing a conclusion.
Spots and distortion change the diagnosis
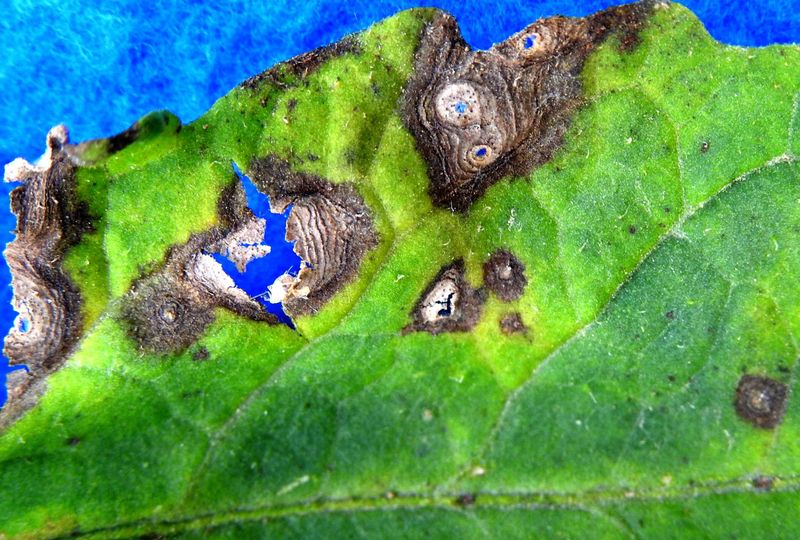
Before assuming a nutrient problem, flip a few of the affected lower leaves over and look at both surfaces carefully. Discrete spots change the diagnosis entirely. Dark brown lesions with concentric rings, sometimes described as a target-board pattern, surrounded by yellow tissue are a possible sign of early blight, a fungal disease that routinely begins on older, lower foliage. Numerous small spots with tan or gray centers scattered across the leaf surface are more consistent with Septoria leaf spot, another common fungal problem that also tends to start low on the plant, according to the UMN Extension tomato leaf diagnosis tool.
Yellow tissue surrounding distinct lesions is a strong signal to pursue a disease diagnosis rather than adding fertilizer. Feeding a plant that has an active fungal infection will not stop the spots from spreading, and it may encourage lush new growth that is more vulnerable to further infection.
A separate set of warning signs calls for a different kind of attention. Whole-plant stunting, mottled yellow-and-green patches across multiple leaves, distorted or curled new growth, or leaves that look generally malformed can indicate viral disease or herbicide injury. UMN Extension guidance on tomato viruses recommends seeking a proper diagnosis in these cases rather than applying nutrients or pesticides, since neither will address the underlying cause and some interventions can worsen the situation. Penn State Extension echoes this caution, noting that symptoms alone rarely confirm a specific disease without closer examination.
Check soil moisture before you water again
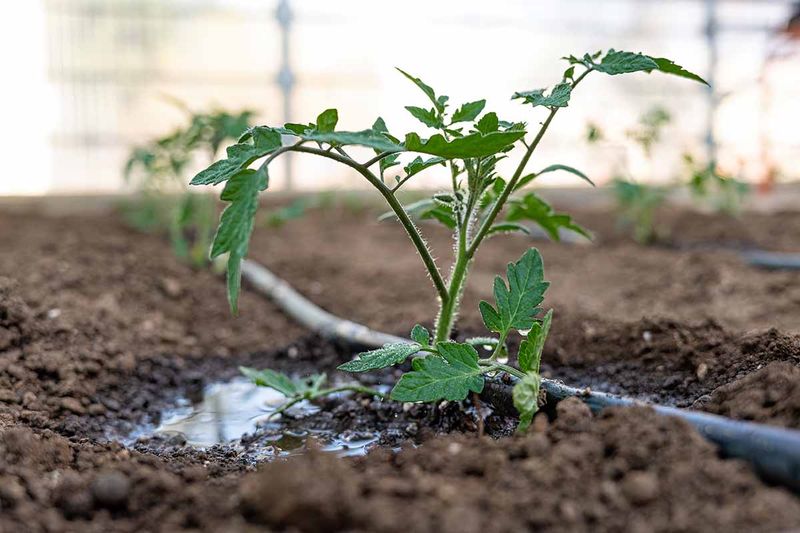
Feeling the soil surface tells you very little. Push a finger or a wooden dowel several inches below the surface near the root zone and check whether the soil is dry and crumbly, evenly moist and cool, or wet and compacted. That single check is more informative than any amount of visual inspection of the leaves alone, because both dry soil and saturated soil can produce yellowing through different mechanisms.
UMN Extension’s tomato growing guide recommends thorough, deep watering that wets the soil well below the surface, rather than frequent shallow passes that encourage roots to stay near the top where heat and drought stress hit hardest. About one inch of water per week from rain or irrigation is a reasonable starting point for in-ground tomatoes, though sandy soil tends to drain faster and may need more frequent attention. If drainage is poor and the soil stays wet for extended periods, increasing irrigation will make the root-zone problem worse, not better.
Containers follow a different set of rules. Pot size, potting mix composition, drainage hole quality, and daily temperatures all affect how quickly a container dries out, and UMN Extension guidance on container plant care notes that containers can require daily or even twice-daily watering during extreme heat. Do not apply container-watering frequency to in-ground beds. Mulching the soil surface with two to three inches of wood chips, straw, or shredded leaves helps reduce evaporation and smooth out moisture swings for both container and in-ground plants.
A drip line or soaker hose delivers water at the soil surface and keeps foliage dry, which reduces conditions that favor fungal disease.
Treat feeding as a test, not a reflex
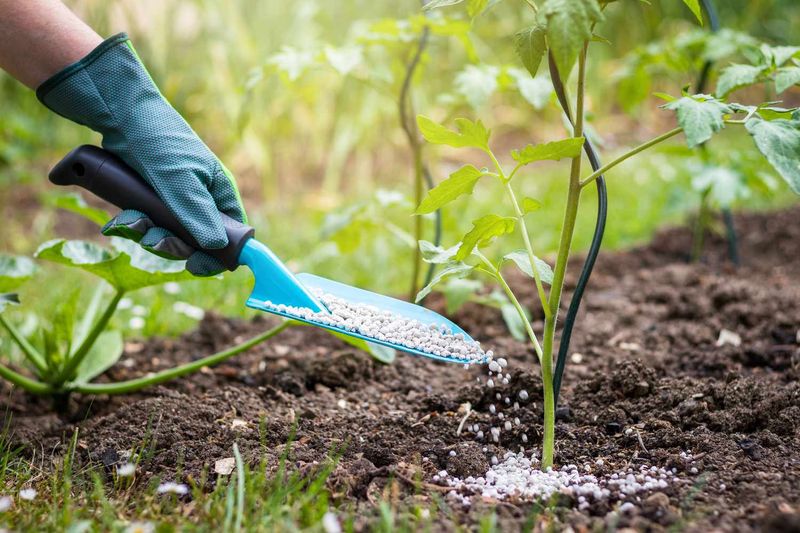
Yellow leaves feel like a call to action, and fertilizer is often the first thing gardeners reach for. That instinct can cause more harm than good. Nutrient uptake depends on soil pH, salt levels, water quality, root health, drainage, and environmental stress, not just on what is or is not in the bag. Applying fertilizer to a plant with damaged roots, waterlogged soil, or high salt levels may injure the root system further or create a nutrient imbalance that produces its own set of symptoms, as UMN Extension’s fertilizing guide makes clear.
A soil test is the most reliable way to confirm whether a deficiency is actually present before spending money on amendments. If testing is not practical and nitrogen deficiency still seems plausible based on the visual pattern, use a tomato-appropriate balanced fertilizer strictly according to its label directions. Colorado State University Extension specifically warns that dry granular fertilizer can kill tomatoes if over-applied, and recommends light supplemental feeding during the season rather than heavy corrections.
Common home remedies deserve a direct word of caution. UMN Extension’s review of popular soil amendments explains that Epsom salt should be used only when a soil test confirms magnesium deficiency, because excess magnesium can interfere with calcium uptake and foliar sprays can scorch leaves. Eggshells decompose too slowly to correct anything promptly. Blossom-end rot on fruit involves calcium movement and water transport to developing fruit, not a general calcium shortage in the soil, so adding calcium is not a treatment for yellow foliage on the rest of the plant.
Protect the leaves that are still working
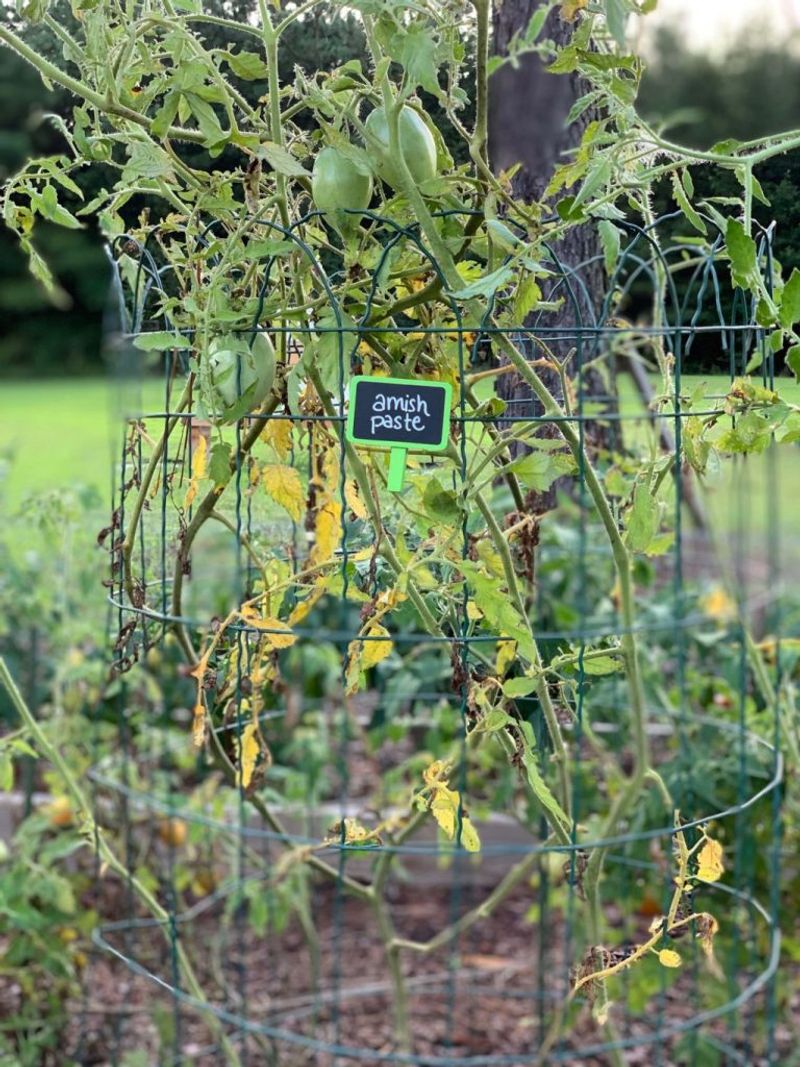
Once you have identified spotted or badly diseased lower leaves, removing them selectively can slow the spread of fungal problems and improve airflow around the plant. Clip or pinch off leaves that show distinct lesions, keeping the removed material out of the compost pile and away from the garden bed to avoid reintroducing spores to the soil. Penn State Extension advises removing no more than 20 percent of the plant’s total leaf mass at one time, because aggressive pruning can expose developing fruit to sunscald and remove the photosynthetic capacity the plant needs to keep growing.
Leaves that are mildly yellow but show no spots or lesions are still contributing to the plant’s energy budget. Leave those in place and monitor whether the yellowing continues to advance into newer growth over the following week or two. That progression, or lack of it, will tell you more than the color of any single leaf.
Prevention steps matter as much as cleanup. Keeping lower foliage off the soil surface reduces soil splash, which is a primary way fungal spores travel from ground level up onto leaves. UMN Extension’s early blight guidance and general tomato care recommendations both suggest mulching the bed surface, watering at the base rather than overhead, and maintaining enough spacing between plants to allow air circulation. Those practices do not eliminate disease pressure but they can meaningfully reduce how fast problems spread.
Let new growth provide the verdict
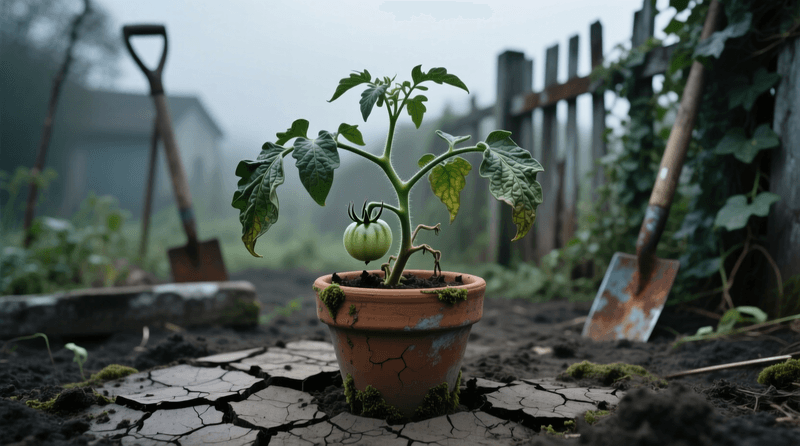
A handful of yellowing oldest leaves on an otherwise energetic tomato plant, one that is putting out new growth, setting flowers, and holding fruit, may simply reflect natural leaf aging rather than an urgent problem. The situation calls for closer attention when yellowing continues to climb into newer foliage, when distinctive spots appear, when the whole plant looks stunted or distorted, or when wilting persists even after the soil has been checked and moisture corrected.
Work through the steps in order: read the yellowing pattern, inspect both leaf surfaces for spots or distortion, check soil moisture and drainage below the surface, then correct only what the evidence supports. Penn State Extension’s plant health diagnostic guidance and UMN Extension’s nutrient management advice both reinforce that acting on incomplete information often creates a second problem on top of the first.
Already-yellow leaves are unlikely to turn green again, so look to new growth and overall plant vigor as your measure of recovery. A tomato that keeps growing and producing after you address a real problem is telling you something important: the leaves you saved matter more than the ones you lost.