
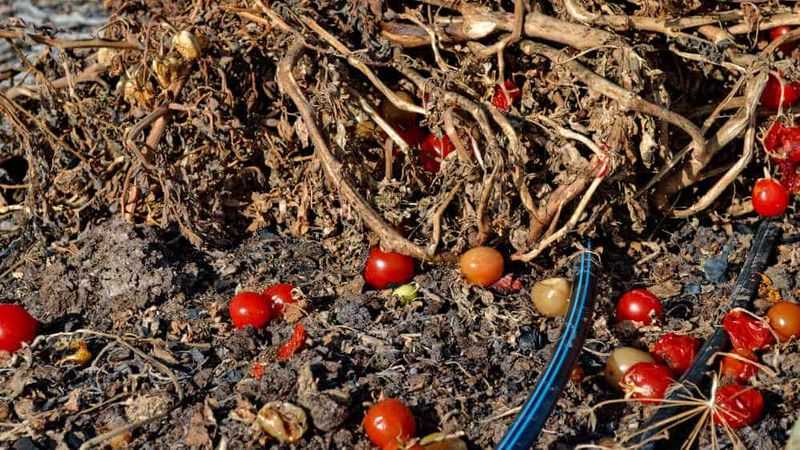
When tomato vines start looking rough, it can be hard to know whether to keep nursing them along or finally pull them out. The honest answer is that not every struggling plant needs to go right away, but the ones that are truly done producing can quietly become a source of disease and pest problems for your next crop.
Getting the timing right and cleaning up properly makes a real difference, especially for gardeners in Florida and Texas who may be eyeing a fall planting. Here is what to look for and how to handle the job without making things worse.
A spent tomato plant is a condition, not a calendar date
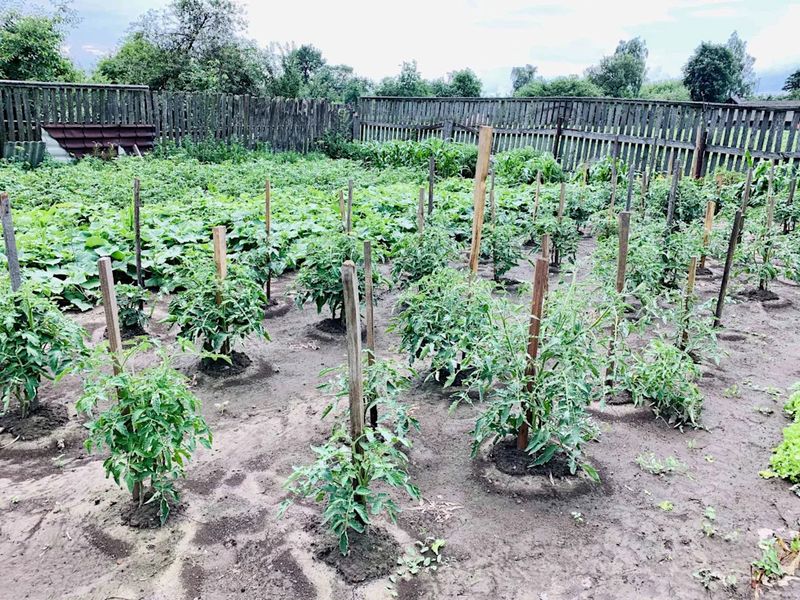
Before grabbing your gloves and a trash bag, take an honest look at what the plant is actually doing. A tomato that has stopped setting fruit, dropped most of its leaves, and shows no signs of recovery is genuinely spent and ready to come out.
A plant that still has green foliage, open flowers, or tomatoes sizing up is a different story, and pulling it early just throws away food you could still harvest.
Southern gardeners especially need to resist the urge to treat end-of-season cleanup as a fixed date on the calendar. UF/IFAS tomato production guidance for Florida recognizes multiple regional planting windows across the state, which means a gardener in the Tampa area may be mid-season while someone in North Florida is wrapping up.
Texas has a similar split: Texas A&M AgriLife describes a fall tomato window in Central Texas that typically runs from July into August for transplants, so a fading summer plant might simply need to come out to make room for a new one rather than because the season is universally over.
The clearest signal to remove a plant is one of three conditions: it has stopped producing and shows no realistic path back, it is declining so badly that recovery is unlikely, or it has a serious disease or pest problem that warrants prompt action. Keep the plants that are still earning their space.
Pull the ones that have genuinely run out of road.
Why abandoned tomato debris can carry trouble forward
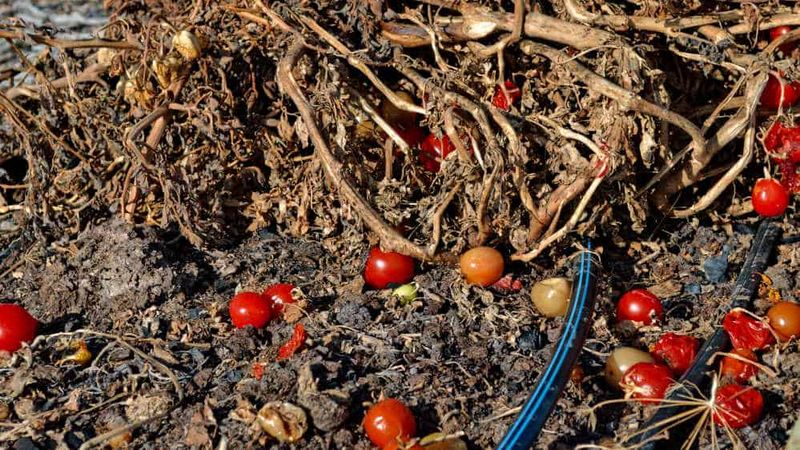
Leaving a finished tomato plant in the bed feels harmless, but the material that stays behind can serve as a reservoir for pathogens that caused problems this season and would be happy to cause them again. UGA Extension’s tomato disease management guide notes that many tomato diseases survive from one season to the next in infected plant tissue, including leaves, stems, roots, and fruit, and recommends removing crop residues at season’s end as part of a broader disease-management program.
Certain pests can also use crop debris or surrounding host plants to bridge the gap between seasons. Tomato russet mites, for example, can persist in and around plant material in the garden.
Thrips and some cutworm species similarly find harborage in or near garden debris, though it would be an overstatement to say every old tomato vine automatically invites a major pest outbreak next year. The actual risk depends on what was present in your garden, what the regional pest pressure looks like, and whether you are growing susceptible varieties.
The key caveat is that removing plant material is only one piece of the picture. Pathogens can also persist in soil, on tools, in weed hosts, in volunteer plants, through infected seed, and in transplants brought in from outside.
Pulling the vines reduces the inoculum that lives in plant tissue, but it does not scrub the garden clean of every pathogen. Think of it as lowering the odds rather than resetting to zero.
Check the cause before you declare the plant diseased
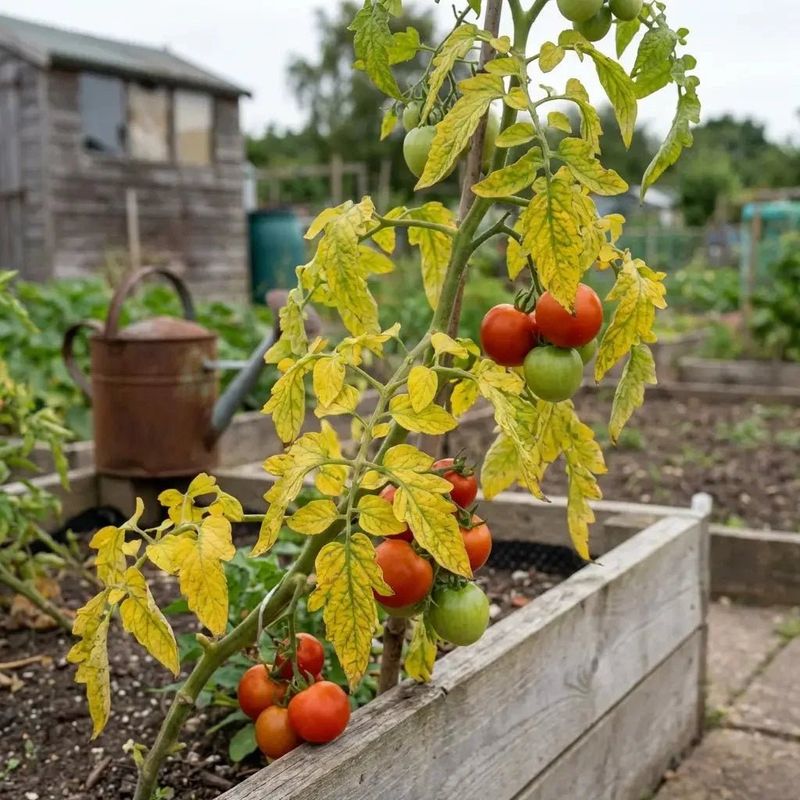
Yellowing leaves, a drooping stem, and a generally miserable-looking plant do not automatically mean disease. Late in the season, tomatoes go through natural senescence, and the combination of Southern summer heat, inconsistent watering, and soil that has been worked hard for months can produce symptoms that look alarming but are not contagious.
Heat stress, drought, nutrient imbalance, root damage from over-cultivation, and even herbicide drift can all cause a tomato to collapse in ways that resemble serious disease.
Penn State Extension’s tomato disease scouting guide emphasizes confirming unfamiliar symptoms through a diagnostic service rather than relying on visual guesses alone, because misidentification can lead to the wrong response. For example, Fusarium crown and root rot causes a distinctive brown discoloration inside the stem at the base of the plant, while pith necrosis creates a brown or hollow pith inside the stem higher up.
Both are serious and warrant whole-plant removal. Late blight produces rapidly spreading, water-soaked lesions with a white sporulating edge under humid conditions and is considered a high-urgency situation.
Mosaic patterns, distorted new growth, and fern-like leaves suggest a viral infection, which has no curative treatment.
Mild leaf spotting on a plant that is otherwise setting fruit and growing normally does not automatically call for destruction. Watch it, manage it if a labeled fungicide applies, and make the removal call based on whether the plant is still productive and whether the problem is spreading.
When the cause is genuinely unclear, a county Extension office or university plant diagnostic lab can identify the pathogen and tell you exactly what you are dealing with before you decide how aggressively to respond.
Harvest usable fruit, then remove the plant completely
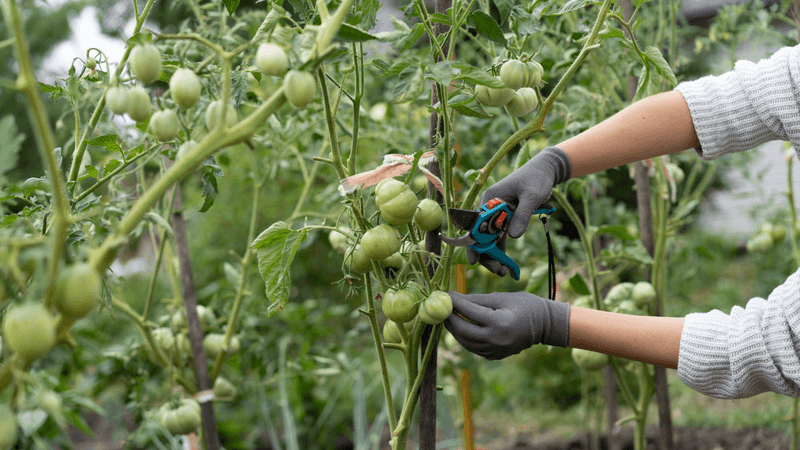
Once you have decided the plant needs to go, do not skip the harvest step. Any tomato that has reached mature-green stage can ripen off the vine, so pick everything that has sized up and shows even a hint of color change before you pull the plant.
University of Illinois Extension notes that mature-green tomatoes can be picked before a killing freeze and ripened indoors at room temperature, away from direct sun. This step matters most in frost-prone parts of Texas and the Upper South; in warmer areas of Florida, freezes are rare and the priority shifts to simply not wasting fruit that would otherwise rot on a removed vine.
After the harvest, remove the entire plant. Pull the vine from its supports and work your way down to the root zone, digging out as much of the root system as you can manage when disease is suspected.
UMN Extension guidance on Fusarium crown and root rot specifically recommends removing roots along with the plant to reduce the infected tissue left in the soil. For plants with suspected viral disease or serious wilt, bag the material before you move it across the garden so you are not scattering infected debris on your way to the trash or yard-waste container.
Once the plant is out, go back over the soil surface and collect fallen leaves, rotting fruit, and any stem fragments you can see. UMN home garden disease management guidance points out that rotten fruit and infected tissue left on the ground contribute to disease spread, so the cleanup does not end at the main vine.
Work methodically and avoid carrying plant material from a diseased area through a section of the garden where healthy plants are still growing.
Choose disposal over the compost shortcut
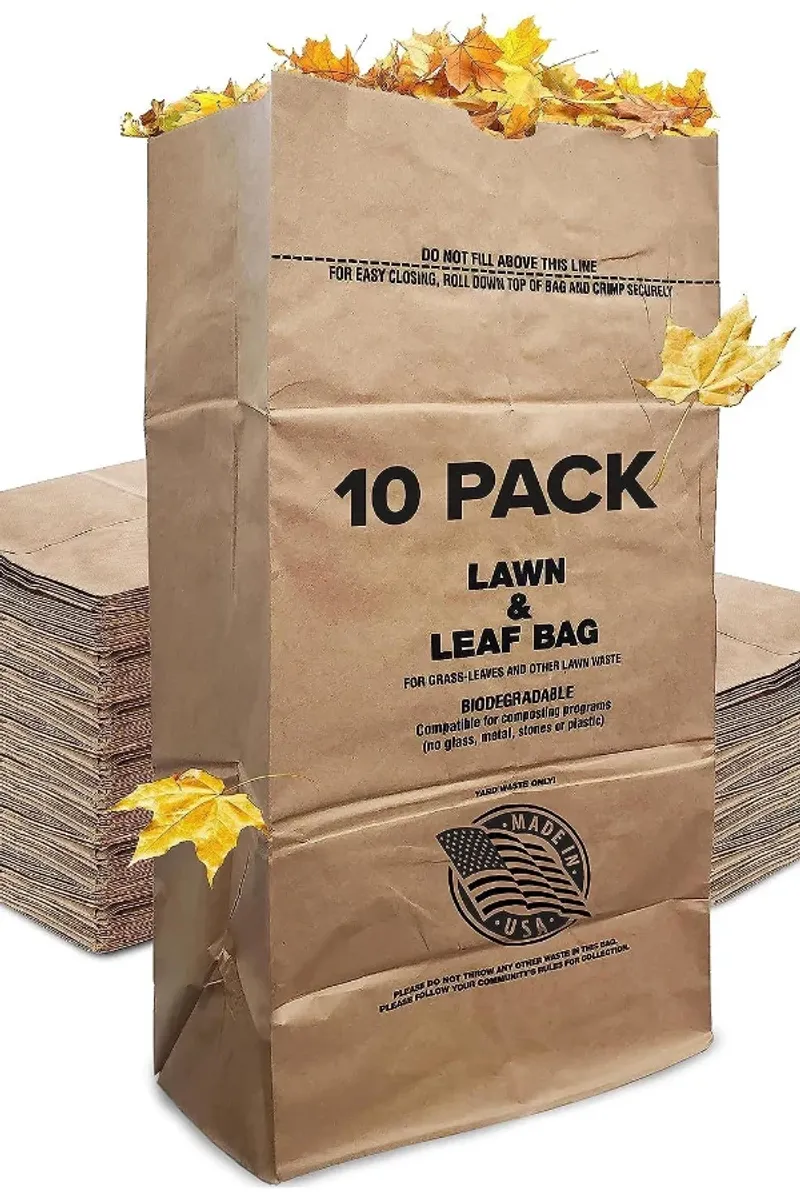
After the plant is out and the debris is collected, the question becomes what to do with it all. The short answer for most home gardeners is to bag suspicious material and set it out for yard-waste pickup or dispose of it according to your local waste-management rules.
That approach keeps infected tissue out of your garden without requiring a bonfire in the backyard, which local fire codes, smoke concerns, and the practical risk of spreading embers or disturbed material make a poor default choice for most neighborhoods.
Composting is more complicated than it sounds. UMN’s home garden disease management guidance advises that ordinary backyard compost piles may not reliably reach or maintain the temperatures needed to destroy many pathogens.
Some university guidance allows diseased material in a properly managed hot pile that consistently reaches around 148 degrees Fahrenheit and completely breaks down the tissue, but most home piles do not operate that way. Virus-infected plant material should not be composted under UMN recommendations, because the risk of the pathogen surviving and moving back into the garden through finished compost is too high.
Penn State Extension similarly cautions home gardeners about putting diseased tomato tissue into backyard compost. The safest general rule is to bag anything that looked diseased or heavily infested and send it out of the garden entirely.
Healthy, non-diseased vine material from a plant removed simply because it stopped producing is a different matter and may be appropriate for composting if your system is well managed.
Sanitize the tools and supports that touched the crop
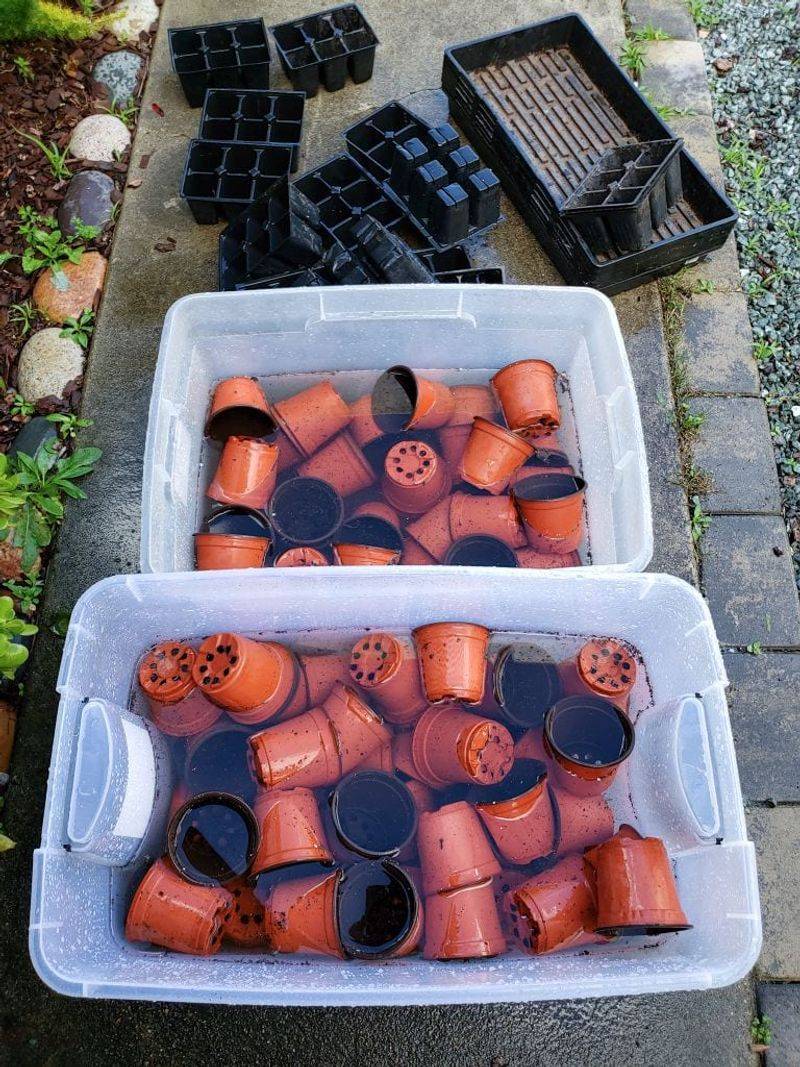
Removing the plant handles the obvious source of debris, but the tools and supports that spent the season touching your tomato vines can carry pathogens right into the next crop if they are put away without cleaning. Pruners, stakes, wire cages, clips, and trellis netting all qualify.
UF/IFAS disease management guidance specifically includes removing and cleaning or sanitizing reusable equipment as part of an end-of-season sanitation program, and notes that some pathogens can be moved mechanically from plant to plant through contaminated tools.
The process is straightforward. Start by washing off any visible plant residue with water and a brush or cloth before applying any sanitizer, because organic material interferes with most disinfectants and reduces their effectiveness.
UMN guidance on cleaning and sanitizing farm tools recommends following the product label for the sanitizer you choose, since contact time and dilution vary by product. Common options include diluted bleach solutions and commercial sanitizers labeled for garden use.
Reusable wire cages and wooden stakes deserve the same attention. Scrub off soil and plant tissue, let them dry, and apply a sanitizer before stacking them for storage.
UGA Extension’s staking and pruning guide reinforces the importance of cleaning tools between plants, especially when working around diseased material. Skipping this step means the work you put into removing the plant may be partially undone the moment you pick up the same uncleaned pruners next season.
Reset the bed without pretending the soil is cured
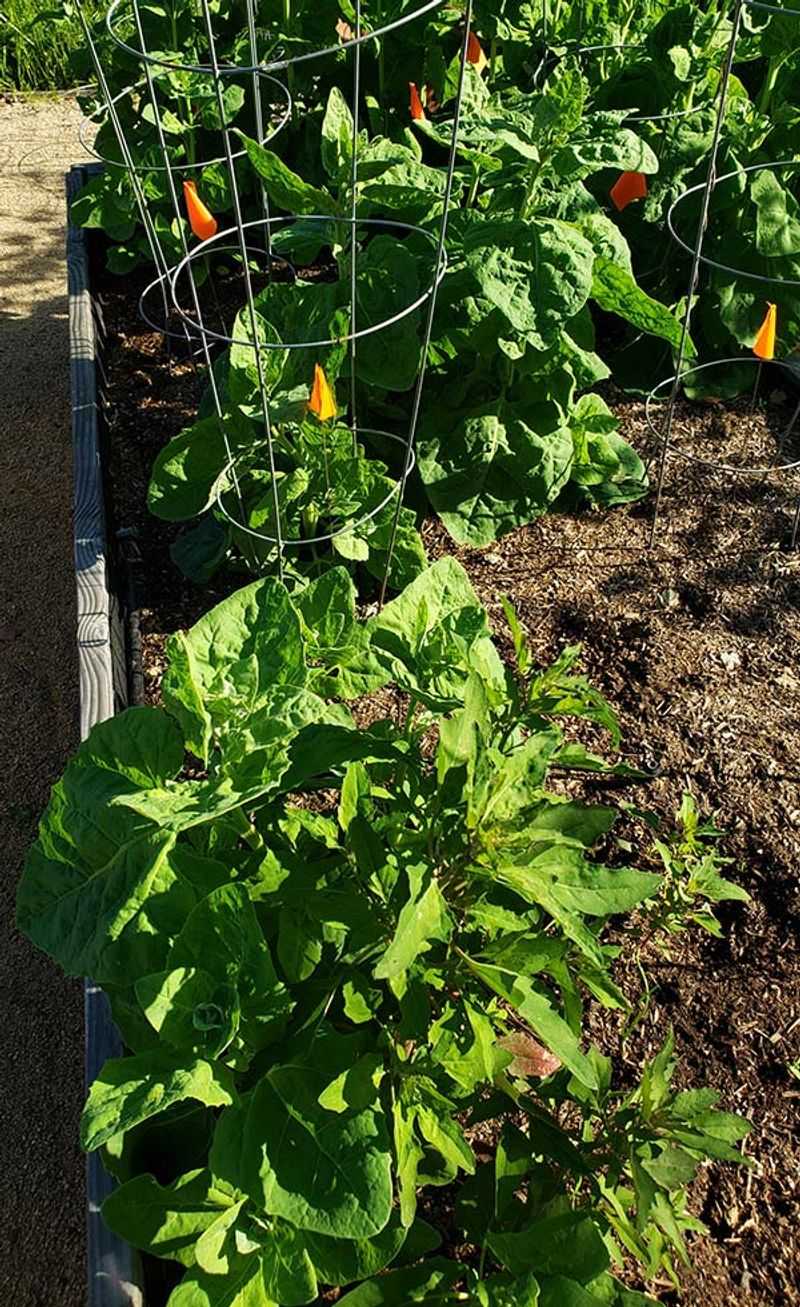
Clearing the vines and cleaning your tools puts you ahead of where you started, but the bed still needs a few more steps before it is ready for the next crop. Volunteer tomato seedlings that sprout from dropped fruit, and weeds in the nightshade family such as black nightshade, can maintain pathogens and serve as host plants for insect vectors like thrips that carry viral diseases between crops.
UGA Extension’s weed management guide identifies nightshade relatives as hosts for several tomato pathogens, making weed control a genuine part of disease management rather than just tidiness.
Rotating the planting location is the other lever worth pulling. UGA Extension describes a three-year rotation away from tomatoes, peppers, eggplants, and potatoes as optimal for reducing pressure from shared pathogens.
That recommendation exists because many of the diseases that hit tomatoes also infect other Solanaceae family members, so moving to an unrelated crop breaks the cycle. Three years is the ideal; even one or two years of rotation provides some benefit over planting tomatoes in the same spot every season.
Rotation and sanitation together reduce risk, but they do not erase soilborne pathogens that are already established. Some organisms, including Fusarium species, can persist in soil for years regardless of what you plant.
For Southern gardeners replacing a tired summer crop with a fall planting, Florida’s vegetable gardening calendar and Texas A&M AgriLife tomato guidance both outline regional timing windows. Use those local schedules to decide when to replant, and select varieties with resistance to the diseases most common in your area to give the new crop the best possible start.
Use cleanup as one layer of prevention
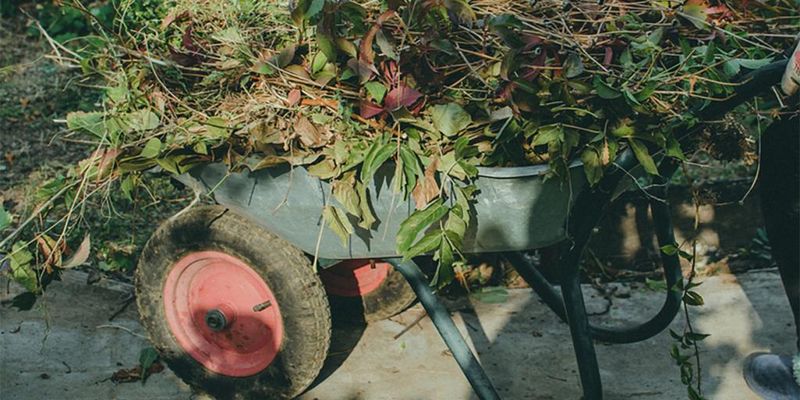
End-of-season cleanup is most useful when you treat it as one part of a larger plan rather than a complete solution on its own. Remove plants that have stopped producing, are beyond reasonable recovery, or are seriously affected by disease or pests.
Leave plants that are still flowering and setting fruit, especially if your local calendar supports continued or fall production. Collect fallen leaves, rotten fruit, and stem debris from the soil surface, dispose of suspicious material in sealed bags through your local yard-waste program, and sanitize tools and reusable supports before storing them.
UGA Extension frames these steps as disease-management practices that reduce inoculum in plant material, not as a cure for the soil or a guarantee of a clean season ahead. Pathogens can still move in through transplants, seed, tools brought from elsewhere, and neighboring host plants.
Pairing cleanup with crop rotation, volunteer and weed removal, resistant varieties, and clean transplant sources from reputable suppliers closes more of those gaps.
When symptoms are unfamiliar or the plant’s decline does not fit a clear pattern, a county Extension office or university diagnostic lab is a better first stop than a fungicide spray. Many serious tomato diseases, including viruses and vascular wilts, have no curative spray treatment.
Good sanitation habits, accurate diagnosis, and thoughtful planting choices are what actually move the needle from one season to the next.