
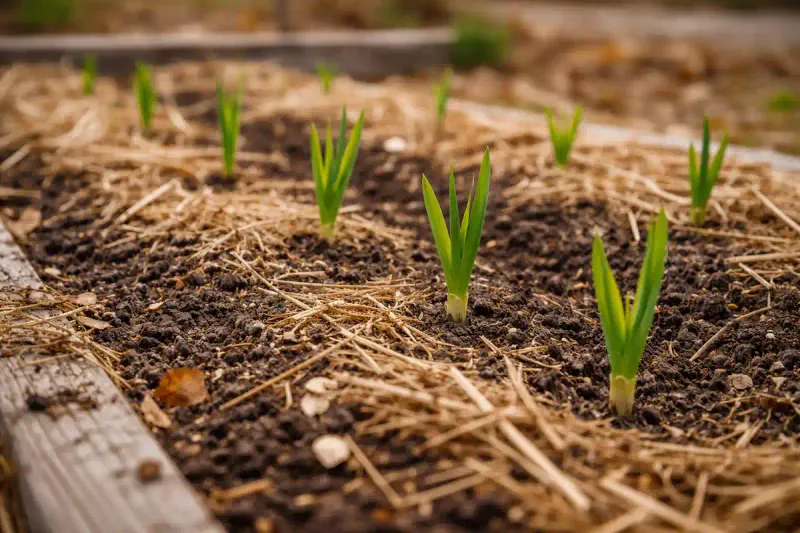
Planting garlic in fall and then waiting through weeks of silence can feel like something went terribly wrong underground. Before you grab a trowel and dig the whole bed up, slow down – a missing shoot is not the same as a rotted clove.
Several things, from planting date and soil temperature to the type of garlic you chose, can push emergence later than you expected. Understanding what actually causes pre-emergence failure puts you in a much better position to fix the real problem.
A Missing Shoot Does Not Prove the Clove Rotted
Weeks pass after planting, the bed stays quiet, and the natural conclusion is that something went wrong. That conclusion may be premature.
Garlic emergence depends on variety, planting date, soil temperature, and local weather, so slow or uneven sprouting does not automatically mean the cloves have decayed.
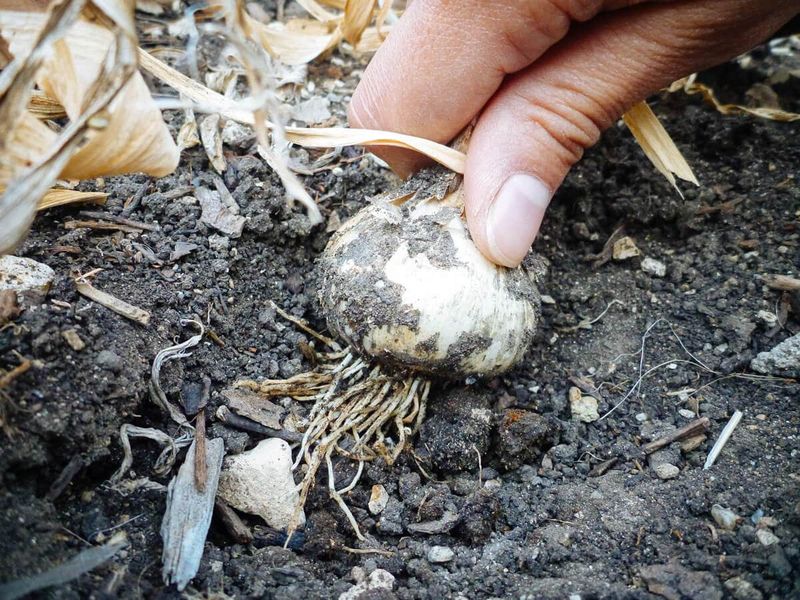
Before disturbing the whole bed, pull one or two cloves from a corner and examine them closely. A healthy clove still in the process of rooting will feel firm when you squeeze it, show white or cream-colored flesh if you nick the skin, and may already have a short root mass forming at the base or a pale growing tip pushing upward from the top.
Penn State Extension’s garlic production guide notes that garlic needs consistently cool soil to root and establish before sending up shoots, which means visible green growth can lag several weeks behind planting in some conditions.
A clove that has actually failed will tell you through texture and smell: soft, discolored flesh, a foul or musty odor, blue-green fuzzy growth on the surface, or deterioration at the base where the roots should form. University of Minnesota Extension’s garlic diagnostic tool identifies blue-green mold as a sign of Penicillium decay, one of several diseases that can destroy cloves before emergence.
Inspect a small sample first, then decide what the bed actually needs rather than acting on an assumption.
When Excessive Depth Can Delay Emergence
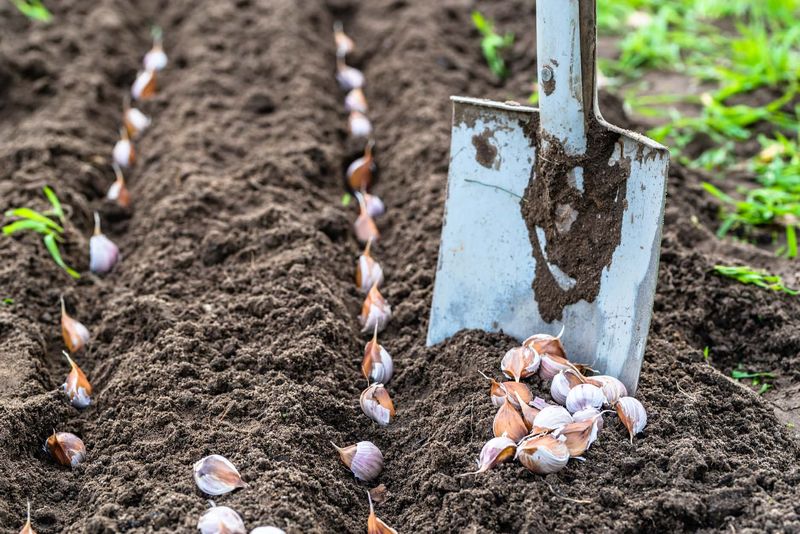
Planting depth is a real variable, and getting it wrong in one direction can slow your garlic down. The standard target is roughly 1 to 2 inches of soil covering the top of the clove, measured from the soil surface down to where the clove sits.
Penn State’s guide to growing and using garlic describes this range as appropriate for most home-garden situations, and Texas A&M AgriLife Extension in Bexar County similarly recommends planting about 1 to 2 inches deep for home gardeners in that region.
Some Southern guidance, including University of Georgia Extension’s garlic production publication, allows up to 3 inches in situations where extra winter protection is needed. That upper limit exists for a reason: cloves planted substantially deeper than the regional recommendation must push a shoot through more soil before it reaches light, which takes longer and keeps the clove sitting in cool, wet ground during that extra time.
That extended exposure to moisture is where depth and rot risk can intersect, but the connection is not direct. Excessive depth does not rot a clove on its own.
A well-drained bed with sound, disease-free planting stock can handle modest planting errors without significant loss. The concern becomes more serious when depth combines with other risk factors, particularly poor drainage or infected cloves, which are covered in the sections that follow.
Wet Soil Creates the Risk Depth Often Gets Blamed For
Poor drainage is a more direct threat to fall garlic than planting depth. Garlic roots need oxygen, and soil that stays saturated after rain or irrigation cuts off that oxygen supply.
When a clove sits in waterlogged ground for extended periods, it becomes far more vulnerable to the soilborne pathogens that cause pre-emergence rot.
Heavy clay soils, compacted beds, and low-lying spots in the yard are the most common culprits. Penn State Extension and University of Georgia Extension both emphasize that well-drained soil is a basic requirement for garlic, and that poorly drained sites specifically raise the risk of bulb rots.
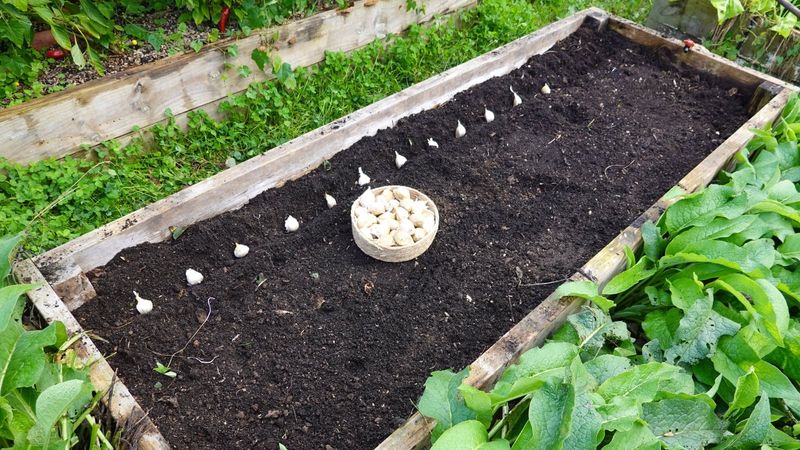
For Southern gardeners dealing with heavy winter rains or clay-dominant soils, a raised bed is one of the most practical fixes available.
The distinction between steady moisture and saturation matters. Garlic does need consistent moisture during rooting and active growth, and Iowa State University Extension’s garlic guide confirms that regular watering supports establishment.
What garlic cannot tolerate is standing water or soil that never dries between rains. Before adding water to a bed where garlic has not emerged, check whether the soil is already wet several inches down.
If it is, more water is the last thing the planting needs.
What a Failed Clove Can Reveal
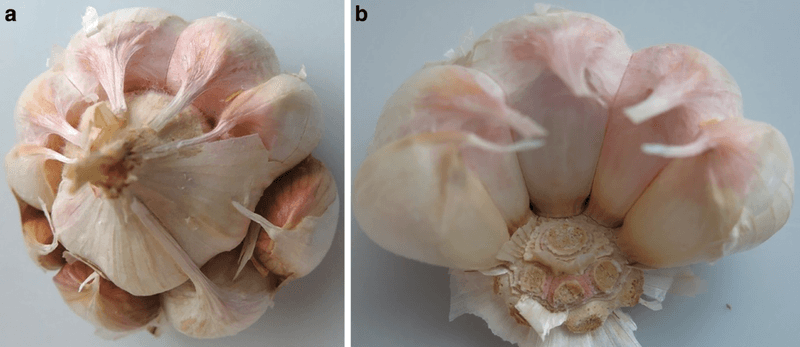
Finding a soft, discolored clove in the bed is frustrating, but the way it failed can point toward what went wrong. Different diseases leave different clues, and reading those clues carefully helps you avoid repeating the same problem next season.
Blue-green or teal fuzzy growth on the clove’s surface is a recognizable sign of Penicillium decay, a fungal disease that can destroy cloves before a single shoot appears. University of Minnesota Extension’s garlic diagnostic resource specifically links that fuzzy blue-green growth to Penicillium and notes it often develops in storage or during early establishment.
Deterioration centered at the basal plate, the flat root-forming end of the clove, can indicate Fusarium basal rot, a soilborne fungal pathogen that the Pacific Northwest Pest Management Handbook identifies as a cause of pre-emergence decay in garlic and onion crops.
Cool, moist soil also favors white rot, a particularly persistent soilborne disease. UC IPM’s white rot page explains that the pathogen can survive in contaminated soil for many years, making it difficult to manage once it is established in a bed.
Several of these diseases can look similar at first glance, which is why a visual check alone is not always enough for confident identification. If your garlic bed has suffered repeated losses across multiple seasons, sending a sample to a university plant-diagnostic laboratory gives you a specific answer and a management path that actually matches the disease present.
Start With Healthy Cloves and a Clean Bed
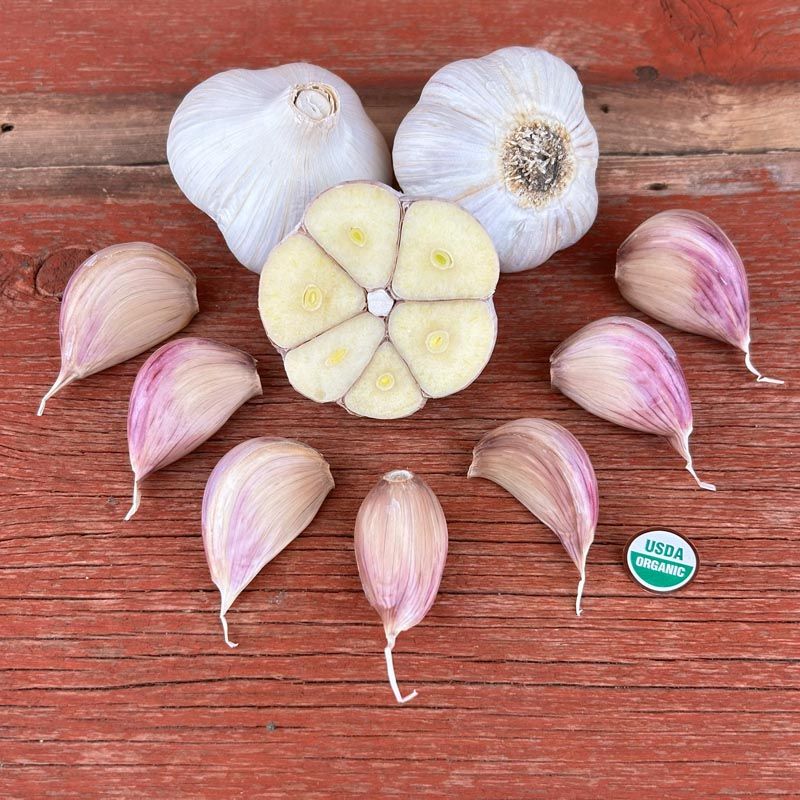
The condition of the planting material you put in the ground has more influence over pre-emergence survival than almost any other single factor. Cloves that are already infected, mechanically damaged, or poorly adapted to your region can fail before the soil temperature even becomes an issue.
Washington State University Extension’s garlic guide recommends selecting large, firm, unblemished outer cloves from certified or reputable seed-garlic suppliers and avoiding grocery-store bulbs, which may be treated with sprout inhibitors, poorly adapted to local conditions, or capable of carrying disease into a previously clean bed. University of Georgia Extension echoes that advice, noting that using disease-free planting stock is a foundational step in garlic production.
Crop history matters just as much as the cloves themselves. Planting garlic in a bed that recently grew garlic, onions, shallots, or leeks, especially one with a history of rot problems, puts new cloves directly into soil that may already carry soilborne pathogens.
UC IPM’s basal rot resource and their white rot page both identify rotation away from alliums as a key management strategy. A three-to-four-year break from garlic and its relatives in a problem bed is commonly recommended, though the right interval depends on which disease is present and how severe the contamination is.
UC IPM’s pest management guide for onion and garlic provides more detail on disease-specific rotation considerations.
Plant Point Up and Mulch Without Burying the Clove
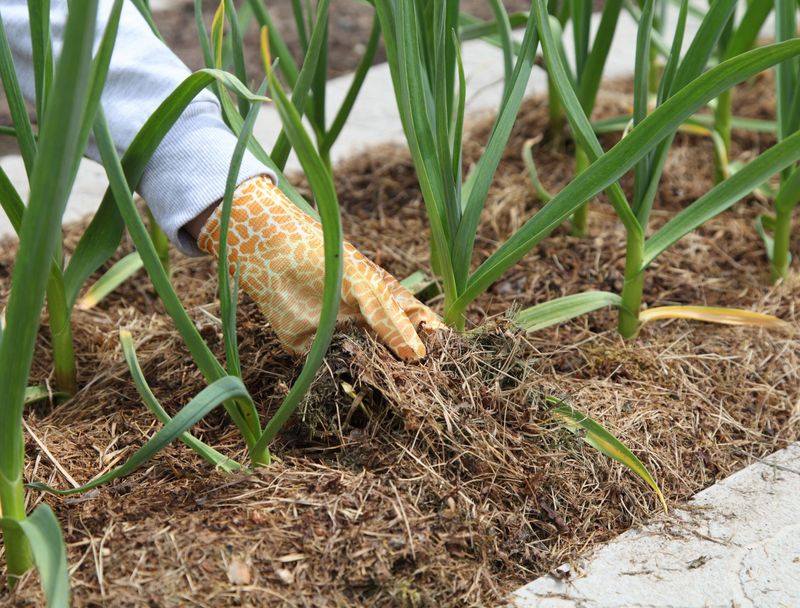
Getting the mechanics right at planting time removes several avoidable problems at once. Start by separating cloves from the bulb just before planting, keeping the papery wrapper intact.
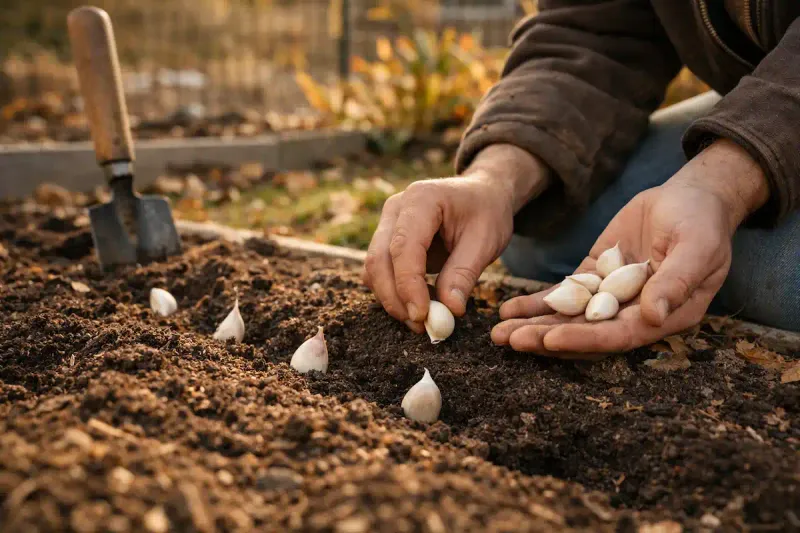
Place each clove with the pointed growing tip facing upward and the flat basal plate, where the roots will emerge, facing down. An upside-down clove can still sprout, but it takes longer and expends energy the plant cannot afford early in the season.
Cover the top of each clove with 1 to 2 inches of soil, using the regionally appropriate end of that range based on your winter temperatures and soil type. Penn State Extension confirms this as a practical general target, and their garlic production guide recommends watering thoroughly immediately after planting to settle the soil around the clove and encourage rooting.
After that initial watering, allow the bed to drain and avoid keeping it saturated.
Straw mulch applied over the bed serves a different purpose than soil depth, and the two should not be confused. A 2-to-4-inch layer of loose straw over correctly planted cloves reduces frost heaving, holds some soil moisture, and suppresses winter weeds, but it does not add to the planting depth in the way that extra soil would.
University of Georgia Extension recommends keeping mulch several inches away from emerging stems and notes that damp mulch pressed tightly against the plant can promote disease, particularly in the warmer, wetter conditions common across the South.
Match Southern Timing and Variety to Your Location
One of the quieter reasons garlic fails in Southern gardens is a mismatch between when the cloves go in the ground and what the local climate actually calls for. Planting too early in warm soil can encourage top growth before roots are established; planting too late can push the crop into conditions where bulb development suffers.
Neither failure has anything to do with planting depth.
University of Georgia Extension generally places Georgia planting from late September through November, while the Southeastern Vegetable Crop Handbook gives different windows by state and sub-region. Texas timing varies even more dramatically: Texas A&M AgriLife Extension’s fall vegetable gardening guide shows planting dates ranging from as early as July in the northernmost regions to December in the far south.
Applying a single statewide calendar to either Georgia or Texas ignores real differences in winter severity and soil behavior.
Variety selection is equally regional. Softneck types are generally more suited to warmer Southern climates than many hardneck types, as University of Georgia Extension’s Fannin-Gilmer county guide explains, though performance still varies by specific variety and location.
Florida gardeners face an additional layer of complexity: the UF/IFAS vegetable production guide covers allium crops by region but does not provide a directly equivalent garlic planting calendar, so Florida readers are better served by contacting their county UF/IFAS Extension office and sourcing locally adapted planting material.
Inspect First, Then Fix the Bed
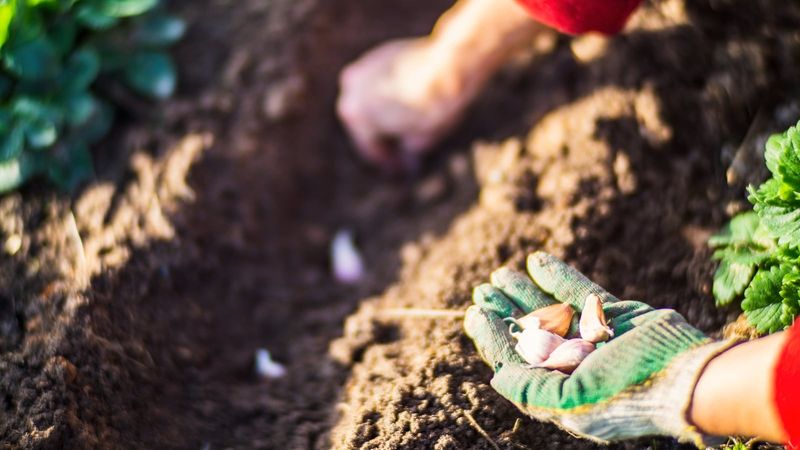
The practical order of operations matters here. Pull a small sample of cloves and examine them before drawing any conclusions about what the bed needs.
A firm clove with developing roots is doing its job even if no shoot has broken the surface yet. A soft, foul-smelling clove with mold or basal damage tells you something more serious is happening and points you toward drainage, planting stock, or disease rather than depth alone.
If inspection reveals healthy cloves, be patient and check your soil moisture. If it reveals decay, resist replanting immediately in the same spot without first addressing what caused the failure.
Penn State Extension and University of Georgia Extension both emphasize drainage and disease-free stock as the starting points for a healthy planting, and UC IPM’s onion and garlic pest management guide reinforces that sanitation and rotation are the most reliable tools against soilborne pathogens.
Recurring losses in the same bed, season after season, are a signal that the soil itself may be contaminated, and no adjustment to planting depth will solve that. A university plant-diagnostic laboratory can identify the specific pathogen and tell you whether the bed can be rehabilitated or needs a longer rest from alliums.
Garlic rewards gardeners who diagnose before they act.