
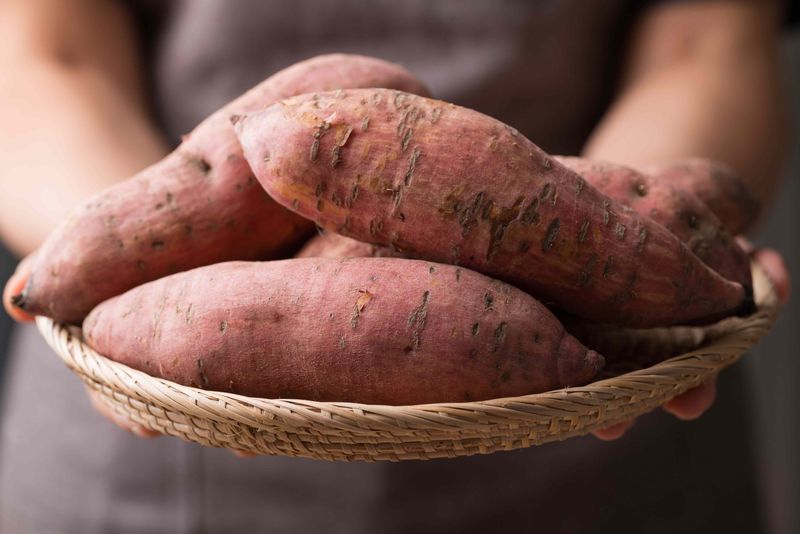
You put real work into growing sweet potatoes all season, and harvest day feels like a win. But a surprising number of home gardeners lose a good portion of their crop in storage because they skip one protective step right after digging: curing.
Freshly harvested sweet potatoes have thin, fragile skin and small wounds that decay organisms can exploit quickly. Curing those roots in warm, humid conditions for about a week gives them a chance to heal before you tuck them away for the long haul.
Handle freshly dug roots gently before curing
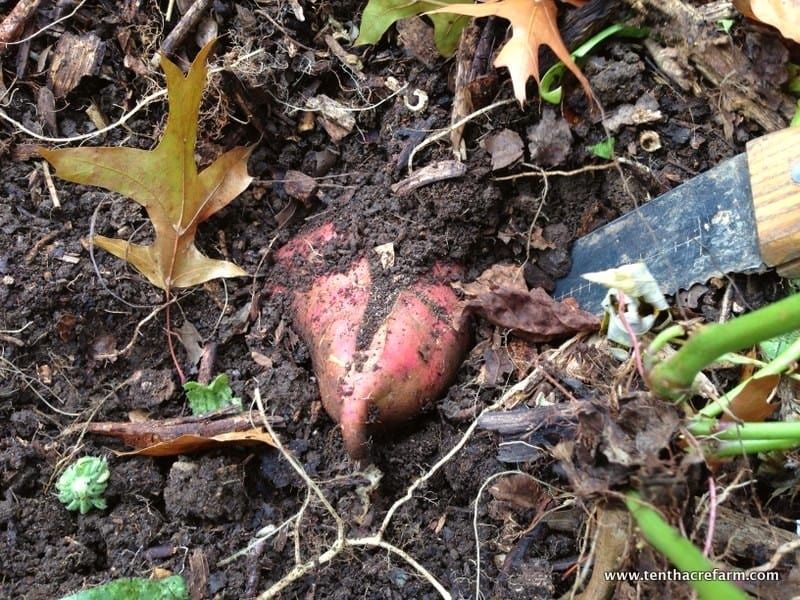
Sweet potato skins are surprisingly fragile right after digging. The outer layer tears easily, and even a small scrape or bruise from a shovel, rough hands, or tossing roots into a bucket can open a doorway for bacteria and fungi.
NC State Extension’s postharvest handling guidance emphasizes that mechanical damage during harvest is one of the primary ways decay gets started, so lifting roots gently rather than stabbing or pulling through them is the first real protection your crop gets.
Once the roots are out of the ground, sort them before setting up your cure. Set aside any root with a large split, deep puncture wound, soft spot, obvious mold, or signs of field disease.
Curing is designed to help sound roots and minor surface injuries heal, not to rescue roots that are already badly compromised. Rhizopus soft rot can move through a wounded root in as little as three days once the fungus finds an entry point, so those damaged roots should be used right away, composted, or discarded rather than mixed in with your healthy crop.
Keep roots off concrete during this sorting step if you can, since hard surfaces add bruising. Kansas State University Extension recommends handling each root as if it were an egg.
Poor handling can shorten storage life, but careful sorting and gentle treatment from the moment of digging give your sound roots the best possible start going into the cure.
Understand what curing does—and what it cannot do
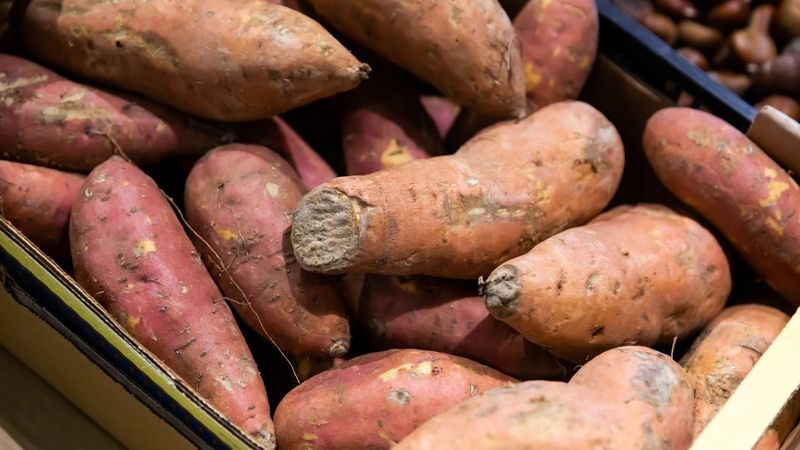
Curing is a controlled wound-healing process, not a drying step. When you hold freshly harvested, unwashed sweet potato roots in warm, humid, gently ventilated conditions, the damaged skin forms a protective layer called a periderm over minor cuts and scrapes.
Starches begin converting to sugars, moisture loss slows, and the overall skin toughens. The result is a root that is better sealed against the outside world before it goes into long-term storage.
USDA Agricultural Research Service commercial storage guidance and UGA Cooperative Extension both describe curing as a key step that reduces decay risk and supports longer, better-quality storage. That said, curing is not a guarantee.
It cannot prevent every field- or storage-borne disease, and it cannot repair roots that already have severe damage, advanced rot, or freezing injury.
Leaving roots in a low-humidity room to air out is not the same as curing. Dry air pulls moisture out of the roots and can cause shriveling without giving the skin time to heal properly.
The goal is warm, humid wound recovery, which is a meaningfully different process. University of Maryland Extension notes that some sound home-grown roots do store successfully even when a full cure is skipped, but uncured roots with harvest wounds carry a higher and less predictable decay risk, especially when conditions are warm and humid enough for soft rot to spread.
Build a shaded, warm curing space at home
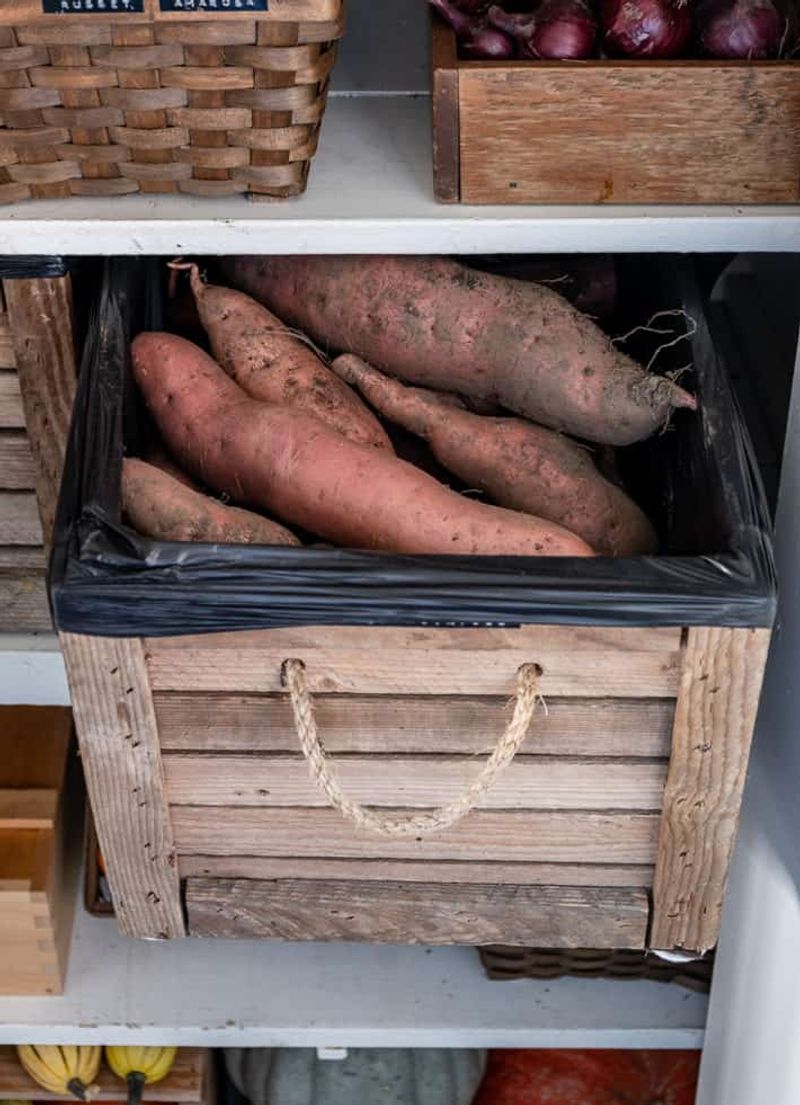
A spare closet, a shaded garage corner, a covered porch, or a greenhouse bench can all become a workable curing space. The key requirements are warmth, humidity, shade, and gentle air movement.
Start by leaving the roots unwashed; just brush off any loose clumps of soil by hand. Washing adds surface moisture that can encourage mold and bacterial growth while the skin is still tender and healing.
Spread roots in a single layer when you have the space, or use ventilated crates and burlap-lined boxes that allow some airflow between roots without crowding them. NC State Plants for Human Health Institute recommends a loosely enclosed setup that retains humidity without trapping condensation.
A thermometer and hygrometer are genuinely useful tools here because “warm and humid” is not specific enough to prevent a space from becoming too dry, too hot, or too stagnant. Penn State Extension also suggests monitoring conditions rather than assuming a room is suitable.
Southern gardeners in Florida and Texas often have a natural temperature advantage in fall, but that warmth comes with hazards. Direct sun can cause sunscald and create new skin damage that invites decay.
Rain can soak exposed roots and add excess surface moisture. Placing roots directly next to a space heater concentrates heat unevenly and can dry or scorch the skin.
UF/IFAS guidance for Florida sweet potato producers describes curing at approximately 86 degrees F and 90-95% relative humidity, which underscores that high humidity, not just heat, is central to the process.
Cure near 85°F for roughly one week
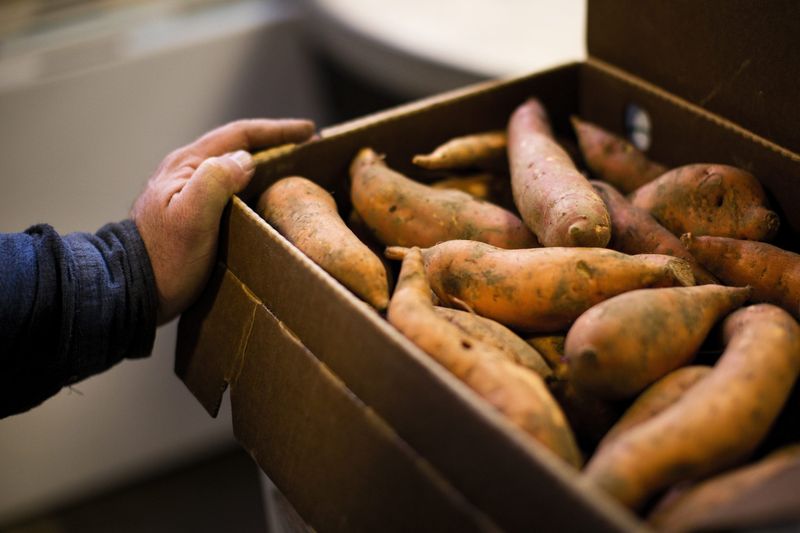
Aim for approximately 80-85 degrees F and 85-95% relative humidity, with gentle ventilation, for about four to seven days under typical conditions. USDA commercial storage recommendations place the commercial target near 84-85 degrees F for four to seven days, while UGA Extension recommends 80-85 degrees F for approximately one week.
Published guidance varies somewhat by source, cultivar, root condition, and equipment, so treat these figures as a practical target rather than an exact recipe.
If your curing space runs cooler than the ideal range, extend the curing period rather than cranking up a heater to compensate. Forcing heat without maintaining humidity defeats the purpose and can dry out or damage roots.
Washington State University Extension notes that cooler temperatures slow the wound-healing process, making a longer cure the safer adjustment. A fan set to low or a slightly open door can keep air moving enough to prevent condensation and stale carbon dioxide buildup without stripping humidity from the roots.
Keep in mind that the goal throughout this period is warm, humid healing, not dehydration. Roots that are curing correctly should feel firm and look largely unchanged, not shrunken or dried out.
NC State’s school garden curing guide describes the healed surface as forming a visible protective layer over wounds. Some home gardeners cure for up to 10-14 days when temperatures are lower or roots were heavily skinned during harvest, but 14 days is not a universal rule and should not be treated as one.
Check your roots midway through and trust what you observe.
Move cured roots to cool, ventilated storage
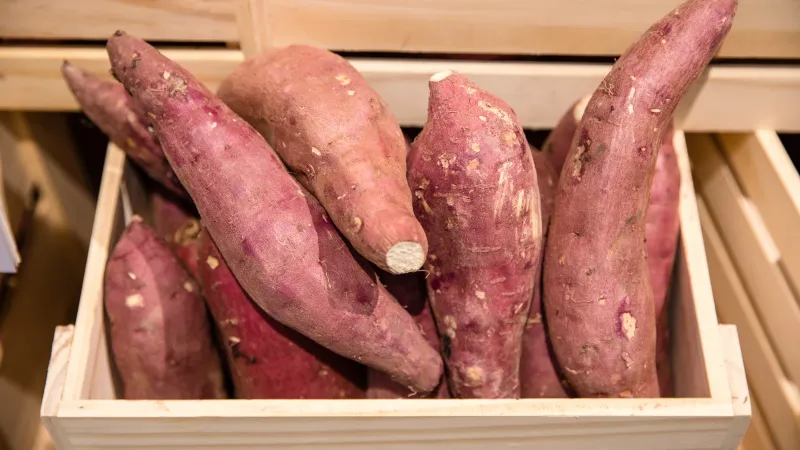
After curing, the transition to long-term storage is a separate and equally important step. Move your roots to a space that holds around 55-60 degrees F with high humidity and steady but gentle ventilation.
NC State Extension’s postharvest handling resource and UF/IFAS guidance both recommend roughly 80-90% relative humidity during storage to limit moisture loss and shriveling.
Paper bags, newspaper-lined boxes, wicker baskets, and ventilated wooden crates all work well. Avoid sealing roots in airtight plastic containers or bags.
Plastic traps moisture and limits gas exchange, which can encourage bacterial soft rot and mold even in roots that cured successfully. A pantry shelf, a root cellar, or a consistently cool interior closet away from heat vents is far better than a refrigerator.
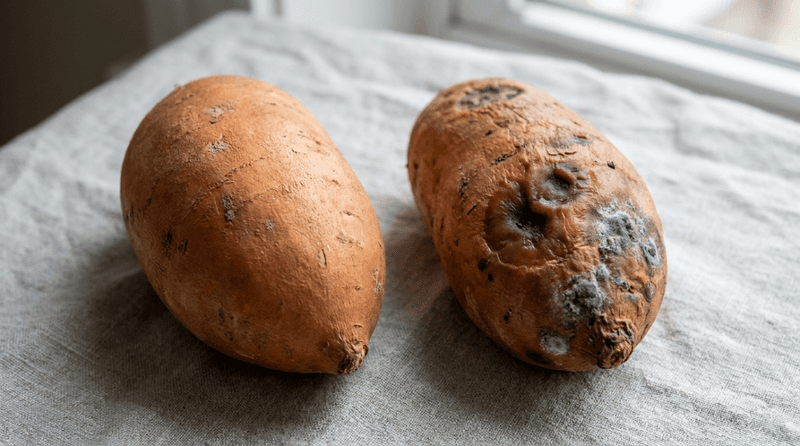
Whole, freshly cured sweet potatoes should not be refrigerated. USDA sweetpotato inspection standards recognize chilling injury as a serious quality defect, and temperatures below roughly 50-55 degrees F can trigger internal discoloration, off-flavors, poor texture, and greater susceptibility to decay, symptoms that may not appear until the root is cooked.
Good storage conditions preserve the protection that curing built into your roots, but they do not replace regular inspection. Plan to check your stored crop every week or two and pull out any root that has developed a soft spot, wet area, or off smell before it can affect its neighbors.
Avoid shortcuts that encourage decay or moisture loss
A few common shortcuts can undo everything the curing step accomplished. Placing roots in direct sunlight to speed things up is one of the most tempting mistakes.
Bright sun causes sunscald, which damages the outer skin and creates exactly the kind of wound you were trying to heal. NC State Extension warns that sun exposure can create new entry points for decay organisms, so shade is non-negotiable during curing.
Sealing roots tightly in plastic is another problem. An improvised plastic tent or a perforated bag can help hold humidity in a pinch, but roots still need some gas exchange.
Trapped condensation inside a sealed container creates wet surfaces where bacterial soft rot and mold thrive. NC State’s Rhizopus soft rot guide describes how quickly the fungus can move through wounded tissue once conditions favor it, which is a strong argument for keeping airflow steady rather than cutting it off.
On the opposite end, a powerful fan blowing directly on the roots strips humidity and causes shriveling.
Stagnant air is also a risk. A room with no circulation allows carbon dioxide to build up and condensation to settle on roots, especially overnight when temperatures drop.
WSU Extension recommends gentle, consistent airflow rather than either sealed stillness or strong drafts. Once roots move to storage, inspect them every week or two and remove any root showing soft spots, wet decay, foul odor, unhealed severe wounds, or visible mold.
UGA Extension advises prompt removal of compromised roots to protect the rest of the batch. Curing cannot reverse advanced rot, and waiting to act only gives decay more time to spread.
Skipping a full cure raises risk but does not doom every harvest
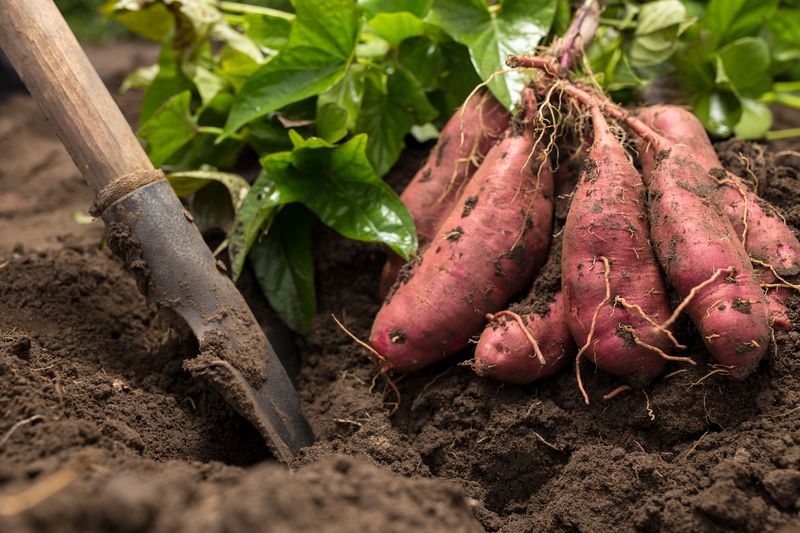
The headline on this article carries an urgent warning, and the underlying concern is real. Handle roots roughly, skip curing, and store them in the wrong conditions, and you are taking on meaningful risk, especially if any roots have harvest wounds, field disease, or surface damage.
NC State Extension is clear that curing is the step that heals those wounds and prepares roots for reliable long-term storage.
At the same time, University of Maryland Extension acknowledges that home-grown roots sometimes store successfully even when a full one-week cure is skipped. Sound, undamaged roots in a cool, ventilated space can hold up reasonably well.
The problem is that you cannot always tell which roots are truly sound until decay shows up, and by then it may have already spread. Curing shifts the odds in your favor by giving minor wounds time to close before storage conditions slow everything down.
The practical takeaway is straightforward: handle roots gently from the moment they leave the ground, leave them unwashed, cure them in a shaded, warm, humid space with gentle airflow for about a week, then move them to roughly 55-60 degrees F in ventilated containers and check them regularly. Soft rot and other decay organisms need a wound and the right conditions to take hold.
Curing closes the wound; good storage denies the conditions. Trying to save a root that is already soft and rotting is a different problem entirely, and no amount of curing will fix it.