
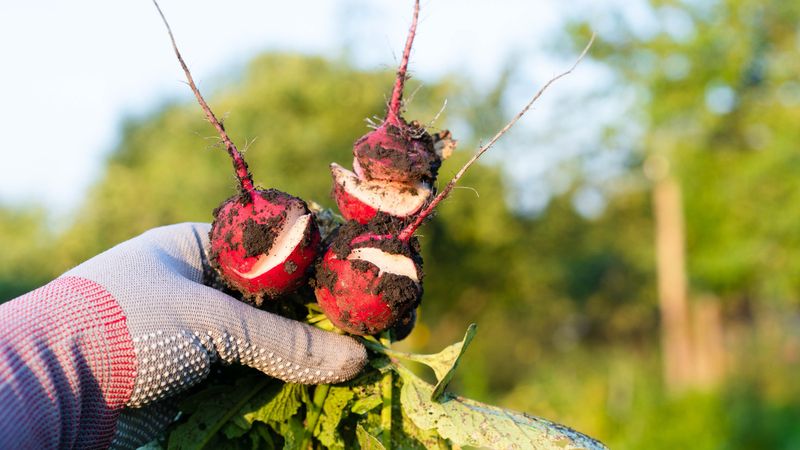
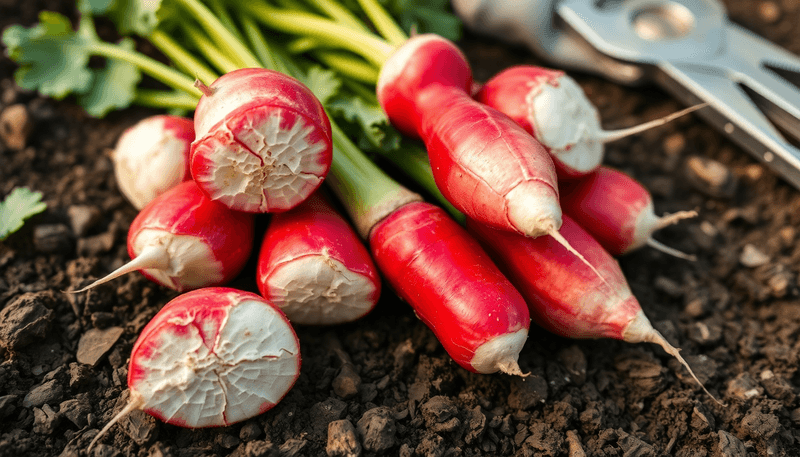
Pulling up a row of fall radishes only to find them split open is one of those frustrating moments that makes you wonder what went wrong. For gardeners in Texas, Florida, and across the South, this problem shows up more often than you might expect during the busy fall harvest season.
The good news is that cracked roots usually point to a fixable pattern in how the bed was watered, not a sign that the whole crop is ruined. Understanding what happened underground can help you salvage what you have and grow smoother, better-quality roots next time.
The dry-to-wet swing is the leading suspect
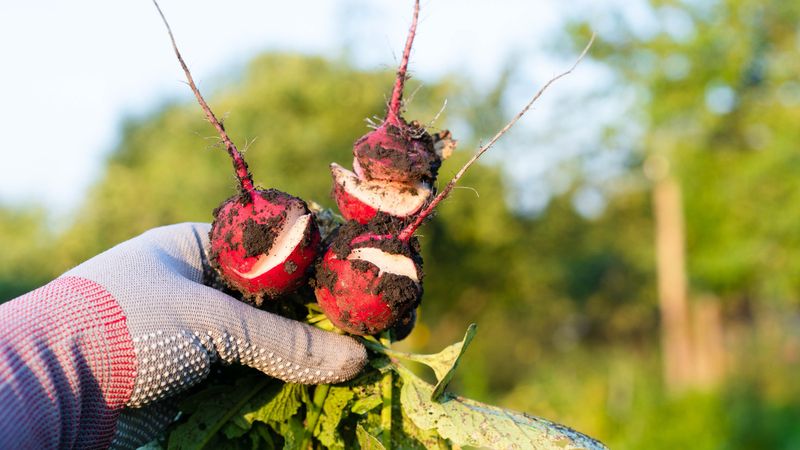
Most gardeners assume a cracked radish means they watered too much, but the real culprit is usually a shift from dry to wet rather than just an excess of water. When the soil dries out enough to slow or stress root growth, the plant’s tissue development stalls.
Then, when rain arrives or irrigation resumes, water becomes available quickly and the interior of the root begins expanding faster than the outer skin can keep pace with. The result is a split running lengthwise down the root.
This mechanism fits what University of Illinois Extension guidance on radishes identifies as a key cause of cracking: the swing matters more than the total volume of water applied. A single heavy soaking after a dry stretch can do more damage to root quality than consistently moist soil ever would.
That said, a dry-to-wet fluctuation is the leading explanation, not the only one. A peer-reviewed review of radish physiological disorders describes cracking as a multifactorial problem, meaning variety, root maturity, soil conditions, temperature, and fertility can all play a role.
Blaming watering alone without checking the rest of the picture leaves some causes unaddressed. The moisture swing is the best first place to look, but keep the other possibilities in mind as you work through the diagnosis.
A crack is a clue, not a complete diagnosis
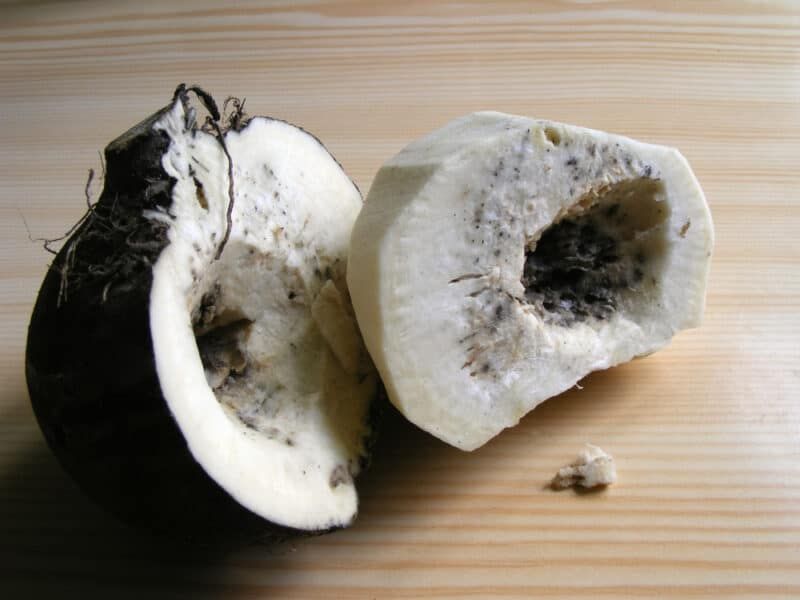
Not every surface flaw on a radish tells the same story. A smooth, lengthwise split that runs from the shoulder toward the tip is most consistent with a growth-related crack tied to moisture or maturity.
But other types of damage look different and point to different problems entirely.
According to University of Minnesota Extension’s radish diagnostic tool, small round holes or tunnels bored into the root are more likely caused by wireworms, which are slender soil-dwelling larvae that chew through root tissue. These openings look nothing like a longitudinal growth crack.
If you are seeing tunnels rather than splits, the problem is a pest, not a watering pattern.
Rough, corky, or cracked skin accompanied by yellowing or spotted leaves and dark sunken areas on the root points toward a disease issue, possibly downy mildew or another pathogen. Changing the irrigation schedule will not fix a disease problem, so inspecting the leaves before adjusting the watering routine is worth a few minutes of your time.
As the peer-reviewed review of radish physiological disorders notes, susceptibility to cracking can also vary with variety, root age, soil structure, temperature, and nitrogen levels. A summer-type salad radish left in warm soil past its prime will crack for different reasons than a daikon harvested after a cold snap.
Look at the whole picture before drawing conclusions.
Check the bed before you water again
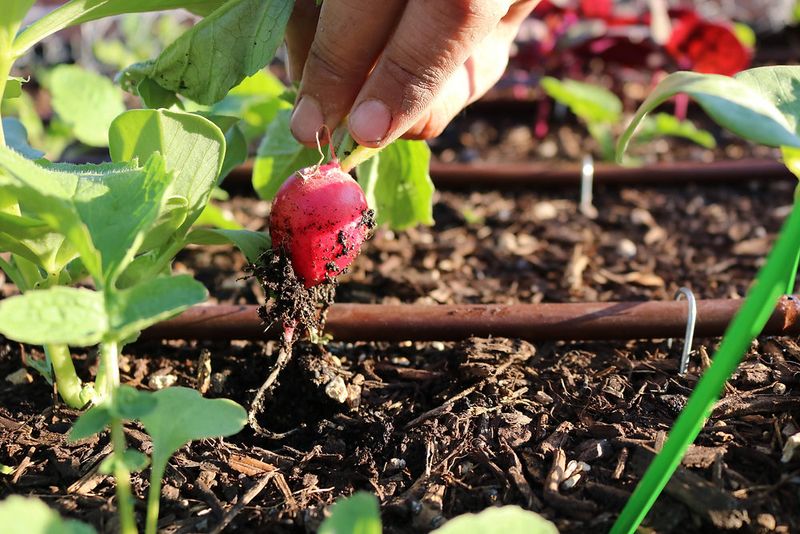
Before turning on the hose or adjusting a drip timer, go out and actually feel the soil. Push a finger two to three inches down into the root zone and notice whether the soil feels bone dry, slightly moist, or soggy.
What you find will tell you more than any calendar schedule could.
University of Minnesota Extension’s growing guide for radishes recommends watering thoroughly when rainfall is inadequate rather than on a fixed daily routine. That advice matters more in the South, where sandy soil common in many Florida yards can go from adequately moist to parched within a day or two of dry weather, while clay-heavy or compacted beds in parts of Texas may hold water far longer than expected.
Look for evidence of the dry-to-wet sequence that most often causes splits. If the soil crumbled when you pulled those radishes and you had just given the bed a long soak the evening before, or a heavy thunderstorm rolled through after several dry days, that pattern fits the leading explanation closely.
UF/IFAS guidance on soil health in edible landscapes points out that poorly drained beds can stay wet long after irrigation stops, which creates its own set of root problems. The goal is to wet the root zone thoroughly and then let excess water drain away, not to keep the soil continuously saturated or to let it dry to dust between waterings.
Keep moisture steady while roots swell
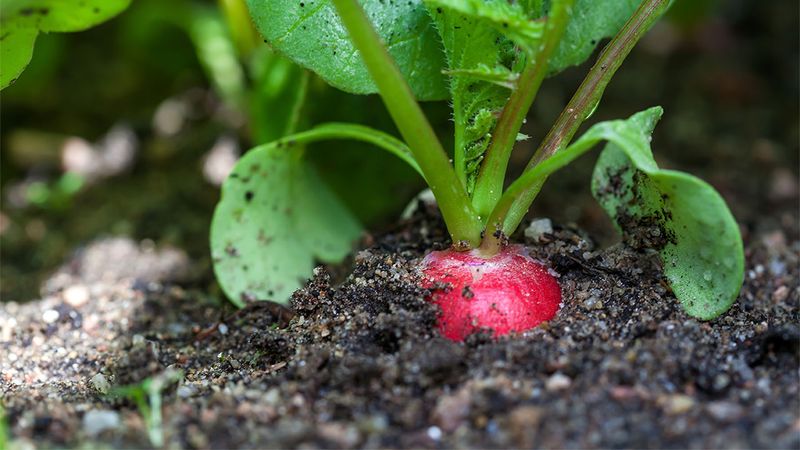
The window when radish roots are actively swelling is the most critical time to keep moisture reasonably consistent. A root that is doubling in size needs a steady supply of water, and any sharp interruption followed by a sudden flood is exactly the stress pattern most likely to cause a split.
Minnesota Extension’s home garden radish guide advises watering thoroughly when rainfall falls short, with frequency adjusted to actual soil conditions rather than a fixed interval. Texas A&M AgriLife’s water-efficiency guidance describes radishes as shallow-rooted crops that may need more frequent attention during dry stretches, particularly in sandy or fast-draining soils common across much of Texas.
Once plants are established, frequent shallow splashes are less helpful than a thorough watering that moistens the full root zone. Shallow watering encourages surface roots and does little to buffer the deeper soil from drying out between sessions.
A layer of organic mulch over the bed can slow surface evaporation and reduce how fast the top few inches dry out between rain events, which helps moderate the moisture swings that lead to cracking. UF/IFAS soil health guidance supports mulch and organic matter as tools for improving moisture retention, though mulch should never be used as a reason to skip checking whether the bed is draining properly.
Constant saturation creates a different set of problems, including root rot and poor aeration. And as UF/IFAS seeding guidance notes, daily watering is generally appropriate only during germination in drying conditions, not as a routine for established plants.
Fall timing and harvest size change the risk
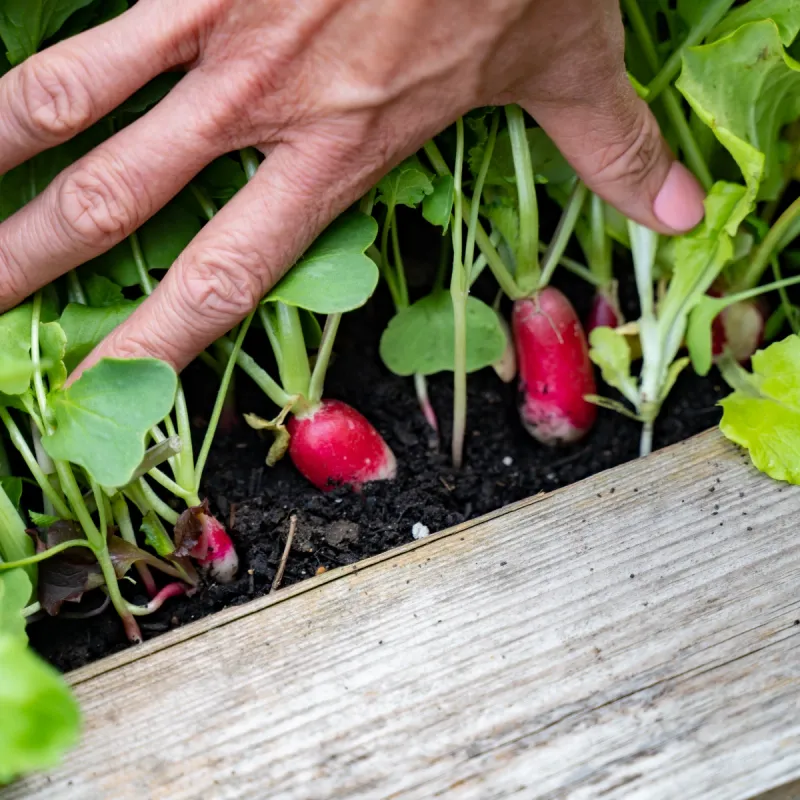
Fall radish timing is not the same across the South, and treating it as one universal schedule leads to crops pulled too early or, more commonly, left in the ground too long. Salad radishes like Cherry Belle or French Breakfast mature in as few as 22 to 30 days, while daikon and other large winter types can take 60 days or more.
Leaving any variety in the bed past its prime increases the chances of cracking, pithiness, and poor texture.
Illinois Extension specifically notes that overmaturity contributes to cracking, which means harvesting on time is not just about flavor. Texas A&M’s fall vegetable gardening guide lists fall planting windows ranging from approximately September into December depending on the region, so a gardener in the Panhandle and one near Houston are working on very different schedules.
UF/IFAS daikon cultivation guidance for Florida recommends planting from September through March in north Florida and October through March in central and south Florida, reflecting how much the state’s climate varies by latitude. The Southeastern U.S.
Vegetable Crop Handbook puts the ideal quality range for radishes at roughly 50 to 65 degrees Fahrenheit. Warm soil slows or distorts root development, and roots sitting in unseasonably warm fall soil are more vulnerable to quality problems regardless of how carefully you water.
Pull roots when they reach a usable size rather than waiting for a perfect moment that may never arrive. Checking a few roots early gives you a reliable read on where the rest of the bed stands.
Give roots room and avoid forcing growth
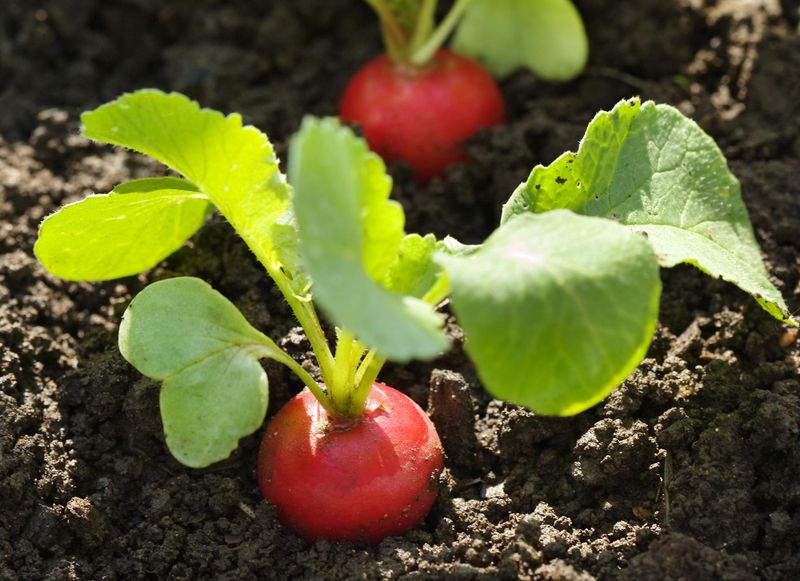
Crowded radishes compete for space, water, and nutrients in ways that can push roots into irregular shapes or limit how well they develop. Thinning is one of those steps that feels optional when seedlings look healthy but pays off clearly at harvest time.
Illinois Extension’s radish guidance recommends thinning to the spacing appropriate for the variety. Small round salad types generally need about two inches between plants, while larger winter radishes and daikons may need four to six inches or more.
Skipping that step means roots are competing for the same pocket of soil and moisture, which can lead to uneven development and increase the chance of quality problems.
Fertility is another factor worth checking. The peer-reviewed review of radish physiological disorders notes that excessive nitrogen and high rates of organic fertilizer are associated with rapid tissue expansion and poor root quality.
Rapid, forced growth can stretch root tissue beyond what it can accommodate, contributing to cracking in a pattern that looks similar to moisture-related splits but has a different cause.
UF/IFAS daikon guidance specifically cautions against using fresh manure because its high nitrogen content can stimulate undesirable root branching and poor texture. If your soil already has decent fertility from a previous crop or compost amendment, adding more nitrogen before radishes is rarely helpful.
And if you are considering calcium or boron applications after seeing cracks, skip that step unless a soil test has identified a specific deficiency. Adding untested amendments can create imbalances that cause new problems without fixing the original one.
Use cracked radishes quickly and inspect every root
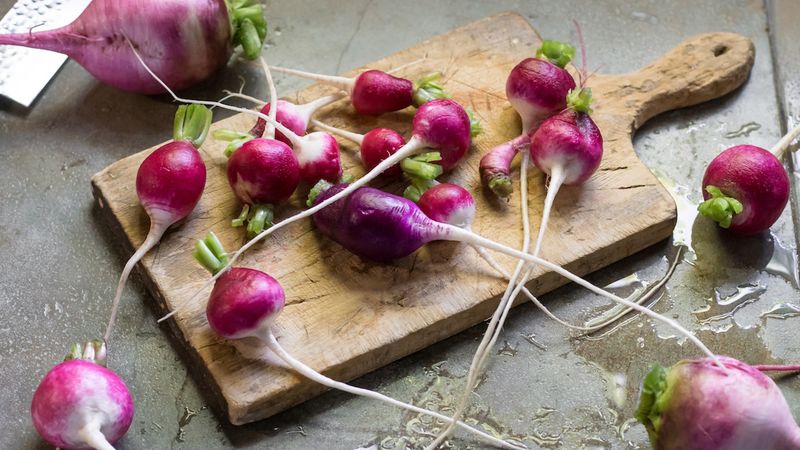
A cracked radish is not automatically ruined, but the opening in the skin changes how you should handle it. Cracks expose interior tissue to air and microbes, and the peer-reviewed review of radish physiological disorders specifically notes that cracks can serve as entry points for pathogens, shortening storage life and raising the risk of decay.
The practical response is to inspect each root individually rather than tossing the whole harvest. Wash cracked radishes thoroughly, trim away any damaged or discolored tissue down to firm, clean flesh, and plan to use those roots within a day or two rather than storing them alongside sound ones.
Penn State Extension’s produce freshness guidance recommends discarding any produce that shows signs of mold, soft rot, or off odors, and that standard applies here. A radish with a clean crack and firm white flesh on both sides is generally fine to eat after trimming.
One that smells sour, feels mushy near the crack, or shows any dark sunken spots or fuzzy growth should go in the compost, not on the cutting board.
Illinois Extension’s guide to preparing radishes notes that cracked radishes can still be used in cooked dishes or slaws where appearance matters less. Slicing them thin for a quick pickle or tossing them into a stir-fry are both good ways to use up a batch that came out of the ground looking rough but is otherwise sound.
Steadier moisture is the fix to carry forward
The sequence to remember is straightforward. Check whether the bed swung from dry to wet before the cracks appeared.
If it did, that pattern is the most likely explanation, and steadier moisture during the period when roots are actively swelling is the most practical correction for the next planting.
Minnesota Extension’s radish guide and the physiological disorders review both support consistent moisture as a meaningful way to reduce cracking risk, alongside thinning on schedule, harvesting at the right size, and improving drainage rather than compensating for poor drainage with more frequent watering. If the damage on your roots looked more like tunnels than splits, or if leaf symptoms appeared alongside the cracking, revisit the pest and disease possibilities before assuming a watering fix will help.
A cracked harvest is frustrating, but it does not mean you ruined the crop or need to reach for a bag of fertilizer. Most of the time, one adjustment to how you manage moisture is enough to grow a noticeably cleaner batch next season.