
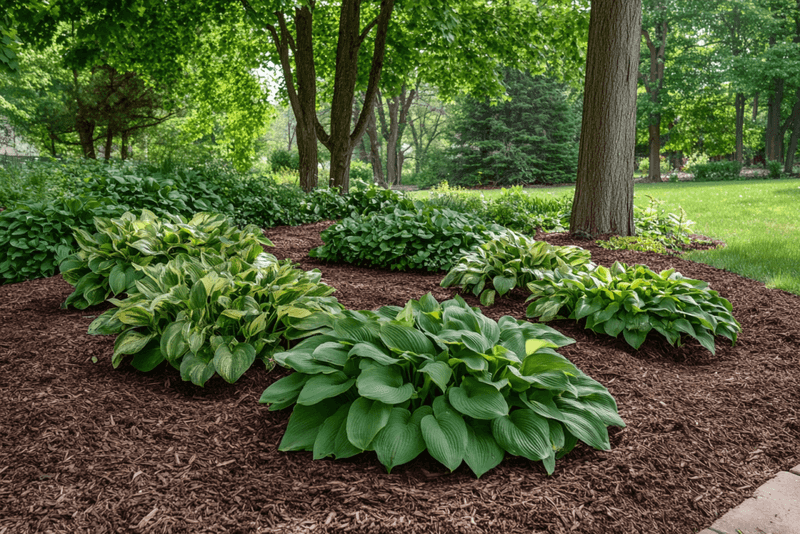
Hostas are supposed to make shady spots look full and fresh, so it is frustrating when the leaves turn torn, faded, or droopy. The good news is that ragged hostas usually give clear clues about what is wrong.
A few simple changes can often help them look much better within a growing season. If your plants seem tired instead of lush, start with these practical fixes.
1. Give Them the Right Kind of Shade
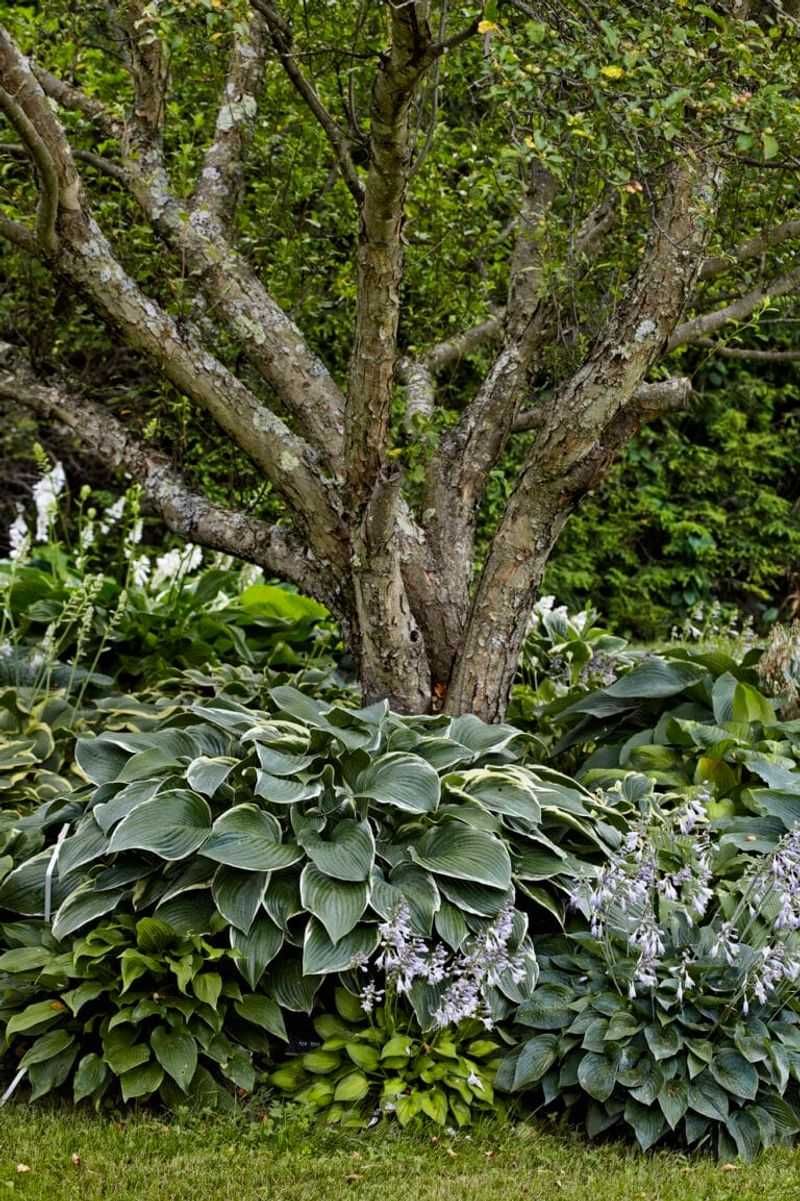
Morning sun can be a friend, but hot afternoon sun is often what pushes hostas from handsome to ragged. In Southern gardens, especially in Florida and Texas, light that seems gentle in spring may become too intense by June.
Bleached patches, crispy edges, and limp leaves usually point to more sun than the plant can comfortably handle.
Try watching the bed for one full day before moving anything. Hostas generally perform best with bright shade or a few hours of early sun, then protection later on.
Blue-leaved types need the most shelter, while some gold varieties can handle a little more light if the soil stays evenly moist.
When a hosta is planted in the wrong spot, relocating it in fall or very early spring may help restore better growth. If digging is not practical, nearby shrubs, a patio umbrella, or a taller container planting can give temporary relief.
Even shifting the plant to the east side of the house can make a visible difference.
Better shade will not repair damaged leaves, but it often prevents the next flush from looking worn out. Once the plant stops fighting the sun every day, it can put energy back into fuller, cleaner growth.
2. Water Deeply Instead of Lightly
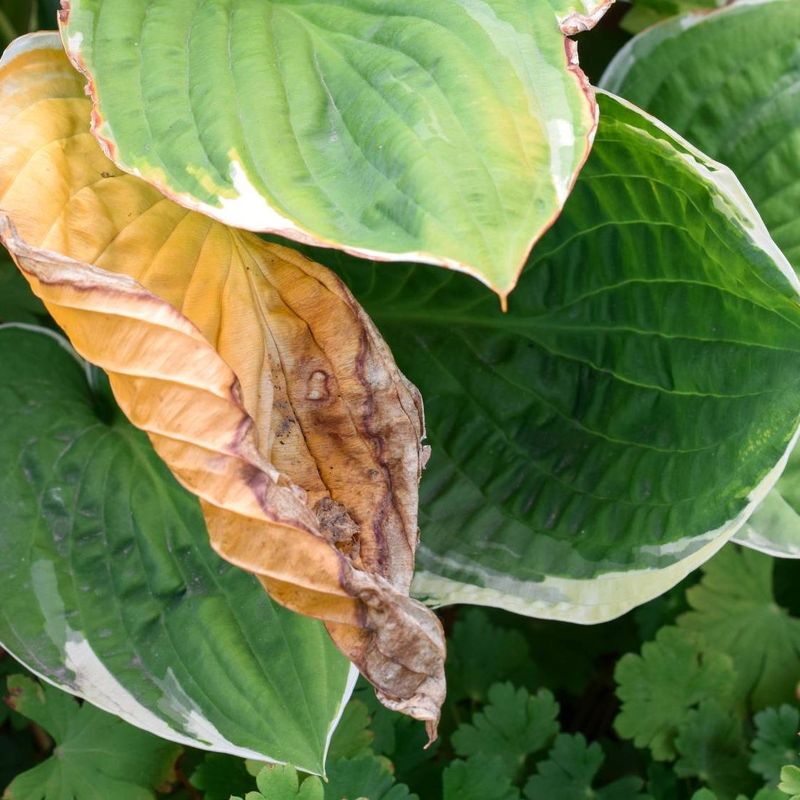
A quick sprinkle often fools gardeners into thinking hostas got enough water, but the roots may still be dry a few inches down. Ragged leaves, brown tips, and a wilted look by late afternoon can all come from shallow watering.
In warm Southern weather, that problem can build fast.
Hostas usually look best when the soil stays evenly moist, not soggy and not bone dry between waterings. Instead of giving them a little water every day, soak the root zone slowly and deeply once or twice a week, then adjust for heat, sand, or heavy rain.
Sandy soils in parts of Florida may dry much faster than richer loam.
Watering at the base is also a smart move because wet foliage can invite spots and mildew. A soaker hose or drip line helps moisture sink where it matters most.
If you use a hand hose, let it run gently long enough that the soil feels damp several inches deep.
Do not expect old, tattered leaves to turn perfect again. The payoff comes when new leaves open with better texture, less edge burn, and stronger color.
Deep watering gives hostas the steady support they need to look calm instead of stressed.
3. Add Mulch to Cool the Roots
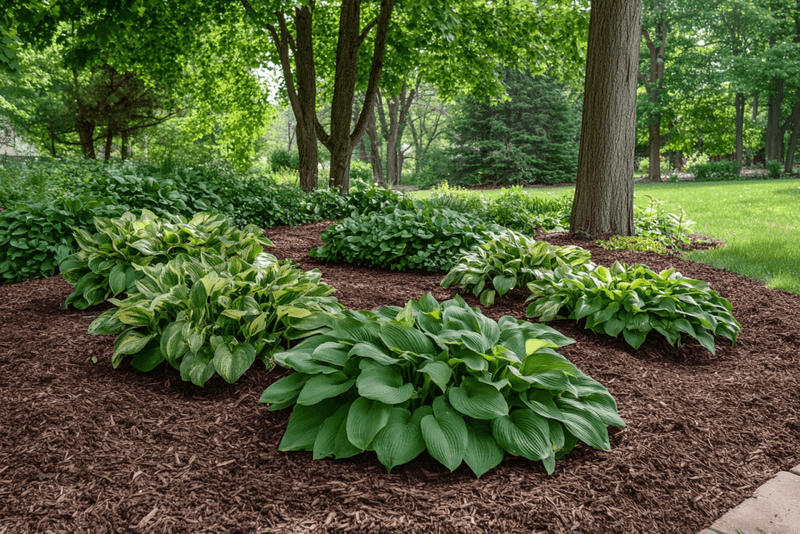
One of the easiest upgrades for tired hostas does not involve fertilizer or fancy tools. A simple layer of mulch can change how the whole planting behaves through heat, dry spells, and pounding summer rain.
When roots stay cooler and moisture lasts longer, leaves often hold up much better.
Spread 2 to 3 inches of shredded bark, pine straw, or leaf mold around the plants, keeping it a little back from the crown. Mulch helps reduce evaporation, softens soil temperature swings, and limits weeds that compete for water.
In the South, where warm nights and long growing seasons can wear plants down, that buffer matters.
Pine straw can be especially handy in many Southern yards because it is easy to find and simple to fluff back into place after storms. Bark mulch lasts longer, while chopped leaves improve the soil as they break down.
Any of those choices may help if you avoid piling material directly against stems.
Mulch will not hide slug holes or erase scorched patches, but it often keeps small problems from turning into big ones. Think of it as a protective blanket for the root zone.
Cleaner moisture and cooler soil give hostas a stronger chance to stay lush.
4. Thin Crowded Clumps
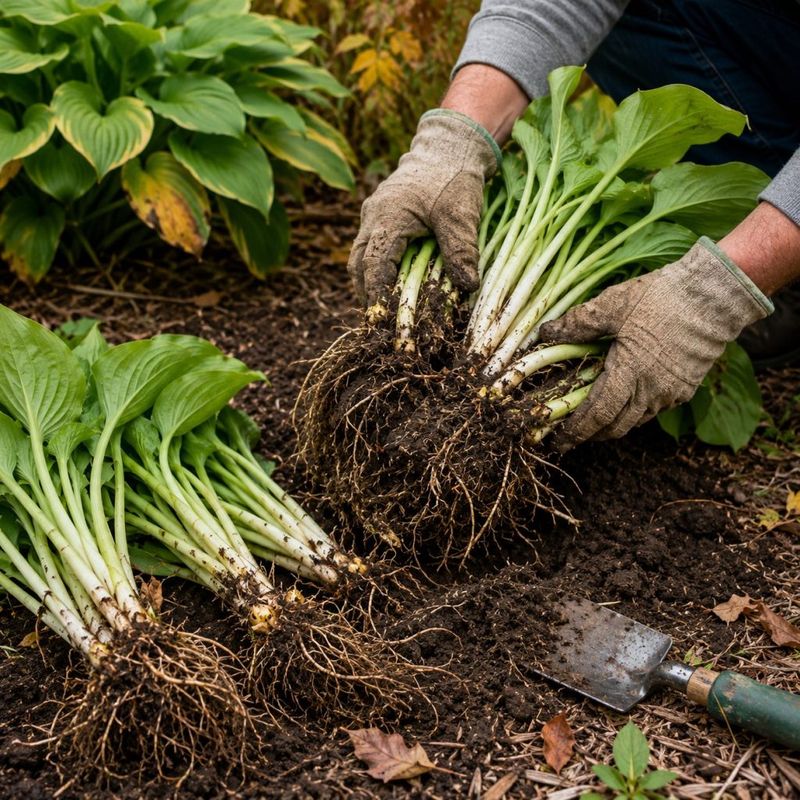
Sometimes the problem is not neglect at all. A hosta that once looked full and graceful can slowly turn crowded, with smaller leaves, thinner centers, and a generally worn-out appearance.
Older clumps may begin competing with themselves for water, nutrients, and airflow.
If the middle of the plant looks sparse or the leaves seem reduced year after year, division may help. Early spring and early fall are usually the easiest times to split hostas, since temperatures are milder and roots can settle in before severe stress arrives.
Use a sharp spade or garden knife to separate healthy sections with both roots and growing points attached.
Replant each division at the same depth it was growing before, then water well and mulch lightly. Giving each piece more elbow room often improves leaf size and plant vigor.
Better spacing can also reduce humidity trapped around the foliage, which may lower disease pressure in sticky Southern summers.
Dividing a clump is not about making it smaller forever. It is more like resetting the plant so it can grow with less strain.
Many hostas respond with fresher, stronger leaves once they are no longer jammed together underground.
5. Feed Lightly, Not Heavily
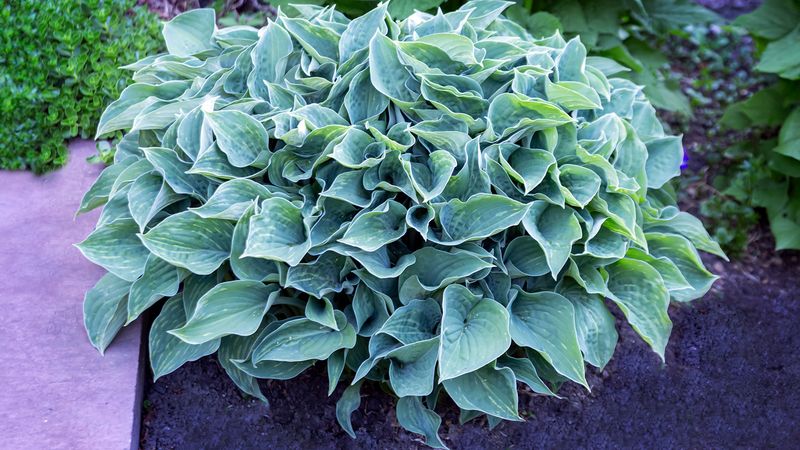
More fertilizer is not always better, and hostas prove that point quickly. When plants are overfed, they may push soft growth that tears easily, flops in heat, or becomes more tempting to pests.
On the other hand, hostas in tired soil can look pale and weak if they never get any nutrition at all.
A light hand usually works best. In spring, apply compost or a balanced slow-release fertilizer according to label directions, then water it in well.
Rich organic matter improves the soil over time, while a modest feeding can support healthy leaf growth without forcing the plant into a weak, overly lush surge.
Avoid repeated high-nitrogen feedings through the hottest part of summer, especially in Southern gardens where long heat spells already stress foliage. Late heavy feeding may also leave plants with tender growth that does not age well.
If your hosta looks yellowish, check sun, water, and root crowding too, since nutrition is only one piece of the puzzle.
The goal is steady growth, not giant leaves at any cost. A well-fed hosta should look sturdy, richly colored, and balanced.
Gentle nutrition often gives a neater result than chasing fast growth with extra product.
6. Stay Ahead of Slugs and Snails
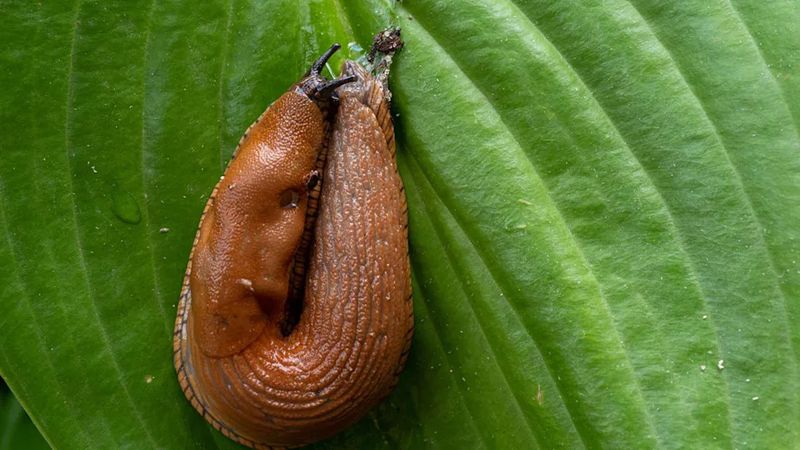
Nothing makes a hosta look shabby faster than leaves full of holes. Slugs and snails are classic troublemakers, especially in damp, shady beds with thick mulch and lots of hiding places.
Their feeding often shows up as ragged chewing between the veins, and the damage can make an otherwise healthy plant look awful.
Start by checking early in the morning or after dark, when these pests are most active. You may also spot shiny slime trails on leaves, pots, or nearby stones.
Hand-picking helps in small plantings, and iron phosphate bait can reduce damage with less risk than older products when used as directed.
Cleanup matters too. Broken boards, dense groundcover, soggy leaf piles, and crowded containers can give slugs a cozy daytime shelter.
Watering earlier in the day instead of late evening may make the bed a little less inviting. In humid Southern areas, complete control can be tricky, so a mix of methods usually works better than one fix alone.
Hostas can often outgrow light chewing, but repeated feeding keeps the foliage looking tattered. Once you cut pest pressure, new leaves usually emerge cleaner.
The difference can be surprisingly dramatic, especially on smooth-leaved varieties that show every bite.
7. Watch for Deer and Rabbit Damage
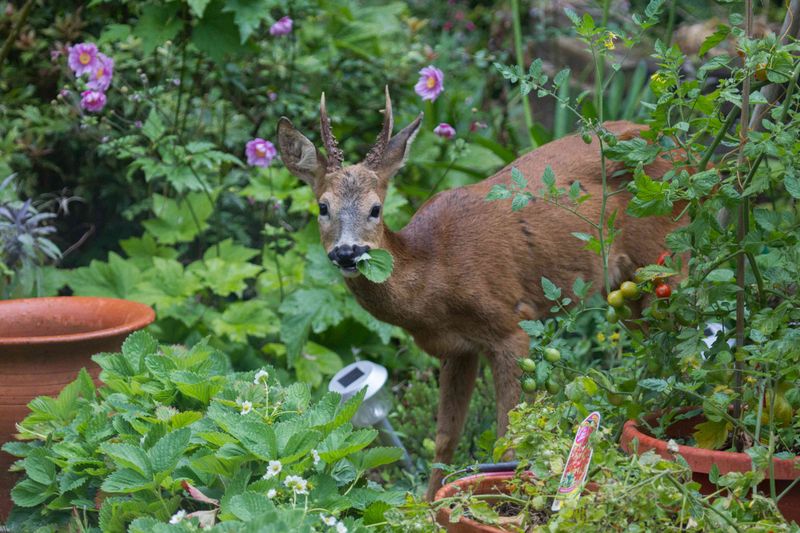
Some ragged hostas are not sick at all. They are being sampled like a salad bar.
Deer often tear leaves with rough, uneven edges, while rabbits can clip lower growth more neatly, especially on smaller plants near cover.
If damage seems to appear overnight, wildlife is a strong suspect. Look for tracks, droppings, or missing buds, and notice whether the chewing happens mostly on outer leaves.
In many suburban Southern neighborhoods, deer pressure rises where natural food is limited, and hostas are an easy target because the foliage is tender and easy to reach.
Protection works better than wishful thinking. Temporary netting, low fencing, cages, or motion-activated sprinklers may help reduce repeat visits.
Scent repellents can also discourage browsing for a while, but they often need reapplying after rain and may work best when used before heavy feeding starts.
Do not wait until every leaf looks shredded. Even simple barriers during the most vulnerable periods can save the plant’s appearance.
A hosta with intact new growth can still look handsome for the rest of the season, while one repeatedly nibbled often stays ragged no matter how well you water or fertilize it.
8. Cut Away the Worst Leaves
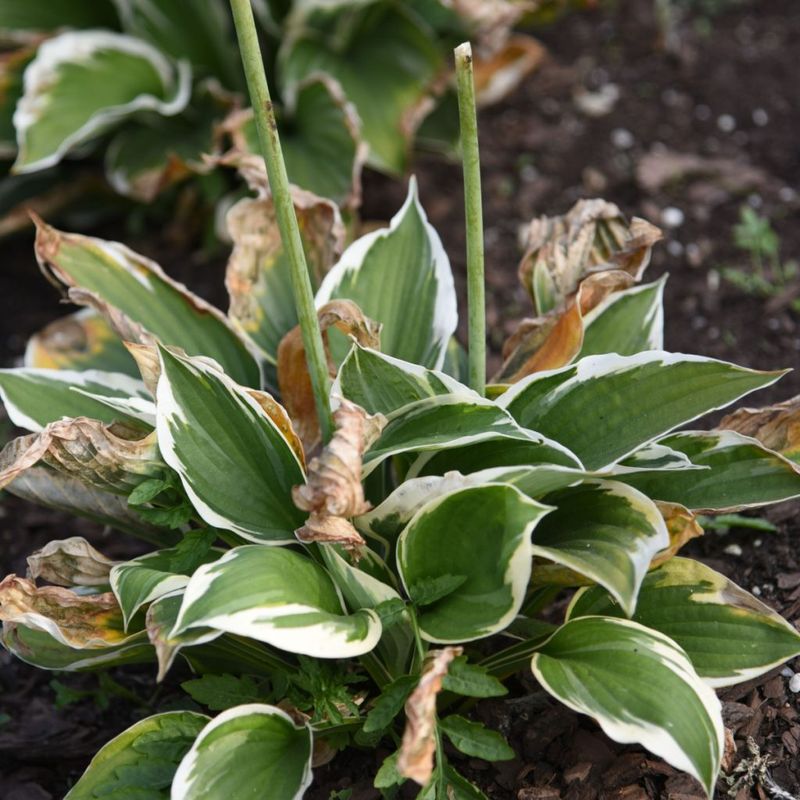
A hosta does not need every damaged leaf left in place to prove it survived a hard week. When the plant is covered in scorched, torn, or mushy foliage, careful cleanup can instantly improve the way it looks.
It also helps you see what kind of fresh growth is actually coming on.
Use clean pruners or scissors to remove the ugliest leaves at the base, especially any that are badly spotted, collapsed, or more than half ruined. Keep enough healthy foliage to support the plant, but do not be afraid to thin out the mess.
In warm, humid climates, removing decaying leaves may also improve airflow and reduce disease pressure.
If only the edges are brown, you can either leave the leaf alone or trim the damaged part for a tidier look. Just avoid shearing the whole plant into a ball, which can weaken it and make the bed look unnatural.
Sanitize tools between plants if you suspect disease.
Think of this step as a reset for appearances, not a cure by itself. Pruning away the worst damage buys time while you fix the real cause.
A cleaner plant looks less neglected, and healthy new leaves get the attention they deserve.
9. Check for Crown Rot and Leaf Disease
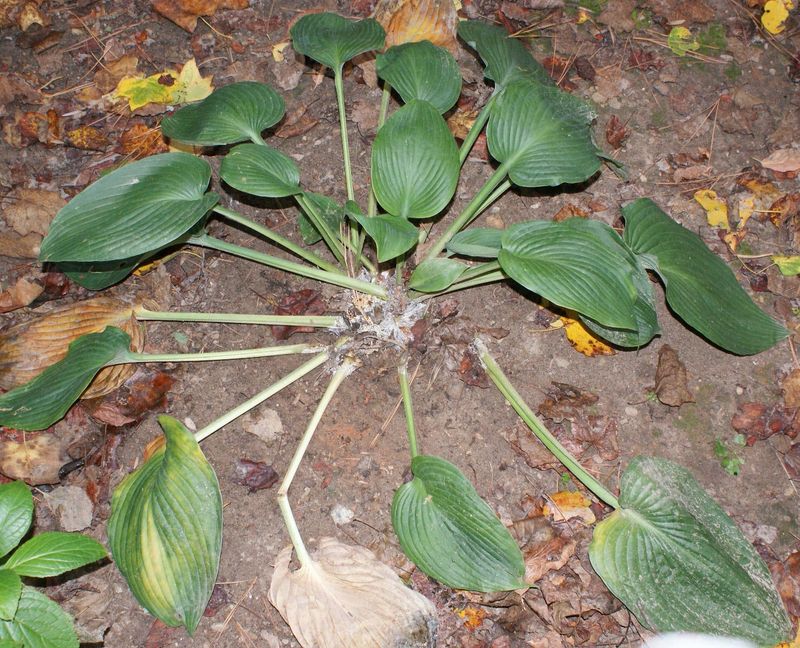
When a hosta suddenly collapses instead of slowly declining, disease may be part of the story. Crown rot can turn the base mushy, while fungal leaf problems may leave spots, yellow halos, or sections that melt into papery damage.
In humid Southern weather, those issues can spread faster than many gardeners expect.
Take a close look at the crown where leaves meet the soil. A soft, smelly, or darkened base is a warning sign that the plant may be staying too wet or already decaying.
Spotted leaves are worth removing and discarding, especially if rain or overhead watering has splashed moisture from plant to plant.
Improving drainage, watering at the soil line, spacing plants better, and cleaning up dead foliage may help reduce future trouble. If rot is advanced, saving the plant can be difficult, and removing affected material may protect nearby hostas.
Avoid composting clearly diseased leaves unless you maintain a hot compost system that fully breaks them down.
Diagnosis matters here because fertilizer or extra water will not solve a crown problem. The sooner you notice the difference between dryness and rot, the better your odds of limiting the damage.
Fast action can keep one ugly hosta from becoming a wider bed issue.
10. Choose Varieties That Handle Your Climate Better
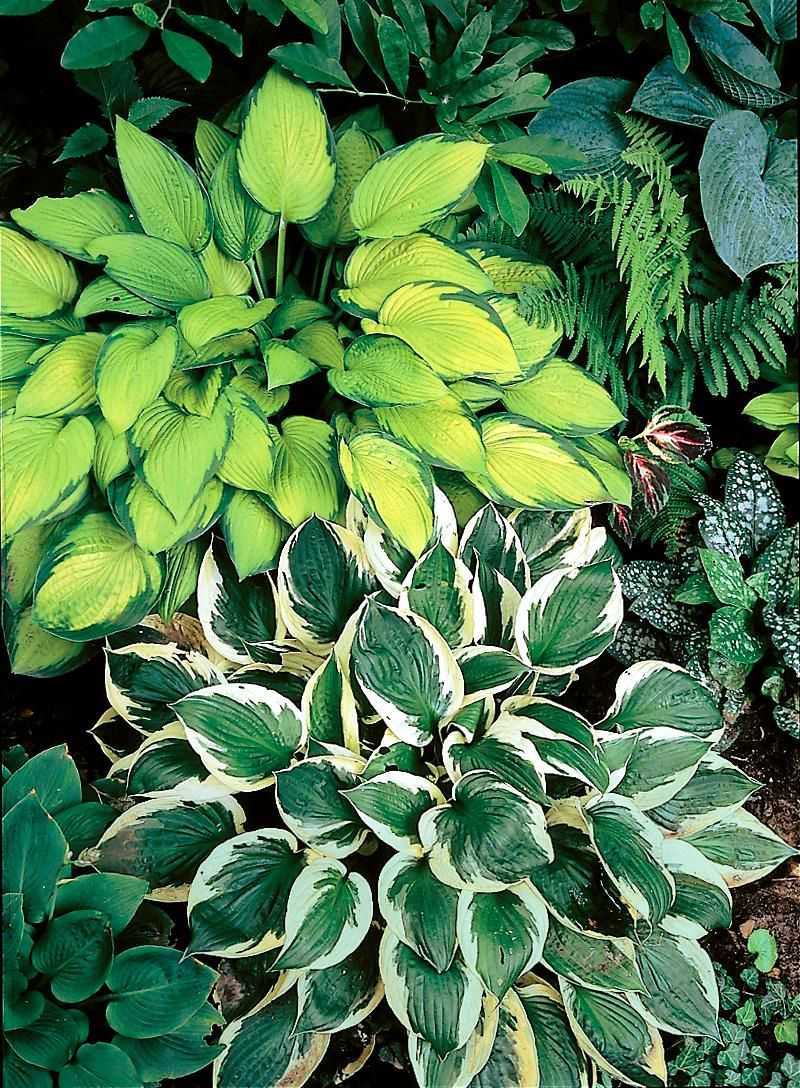
Not every hosta is equally happy in every Southern yard, and sometimes the fix starts with choosing a tougher variety. Gardeners often fall for a beautiful plant at the nursery, then wonder why it always looks battered by midsummer.
Thin-leaved types can struggle more in heat, sun, and pest-heavy spots.
If your area has long hot summers, high humidity, or sandy soil, look for hostas known for thicker substance and stronger vigor. Varieties with heavier leaves may resist slug damage better and often hold their shape longer through rough weather.
Local garden centers can be a better guide than national labels because they see what actually survives in your region.
Placement still matters, but matching the plant to the site can spare you a lot of frustration. In parts of Florida, hostas may need deeper shade and extra moisture than they do in milder regions.
In Texas, afternoon protection is especially helpful where heat reflects off walls, patios, or fences.
Sometimes the smartest rescue is admitting a plant is mismatched to the spot. Replacing a constant struggler with a better-suited hosta can improve the whole bed.
You spend less time apologizing for ragged leaves and more time enjoying a planting that finally works.