
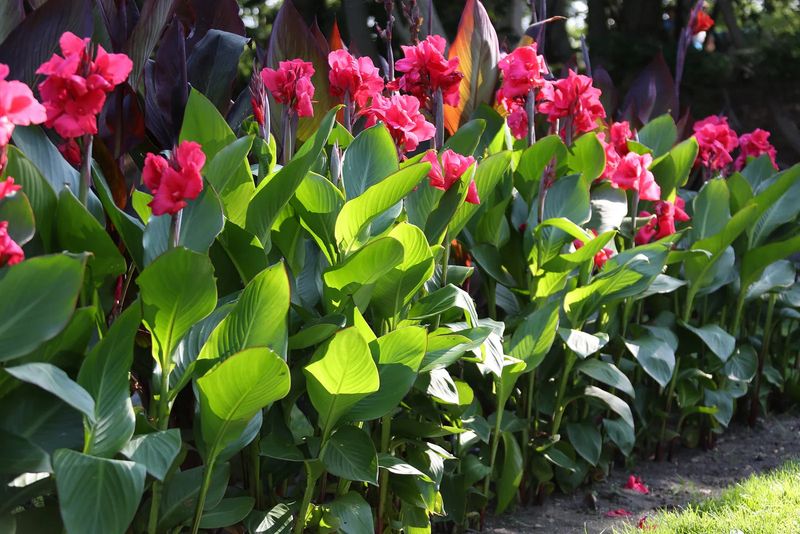
Fall is the season that quietly determines how well your canna lilies come back next year. Getting a few key jobs done now can improve the odds of healthy regrowth and blooms, but the right approach depends more on where you live than on the calendar alone.
Southern gardeners from Florida to Texas to Georgia face a wide range of winter conditions, and what works in one yard may not work in another. These steps will help you figure out the best plan for your site and carry it out before cold weather makes the decision for you.
Use climate and site conditions to choose the winter plan

Fall care can improve the odds that your cannas return healthy and bloom well next year, but the title’s promise deserves a clear correction upfront: no single set of fall jobs guarantees that every canna survives winter in strong shape. Climate and site conditions control that outcome more than any checklist does.
The first decision you need to make is whether to lift your rhizomes and store them indoors or leave them in the ground.
Before going further, a quick note on terminology: cannas grow from rhizomes, not true bulbs. “Canna bulb” is common gardening shorthand, and you will see it everywhere, but the underground part is a rhizome, and that distinction matters when you are looking up storage guidance.
Hardiness zone is the starting point, not the finish line. NC State Extension notes that cannas can be injured below 25 degrees F, recommends lifting in Zones 6 and 7, and lists mulching as a reasonable option in Zone 8 rather than a guarantee of survival.
Cultivar, soil drainage, planting depth, and local microclimate all shift that risk.
Florida and Texas illustrate why one statewide rule never works. UF/IFAS guidance notes that golden canna rhizomes are often left in the ground in southern climates, while plants in temperate areas may need to be dug because freezing temperatures cause damage.
Texas conditions range from the mild Gulf Coast to the cold Panhandle, so local freeze history and zone matter far more than any broad state-level advice.
University of Georgia Extension places cannas in Zones 8 and 9 as generally hardy in the ground while recommending lifting and storage in Zone 7. Use that as a regional reference, not a universal answer.
An exposed low spot in Zone 8b can behave more like Zone 7 on a cold night, and a sheltered south-facing bed in Zone 7b may surprise you.
Let yellowing or a light frost set the cleanup timing
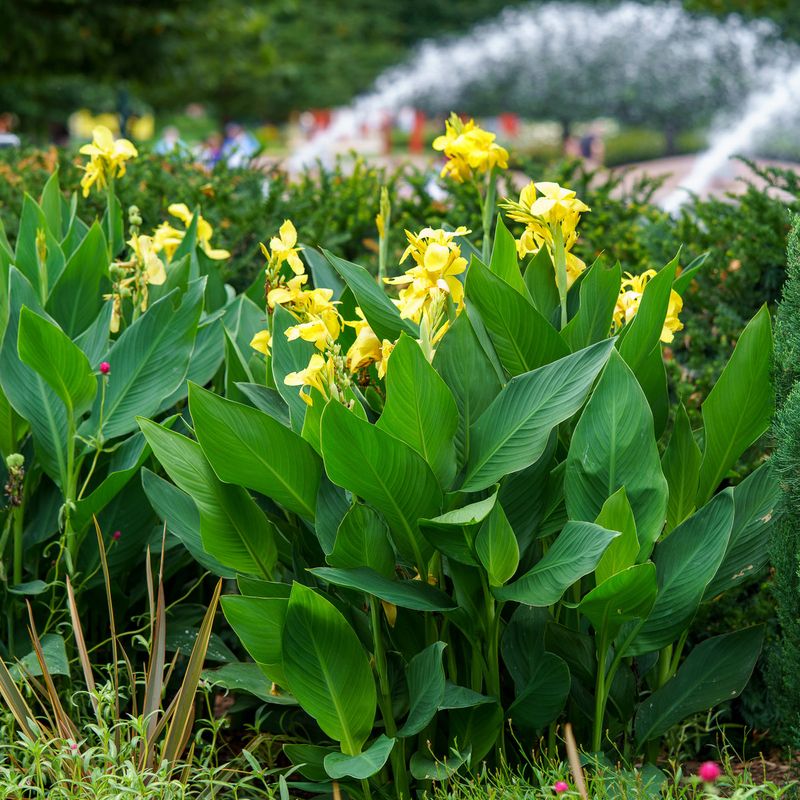
Cutting back healthy green canna tops in early fall is one of the most common timing mistakes gardeners make. The foliage is still working while it stays green, moving energy back into the rhizome as the season winds down.
Removing it too soon cuts that process short.
Wait until the leaves yellow, die back on their own, or are blackened by a light frost before you pick up the shears. Missouri Botanical Garden guidance on digging and storing cannas supports waiting for this natural signal rather than cleaning up on an arbitrary fall date.
A light frost can indicate that dormancy has begun, making it a reasonable trigger for starting cleanup.
The timing window matters most for gardeners who plan to lift and store their rhizomes. University of Wisconsin Extension warns that waiting too long creates its own problem: a hard freeze can damage rhizomes or turn soft tissue to mush, and frozen ground makes digging difficult and damaging.
Act after the foliage signals dormancy but before the soil freezes solid.
Once you decide to cut back, extension recommendations range from roughly 2 inches to about 4 to 6 inches above the soil. University of Minnesota Extension and other sources reflect this variation, which comes from different regional methods rather than a factual disagreement.
Either height leaves a short stub to work with when you dig, and neither is wrong as long as the foliage has already died back or been frosted.
Lift rhizomes carefully and remove only what needs removing
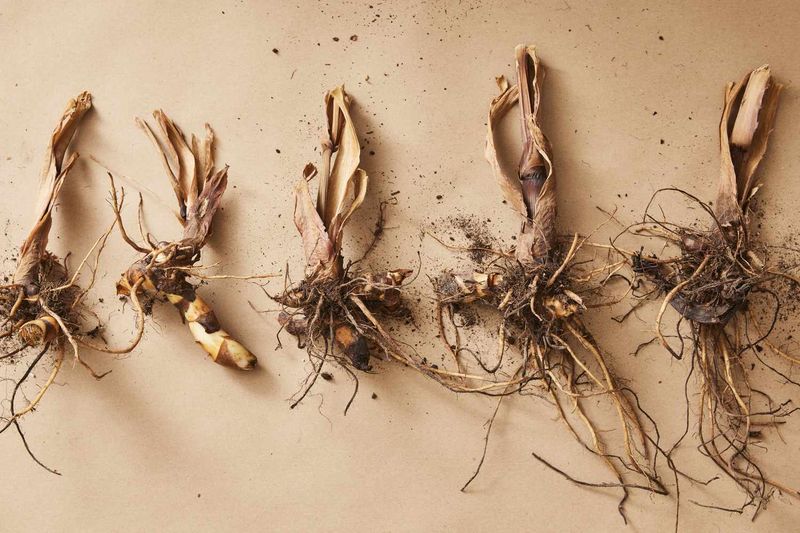
Gardeners whose climate calls for indoor storage need a lifting method that protects the rhizomes from the start. The most common mistake is driving a shovel straight down into the clump.
That approach splits rhizomes cleanly in half and leaves cut surfaces exposed to pathogens before storage even begins.
Start your digging several inches away from the base of the plant, working the fork or spade in a wide circle to loosen the surrounding soil first. University of Illinois Extension specifically advises digging away from the clump and loosening rather than cutting through, because bruises and cuts create entry points for pathogens and increase losses during storage.
Once the soil is loosened, lift the clump gently and work it free with your hands if needed.
Cleaning the rhizomes after lifting does not require an aggressive wash. Remove excess soil by hand or with a soft brush, but avoid scrubbing or soaking them.
Illinois Extension plant records support removing excess soil without requiring complete cleaning, and some methods even recommend storing rhizomes with a light coating of soil still attached. The goal is removing obvious clumps without damaging the surface.
Check the foliage and tissue for signs of disease before you store anything. Remove clearly infected or rotted material, and wipe or dip your cutting tool in a dilute bleach solution between cuts on diseased tissue.
University of Minnesota Extension guidance on managing plant diseases supports tool cleaning after cutting diseased plants as a basic sanitation practice that limits how far pathogens spread. Healthy-looking tissue can go directly to the drying step.
Dry the rhizomes briefly before storage
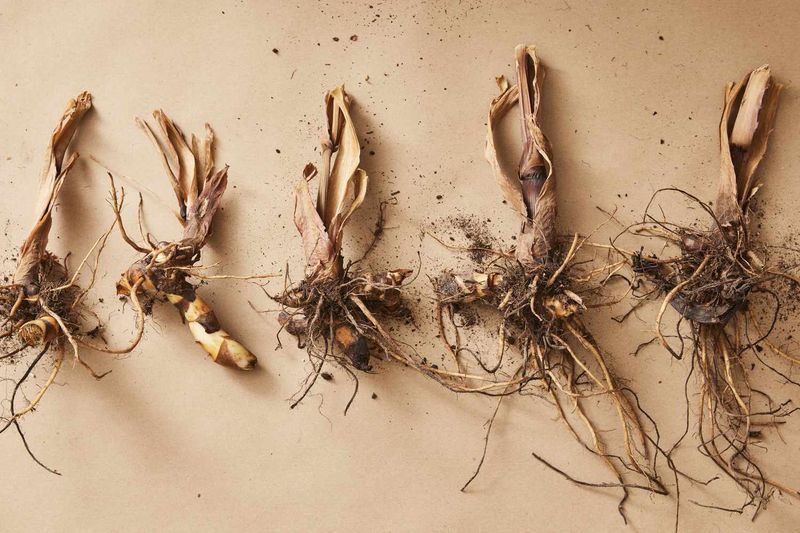
Putting wet rhizomes straight into a storage container is one of the fastest ways to lose them to rot. A short drying period after lifting lets surface moisture escape before the rhizomes go into their winter home.
Spread the rhizomes in a single layer in a shaded, well-ventilated spot, like a garage floor, a covered porch, or a potting bench out of direct sun. How long you leave them depends on your method and how humid your conditions are.
University of Wisconsin Extension and other sources reflect a range from roughly one or two days to about a week, so do not treat any single number as the only correct answer. The rhizomes should feel dry to the touch on the outside before you move them into storage.
Avoid leaving them in direct sun or in a spot where temperatures will swing dramatically during the drying period. University of Illinois Extension recommends drying in a way that lets surface moisture escape without stressing the tissue.
Once the outer surface feels dry, move them promptly rather than extending the drying period indefinitely, since very long exposure can start to shrivel the rhizomes unnecessarily.
The drying step is a transition, not a cure. Missouri Botanical Garden frames the goal clearly: get the rhizomes into cool, frost-free, ventilated storage rather than airtight containment.
Drying is simply the step that makes that storage environment work correctly.
Store rhizomes cool, frost-free, and ventilated
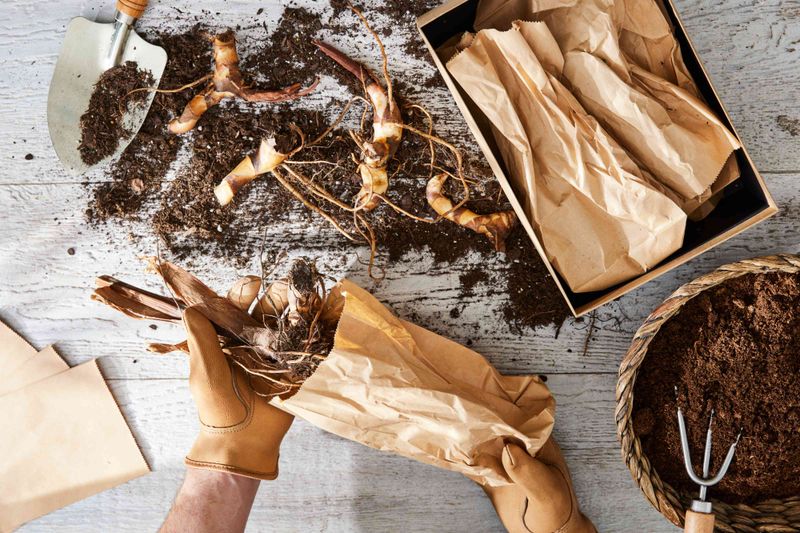
A practical home storage setup for canna rhizomes does not require special equipment, but it does require the right conditions. The target temperature is roughly 40 to 50 degrees F, which is cool enough to keep the rhizomes dormant but warm enough to prevent freezing.
A basement, attached garage, or root cellar that stays in that range through winter works well.
University of Minnesota Extension recommends storing cannas in a cool, frost-free location and supports using a loose packing medium to maintain that environment. Good options include ventilated boxes, wooden crates, paper wrapping, dry peat moss, vermiculite, or similar materials that allow some air circulation around each rhizome.
Layer the rhizomes so they are not tightly pressed against each other.
Sealed plastic bags are not a safe storage option. Poor ventilation and trapped moisture create exactly the conditions that encourage rot, and University of Illinois Extension guidance on tropical plants supports using breathable materials rather than airtight containers.
University of Wisconsin Extension similarly favors ventilated storage over sealed options for tender bulbs and rhizomes.
The two failure modes to avoid are freezing and excess moisture. Freezing damages the tissue directly, while too much moisture in the storage medium creates rot even at the right temperature.
If you use peat or vermiculite, make sure it is dry, not damp, when you pack the rhizomes. A garage that dips below freezing on the coldest nights may need an insulated box or a move indoors to stay within the safe temperature range.
Inspect stored rhizomes and divide only when growth points show
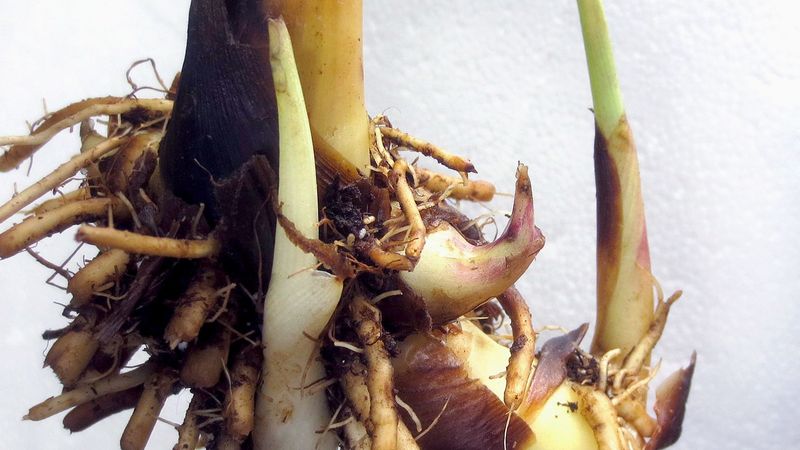
Storing rhizomes in fall and forgetting them until spring is a reliable way to lose a portion of your collection to rot or excessive drying. A few periodic checks through winter take only minutes and can save rhizomes that would otherwise be lost.
Pull the box out every few weeks and look each rhizome over. Remove any pieces that have turned soft, show signs of rot, smell off, or show insect damage.
University of Illinois Extension supports removing badly rotted or diseased pieces during storage to prevent the problem from spreading to healthy rhizomes nearby. One soft piece left in a tightly packed box can ruin its neighbors.
Excessive shriveling is a different problem from rot, and the two require opposite responses. Rhizomes that look dry and shrunken may need a very small amount of moisture added to the packing medium, but adding too much water to fix shriveling creates conditions for rot.
Missouri Botanical Garden recommends keeping the storage environment conservative rather than attempting to rehydrate aggressively.
Division is an optional task best handled when the growth points, called eyes, become visible later in the storage period or just before replanting. University of Minnesota Extension notes that each division needs at least one viable growing point.
Cutting a large rhizome into sections without a visible eye on each piece is a gamble that often results in pieces that never sprout. Wait until the eyes are clearly visible before dividing, and use a clean, sharp knife.
Treat warm-climate beds and containers as separate risk cases
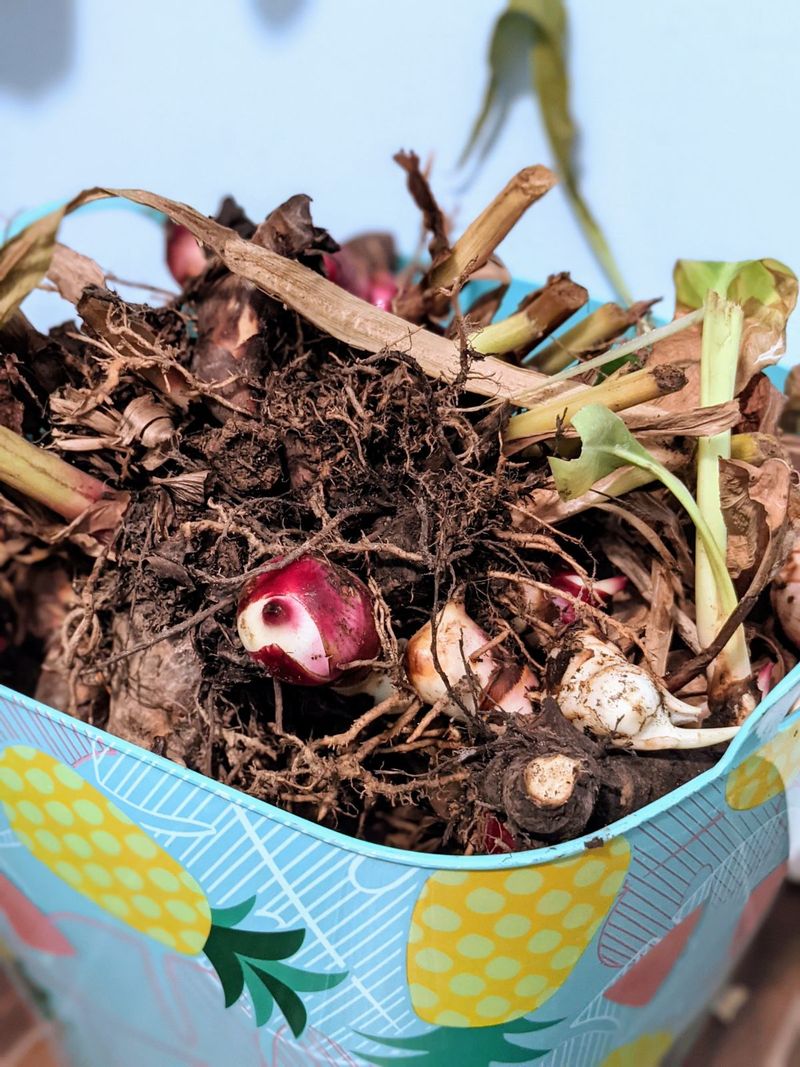
Not every Southern gardener needs to dig cannas in fall, and that distinction matters. In mild climates where hard freezes are rare or brief, leaving rhizomes in the ground is a reasonable approach, provided drainage is good and the site does not sit in a frost pocket or exposed low area.
UF/IFAS notes that golden canna rhizomes are often left in the ground in southern climates, while plants in temperate areas may need to be dug because freezing temperatures cause damage. That distinction applies broadly across the deep South, but it does not mean every Florida or Georgia garden is automatically safe.
North Florida, elevated inland sites, and any location with a history of hard freezes should be treated more cautiously than coastal South Florida.
Georgia guidance from the University of Georgia Extension places cannas in Zones 8 and 9 as generally hardy in the ground, while Zone 7 gardens should plan on lifting. Even within a reliable zone, NC State Extension reminds gardeners that soil drainage, planting depth, and local microclimate all affect whether in-ground rhizomes make it through winter.
A heavy clay bed that holds water through a cold snap creates rot risk even in a mild zone.
Containers deserve separate consideration. A potted canna has far less surrounding soil to buffer temperature swings than a plant growing in a bed, and the root mass can reach damaging temperatures faster on a cold night.
UGA Extension care guidance supports moving tender plants into a frost-free shelter when freezes are expected. Moving a container into a garage or covered porch before a freeze is a practical step, though the right approach depends on your local conditions and how severe or prolonged the cold is expected to be.
Avoid universal fall feeding and prepare for spring
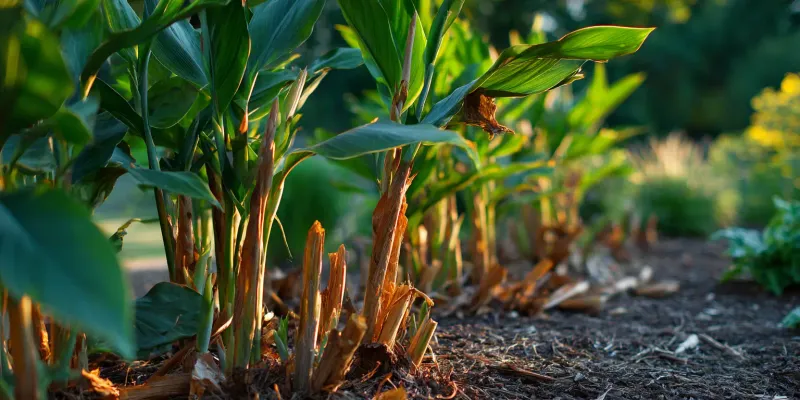
Fertilizer is not a fall fix for cannas, and applying it to dormant plants can cause more harm than good. Late nitrogen encourages soft new growth that is vulnerable to cold damage, and feeding a plant that has stopped actively growing does not strengthen it for winter.
UGA Extension guidance on winter protection of ornamental plants warns against fall fertilizing practices that stimulate tender growth before cold arrives.
UGA Bartow County Extension reinforces that fall fertilizing decisions should be based on what the plant is actually doing, not on a general calendar schedule. Actively growing cannas, such as those in containers that have not yet gone dormant, should follow local, soil-test-based, or cultivar-specific feeding guidance.
Dormant plants should not receive fertilizer at all.
Spring replanting completes the fall plan. Wait until frost danger has passed in your area and the soil has warmed before putting stored rhizomes back in the ground.
University of Illinois Extension and NC State Extension on garden canna both point to full sun, adequate moisture, and well-drained soil as the conditions that support healthy canna growth. Poor drainage raises rot risk from the moment you replant, so if your bed held water over winter, amending the soil before spring planting is worth the effort.
The fall jobs described throughout this guide are about giving cannas a better starting position for next year, not guaranteeing an outcome. What you do between now and the first warm days of spring sets the conditions; the plants do the rest on their own schedule.