
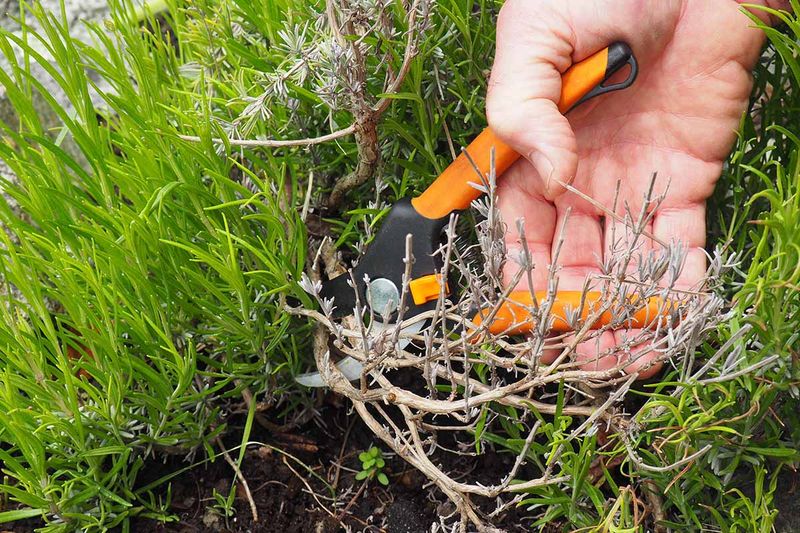
Lavender is one of those plants that looks effortless until it suddenly doesn’t. Many Southern gardeners walk outside one season to find their once-full, fragrant mound has become a bare, splayed-out tangle of brown sticks with only a few tufts of green clinging to the tips.
The good news is that one specific pruning habit is often the biggest culprit, and understanding it can help you stop the decline before the plant is too far gone. Knowing where to cut, and just as importantly where not to cut, makes all the difference.
A Woody Base Is Normal—Until the Plant Opens Up
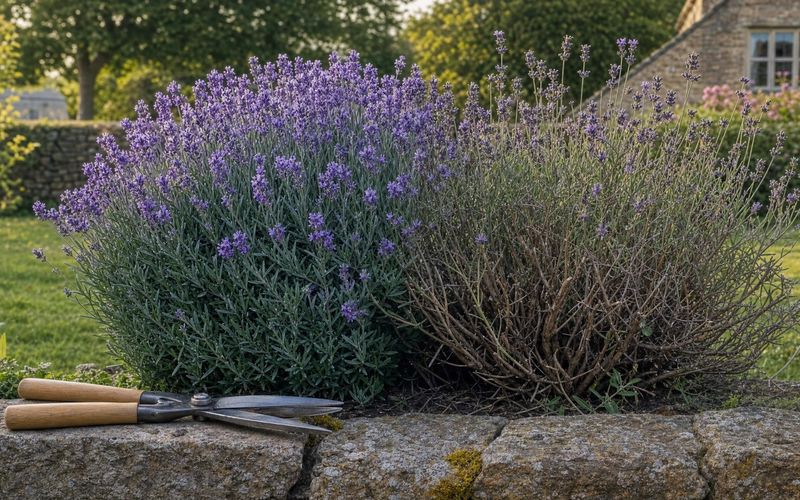
Lavender belongs to a plant category called woody subshrubs, which means developing some hard, brown, bark-covered wood at the base is simply part of its nature. Every season, the lower stems thicken and harden a little more, and that process is completely normal.
The trouble starts when that natural woodiness turns into something more alarming: a plant that has cracked open at the center, lost most of its leaves from the lower half, and stopped producing the dense, rounded bloom clusters it once did.
The symptoms worth paying attention to are a mostly bare base with leafless stems, an open or collapsing shape rather than a compact mound, noticeably fewer flower spikes than in previous years, and brown interior stems with green growth only at the very tips. University of Maryland Extension guidance on lavender notes that some basal wood is expected in lavender, while excessive open, leafless growth combined with reduced flowering signals a plant under stress or heading toward decline.
Before assuming a pruning mistake is the only cause, take a closer look at where previous cuts landed. If past shearing went all the way down to the brown, leafless section, that is the most likely place to start your investigation.
The RHS lavender growing guide consistently points to pruning into old wood as a key factor in poor regrowth, though it is rarely the only one. A healthy lavender can tolerate a lot, but spotting the difference between normal aging and genuine decline is the first step toward fixing it.
A Cut Into Old Wood Can Leave Little Viable Growth to Regrow
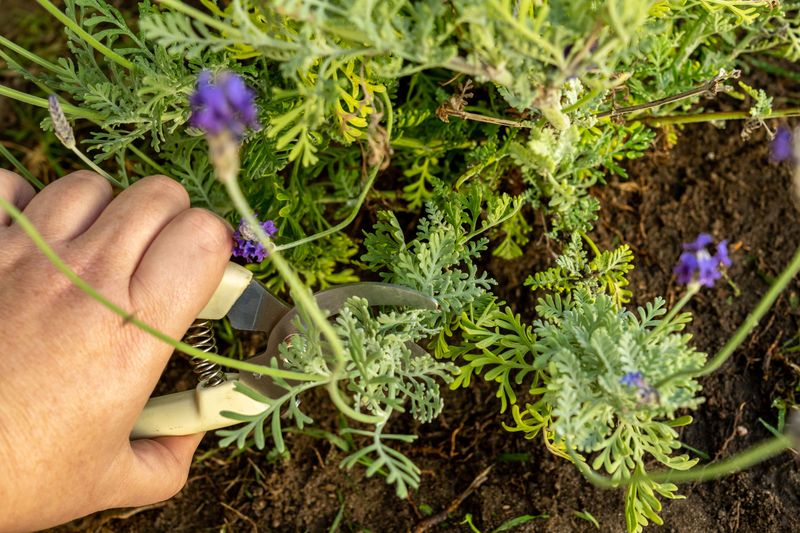
The pruning habit most likely to leave lavender looking barer and leggier is cutting all the way down into the brown, leafless section at the base. When you shear a lavender plant low enough to remove all the green, leafy growth, you are also removing the part of the plant most capable of producing replacement shoots.
What remains is old wood that may not reliably resprout, leaving the base even more exposed than before.
University of Maine Extension research on lavender pruning outcomes explains that lavender generally does not push new growth reliably from old, leafless wood, which means a cut placed too low can leave a plant with very little to work with going forward. The cut itself does not cause the wood to harden any faster.
Woodiness increases naturally with age regardless of pruning. The real damage is that a low cut strips away the green growth that gives the plant its best chance of recovering a full, bushy shape.
There is a meaningful exception worth knowing. Some established English lavender plants may occasionally push new growth after a deeper cut, according to UCANR lavender pruning guidance.
Lavandin hybrids and Spanish or French lavender types, however, tend to respond poorly to cuts into leafless wood and may not recover at all. Because many Southern nursery plants are not clearly labeled by type, the safest approach for an unidentified plant is always to keep green growth above every cut rather than gambling on a deep renovation.
Find the Green Boundary Before You Prune
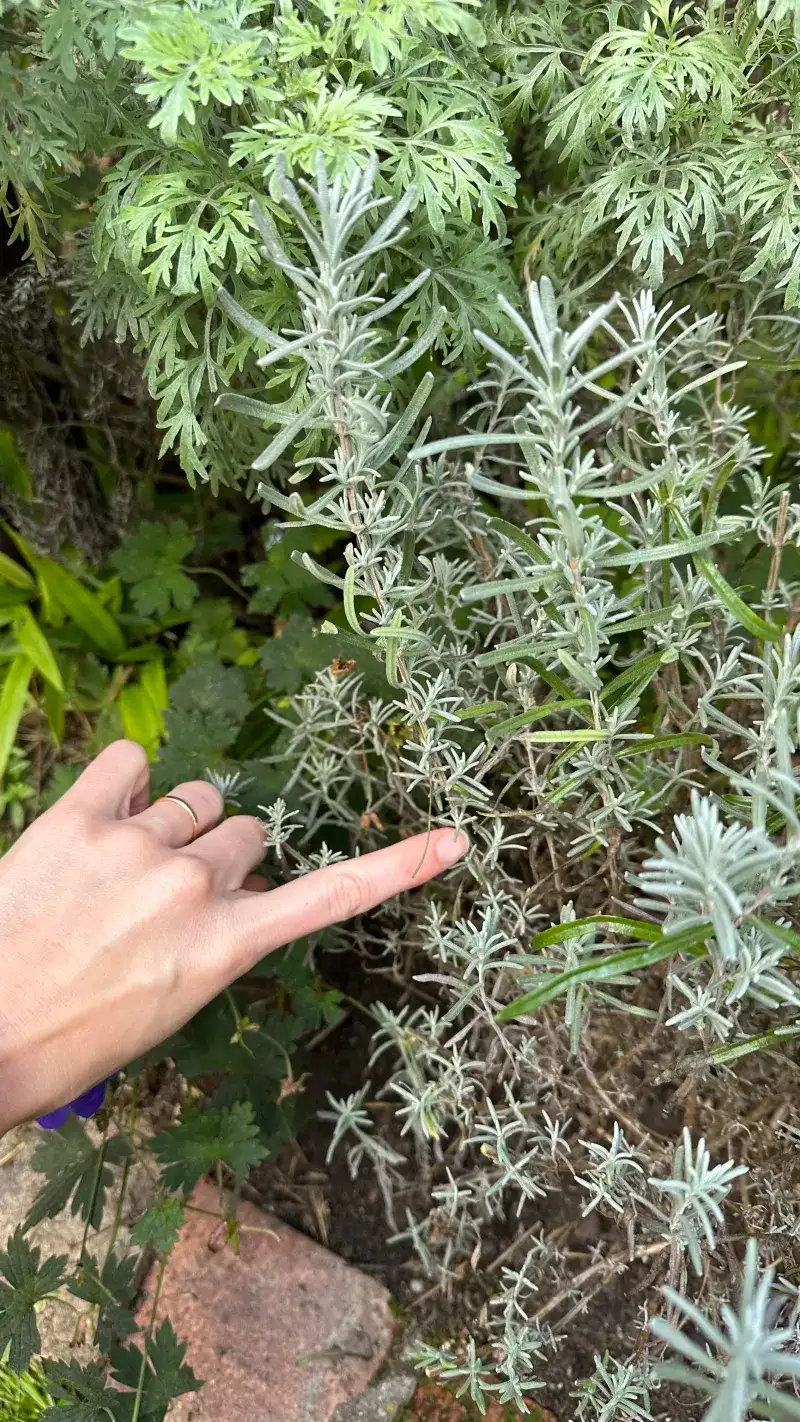
Getting the cut right starts before the pruners ever open. Run your fingers along each stem from the brown, hardened base upward until you feel the stem become flexible and see actual green leaves emerging.
That transition point, where firm brown gives way to pliable green, is your cutting boundary. Every cut you make should land within the green, leafy portion of the stem, not below it.
University of Maine Extension recommends pruning in the green shoot portion, a few inches above the woody section, rather than shearing straight across the entire plant at one uniform height. Uniform height shearing is convenient, but it almost always sends some cuts into the leafless zone on plants that have developed uneven growth.
Working stem by stem takes a bit longer, yet it protects the regrowth potential of each branch individually.
Sharp, clean bypass pruners make a real difference here. A clean cut heals faster and causes less tissue damage than a crushed or torn edge from dull blades.
If you are moving between plants or cutting through material that looks diseased or discolored, sanitize your tools between plants. Iowa State Extension guidance on sanitizing pruning shears recommends wiping off debris first, then applying 70 percent isopropyl alcohol or a diluted bleach solution to the blades.
Tool sanitation is a quick step that protects healthy plants from whatever a struggling neighbor might be carrying.
Light Pruning Keeps the Mound Compact
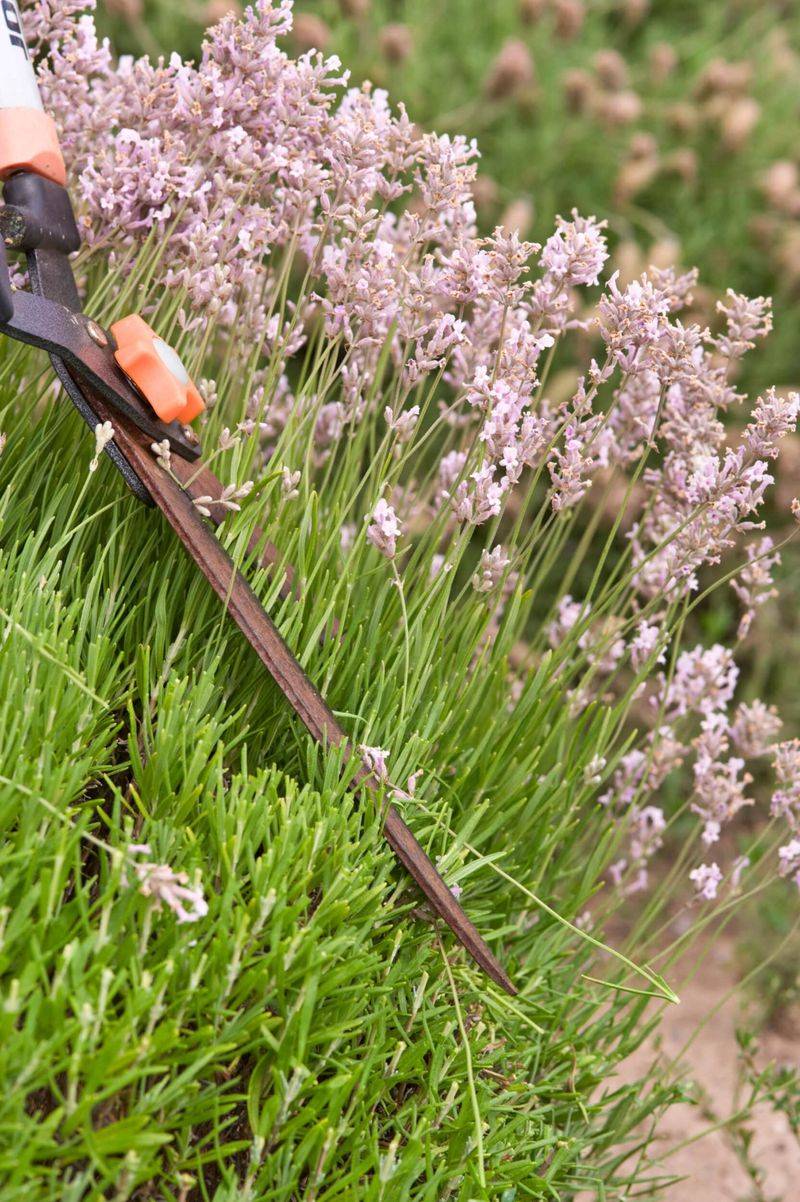
Annual light pruning after flowering is one of the most effective habits for keeping lavender looking full rather than leggy. The goal is to remove spent flower stalks and take off a modest amount of the leafy, flexible growth to encourage the plant to fill in rather than stretch out.
The RHS recommends removing flower stalks and roughly one inch of leafy growth after flowering as a general reference point for maintaining a compact, rounded shape.
Timing matters more in the South than in cooler regions. Warm-season lavender growers in Florida and Texas often deal with multiple bloom flushes or extended growing windows that do not map neatly onto a single late-summer pruning.
UF/IFAS guidance for Florida lavender growers recommends pruning in early spring and removing no more than one-third of the plant at a time. That one-third limit is a useful guardrail for any Southern gardener who is uncertain about cultivar tolerance, since it keeps enough green growth intact to support recovery.
Light annual maintenance and drastic renovation are two completely different operations. Maintenance pruning after flowering shapes the plant and encourages denser regrowth.
Renovation pruning on a severely woody plant is a riskier intervention with a less predictable outcome. UC guidance on lavender care supports trimming only the supple new growth and shaping after flowering, which reinforces the principle that staying in the green zone year after year is far easier than trying to rescue a plant that has been repeatedly cut too low.
When the cultivar is unknown, conservative always beats aggressive.
Can an Already Woody Lavender Be Recovered?
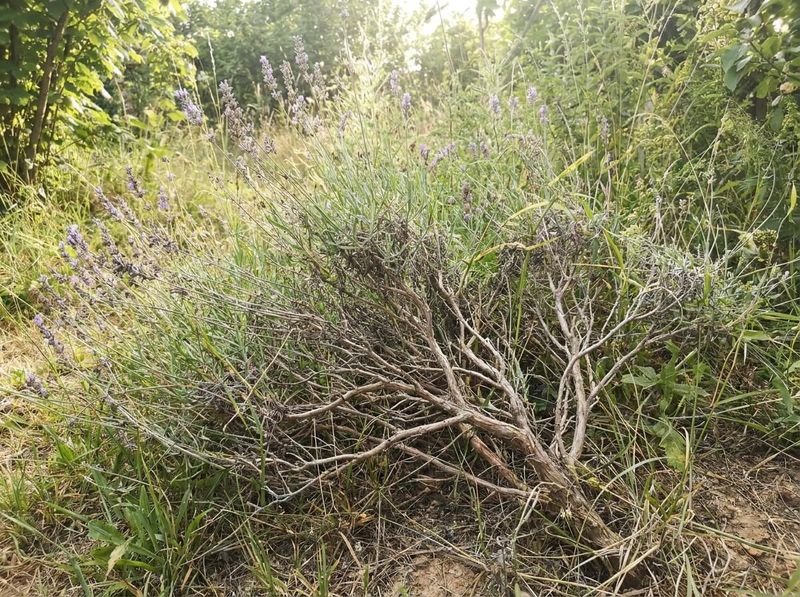
Facing a lavender plant that is already mostly brown and open is discouraging, but the answer is rarely a single dramatic rescue cut. Start by removing any stems that are clearly dead, brittle, and without any green tissue at all.
Then take stock of what green growth remains, because those shoots are the plant’s most valuable asset at this point.
If visible green growth is present on multiple stems, a gradual approach over successive seasons gives the plant its best realistic chance. Cut back only the green portion of each stem rather than trying to correct years of legginess in one operation.
UCANR lavender pruning recommendations support this incremental strategy, noting that working gradually is more reliable than a single hard cut when a plant has become severely woody. Each season of light trimming encourages the remaining green growth to thicken and extend outward, slowly rebuilding a fuller shape.
Cultivar plays a real role in recovery odds. Some established English lavender plants may occasionally push new growth after a deeper cut into older wood, though even that outcome is not guaranteed.
Lavandin and Spanish or French lavender types are less forgiving, and cuts into leafless wood on those plants often produce no recovery at all. RHS lavender guidance consistently advises against cutting into old wood as a broad rule, with the understanding that some cultivar variation exists.
When a plant has almost no green tissue left, very little of its canopy remains intact, or it shows signs of root damage, replacement or propagation from healthy young cuttings is often the more realistic path forward. A new plant started from a vigorous cutting, or a fresh cultivar better suited to your site, may outperform a struggling older specimen that is being pushed to recover from a position of very little reserve.
Pruning Cannot Fix Wet Roots or the Wrong Lavender
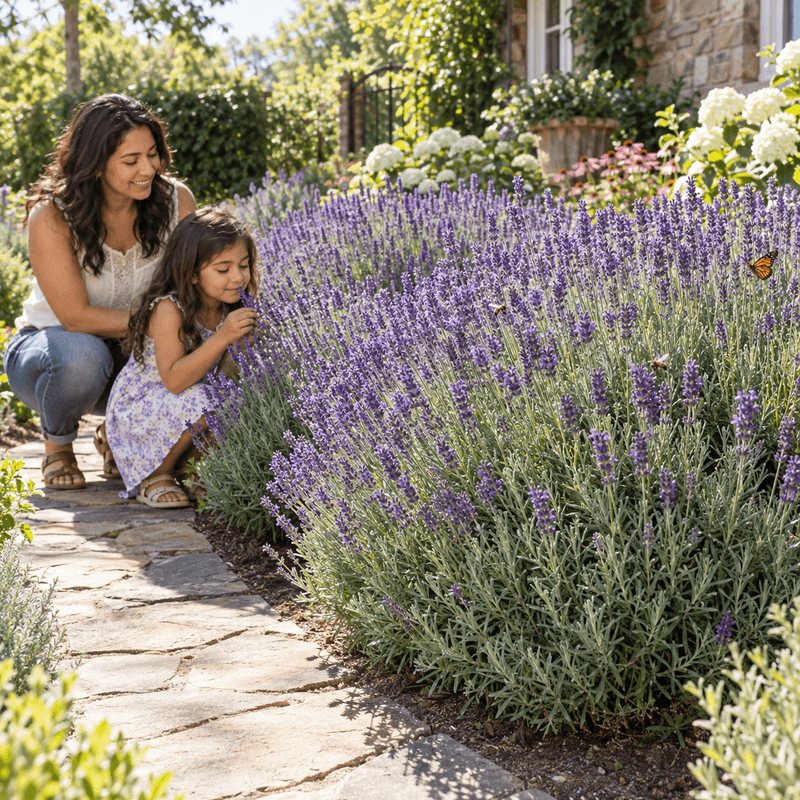
Once you have addressed where the pruning cuts land, take a step back and look at the full picture. A lavender plant that keeps declining despite careful pruning is often struggling with a site or care problem that no amount of thoughtful trimming can correct.
Drainage is the most common culprit in the South.
Lavender prefers dry, fast-draining soil, and wet roots are far more dangerous to the plant than a stretch of dry weather. UF/IFAS guidance for growing lavender in Florida specifically recommends raised beds or containers in humid conditions, since flat garden beds in Florida can hold moisture long enough to cause root rot.
Before watering a plant that looks wilted during a heat spell, check the soil first. Wilting in lavender can accompany root damage from excess moisture just as easily as drought stress, and adding more water to an already saturated root zone can accelerate decline rather than reverse it.
Air circulation, sunlight, and fertilizer practices all factor in as well. Lavender planted too close to other shrubs or walls may not get the airflow it needs to stay healthy through humid Southern summers.
Excess fertilizer, especially high-nitrogen products, can push weak, leafy growth and reduce flowering without strengthening the plant. UC lavender care guidance notes that lavender tolerates lean soil well and does not need routine heavy feeding.
Cultivar fit is a separate but equally important issue. UF/IFAS notes that English lavender can decline under Florida summer heat, while Texas A&M identifies several more heat-tolerant options for Texas gardeners, including fernleaf, French, Goodwin Creek Gray, Provence, Spanish, and sweet lavender.
Matching the cultivar to local heat and humidity conditions is a foundational step that pruning skill alone cannot replace.
Keep Green Growth Above Every Cut
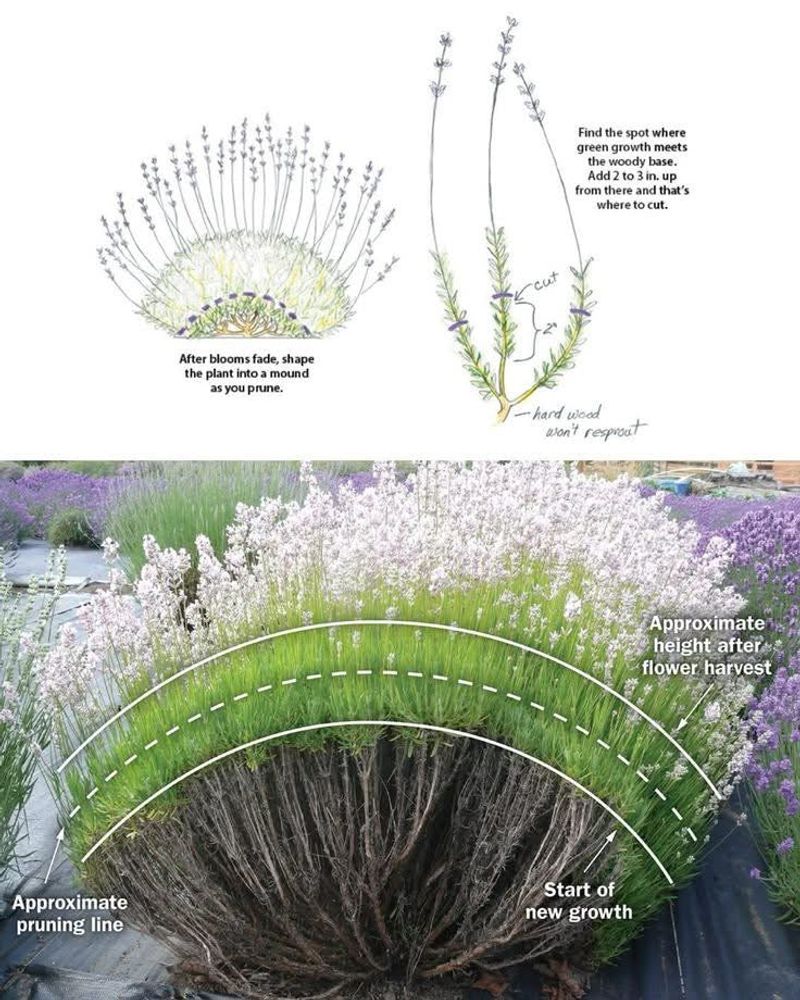
Lavender will always develop some wood at the base as it matures, and that is not a problem by itself. The habit worth breaking is letting cuts land in the leafless, brown zone where regrowth is unreliable at best.
Keeping visible green growth above every cut is the single most protective thing you can do each time you prune.
When a plant continues to look sparse or open despite careful pruning, shift your investigation to drainage, soil moisture, air circulation, sunlight, and whether the cultivar is well matched to your local conditions. RHS lavender guidance and University of Maine Extension pruning research both point to the same core principle: preserve green tissue, prune lightly, and treat old wood as a zone to avoid rather than a place to start.
A lavender with almost no green tissue left is more likely a candidate for replacement or propagation from a healthy cutting than a plant to push harder with a severe cut. The best-smelling lavender in your yard next season will probably be the one you pruned least aggressively this one.