
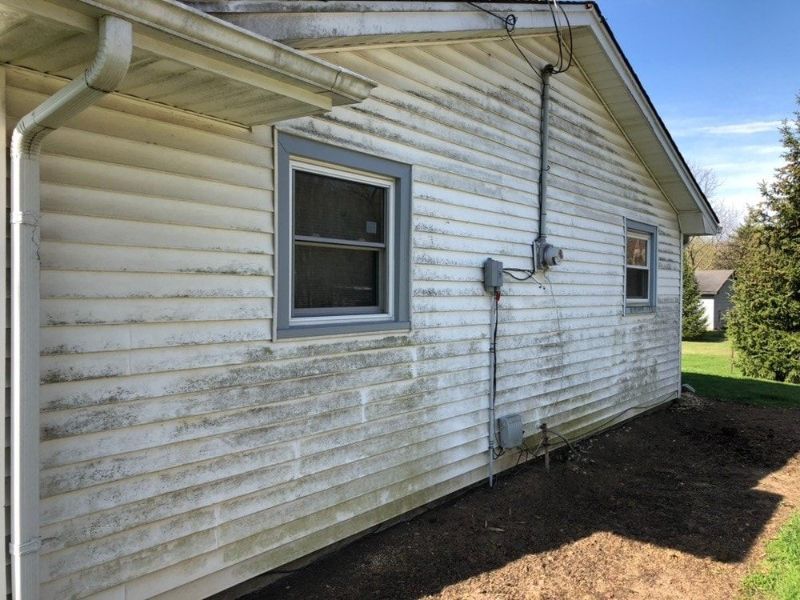
Green film creeping across your siding can make a perfectly solid house look worn-out and neglected almost overnight. Before you call a contractor about replacement, it helps to know that recurring discoloration is often a surface-maintenance concern rather than proof that your cladding has failed.
The right response depends on what your siding is made of, whether the panels are actually damaged, and what is feeding the growth in the first place.
Recurring green growth is a clue, not a replacement verdict
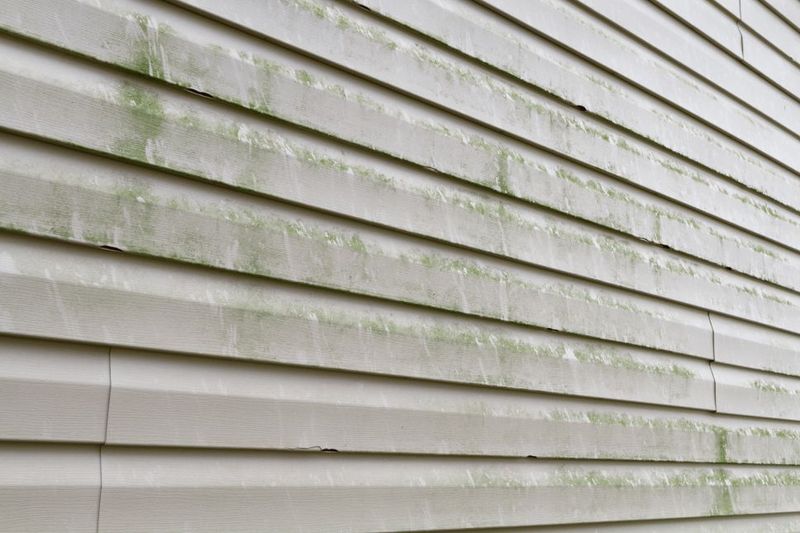
Green film on siding catches the eye and triggers worry, but the color alone does not tell you what organism is growing there or why it keeps coming back. What looks like algae could be mildew growing on accumulated dirt, a biological crust, or a combination of stains that appearance cannot separate.
Vinyl Siding Institute guidance groups dirt, algae, mold, and mildew together as common surface stains that cleaning can address on intact siding, which underscores how difficult it is to identify the exact cause by looking alone.
The practical decision rule is straightforward: careful cleaning may be worth trying when the siding is structurally sound and the manufacturer permits the method you plan to use. Recurring growth, visible moisture evidence, or physical damage shifts the task from washing to investigation.
UGA Cooperative Extension guidance on preventing mold notes that persistent growth often reflects ongoing moisture conditions rather than a one-time contamination event.
Replacement is not automatically the answer when siding looks dingy, but cleaning is not automatically the answer either. Taking a few minutes to assess the material, the surface condition, and the moisture environment around the wall will tell you far more than the color of the stain ever could.
Identify the siding and inspect what the discoloration may be hiding
Knowing what your siding is made of matters before you choose a single cleaner or tool. Vinyl, fiber-cement, aluminum, painted wood, and engineered wood products each carry different care instructions, and a method that works safely on one material can damage another.
James Hardie’s published FAQ specifies low-pressure garden-hose spray and a soft or medium-bristle brush for its fiber-cement products, a notably different approach from what some vinyl manufacturers recommend.
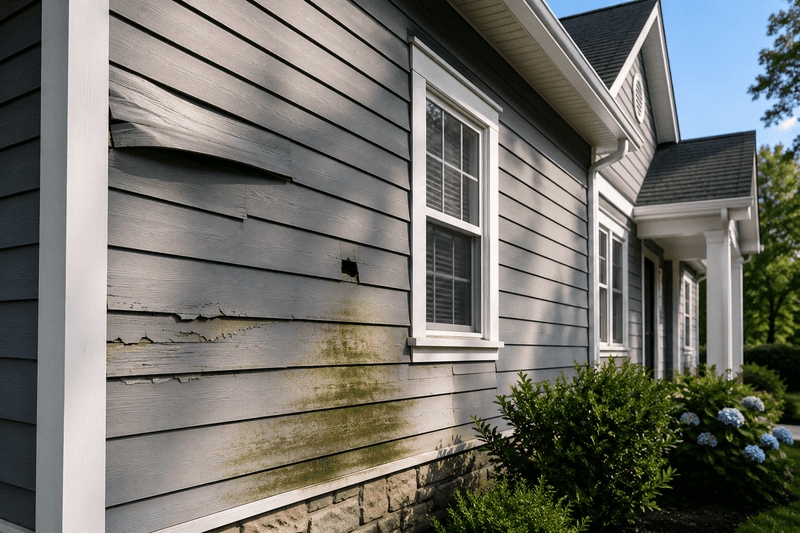
Once you know the material, walk the wall slowly and look for conditions that go beyond surface staining. Cracked, warped, loose, or gapped panels deserve attention.
So do deteriorated caulk lines, damaged flashing around windows and doors, peeling or bubbling paint, rotten wood at the base or around trim, and any water staining on interior walls that lines up with the exterior discoloration. CertainTeed’s exterior cleaning guidance specifically flags these conditions as concerns that may require repair rather than routine washing.
Wood and painted surfaces call for extra caution. DOE homeowner guidance emphasizes addressing the moisture source rather than treating only the visible symptom, because repeated staining on wood can signal water moving into the wall assembly.
If the inspection turns up any of these warning signs, the cleaning decision should wait until those findings are evaluated.
Use the gentlest cleaning method the product maker permits
Manufacturer care instructions are the starting point, not a suggestion to skim past. Pull up the documentation for your specific siding product before selecting a cleaner, a brush, or a spray setting.
Testing any stronger stain or mildew cleaner in a small, inconspicuous area first is a step that CertainTeed recommends for vinyl and polymer siding, and it applies equally well to other materials.
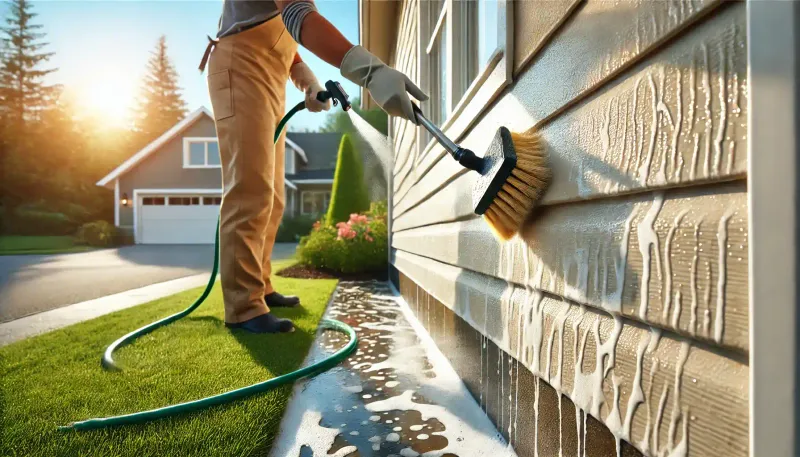
For vinyl siding, mild soap and water with a garden hose and a soft, long-handled car-washing brush is a reasonable starting point when the manufacturer allows it. The Vinyl Siding Institute installation manual warns specifically against stiff brushes and abrasive cleaners because they can dull the surface gloss and leave uneven, splotchy areas that are difficult to reverse.
Working in manageable sections and rinsing each one thoroughly before moving on reduces the chance of residue drying on the panel.
Fiber-cement siding follows a different protocol. James Hardie’s cleaning and maintenance technical bulletin calls for low-pressure garden-hose rinsing and a soft or medium-bristle brush, keeping the approach gentle to protect the painted finish.
Aluminum and painted wood surfaces each have their own limits too, so the principle stays the same across materials: gentler is safer, the manufacturer’s instructions govern, and no single method applies equally to every siding type.
Pressure, chemicals, and ladders require deliberate safety limits
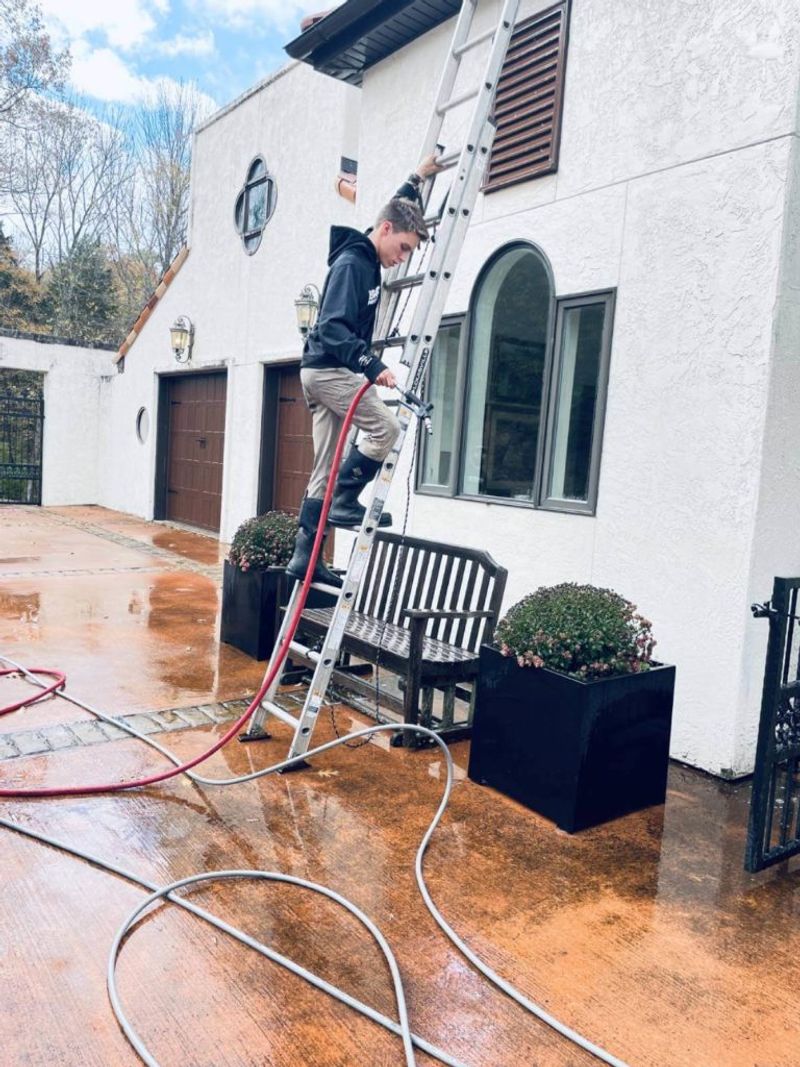
Pressure washing often gets recommended as a quick fix for dirty siding, but several siding manufacturers describe it as a potentially risky approach rather than a universally appropriate one. CertainTeed warns that high-pressure washing can damage siding or force water behind the panels, and James Hardie advises against pressure washing its fiber-cement siding entirely.
If you choose to use a pressure washer on a permitted material, keep the pressure setting low, maintain an appropriate distance, and never angle the spray upward into panel joints.
Bleach requires equal care. Some manufacturers include diluted bleach options in their mildew-removal guidance, but EPA guidance on bleach and mold notes that bleach is not recommended for routine use and that mixing it with ammonia-containing products or other household chemicals can produce toxic fumes.
Never combine bleach with ammonia, acids, or unspecified cleaners. Check whether the product label and your siding’s documentation permit bleach before using it, and apply it only in the dilution and manner the label specifies.
Equipment and ladder safety deserve the same deliberate attention. Gasoline-powered pressure washers produce carbon monoxide and must be operated outdoors and well away from any enclosed or partially enclosed space, as the CPSC carbon monoxide fact sheet makes clear.
Electric pressure washers carry electrocution risk when water contacts improperly grounded equipment, a hazard CPSC has specifically warned about. For ladder work, OSHA portable-ladder guidance recommends stable footing, a pre-use inspection, and maintaining three points of contact at all times.
Upper-story cleaning with a ladder and a pressure washer at the same time is a combination that significantly raises fall risk and is best left to professionals.
Protect plants and manage potentially contaminated runoff
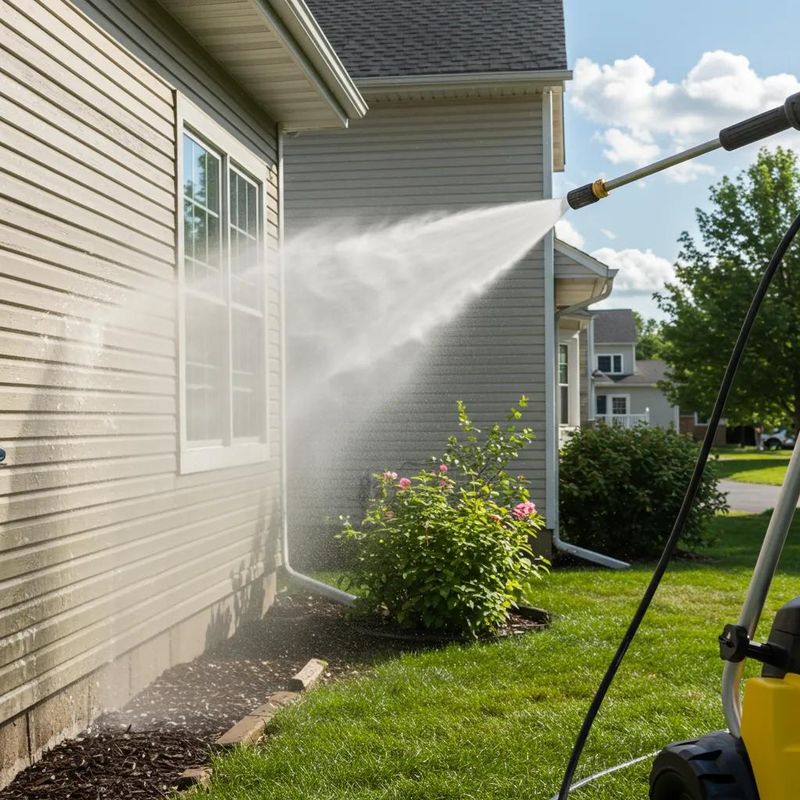
Cleaning solutions that are strong enough to lift biological growth from siding can also damage nearby plants if the runoff reaches roots or foliage. Wetting surrounding vegetation before applying any cleaning product, and rinsing it again afterward, is a step that an EPA-registered exterior cleaner label explicitly instructs users to follow.
Read your specific product label for the exact timing and method it requires, because instructions vary.
Runoff from exterior cleaning can carry cleaning chemicals, loosened biological material, and sediment away from the house and into the surrounding landscape or drainage system. EPA guidance on stormwater runoff explains that pollutants transported by runoff can reach surface waters and affect water quality.
Local stormwater ordinances may govern where chemically treated wash water can go, so check those requirements before you start and do not direct treated wastewater into a storm drain unless local rules expressly permit it.
Containing runoff on your own property when possible, using the minimum effective amount of any cleaning solution, and choosing products with lower environmental impact where the manufacturer allows it are all practical ways to reduce the risk to plants, soil, and nearby water. A little planning before the hose comes out protects the yard you worked to maintain.
Trace the moisture pattern when the green film returns
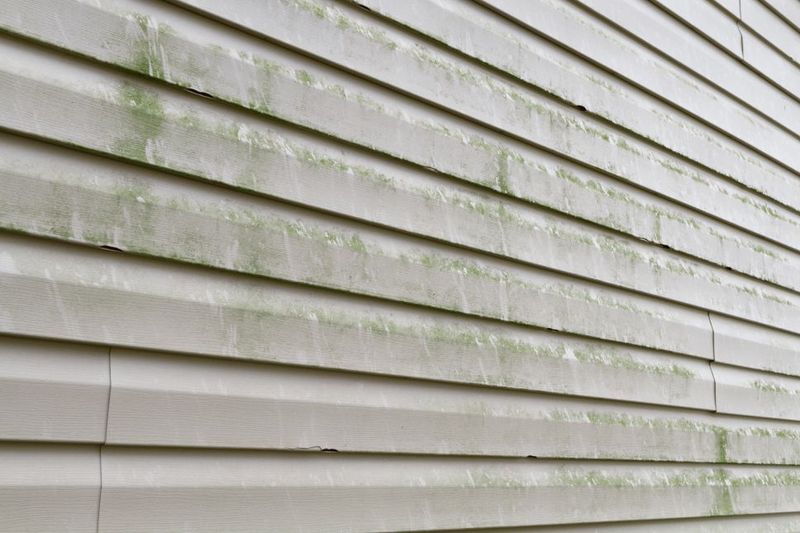
A wall that turns green again within a season or two is telling you something about the environment around it, not just about the surface. Shade, warmth, and persistent dampness all create conditions where biological growth can re-establish quickly after cleaning.
UGA Cooperative Extension’s mold-prevention guidance identifies clogged gutters, short downspouts that deposit water near the foundation, sprinkler overspray hitting the wall, overwatered foundation plantings, and poor lot grading as common exterior moisture contributors worth correcting.
Walk the perimeter of the house and check each of these systematically. Gutters that overflow deposit water directly onto the siding below them.
Downspouts that terminate too close to the house keep the soil saturated at the base of the wall. Sprinkler heads aimed at the siding wet the surface on a regular schedule.
Dense shrubs or vines growing against the wall hold moisture and reduce airflow. UGA’s mold and moisture home inspection checklist recommends evaluating all of these as part of a complete exterior moisture assessment.
Roof or window leaks that introduce water behind the cladding are a more serious concern and go beyond what surface cleaning can address. Cleaning may restore the appearance of intact siding, but if the moisture source stays in place, the growth will return.
Correcting the water-management problem is what changes the long-term outcome.
Know when cleaning should stop and repair should begin
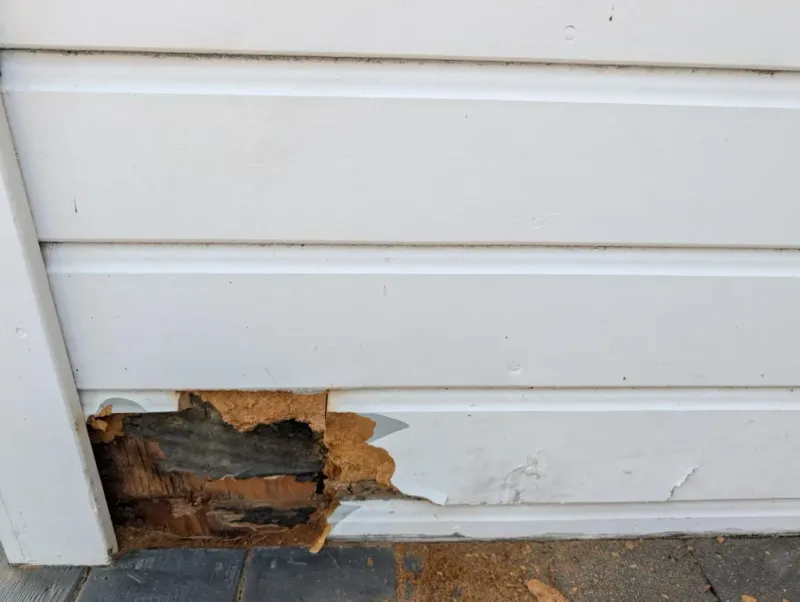
A clean surface can look reassuring, but it does not confirm that the wall assembly behind it is sound. Certain conditions found during inspection or uncovered during washing should prompt a stop-and-evaluate response rather than a push to finish the job.
Rot in wood framing or trim, warped or cracked panels, failed flashing, and persistent water staining around windows and doors all point to problems that a garden hose cannot fix.
CertainTeed’s contractor-referral guidance identifies peeling or bubbling paint, gapped or loose panels, and suspected moisture behind the cladding as signs that professional evaluation is appropriate. Washing over those conditions may mask the symptom temporarily while the underlying problem continues.
DOE homeowner guidance reinforces that moisture intrusion into the wall assembly requires addressing the source, not treating the visible surface.
Product warranties add another practical reason to pause before reaching for aggressive tools or chemicals. James Hardie’s cleaning and maintenance bulletin states that damage resulting from improper cleaning or maintenance may not be covered under its warranty.
Checking your siding’s documentation before using strong chemicals, abrasive brushes, or pressure equipment protects both the material and your coverage. A refreshed appearance is worth pursuing on intact siding; it is not a substitute for repair when the structure needs attention.
Match the cleaning decision to the condition of the siding

Working through a short checklist before picking up a brush makes the whole process more reliable. Identify the siding material and pull up its care documentation.
Inspect the surface and surrounding trim for physical damage, deteriorated caulk, failed flashing, and moisture staining before any water touches the wall. Choose the gentlest cleaning method the manufacturer permits, test stronger products in a hidden spot first, and protect nearby plants by following the product label’s instructions for wetting and rinsing vegetation.
Vinyl Siding Institute guidance and CertainTeed’s cleaning recommendations both support a gentle, material-specific approach for intact siding, while UGA Extension’s mold-prevention guidance reminds homeowners that correcting moisture sources is what prevents the problem from cycling back. Manage runoff according to your product label and local stormwater rules, and flag any damage or suspected water intrusion for repair rather than another wash.
Careful cleaning can improve the appearance of intact siding. Lasting results, though, depend on fixing what keeps the surface wet in the first place.