
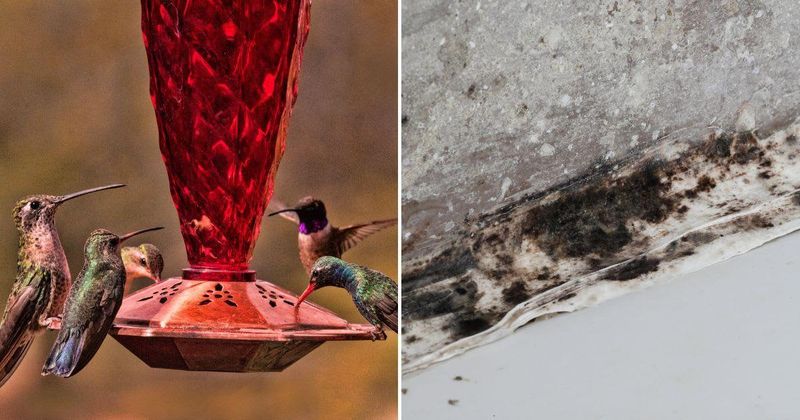
You lift your hummingbird feeder and spot dark specks tucked around a port or along a seam. It is easy to feel worried, and easy to wonder what to do next.
The good news is that the fix is simple, and it works best when you act right away. Here is how to clean up, refill, and keep your feeder ready for the next visitor.
What do dark specks actually tell you?
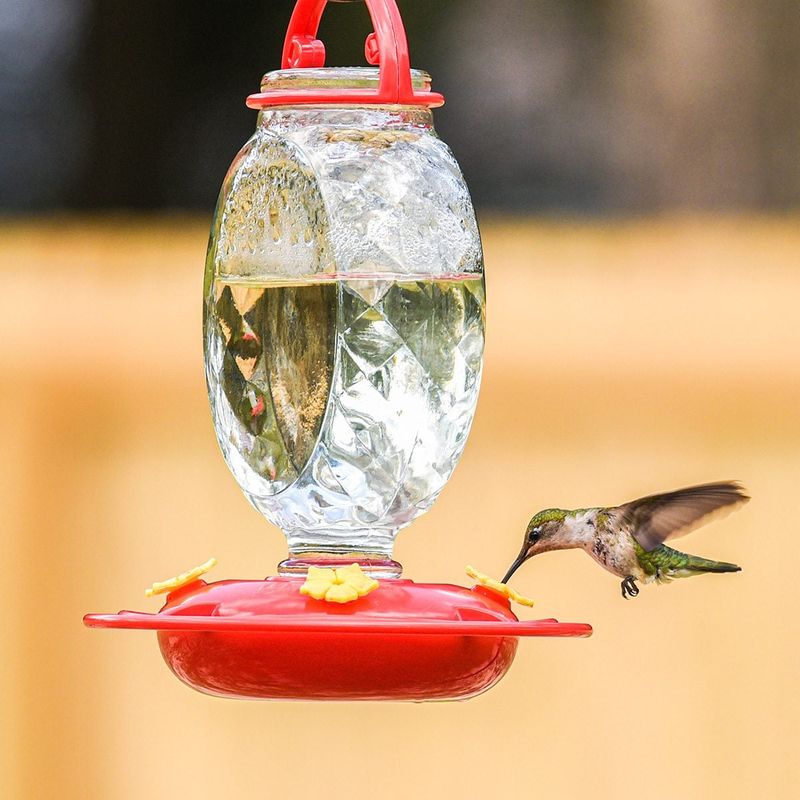
Dark specks in a feeder port or seam are a signal to stop and clean. They are not a diagnosis.
Color alone cannot tell you what the material is, and it cannot point to a particular mold.
So the plan is simple. If you see visible buildup, take the feeder down and stop offering that nectar.
Audubon advises cleaning right away when mold shows up inside a feeder, rather than waiting for the next scheduled cleaning.
There is a reason feeder care matters. A peer-reviewed study found that the mix of microbes in feeder solutions changes over time, and that populations increased.
The researchers did not test whether those changes made hummingbirds sick.
That means a speck is not proof that nectar is toxic, and no single spot is a known danger to a bird. It is simply a clear cue to clean before you refill.
Warm weather makes feeder upkeep more urgent
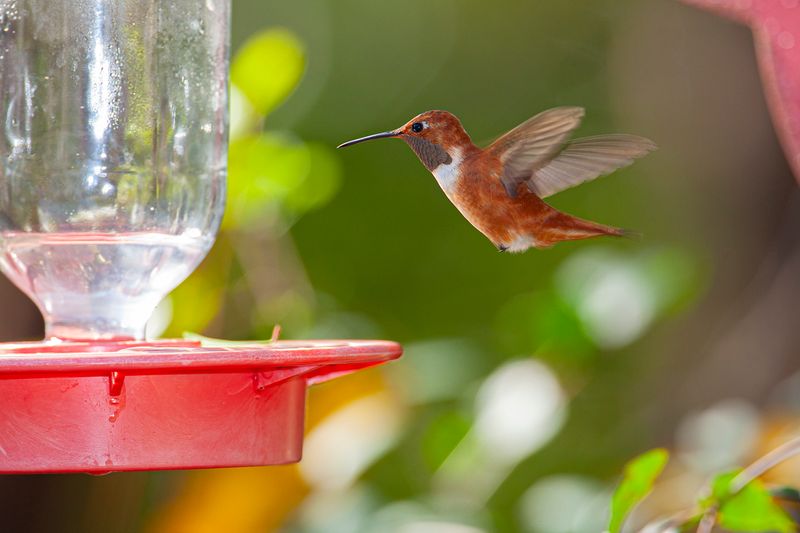
Summer in Florida and Texas is tough on sugar water. UF/IFAS notes that Florida heat can speed up bacterial growth in nectar.
Heat and sun do not prove a feeder is contaminated, but they do shorten the time nectar stays fresh.
Placement helps. UF/IFAS also says shade can slow fermentation, so a spot under an eave or tree limb is often kinder to your nectar than an open, sunny hook.
In practice, that means glancing at the feeder every day when temperatures climb. Check the ports, the seams, and the nectar itself.
Plan to swap nectar more often on scorching afternoons, and move the feeder into shade if it bakes. A few extra seconds of looking can save you from a bigger cleanup later.
Discard the nectar and take the feeder apart
When buildup shows up, do not wait for a cleaning day. Take the feeder down and pour out all of the old nectar.
Even if the feeder was filled yesterday, that batch goes.
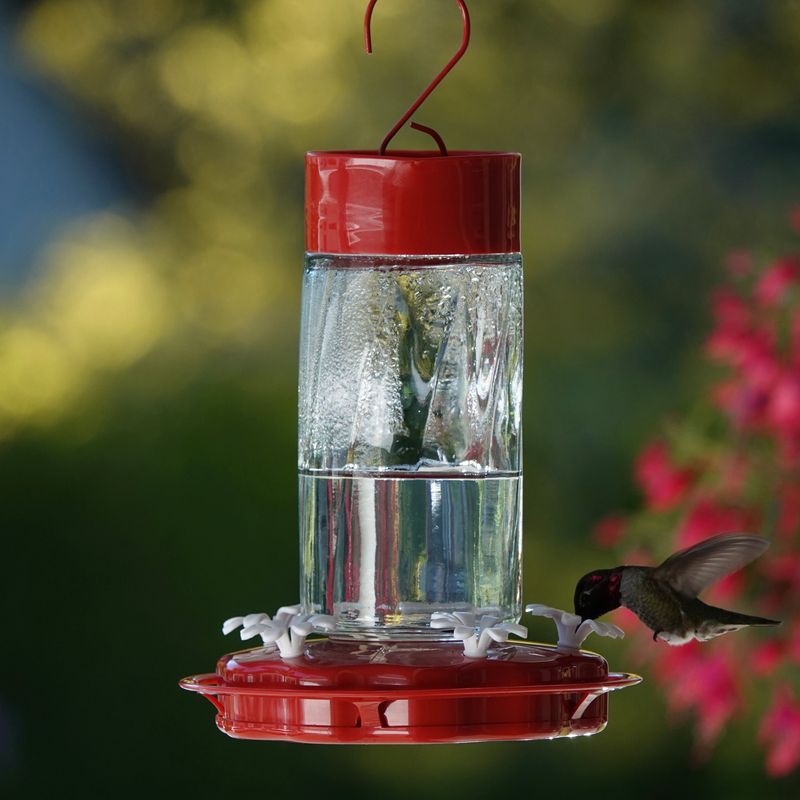
Next, take it apart as far as its design allows. Separate the reservoir, base, ports, and any flower-shaped pieces, and set them out where you can reach every part.
This step is different from routine upkeep. Audubon says to clean immediately if mold appears inside, not at the next scheduled cleaning, and to empty old nectar when you take the feeder down.
Feeders with pieces that come apart are much easier to handle. UF/IFAS suggests choosing a feeder that can be disassembled and cleaned, which is worth remembering the next time you shop.
Once everything is apart, you are ready for the scrubbing step.
Use a bottle brush to reach ports and seams
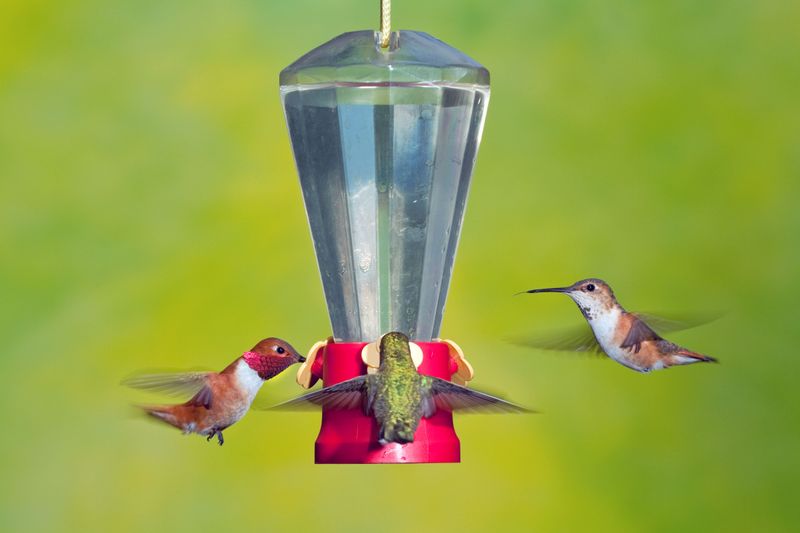
Hot water and a dedicated bottle brush do most of the work here. UF/IFAS recommends exactly that pairing, and Cornell suggests a bottle brush for scrubbing the reservoir, seams, and feeding ports.
Start with the reservoir, then work the brush into each port and along every seam where nectar can linger. A small port brush or cotton swab can help with tight openings.
Keep this brush just for feeders.
Rinse well with clean hot water until no residue remains, then let the parts dry before reassembling.
Cleaning products are where advice splits. Sources disagree on bleach, vinegar, and soap, so no single option is universally endorsed.
Audubon, for example, advises against dish soap. If you want a sanitizer, follow your feeder maker’s instructions, use one product at a time, and never mix cleaning products.
Mix fresh nectar with a simple sugar-and-water ratio
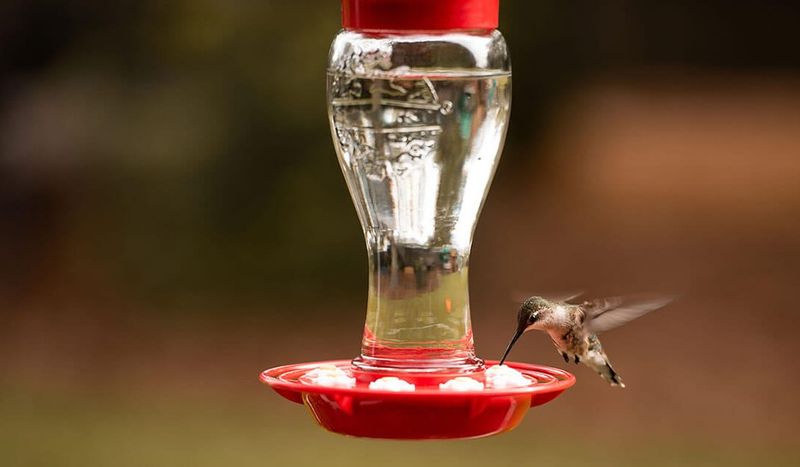
Homemade nectar needs just two ingredients. Audubon recommends one part refined white sugar to four parts water.
For example, mix one cup of sugar into four cups of water.
Heat the water and stir until the sugar dissolves completely. Then let the mixture cool all the way before it goes into the feeder, since warm nectar is a poor fit for plastic and for the birds.
Fill only a feeder that is clean and dry. Pouring fresh nectar into a feeder that still has buildup defeats the purpose.
Skip the red dye. Audubon says coloring is unnecessary, and the feeder’s red parts already draw attention.
The same guidance does not call for honey, brown sugar, or artificial sweeteners, so plain white sugar is the safe choice.
Extra nectar can be stored in the refrigerator for your next refill.
Build a weather-aware feeder routine
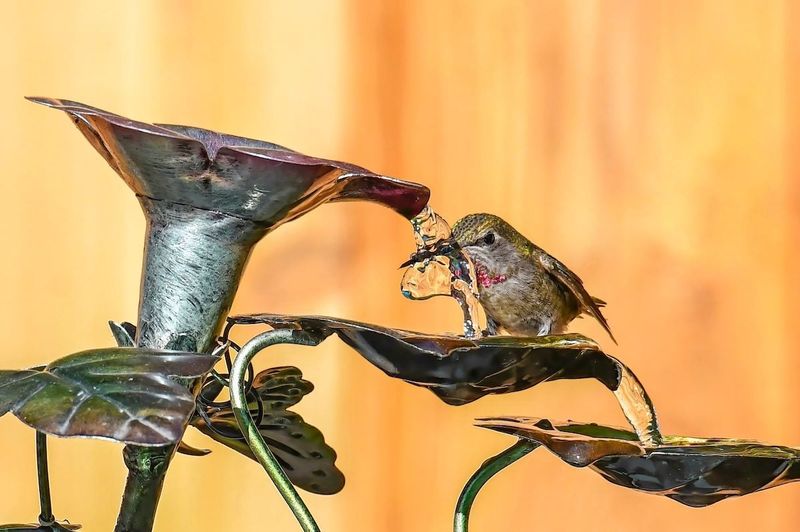
A good routine bends with the weather. UF/IFAS says to change nectar at least every three to five days, and more often in hot weather or direct sun.
Cornell gives a similar minimum.
Audubon is more cautious for heat, suggesting you empty and clean daily or every other day. Since the schedules differ, treat them as guidance and lean toward the shorter one during a Southern summer, as the UF/IFAS Florida hummingbird guide also points to heat as a reason to stay attentive.
Look at the feeder every day. If you see buildup at any point, discard the nectar, take the feeder apart, scrub, rinse, and refill only when everything is clean.
A feeder that gets checked often rarely needs a rescue.