
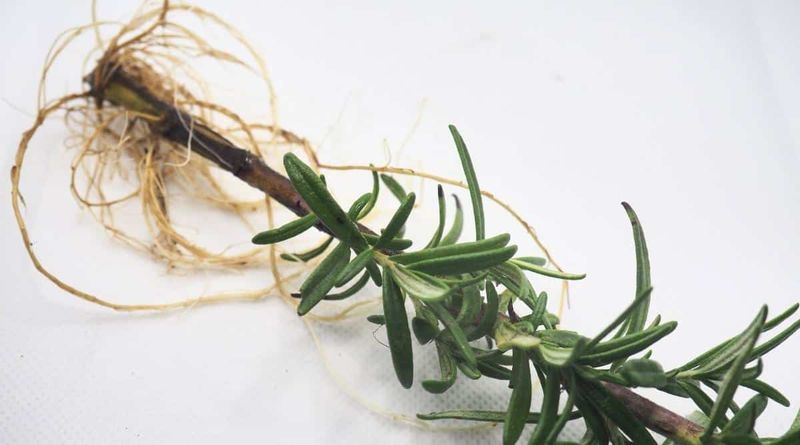
That rosemary bush by your back steps is hiding a secret stash of free plants. With a pair of clean snips and a little patience, one healthy shrub can give you a dozen new ones before winter.
Fall is a sweet spot across the South, when the worst heat has passed but the soil stays warm enough for fast rooting. Here is exactly how to turn one bush into a whole herb hedge without spending a dime.
1. Why Fall Is the Best Time in the South

Ask any Texas herb grower when rosemary roots best, and many will point to October. After a long summer, the plant has put on plenty of fresh growth that is firm but not woody.
Cooler nights also mean cuttings lose less water while they work on roots.
Across Florida and the Gulf Coast, the window can stretch from late September into November. Soil and air stay warm enough to keep things moving, yet the scorching sun that wilts tender stems in July has eased.
That balance often gives cuttings a noticeably better survival rate than midsummer attempts.
Timing also pays off later. Cuttings started in fall usually have strong root systems by early spring, just when you want to set them out in beds, borders, or porch containers.
You skip buying nursery plants and get a head start on the growing season.
Northern gardeners often root rosemary indoors over winter, but Southern gardeners have an edge. You can keep trays on a shaded porch or patio most days, bringing them in only on the rare cold snap.
A little attention to the forecast is usually all it takes.
2. Picking the Right Parent Plant
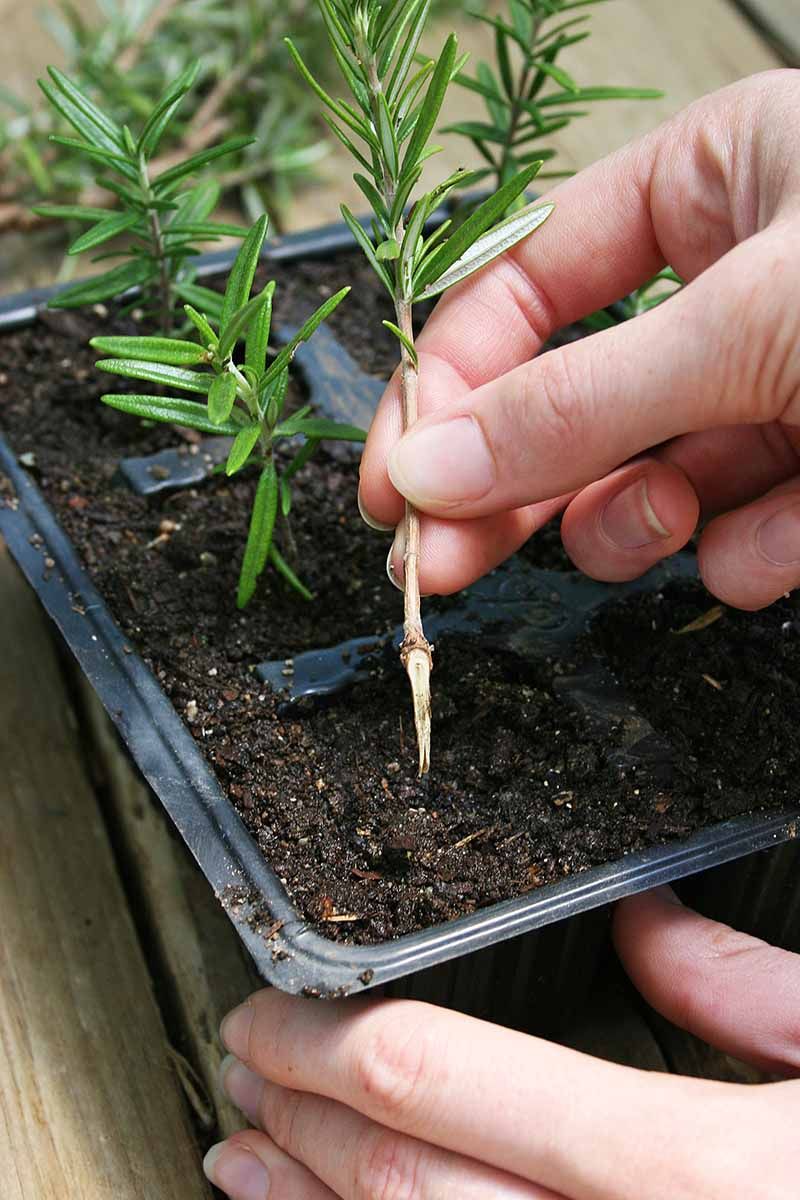
Not every rosemary bush makes a good mom. Before you snip anything, give your plant a quick checkup, because cuttings inherit whatever condition their parent is in.
Look for deep green needles, a fresh piney smell when you brush the leaves, and plenty of new shoots at the branch tips. Skip stems with brown tips, grayish powder, or sticky residue, which can signal stress, powdery mildew, or pests like spider mites.
A plant that is struggling may pass those problems along or simply produce weak cuttings.
If your favorite bush looks a little tired, water it deeply a day or two before you take cuttings. Plump, hydrated stems tend to root faster than ones that are already thirsty.
Variety matters too. Upright types like Tuscan Blue and Arp root reliably and make great hedges, while trailing rosemary is lovely spilling over a wall or container edge.
Many Southern gardeners like Barbeque or Gorizia for bold flavor. Whatever you grow, your new plants will be exact copies, so choose the bush whose taste and shape you love most.
3. Gathering Simple Supplies
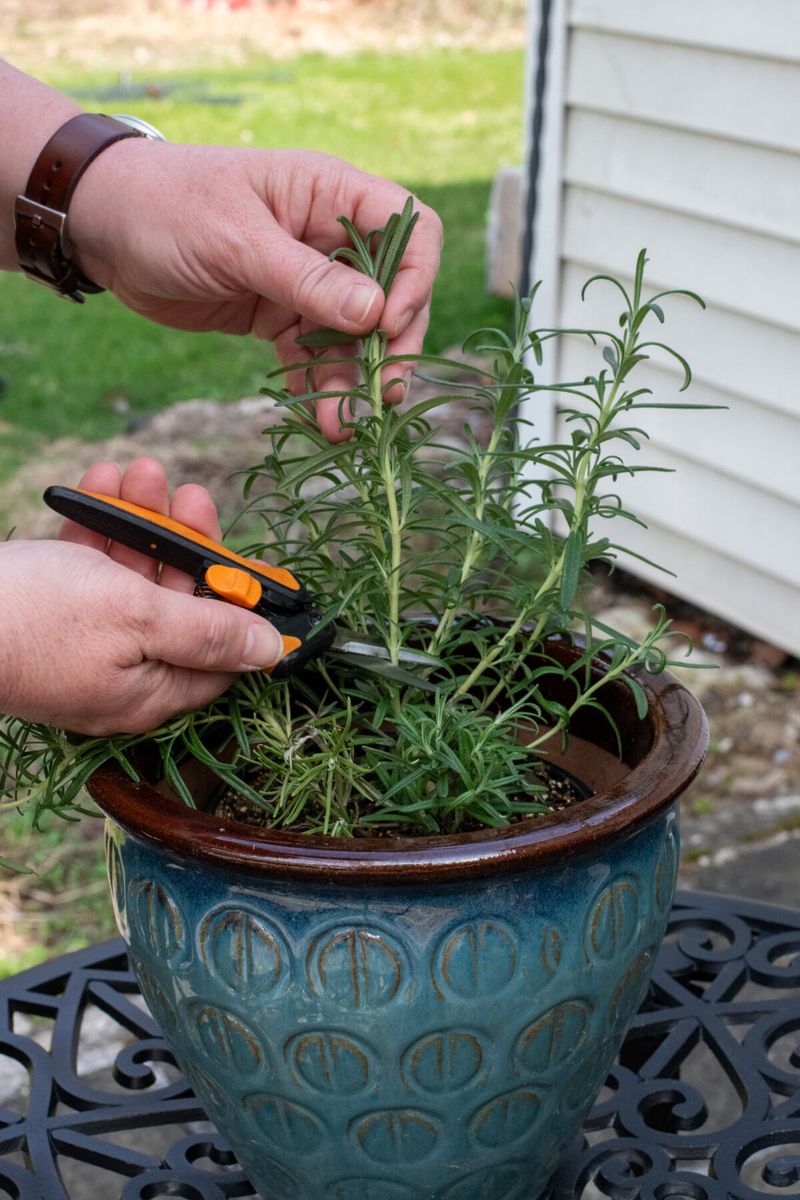
Good news for anyone on a budget: you probably own most of what you need already. Rooting rosemary is more about technique than fancy gear.
Start with sharp, clean pruners or scissors. Wipe the blades with rubbing alcohol so you do not spread disease from plant to plant.
Grab a handful of small pots, yogurt cups with drainage holes, or a seed tray.
For the rooting mix, skip heavy garden soil. A blend of half seed starting mix and half perlite or coarse sand drains fast, which matters because rosemary stems rot quickly in soggy conditions.
Plain perlite alone works too.
Rooting hormone powder is optional but can speed things up and may improve your success rate. A few clear plastic bags or a dome lid help hold in humidity during the first weeks, which is useful during breezy fall days.
Finally, keep a spray bottle and some plant labels nearby. If you are rooting more than one variety, labels save a lot of guesswork next spring.
A shallow tray under the pots catches drips and makes moving everything indoors during a cold snap much easier.
4. Snipping Cuttings the Smart Way
Picture a stem about as long as your hand, from palm to fingertip. That is roughly the sweet spot, around 4 to 6 inches.
Choose semi-soft growth, meaning the stem bends slightly but is starting to firm up at the base. Brand-new, floppy tips can wilt fast, and old brown wood is slow to root.
Look for stems without flowers, since blooming shoots put energy into flowers instead of roots.
Make a clean cut just below a leaf node, the small bump where needles attach. Nodes hold the cells most eager to grow roots.
Try to cut in the cooler morning hours when the plant is full of moisture.
Take more than you need. If you want 12 new plants, snip 16 to 20, since a few cuttings may not make it.
Spread your snips around the bush so it keeps a natural shape and does not end up with bare spots.
Drop fresh cuttings into a damp paper towel or a cup of water while you work. Even a few minutes in the sun can dry them out, and droopy cuttings often struggle later.
5. Stripping the Lower Leaves
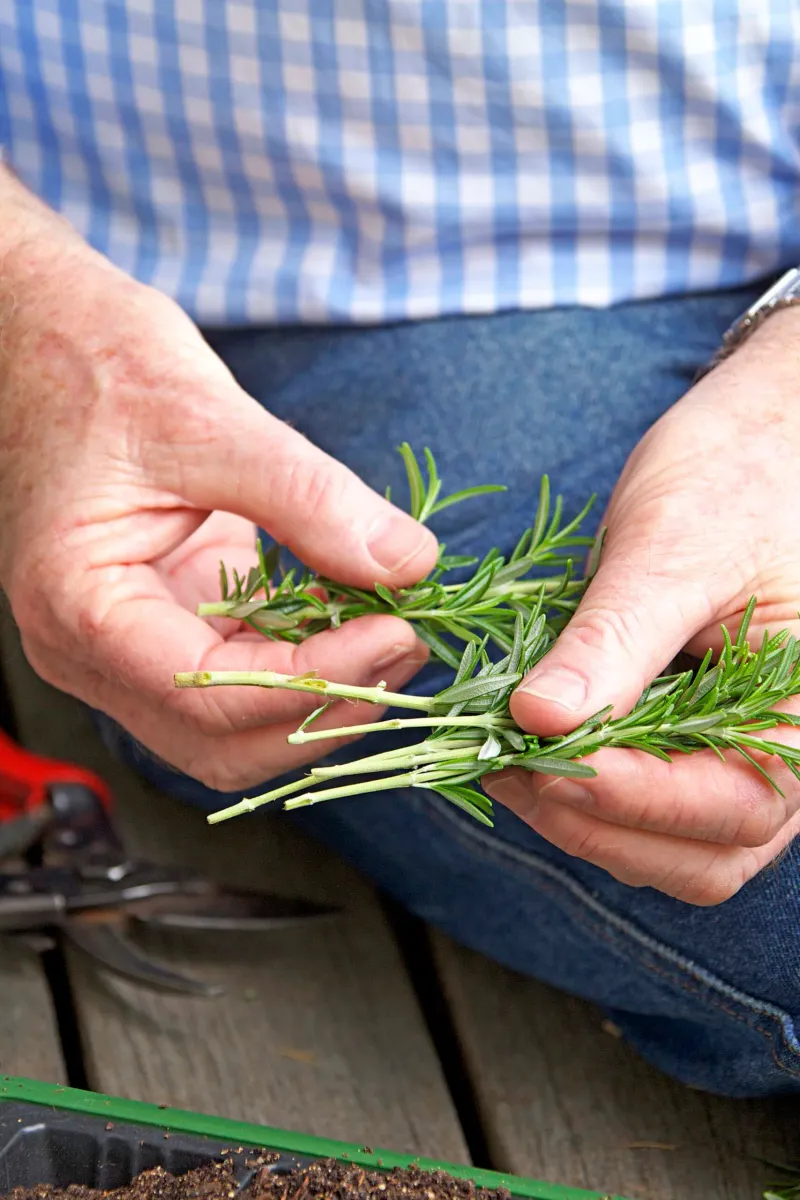
Here is a small step that makes a big difference. Any needles left below the soil line tend to rot, and rot can creep up and ruin a promising cutting.
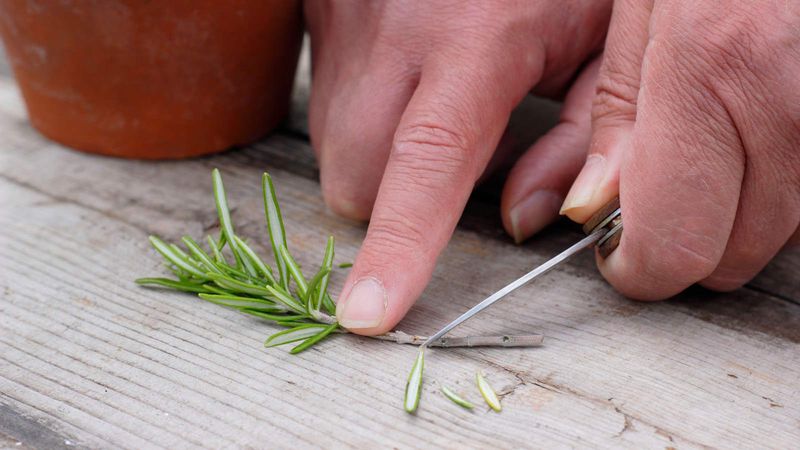
Hold the cutting near the top and gently pull your fingers downward along the lower two inches of stem. The needles should slide right off.
Be careful not to tear the bark, since a torn stem is more likely to invite fungus.
Leave a healthy tuft of leaves on top. Those leaves keep the cutting alive by making food, but too many can cause the stem to lose water faster than it can take up.
If the top feels bushy, pinch off a few extra needles.
Some gardeners like to lightly scrape one side of the bare stem with a fingernail. The idea is that exposing a little fresh tissue may encourage roots to form along the wound.
It is not required, but it is an easy trick to try on half your batch and compare.
As a bonus, save those stripped needles. Toss them into roasted potatoes or a pot of beans tonight, and nothing goes to waste.
6. Using Rooting Hormone or Honey

Rosemary will often root on its own, but a little boost can tip the odds in your favor. Rooting hormone is a powder or gel containing plant growth compounds that may encourage faster root formation.
To use powder, pour a small amount into a separate cup rather than dipping into the container. Moisten the bare end of the stem, dip it in, and tap off the extra.
Too much powder does not help and can actually slow things down.
Plenty of Southern gardeners swear by a kitchen alternative: honey. It has natural antibacterial qualities that may help protect the cut end from rot.
Evidence is mostly anecdotal, so think of it as a helpful experiment rather than a sure thing.
Willow water is another old-timer trick. Soaking chopped willow twigs in water overnight creates a mild rooting solution some folks trust.
Whatever you choose, use a pencil or stick to poke a hole in your rooting mix first. Pushing a coated stem straight into soil rubs off the powder or honey before it can do its job.
7. Rooting in Soil Versus Water
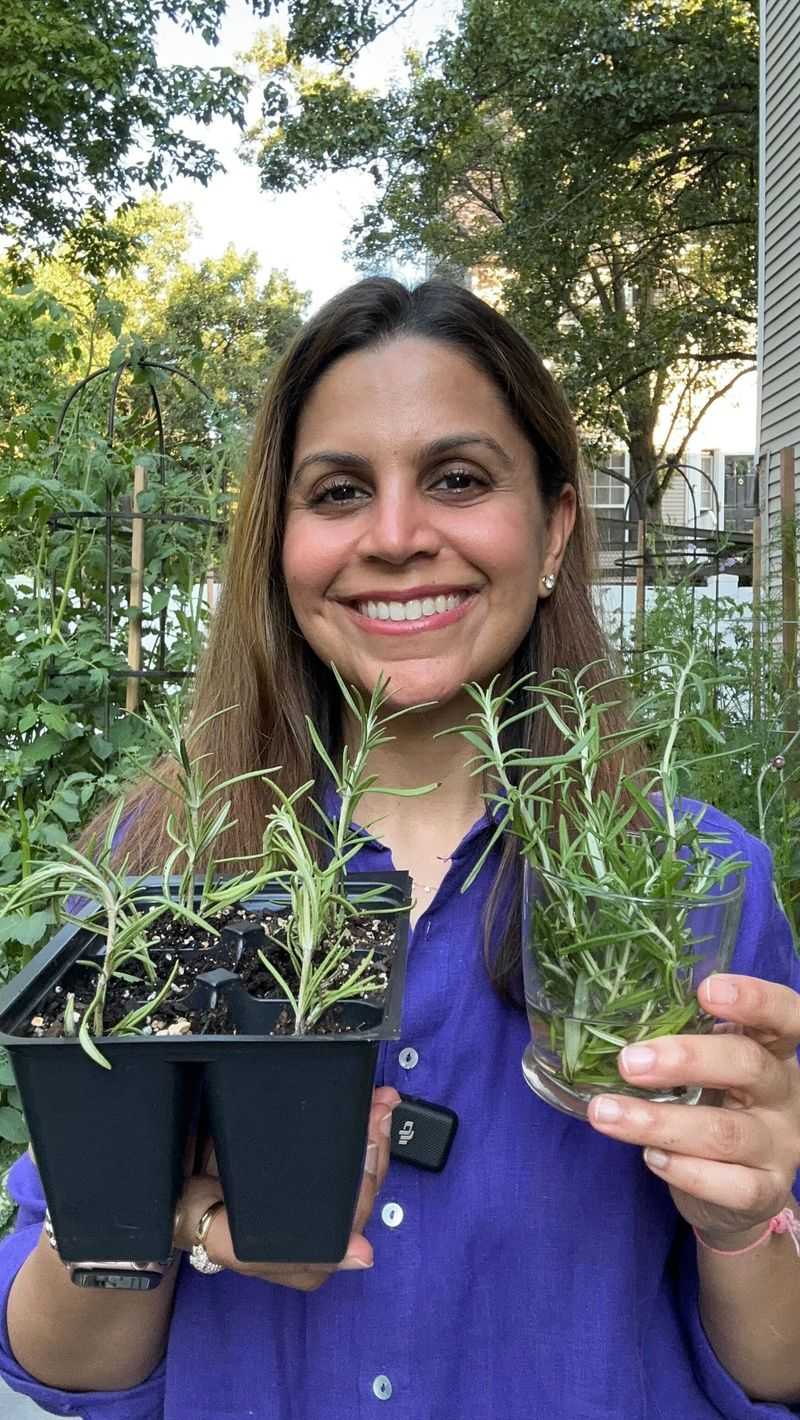
Two camps exist, and both have a point. Water rooting is fun to watch, while soil rooting tends to produce tougher plants.
In water, place cuttings in a clear glass on a bright windowsill away from harsh direct sun. Change the water every few days to keep it fresh.
You may see white roots in three to five weeks, which kids especially love to track.
The catch is that water roots are fragile. When you move them to soil, they have to adjust, and some cuttings sulk or fail during the switch.
Pot them up once roots reach about an inch long for the smoothest transition.
Soil rooting skips that awkward step. Stick cuttings about two inches deep in your gritty mix, firm the soil, and water lightly.
Roots form in the same material they will grow in, so the plants are usually sturdier from day one.
Not sure which to pick? Try both.
Put a few stems in a jar and the rest in pots, then see which method works best on your porch. Your own results beat any rule.
8. Finding the Perfect Spot
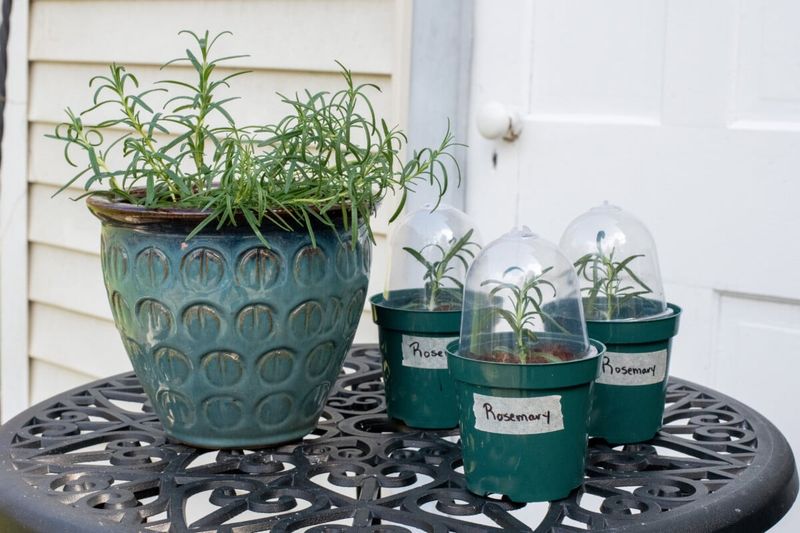
A covered porch in Florida might be the best rooting station you will ever find. Cuttings want bright, indirect light, steady warmth, and shelter from wind, and many Southern porches offer all three.
Aim for a spot that gets morning sun or dappled shade. Afternoon sun in the South can still be intense in October, and it may cook cuttings under a plastic cover.
If the leaves look bleached or crispy, move them to softer light.
Temperatures between 65 and 75 degrees tend to suit rooting well. Most Gulf Coast fall days fall right in that range.
Watch forecasts for surprise cold fronts, and bring trays inside if nights dip near freezing.
Indoors, a bright east-facing window works nicely. A cheap LED grow light set about six inches above the tray is another solid option, especially if your home is shady.
Humidity matters early. Cover pots loosely with a clear bag or dome, but open it for a few minutes each day to let fresh air in.
Good airflow may help prevent mold, which is one of the most common reasons cuttings fail.
9. Watering Without Drowning
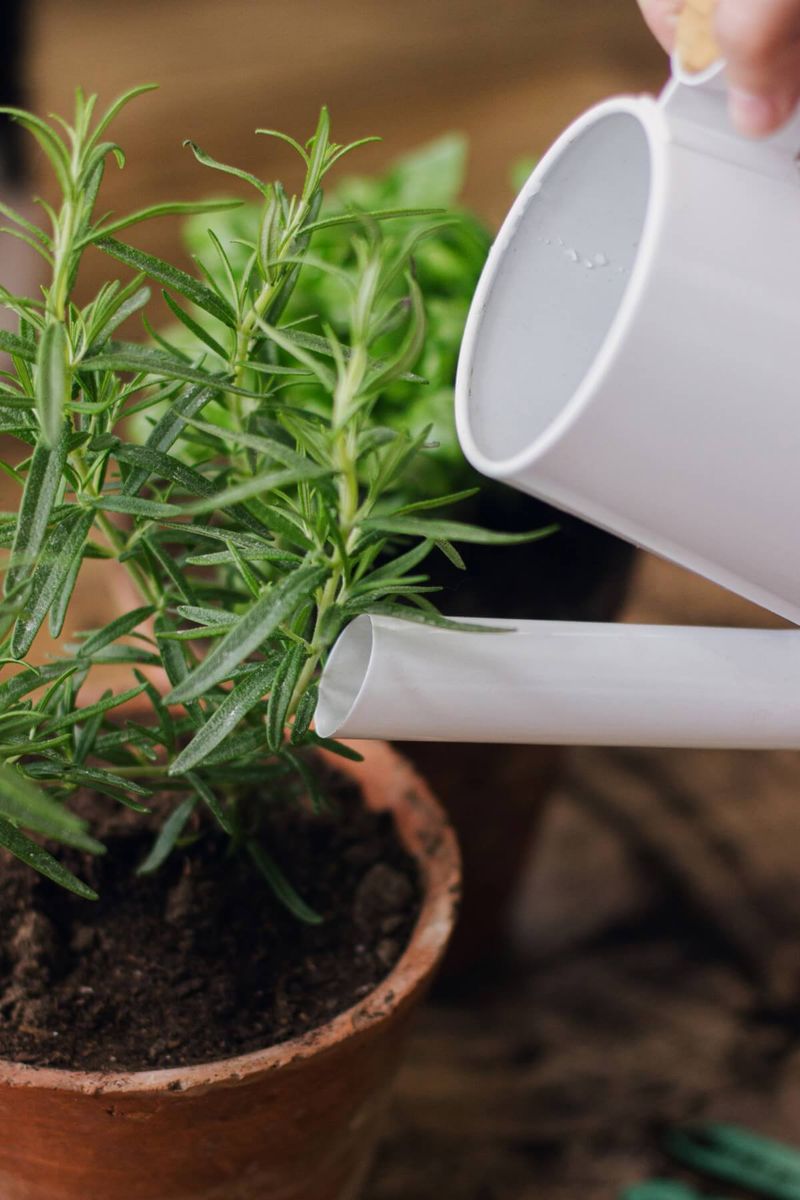
Overwatering kills more rosemary cuttings than anything else. It feels backward, since new plants seem like they need extra care, but rosemary hails from the dry, rocky hillsides of the Mediterranean.
Keep the rooting mix lightly moist, like a wrung-out sponge. Never let pots sit in standing water.
Poke a finger into the mix every couple of days, and water only when the top half inch feels dry.
A spray bottle is your friend here. Misting the leaves and soil surface adds moisture without flooding the stem.
Under a humidity cover, you may only need to water once a week.
Warning signs are easy to spot once you know them. A blackened, mushy stem base usually means rot, and those cuttings should be tossed so they do not affect neighbors.
Wilting with wet soil often points to the same problem.
On the other hand, crispy, brittle needles with bone-dry soil mean you went too far the other way. Give a gentle drink and move the tray out of direct sun.
Finding the balance takes a week or two, but you will get the feel quickly.
10. Checking for Roots
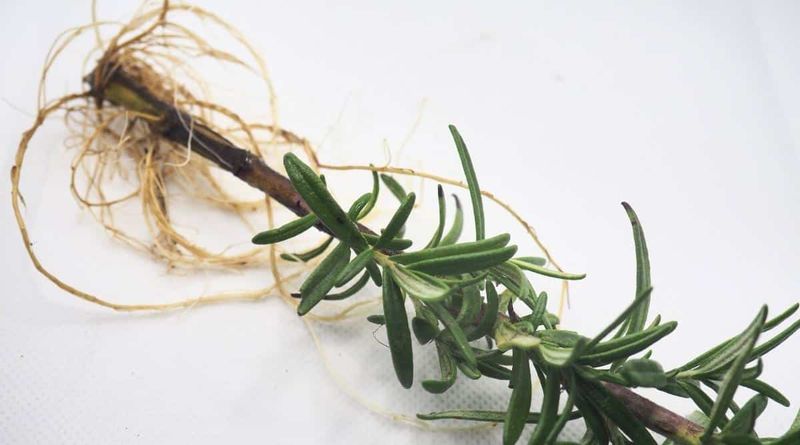
Patience gets tested around week three. You will be itching to peek, and that is completely normal.
Rosemary usually takes four to eight weeks to root, depending on warmth and variety. Rather than yanking a cutting up, try the tug test.
Pull very gently on the stem, and if you feel resistance, roots are gripping the soil.
Other clues help too. Fresh green growth at the tips often means roots are working below.
Roots poking out the drainage holes are an even louder sign.
Once you notice new growth, start removing the humidity cover for longer periods each day. This hardening step toughens the young plants so they can handle normal air.
Do not be discouraged if some cuttings fail. Losing a quarter of your batch is pretty typical, even for experienced gardeners.
That is exactly why you took extras.
Fun fact: the name rosemary comes from the Latin ros marinus, meaning dew of the sea. The plant grows wild along salty Mediterranean coasts, which helps explain why it handles sandy Florida soil and coastal breezes so well once it settles in.
11. Potting Up Your New Plants
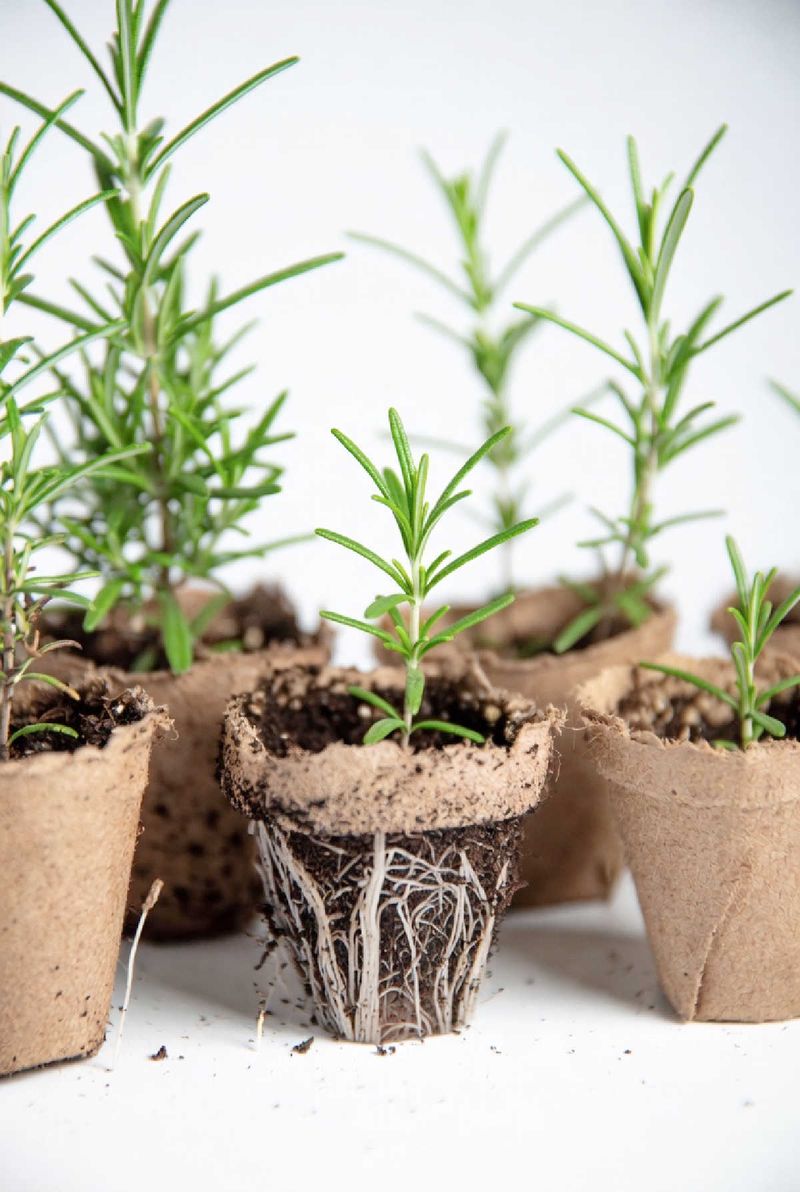
Moving day arrives when roots fill the bottom of the small pot. Handle each plant like a fragile egg carton, because young roots snap easily.
Choose four-inch pots with good drainage. Terracotta is a smart pick in humid Southern climates since the clay breathes and helps the soil dry out between waterings.
Fill them with a fast-draining mix, such as cactus soil blended with a little compost.
Tip the cutting out gently, keeping the soil around the roots intact if you can. Set it at the same depth it grew before, firm the mix lightly, and give a thorough watering.
After that, let the top inch dry before watering again.
Keep new transplants in bright shade for about a week to recover. Then slowly introduce more sun, adding an hour or two every few days.
By midwinter, most will happily sit in full sun on a Texas or Florida patio.
Hold off on fertilizer for a month. Rosemary is a light feeder, and too much food can lead to weak, leggy growth with less flavor.
A lean diet often means stronger aroma.
12. Planting Out and Sharing the Bounty
Twelve little rosemary plants open up a lot of possibilities. You could line a front walk with a fragrant low hedge, fill porch containers, or tuck them beside vegetable beds.
In most of Texas and Florida, late winter to early spring is ideal for planting out. Pick the sunniest spot you have with sandy or well-drained soil.
In heavy clay, a raised bed or mound can help prevent wet roots during summer storms.
Rosemary can pull double duty in the garden. Its strong scent may help deter some pests and deer, though no plant is a guaranteed shield.
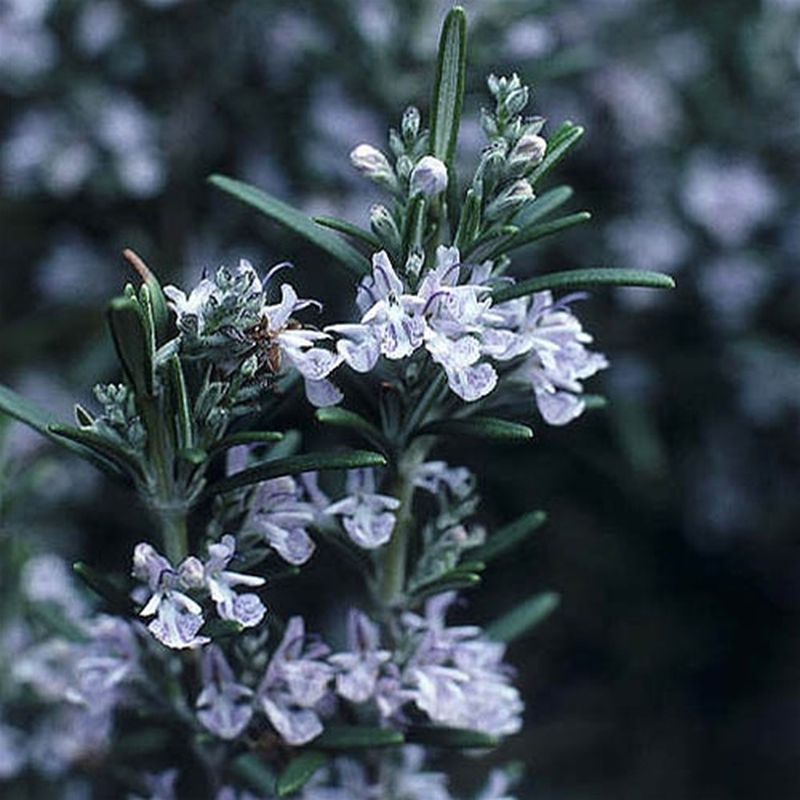
Pollinators like bees often visit the tiny blue flowers, which usually appear in cooler months when little else is blooming.
Got more plants than space? Rosemary makes a thoughtful gift for neighbors, teachers, or a holiday table.
Tie twine around a terracotta pot, add a handwritten tag, and you have a present that costs nothing.
Best of all, next fall every one of those plants can become a parent too. One bush today could fill a whole block with free rosemary in just a few seasons.