
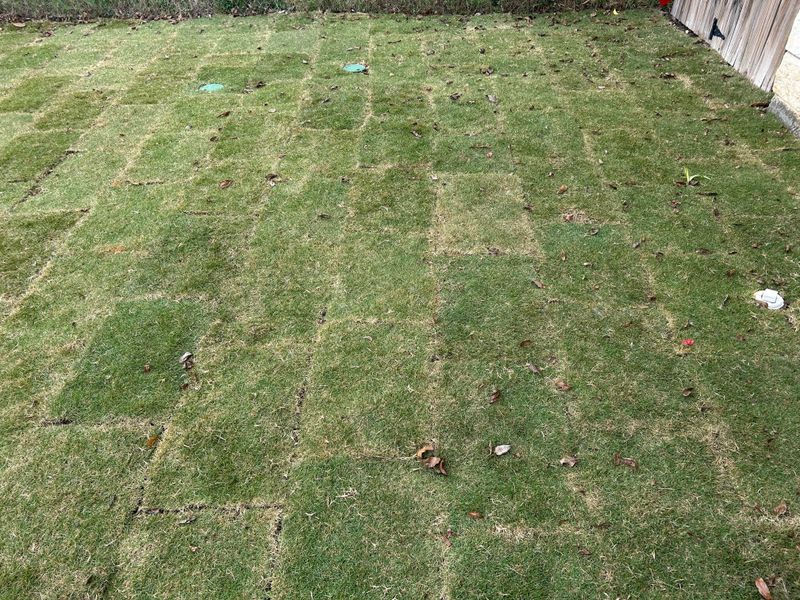
You laid fresh sod, watered it, and now it looks brown and refuses to grip the ground. That is frustrating, especially after all the hard work.
Poor contact between the sod roots and the soil is one common problem you can check and fix. Brown color can also come from other causes, so let’s sort out what to look for in your Southern yard.
Brown sod can have more than one explanation
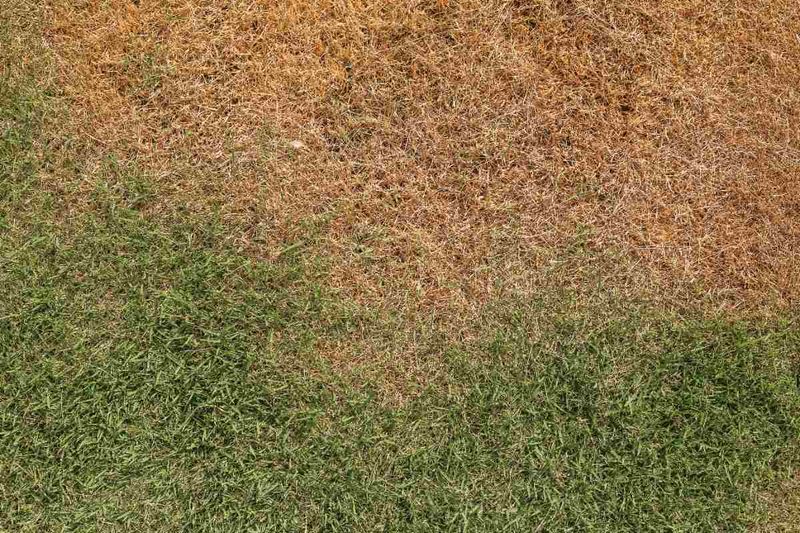
Seeing brown sod after paying for it and laying it is a gut punch. Take a breath, though, because color alone cannot tell you what went wrong.
Slow rooting does not point to one cause either.
Warm-season grasses like bermudagrass can turn brown and stop growing as the weather cools. UF/IFAS describes this dormancy in bermudagrass.
Texas A&M notes that dormant sod may have a poorly developed or inactive root system, so brown and slow can simply be seasonal.
Other things matter too. Sod that sat on a pallet too long, dried out, or overheated before installation may struggle no matter how well you prepare.
Care after laying counts as well, since both too little and too much water can slow roots, as Texas A&M turfgrass guidance explains.
Root-to-soil contact is one more factor worth checking. It is not a sure diagnosis, but it is something you can often improve.
Why root-to-soil contact matters
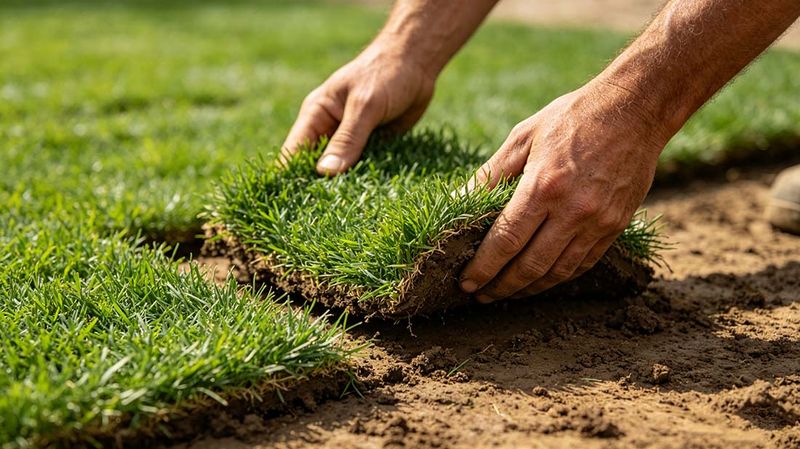
Sod arrives with roots that are cut short. Those roots need to meet moist soil quickly so they can grow down and anchor the turf.
If a gap or air pocket sits underneath, the roots hang in dry air and can dry out.
Gaps usually come from a bumpy or lumpy bed, or from pieces laid without being pressed down. UF/IFAS says tamping or rolling removes air pockets and helps keep roots from drying during establishment.
Two separate jobs are at work here. Bed preparation happens before any sod goes down and sets up a smooth, firm surface.
Pressing the sod happens after laying and closes any gaps that remain. Texas A&M also recommends a firm, smooth bed and rolling afterward.
Here is a simple clue. Tug a corner of a brown piece gently.
If it lifts like a rug with no roots holding, contact may be part of the story. Even so, it cannot explain every brown lawn.
Prepare a firm, smooth, moist bed
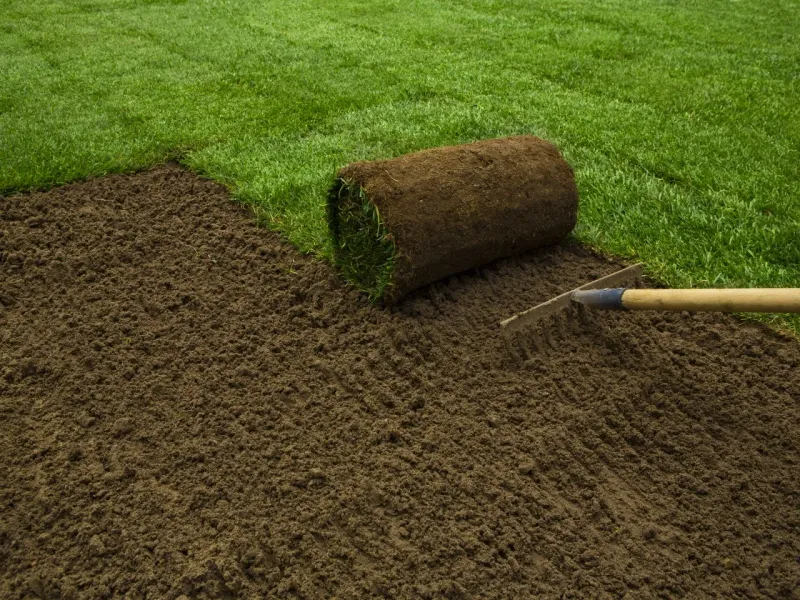
A good bed starts with a clear surface. Pull out rocks, debris, and old weeds, then rake away humps and dips.
Texas A&M recommends a smooth, firm, well-drained bed, because low spots hold water and high spots leave gaps under the sod.
Before you buy bags of anything, test your soil. A test tells you what the yard actually needs.
UGA Extension stresses soil preparation for sod success, and the results can guide any amendments. Not every yard needs fertilizer, lime, tilling, or added topsoil.
Walk across the bed when you finish. Your footprints should be shallow, not deep, which suggests the surface is firm enough.
Sandy Florida soil and heavy Texas clay will behave differently, so judge by how your own ground feels.
Finally, moisten the soil lightly just before laying. Damp, not muddy, gives roots a welcoming place to land.
Fit the pieces tightly, then roll or tamp
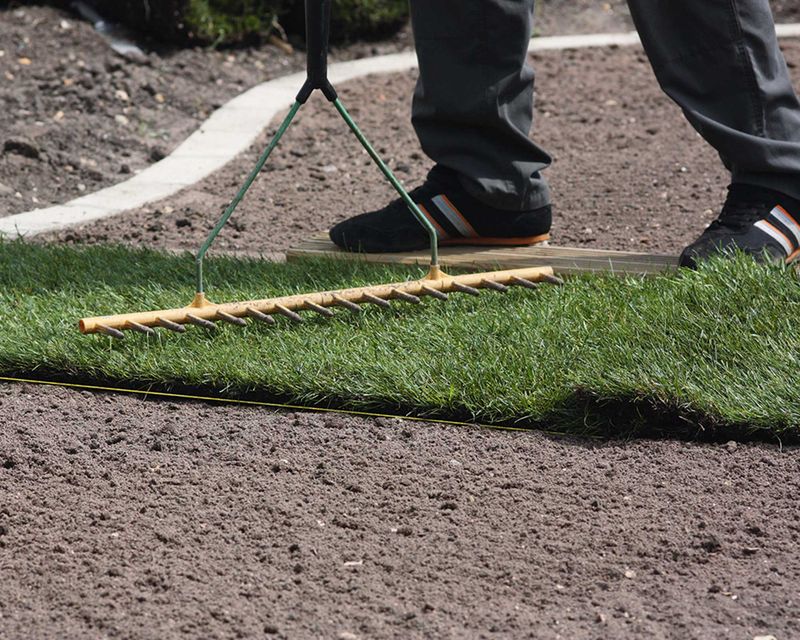
Once the bed is ready, the sod goes down. Start along a straight edge and fit each piece snugly against the last, with no gaps and no overlaps.
Stagger the seams like bricks in a wall so water and wind have fewer straight lines to follow.
Then comes a different job from bed preparation. After the pieces are placed, roll or tamp them so the roots press against the soil below.
UF/IFAS describes this step as a way to remove air pockets, and Texas A&M recommends rolling the sod after installation as well.
A light roller or a hand tamper works on small areas. If sod is already down and you spot loose, bouncy patches, pressing them firmly may help.
Keep expectations realistic. Rolling can improve contact, but it will not make sod root by itself.
Moisture, season, and sod quality still have a say.
Moisten the root zone without saturating it
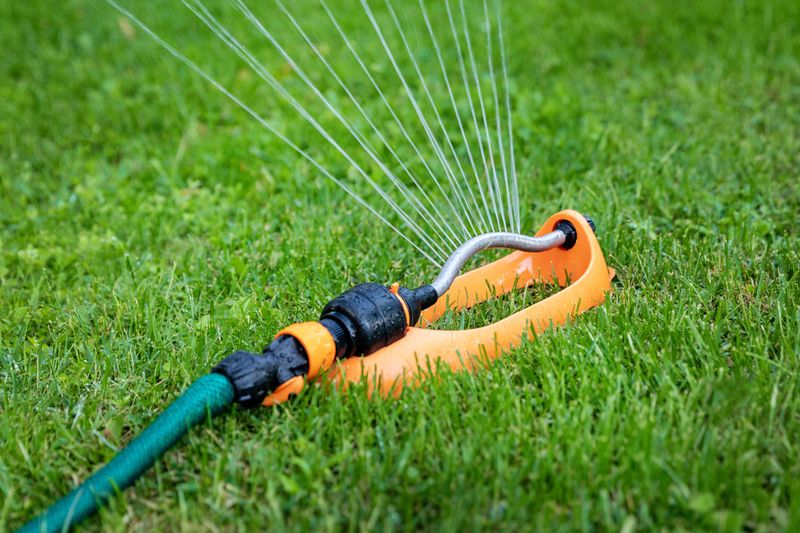
Picture a sponge that is damp all the way through, not dripping. That is the goal under new sod.
Texas A&M advises wetting the soil 2 to 3 inches deep, and it warns that saturated, oxygen-poor soil slows root growth.
Check by lifting a corner and pushing a finger or small trowel into the soil below. If it is dry, add water.
If it is soggy or squishy, hold off.
Skip any single calendar. UF/IFAS offers a staged schedule for Florida, but your needs depend on soil type, weather, rainfall, grass type, and how well your sprinklers cover the area.
A sandy yard in a hot spell dries faster than clay on a cool, cloudy week.
As roots take hold, water less often. More water does not always mean faster rooting, and rooting time varies.
Florida guidance suggests several weeks under good conditions, but that is an expectation, not a promise.
Interpret fall color in its local and seasonal context
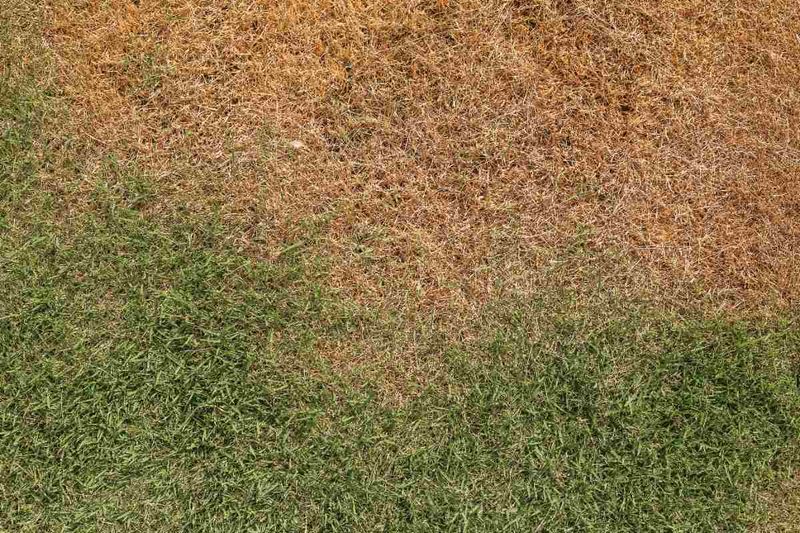
Fall means different things from Miami to Amarillo. Sod roots fastest when the grass is actively growing, according to Texas A&M.
Grass type, location, temperature, and frost risk all shape the right timing.
Florida advice does not carry over everywhere. UF/IFAS says St. Augustinegrass can be planted year-round in warmer parts of Florida but advises avoiding temperature extremes, and it treats south Florida differently from the central and northern parts of the state.
Late-season sod elsewhere may root slowly or go dormant, as UGA Extension discusses for winter installs.
Dormant sod still needs care. Texas A&M advises keeping the upper 1 to 2 inches of soil moist but not saturated, and drying injury may not show until spring green-up.
That advice is for dormant sod, not actively growing turf.
So work through a sequence. Check contact, check moisture, then consider grass type and season.
Brown is a clue, not a verdict.