
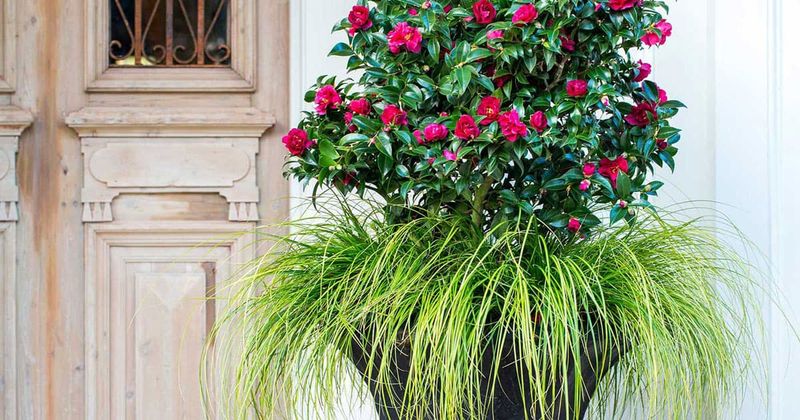
Camellias can put on a beautiful show in fall, but Central Texas water and soil make them tricky. Many local gardeners watch the leaves turn yellow and wonder what went wrong.
Growing in a pot gives you more say over what surrounds the roots, though it is not a magic fix. Here is how to test, adjust, and protect your plant through fall buds and winter freezes.
A pot manages the root zone, not every cause of yellow leaves
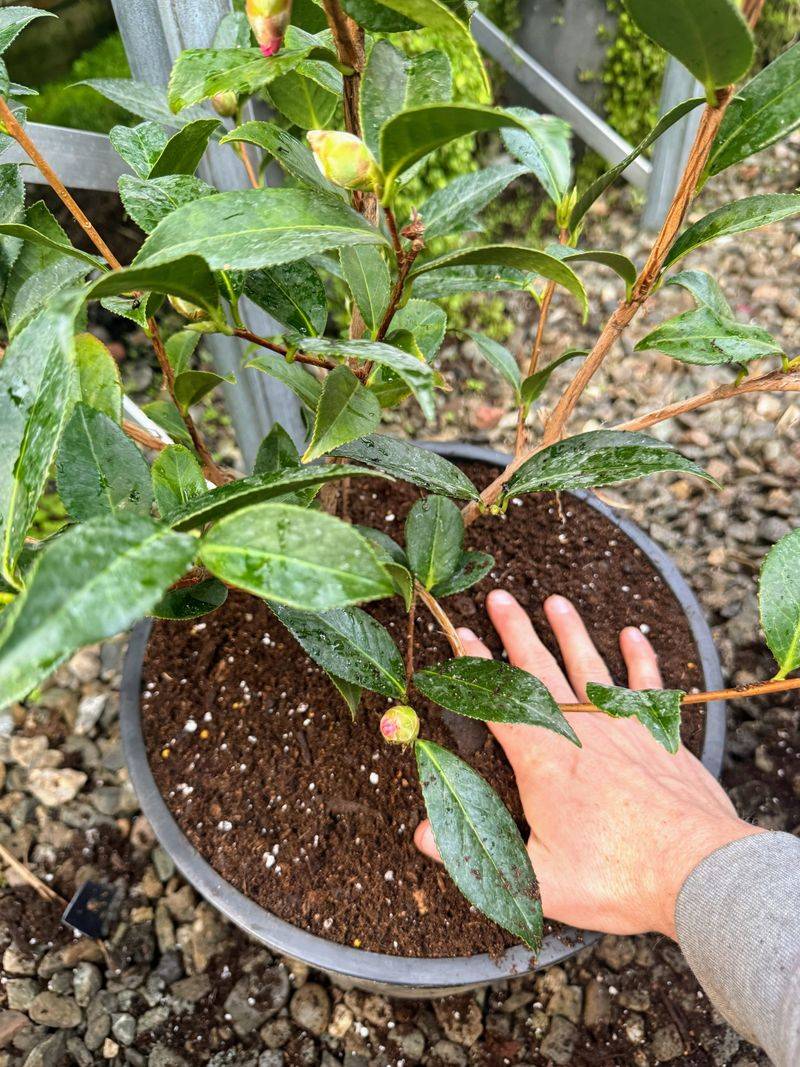
Central Texas soil is typically alkaline, and that is a tough match for a camellia. A pot lets you fill the space around the roots with a mix you chose, instead of whatever the yard gives you.
That control is the main reason container growing appeals to so many local gardeners.
The control has limits, though. Irrigation water carries dissolved minerals, and USDA Forest Service research on water quality in container plant production explains that high-alkalinity water can slowly raise the pH of a container medium over time.
As the pH creeps up, some nutrients, especially micronutrients, become harder for roots to take in. A pot reduces some risks, but it does not remove them.
Yellow leaves also do not prove that your water is the culprit. UF/IFAS camellia guidance connects yellowing with high pH and nutrient availability, but it also points to other stresses that can cause similar symptoms.
Too much water, too little water, pests, disease, and nutrient imbalance can all turn a leaf pale.
This article focuses on testing and careful routines rather than a guaranteed cure. You will learn how to build a good root environment, measure your water, water by conditions, investigate yellowing, and get buds and roots ready for cold.
Think of it as a way to improve your odds, not to promise permanently green leaves.
Start with an acidic, fast-draining mix
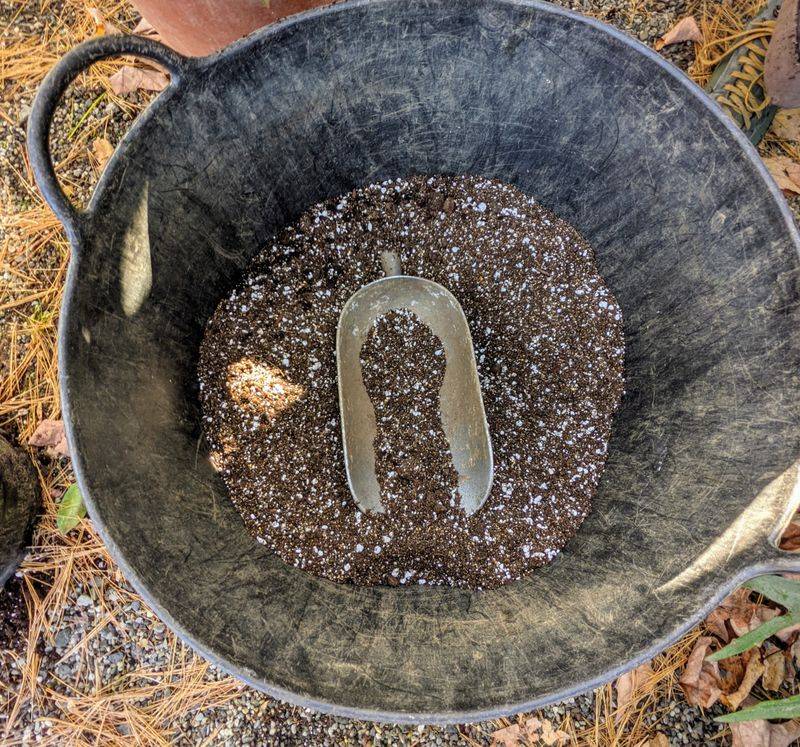
Soil choice is your first big decision. Skip dense garden soil, which packs down in a pot, holds too much water, and often runs alkaline in Central Texas.
Look for a porous, organic potting mix made for acid-loving plants, such as one with plenty of pine bark or similar coarse material.
Camellias prefer a growing medium that drains well and stays acidic. UF/IFAS describes a range of about pH 5.0 to 6.5 for camellias in general.
A container-specific guide from the American Camellia Society gives a target of 5.5 to 6.5 for potted plants.
Drainage matters because camellia roots struggle when they sit in soggy mix. Choose a pot with open drainage holes, and lift it off saucers or flat ground so water can leave freely.
A larger pot also leaves room for roots to grow and holds a more stable moisture level than a tiny one.
No bag of mix guarantees success, and no mix stays acidic forever. Watering, fertilizer, and the minerals in your water all push pH over time.
Buy an inexpensive pH meter or test kit, check the medium when you first pot the plant, and then recheck it a few times a year. A measurement beats a guess every time.
Test irrigation water for alkalinity
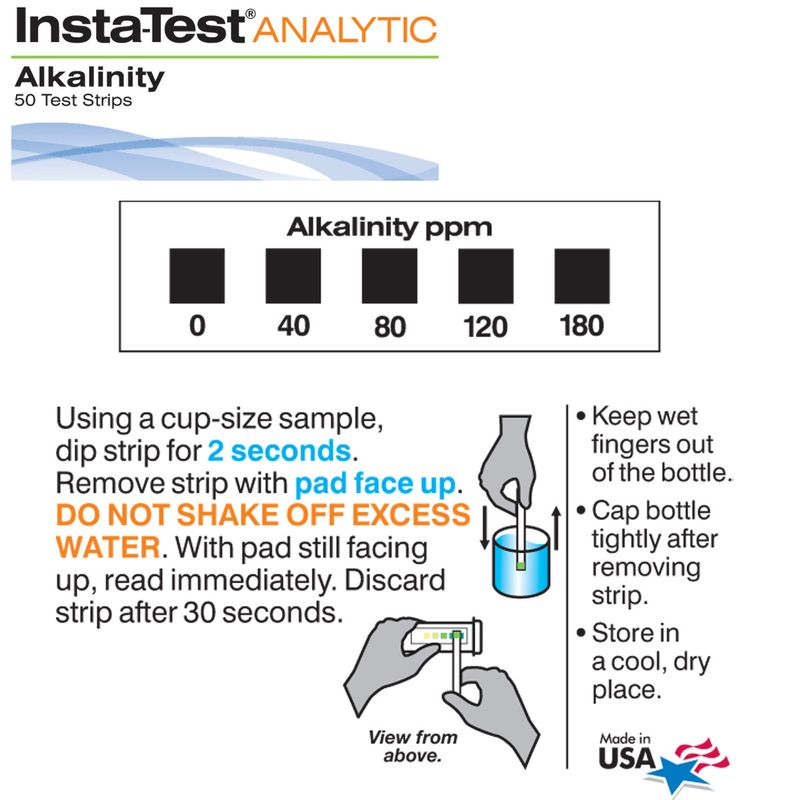
People often say their water is alkaline, but that phrase can mean different things. Water pH is a snapshot of acidity at one moment.
Total alkalinity measures how strongly the water resists becoming more acidic, and that is the number that tells you more about its long-term effect on potting mix.
Penn State Extension’s guide to irrigation water tests makes this distinction clearly. It also notes that pH and hardness are not the same thing as alkalinity, so a single reading of any one of them can mislead you.
When you send a sample to a laboratory, ask specifically for an alkalinity result. Labs do not all report the same items.
The USDA Forest Service notes that some report alkalinity, others list carbonates and bicarbonates, and others report hardness. Read the report carefully, and call the lab if you cannot tell which measure you are seeing.
Resist the urge to draw big conclusions from one pH number. A high pH reading alone does not prove your water will steadily raise the pH of your pot.
It also does not tell you how much acid, if any, would be needed. Use the alkalinity result together with your medium pH readings over several weeks, and the pattern will tell you much more than any single test.
Water by conditions, not by calendar
A fixed watering schedule sounds simple, but it rarely fits a pot. A small container on a sunny patio in August dries out far faster than a large one in a shady corner in November.
Your mix, the wind, and the weather all change the pace.
The goal is a medium that stays evenly moist but never waterlogged. UF/IFAS recommends even moisture for camellias, and the American Camellia Society’s watering guidance covers the same idea.
Advice written for plants in the ground should not be copied straight onto a container.
Check the pot before you water. Push a finger a couple of inches into the mix, and lift the pot to feel its weight.
If it feels damp and heavy, wait. If the top layer is dry and the pot feels light, water slowly until it runs out of the drainage holes.
Watch the leaves too. Drooping can mean thirst, but it can also mean roots sitting in water, so always check the mix before reaching for the hose.
Camellias like partial shade and protection from harsh afternoon sun. Central Texas yards vary a lot, with reflected heat off walls, open lawns, and tree canopies, so spend a week watching where the light falls.
Move the pot if the leaves look scorched or bleached.
Diagnose yellow leaves before treating them
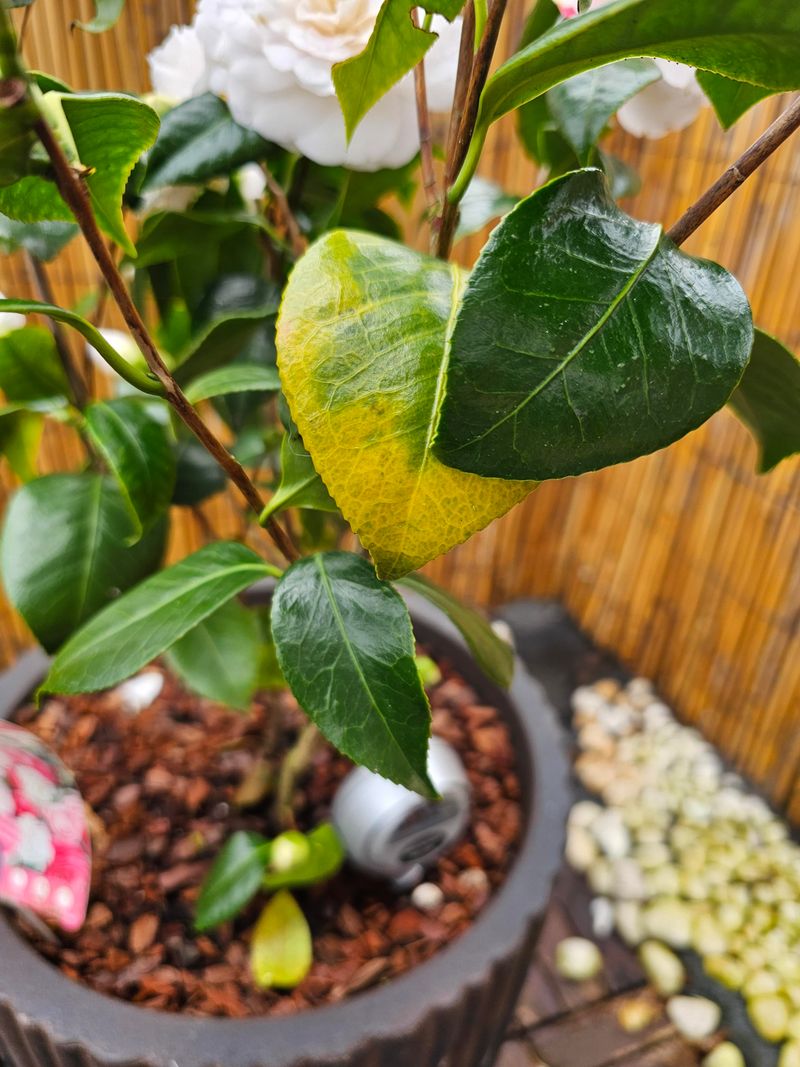
Yellow leaves are a symptom, not an answer. Before reaching for a bottle, play detective.
Start with the mix: feel how wet it is, check drainage, and measure the pH.
High pH can lock up micronutrients, and UF/IFAS links yellowing in camellias with high pH and nutrient availability. A clue is where the color change shows up.
Older-leaf yellowing can have a different cause than yellowing on newer growth, a point also made in Penn State’s guide to diagnosing poor plant health.
Then rule out the other suspects. Overwatering and underwatering both cause pale, droopy leaves.
Nutrient imbalance, pests such as scale, and disease can also cause color changes. Look at the undersides of leaves and the stems, and check the roots if the plant looks unwell.
If your medium pH is high and your water test shows high alkalinity, you have a stronger case that water chemistry is playing a role. Even then, avoid pouring vinegar, sulfur, or other acids into the pot without measurements.
The guidance from Penn State Extension supports testing rather than guessing at a dose, and acid injection is a technical water treatment, not a casual home remedy.
Repeated iron applications are not a cure for every yellow camellia either. They may improve color for a while without fixing the cause.
Diagnose first, correct the underlying problem, and then judge whether any treatment is needed.
Protect existing buds as fall approaches
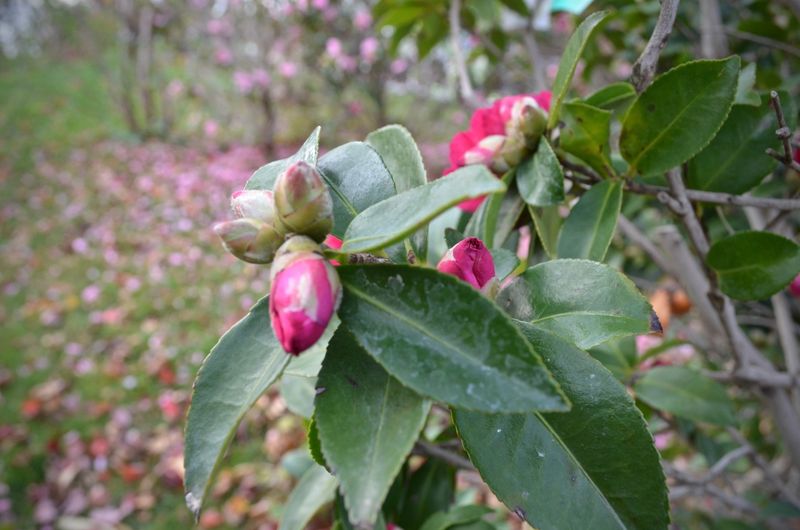
Fall is the time to look after the buds your camellia already has. Bud and bloom timing varies by species and cultivar, so your neighbor’s plant may flower weeks before or after yours.
Learn which type you own and watch it rather than assuming a standard schedule.
Pruning is a common way to lose flowers by accident. North Carolina State Extension and UF/IFAS both stress timing for pruning, and cutting late can remove flower buds.
Fertilizing late in the season may also push soft new growth that cold can damage, so fall is not a universal feeding window.
Keep moisture steady while buds swell. Swings between dry and soggy are a common stress, and the Clemson Extension camellia fact sheet lists irregular moisture, excess moisture, heat, cold, and poor drainage as causes of bud drop.
Some drop is natural too.
Correcting pH is worth doing for root health, but it cannot guarantee flowers or stop buds from falling. If a few buds drop, check the mix, the drainage, and recent weather before blaming one thing.
A calm, steady routine does more for buds than any quick fix.
Plan for Central Texas freezes
A pot exposes roots in a way that planting in the ground does not. Soil around in-ground roots holds warmth, but a container is surrounded by cold air.
Texas A&M AgriLife Extension in Travis County warns that roots in containers can get nearly as cold as the air and be injured, even when the top of the plant seems to survive.
That means your freeze plan should cover the pot, not just the leaves and buds. Watch the forecast through late fall and winter, and decide ahead of time where the plant will go and what you will use.
Options include moving it closer to a wall, grouping pots together, or wrapping the container, but the right choice depends on your yard and how severe the freeze is.
Do not count on any single placement or covering to save every plant in every cold event. A mild frost is a very different test from a long hard freeze.
Check the plant afterward, and give it time before cutting off damaged growth, since the full picture can take a while to show.
Gather your supplies in October, not on the evening of the freeze. A little planning keeps buds and roots from being a last-minute scramble.
Use a test-and-adjust routine, not a promise
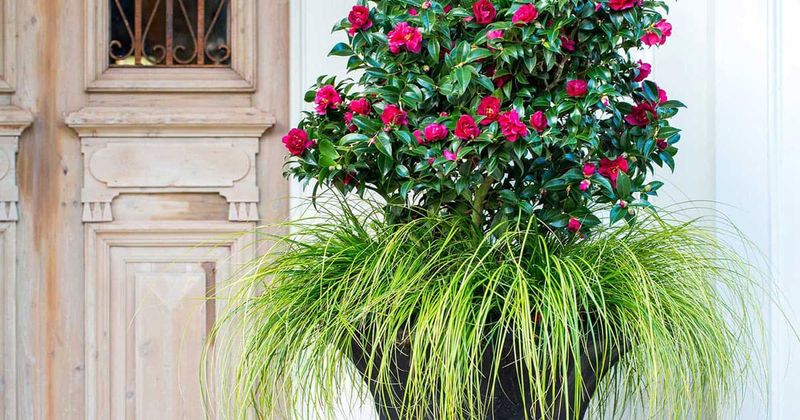
Start with a draining, acidic mix, then measure your water’s alkalinity and your medium’s pH instead of guessing. Water by touch and weight, leave buds alone in fall, and plan for the pot before a freeze hits.
Water quality can change a container medium gradually, so keep checking.
These steps lower risk but cannot promise green leaves or blooms every year. A camellia in Central Texas rewards the gardener who keeps paying attention.