
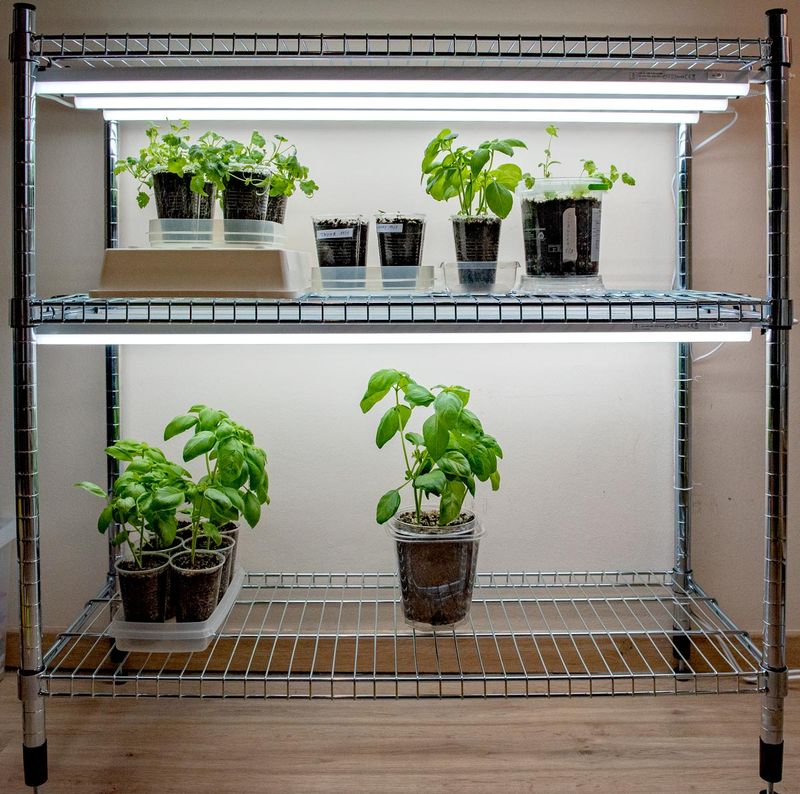
Your rosemary and sage plants are hiding a free gift, and fall is the time to claim it. A few snips from healthy stems can turn into a whole row of new herbs by spring.
Even in the South, a surprise freeze or a soggy winter can knock back older plants, so backup starts are smart insurance. Here is a simple, step-by-step plan to take cuttings, root them indoors, and have strong young plants ready when the weather warms.
1. Why Fall Is the Right Moment

Ask any longtime herb grower and they will tell you the same thing: the best cuttings come from plants that are still awake. Before the first frost, rosemary and sage stems are firm, leafy, and packed with stored energy, which gives roots a head start.
Once cold snaps hit, growth slows and stems can get damaged or stressed. Cuttings taken from tired, frost-nipped plants often struggle or rot instead of rooting.
Waiting too long means you may miss your window entirely.
In much of Texas and the Gulf Coast, first frost usually arrives somewhere between late November and mid-December, while North Florida may see it in December or January. Central and South Florida gardeners rarely see frost at all, but fall is still a great time because the brutal heat has broken.
Cooler air means less wilting while cuttings form roots.
A good rule is to aim for four to six weeks before your average first frost date. Check your local extension office for that date in your county.
That gives cuttings time to root indoors before short winter days slow everything down, and it sets you up for transplant-ready herbs by early spring.
2. Gather Simple Supplies First
Good news for your wallet: you probably already own most of what you need. Rooting herbs is one of the cheapest garden projects out there, and a little prep keeps things smooth.
Start with sharp, clean pruners or scissors. Wipe the blades with rubbing alcohol so you do not spread disease from plant to plant.
A crushed stem heals poorly, so sharpness matters more than you might think.
Next, grab some small pots or recycled yogurt cups with drainage holes punched in the bottom. Fill them with a light, fast-draining mix.
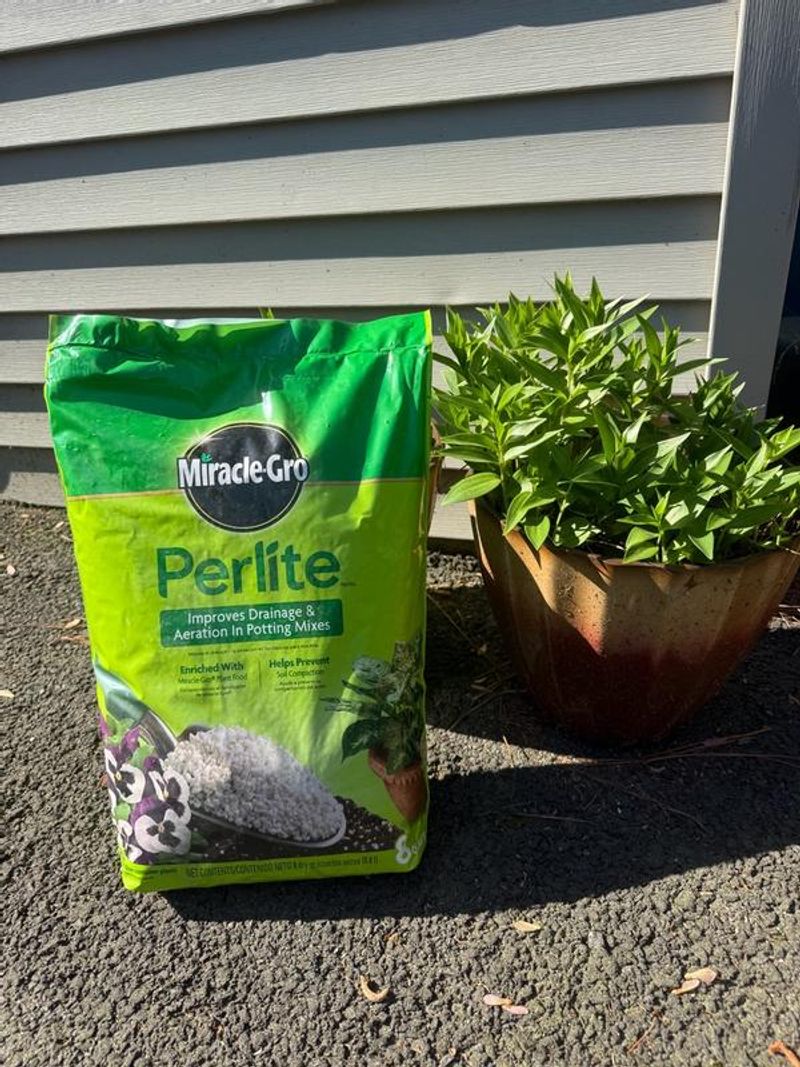
Equal parts potting soil and perlite works well, and so does seed-starting mix blended with coarse sand.
Rooting hormone powder or gel is optional but can help speed things up, especially for rosemary, which tends to root slowly. A clear plastic bag or a cut-off soda bottle makes a handy mini greenhouse to hold in moisture.
Finally, label sticks and a marker will save you from guessing later. Sage and rosemary cuttings look surprisingly alike once they are sitting in pots side by side.
Set everything up on a table or bench before you cut, so stems go into soil within minutes.
3. Choose the Healthiest Stems
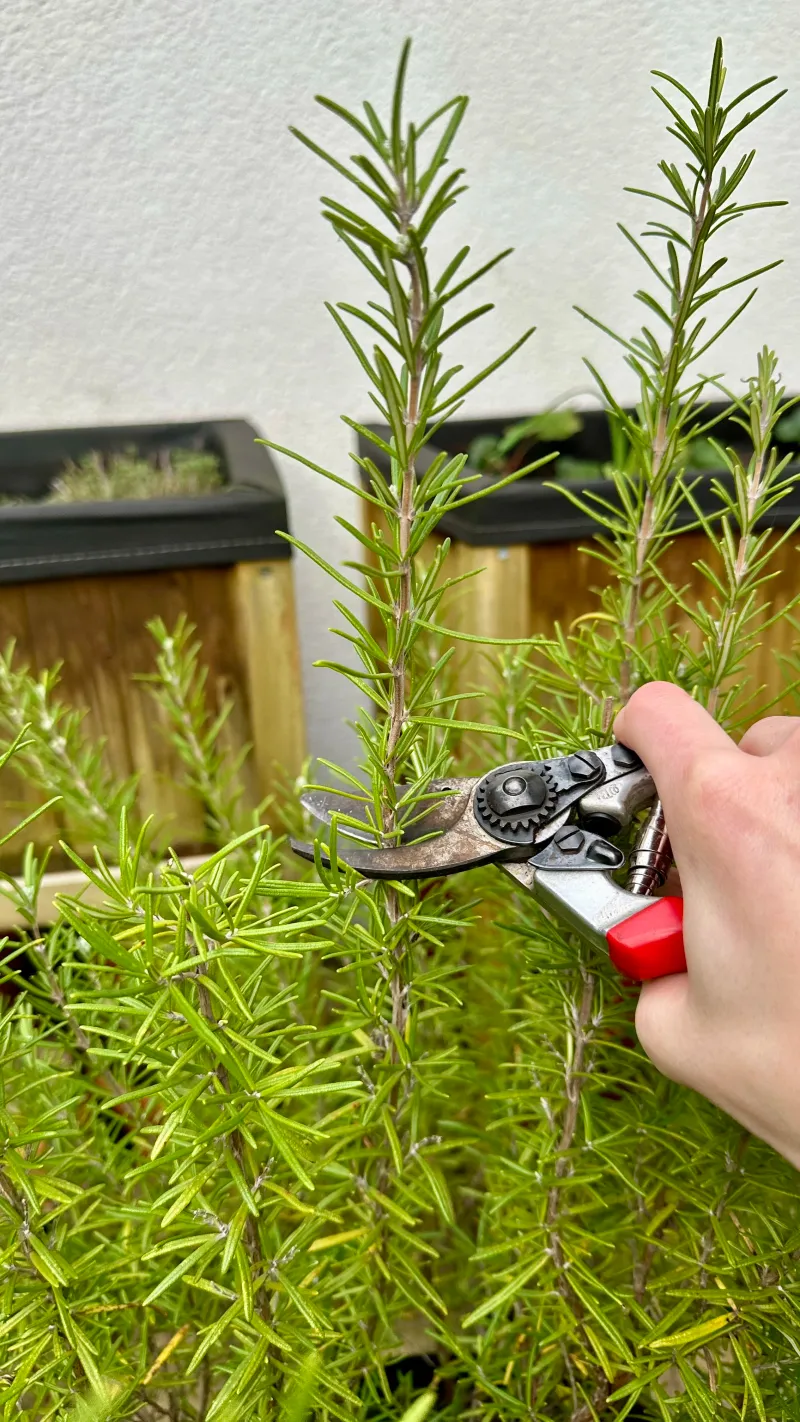
Picture two stems side by side: one bright green and bendy at the tip, the other woody, gray, and brittle. The first one is your winner nearly every time.
Gardeners call the ideal type a semi-hardwood cutting. The base feels firm, but the top few inches are still soft and flexible.
These stems have enough strength to survive yet enough youth to push out roots.
Skip any stems that have flowers or flower buds. A blooming stem puts its energy into seeds, not roots.
If every stem has buds, simply pinch them off after cutting.
Look closely for pests too. Spider mites, aphids, and whiteflies can hitch a ride indoors and multiply fast in warm rooms.
Leaves should be clean, evenly colored, and free of yellow spots, sticky residue, or fine webbing.
Cut in the morning when plants are fully hydrated, ideally after a good watering the day before. Plump, well-watered stems may hold up better during the rooting period than ones snipped on a hot, dry afternoon.
Take a few more cuttings than you think you need, since not every one will make it.
4. Make the Perfect Rosemary Cut
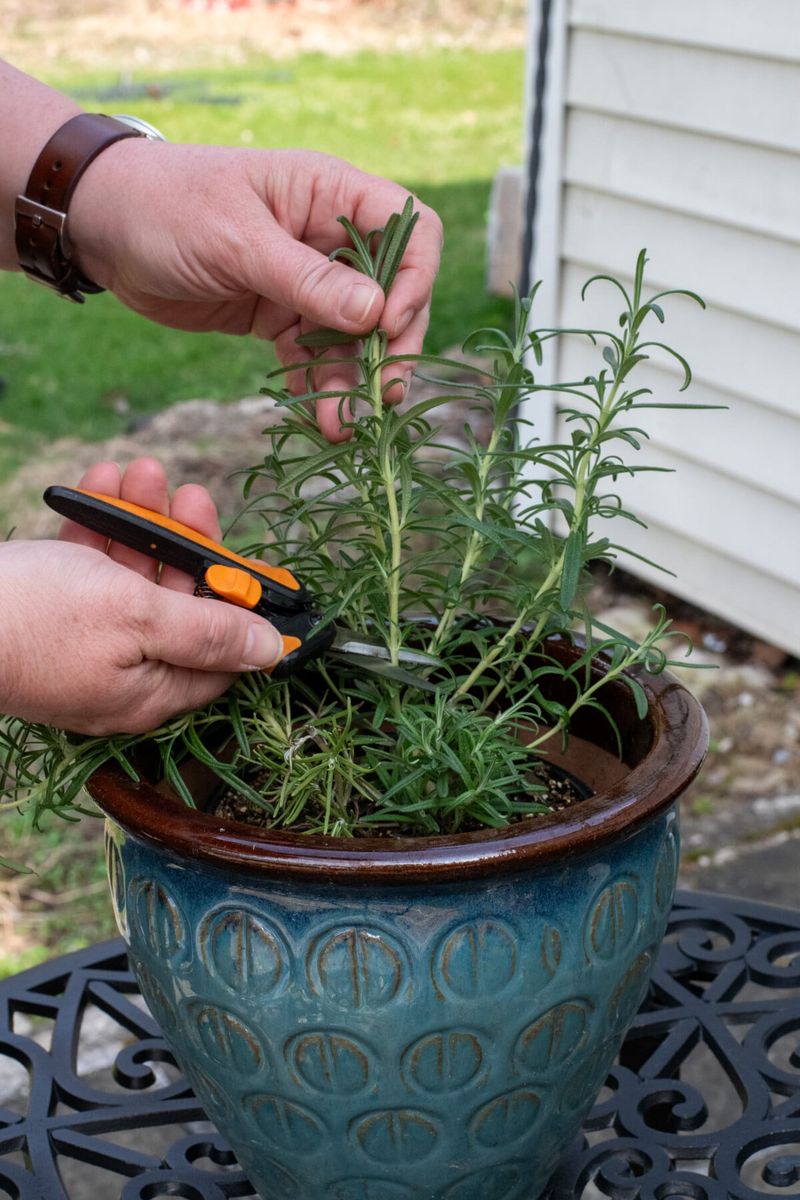
Rosemary has a reputation for being stubborn about rooting, but a careful cut can tip the odds in your favor. Think of it as giving each stem the best possible start.
Snip pieces about four to six inches long from the tips of healthy branches. Make your cut just below a leaf node, which is the small bump where needles attach.
Roots tend to form most readily from these nodes.
Strip the needles off the bottom two inches of each cutting. You can run your fingers gently downward along the stem, but go slowly so you do not peel the bark.
Leaves left below the soil line can rot and invite fungus.
Some growers lightly scrape a thin strip of outer bark near the base with a knife. This small wound may encourage rooting, though it is not required.
Dip the bottom end in rooting hormone and tap off the extra.
Fun fact: rosemary was once tucked into wedding bouquets as a symbol of remembrance. Your cuttings might not carry that much drama, but they will carry the same fragrance and flavor as the parent plant, since cuttings are exact clones.
5. Prep Sage Cuttings the Smart Way
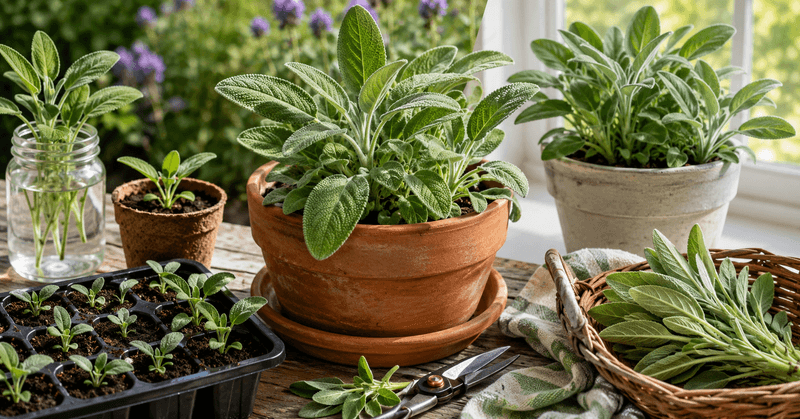
Sage is the friendlier sibling here. It usually roots faster than rosemary, often in three to five weeks, which makes it a confidence booster for first-timers.
Take cuttings about four inches long from young, non-flowering shoots. Cut just below a node and remove the leaves from the lower half of each stem.
Leave three or four leaves at the top.
Here is a trick many gardeners swear by. Sage leaves are big and fuzzy, and they lose water quickly before roots exist to replace it.
Snipping the remaining leaves in half can reduce moisture loss and help the cutting stay perky.
Sage is also more prone to rot than rosemary, so go easy on wet soil. Its fuzzy leaves trap humidity, which can lead to mold if air never moves.
A light dusting of rooting hormone is helpful, though sage often roots fine without it.
Southern gardeners know that common garden sage can sulk through hot, humid summers, especially in Florida. Fall cuttings give you fresh, vigorous plants to replace any that looked rough after August, so you start spring with healthy stock instead of a tired, leggy shrub.
6. Pot Them Up Without Fuss
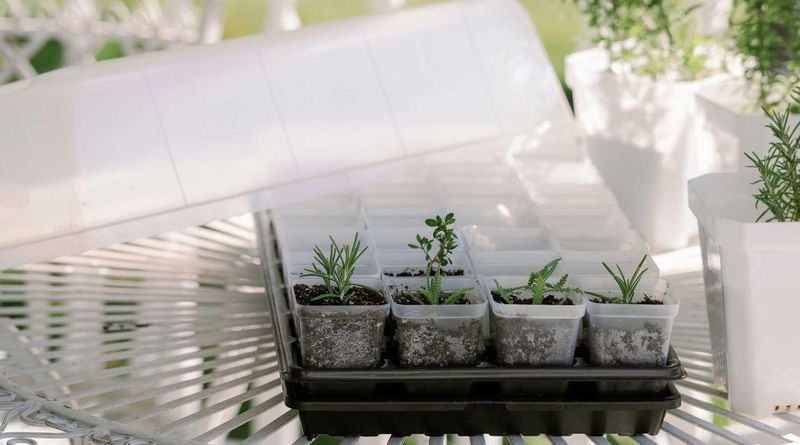
Now comes the satisfying part, tucking those cuttings into their temporary homes. Water your pots of mix first and let them drain, so the soil is damp but not dripping.
Use a pencil or chopstick to poke a hole about two inches deep. Pushing a stem straight into soil can rub off rooting hormone.
Slide each cutting into its hole and firm the mix gently around it.
You can fit three or four cuttings around the edge of a four-inch pot. Many growers find cuttings placed near the pot rim root a bit faster, possibly because that area drains and warms well.
Keep rosemary and sage in separate, labeled pots.
Cover each pot loosely with a clear plastic bag or a bottle dome. Prop the plastic up with sticks so it does not touch the leaves.
Open it for a few minutes every day or two to let fresh air in.
If you see droplets running down the plastic constantly, there is too much moisture. Vent it longer.
A little condensation is fine, but a swampy greenhouse is how sage cuttings turn mushy and black.
7. Give Them the Right Light and Warmth
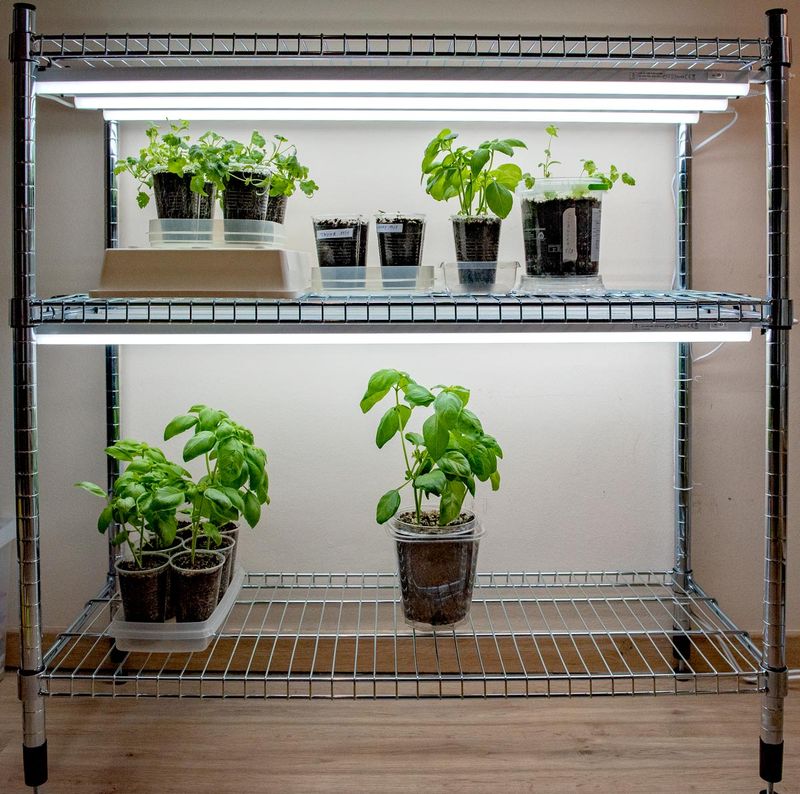
Roots love warm feet and gentle light. Getting that balance right is often the difference between a pot of green stems and a pot of brown sticks.
Place cuttings in bright, indirect light, like an east-facing window or a few feet back from a sunny south window. Harsh direct sun through glass can cook cuttings inside their plastic covers.
A simple LED grow light set on a timer for 12 to 14 hours works beautifully, especially once winter days get short.
Aim for room temperatures between 65 and 75 degrees. Cuttings near cold drafts or chilly windowsills root slowly.
Setting pots on a seedling heat mat may speed things along, particularly for rosemary.
Here in the South, a covered porch can work in early fall while nights stay mild. Just bring pots inside before temperatures dip into the 40s.
A sudden cold front can stall rooting in a single night.
Water only when the top of the mix feels nearly dry. Overwatering is the most common reason cuttings fail.
If a stem turns soft or black at the base, pull it out quickly so trouble does not spread.
8. Check for Roots and Troubleshoot
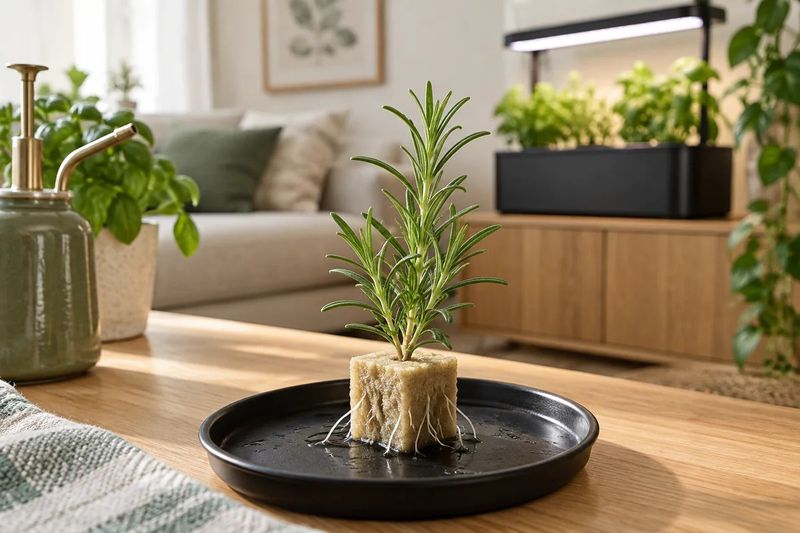
Patience is the hardest supply on the list. Sage often shows roots in three to five weeks, while rosemary can take six to eight weeks or even longer.
To check, give a cutting a very gentle tug. Slight resistance means roots are holding on.
You may also spot white roots peeking out of drainage holes, or notice fresh new leaves at the tip.
Not seeing progress? Here are the usual culprits and fixes:
Wilting and drooping: The air may be too dry. Keep the cover on more, and mist lightly.
Black or mushy stems: That is rot from too much water. Remove the cutting and let soil dry more between waterings.
Yellowing lower leaves: A few yellow leaves is normal as the stem uses stored energy, but widespread yellowing may signal soggy soil.
Fuzzy gray mold: Increase airflow by venting longer, and trim off affected leaves. A small fan nearby may help.
Expect some losses. Even experienced growers rarely get every rosemary cutting to root.
That is exactly why taking extras pays off, and why the plants that succeed feel like such a win.
9. Move Your New Herbs Outdoors in Spring
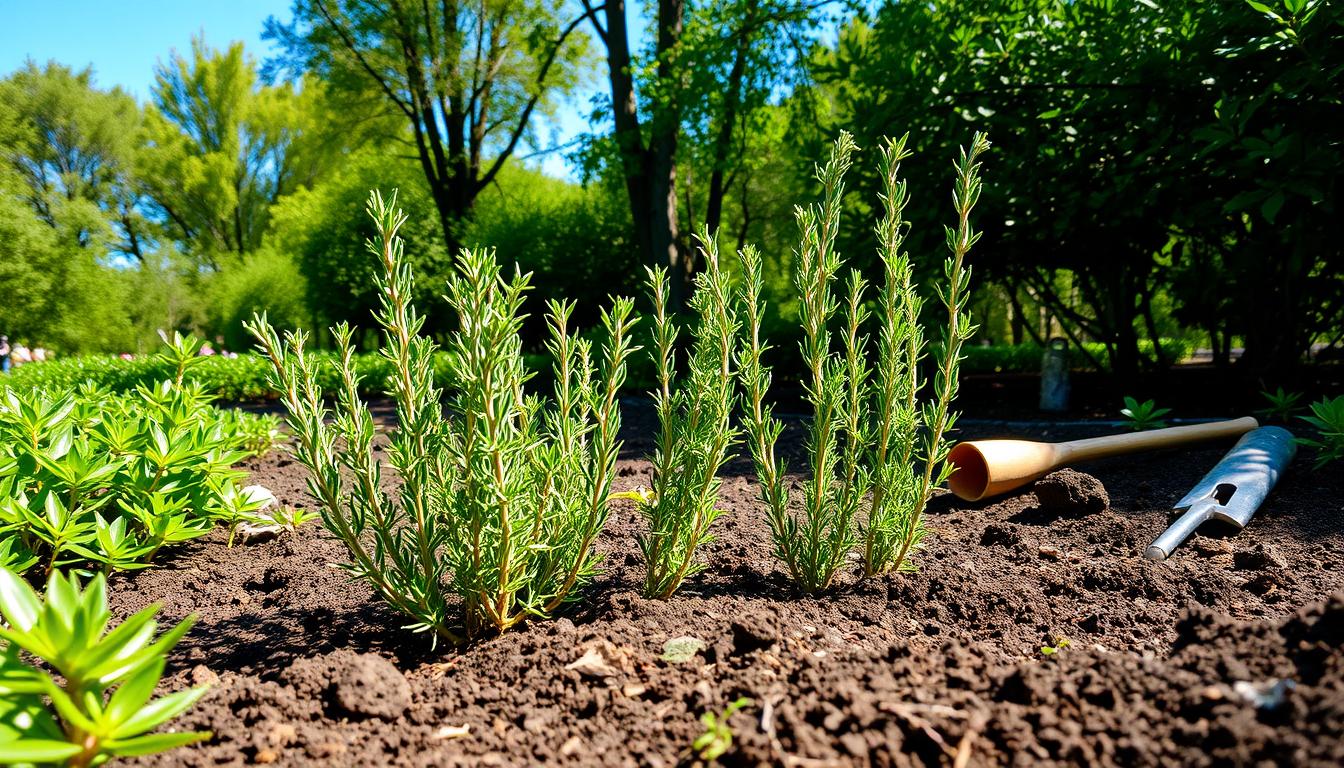
By late winter, those little sticks should look like real plants. Once they have healthy roots filling their pots, move each one into its own slightly larger container with regular potting mix.
Before planting out, harden them off. Set pots outside in a shady spot for an hour or two, then gradually increase sun and time over seven to ten days.
Plants raised indoors can scorch or stall if dropped straight into full sun.
In Texas and North Florida, transplanting after your last frost date, often February or March, works well. Central and South Florida gardeners can plant even earlier, while temperatures are mild and before summer humidity sets in.
Choose a sunny spot with fast drainage.
Both herbs dislike wet feet, so raised beds, mounded soil, or containers often perform best in heavy clay or rainy areas. Adding gravel or coarse sand to the planting hole can help water drain away.
Soon you will have fresh herbs for roasted chicken, stuffing, and teas, all grown from snips that cost nothing. Extra plants make thoughtful gifts for neighbors, too.
One fall afternoon of cutting can keep your herb garden going for years.