
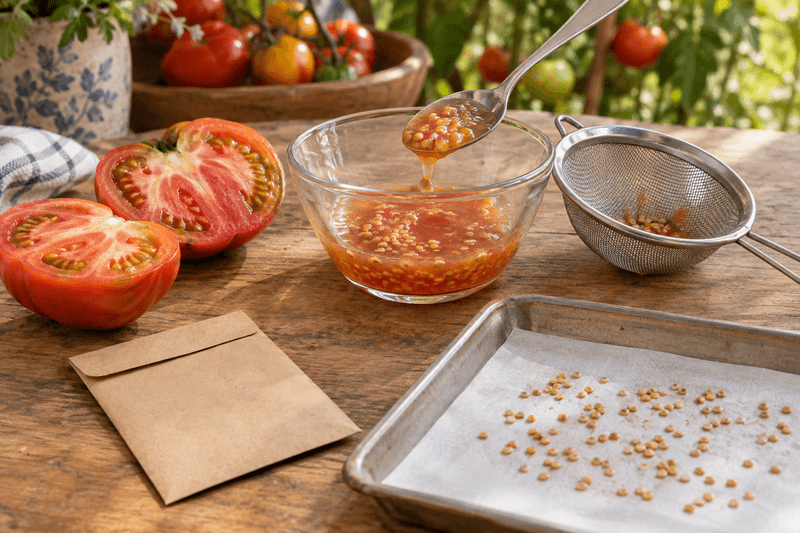
You found one tomato plant this summer that beat all the others, and now you want that same fruit next year. Saving its seeds is a smart move, but a popular tip gets one detail wrong.
Fermenting seeds is a cleaning step, and it does not decide whether your seedlings will match the parent. Here is what really shapes next year’s crop, and how to handle the seeds from fruit to storage.
Fermentation cleans seeds; it does not make them true to type
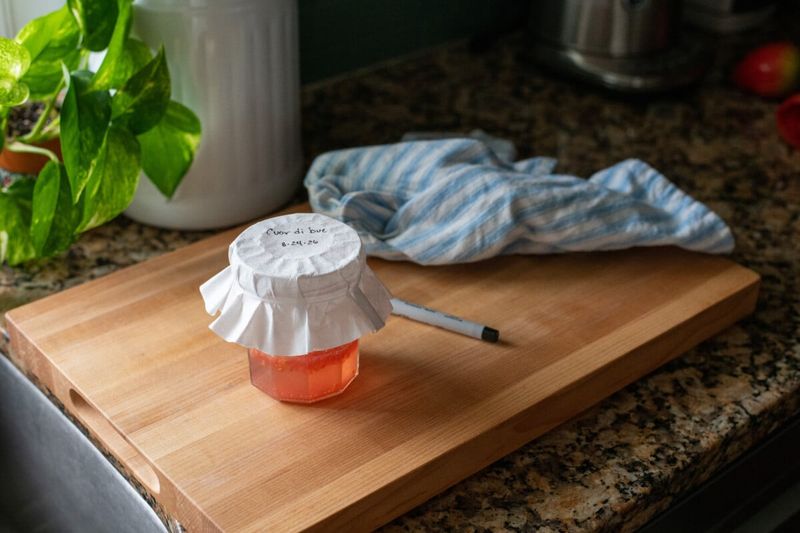
Soaking tomato seeds in their own juice sounds like a magic trick, but the real job is simple. Fermentation helps break down the slippery gel that coats each seed, so the seeds can be rinsed clean and dried.
It does not lock in the flavor, color, or shape of the fruit you loved.
Those traits depend on the variety’s genetics and on how the flower was pollinated. According to UF/IFAS guidance for open-pollinated seed saving, gardeners get the best repeatability from open-pollinated or heirloom varieties, while seed saved from an F1 hybrid may not reliably reproduce the parent plant.
Fermentation is not even a must for germination. A study of tomato seed mucilage removal found that washing seeds right away and fermenting them for three days produced no difference in germination percentage.
That result applies to the conditions tested, not to every method or goal. The steps ahead cover picking fruit, checking pollination risk, cleaning, drying, and storing.
Choose a healthy plant and a fully ripe tomato
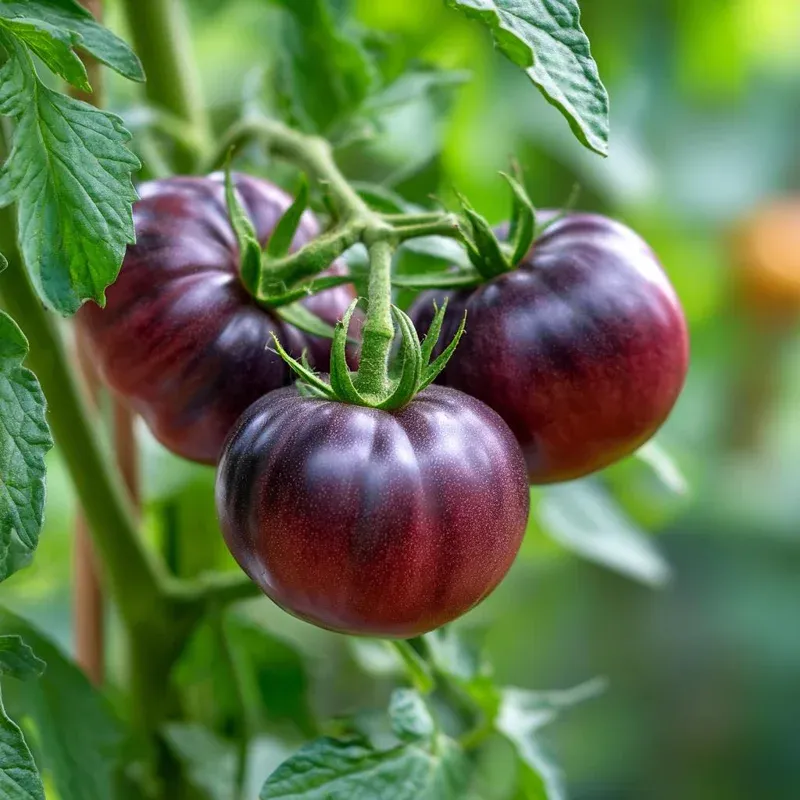
Walk your rows and look for the plant that is thriving, not just the one with a single standout fruit. Strong growth, healthy leaves, and sound fruit are good signs.
University of Maine Extension seed-saving guidance points gardeners toward fully ripe fruit, since seeds from mature tomatoes are the ones worth keeping.
Skip plants that are struggling. Spotted, wilting, or failing plants can carry problems, and University of Minnesota Extension notes on bacterial canker advise against saving seed from infected plants.
Do not wait on a sick plant, because that rarely improves the seed.
For timing, let the fruit be your calendar. When a tomato is fully colored, slightly soft, and free of rot, it is ready.
In a long Southern season that could be midsummer or fall. The Organic Seed Alliance tomato guide also stresses picking healthy, true-looking plants.
Check whether saved seed can match the parent
Seed packets sometimes say open-pollinated, and that label matters. Seeds from open-pollinated varieties are the better bet for repeatable traits.
Seeds from an F1 hybrid may produce seedlings that look and taste quite different from the fruit you picked, as UF/IFAS explains.
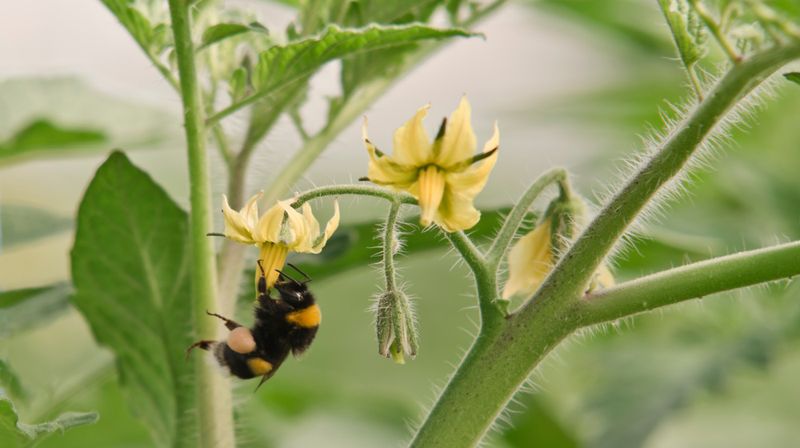
Pollination history counts too. Tomatoes mostly pollinate themselves, but insects can sometimes carry pollen between varieties.
Heirloom does not mean crossing is impossible. As University of Maine Extension describes, pollen from another variety can affect the seed inside a fruit, though the fruit itself still shows the mother plant’s traits.
Spacing advice varies. One Ask Extension answer suggests at least 10 feet, while the Organic Seed Alliance gives a 40-foot home guideline for certain heirloom or potato-leaf types.
No single distance is a guarantee, so treat distance as a way to lower the odds.
Ferment seeds in a warm, controlled spot
If you like the traditional method, it is easy. Cut a ripe tomato, scrape the seeds, gel, and juice into a jar or cup, and label it.
Oregon State Extension recommends about 72 hours at 72 to 80 degrees F, followed by a thorough rinse.
Keep the jar warm, not hot. The same guide warns that seed damage begins above 95 degrees F, which matters for Southern gardeners with hot porches, garages, and sunny windowsills.
A shaded indoor spot is safer. This timing is method-specific guidance, so other approaches may behave differently.
Remember what this step does and does not do. It cleans seeds.
It does not fix hybrid genetics, prevent crossing, or guarantee disease-free seed. Extension notes on bacterial canker say even specific seed treatments may not remove it completely, so start with healthy plants.
Dry and store the cleaned seeds
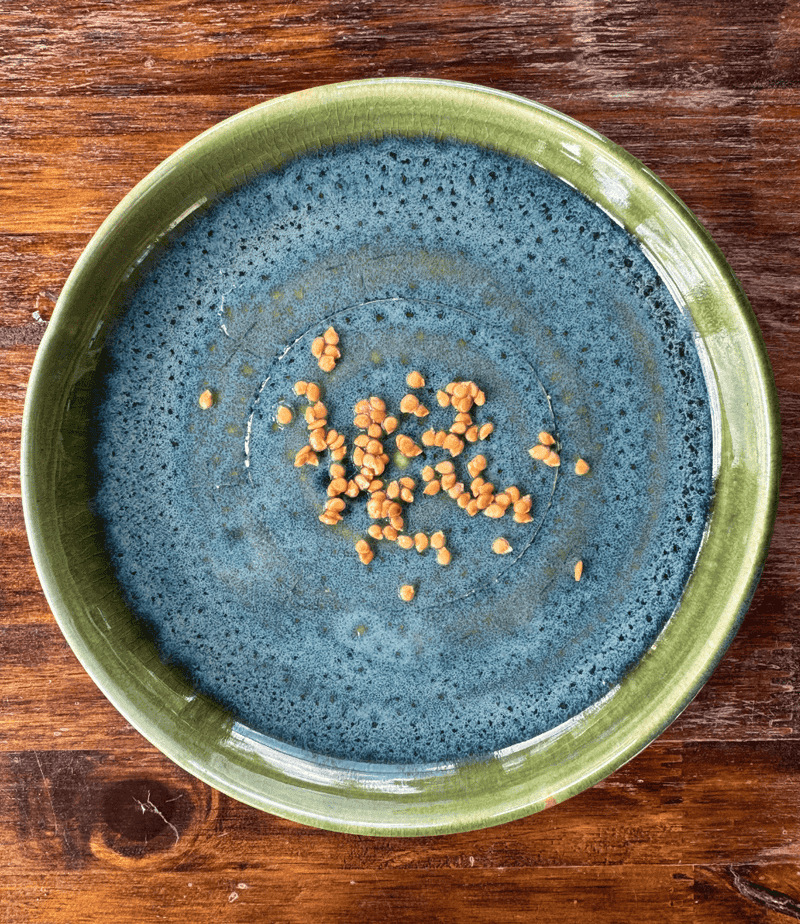
Once rinsed, seeds need to dry fully before they go anywhere. Spread them in a thin layer on a plate, screen, or similar surface with good airflow.
Keep them out of direct sun and high heat, as Oregon State Extension advises.
Stir them now and then so clumps do not form. A good clue that drying is done is that seeds no longer stick together or to the surface.
Humid Southern kitchens can slow this down, so give them extra time.
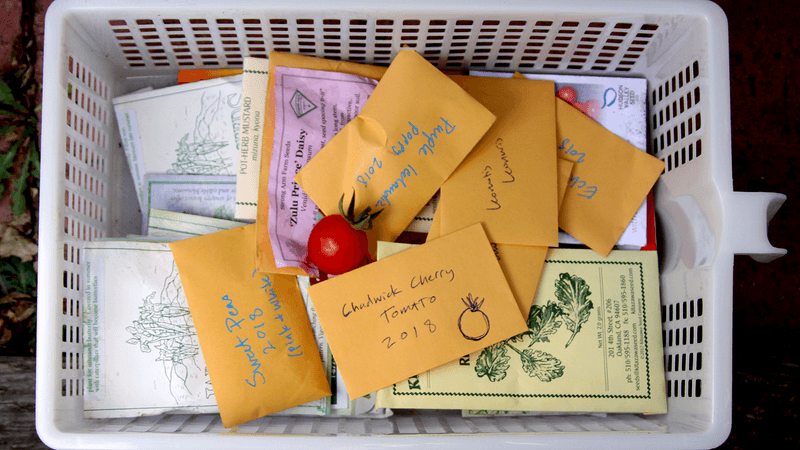
Next comes labeling. Write the variety name, the year, and any notes, such as which plant they came from.
University of Maine Extension recommends storing seeds in a cool, dry place. A labeled paper envelope in a sealed container works well.
No storage time is guaranteed, so test a few seeds before planting a full row.
Decide how many plants to save seed from
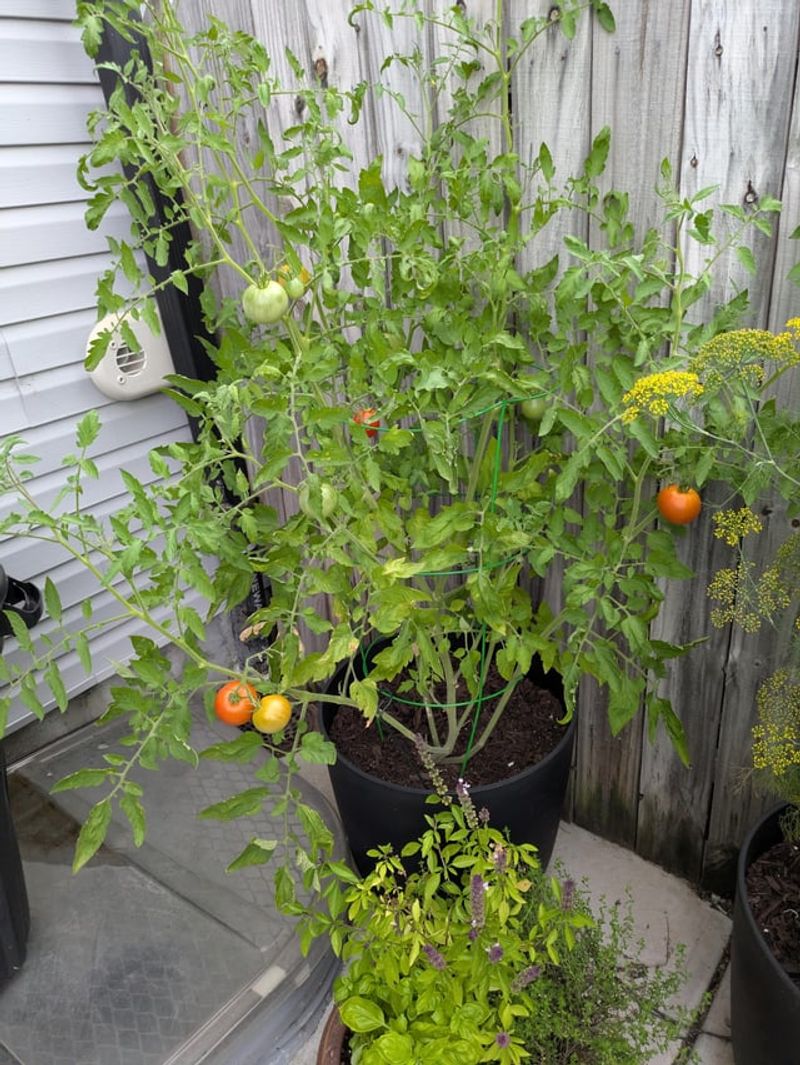
Saving seed from one favorite plant is a perfectly reasonable choice in a home garden. You get a simple, repeatable routine, and you will probably grow a tomato much like the one you enjoyed.
The goal changes if you want to keep a variety strong over many years. The Organic Seed Alliance notes that saving from several healthy plants better preserves genetic diversity.
Try marking three or four of your best plants and collecting a fruit from each, then mixing the seeds.
Notice what drives the result in either case. Whether next year’s seedlings resemble this year’s star comes down to the seed’s genetics and pollination, as UF/IFAS explains, not to a jar of fermenting pulp.
The jar just gets the seeds clean.