
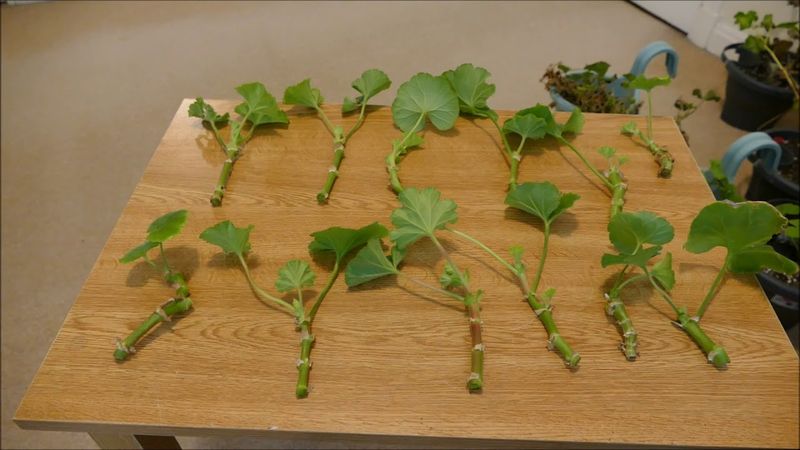
One healthy geranium can give you a dozen new plants for free if you know where to snip. Taking cuttings in late fall or winter saves your favorite colors from frost and gives you sturdy starts by spring.
In the South, that also means plants ready to bloom before the summer heat sets in. Follow these six simple steps and your windowsill will soon be packed with fresh green growth.
1. Pick healthy, non-flowering stems
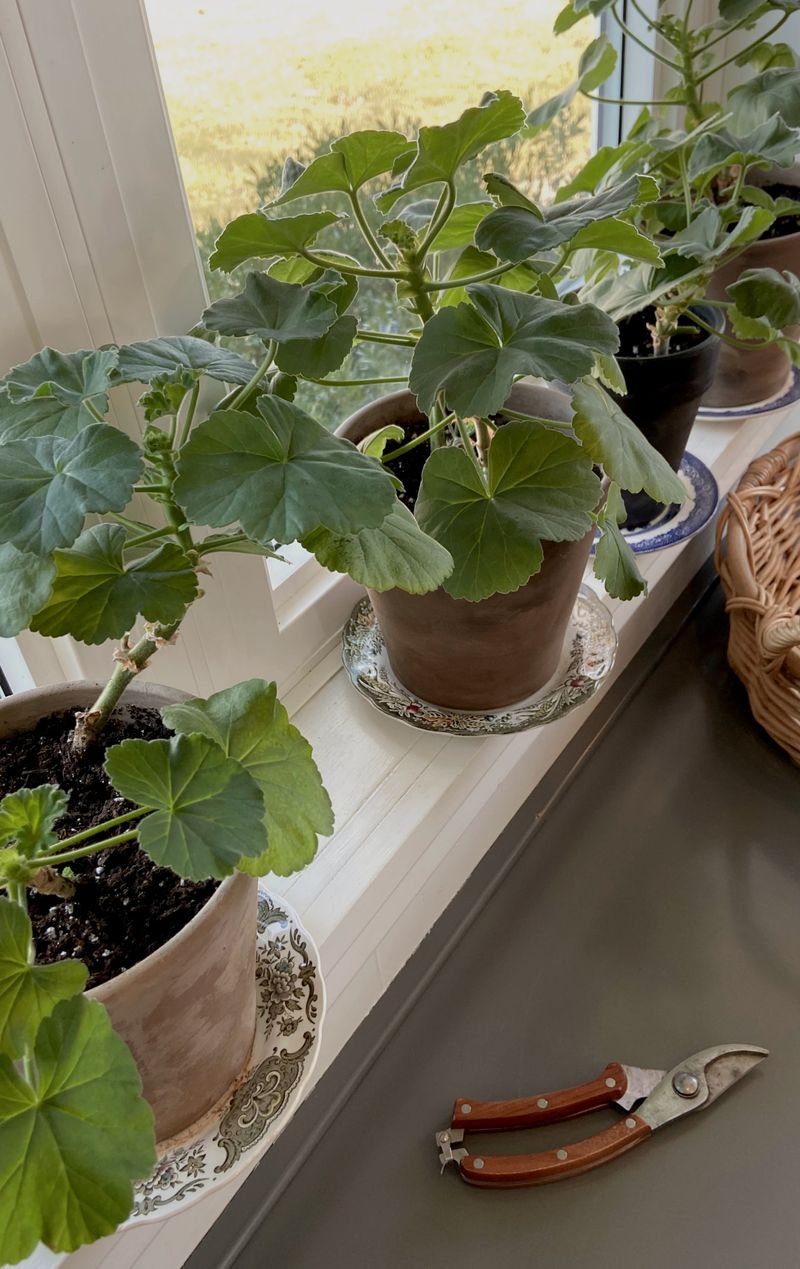
Great cuttings start long before you grab the pruners. A stem that looks tired, spotted, or leggy will usually root slowly, if it roots at all.
So take a few minutes to really look at your mother plant first.
Choose firm, green shoots about 4 to 6 inches long with several sets of leaves. Skip any stem that has yellowing leaves, black spots, or a soft, mushy base, since those can carry rot or disease into your new plants.
Stems without flower buds are best, because a plant trying to bloom puts its energy into petals instead of roots.
Timing matters too. In Florida and much of Texas, geraniums often struggle in midsummer heat, so late fall through early winter is a comfortable window for cuttings.
Farther north in the South, many gardeners take them before the first frost and bring the plants indoors.
Water the mother plant a day before cutting. Well-hydrated stems tend to hold up better through the first stressful days.
If you see pests like whiteflies or aphids, deal with them first so you are not carrying hitchhikers onto your windowsill. A clean start may save you a lot of trouble later.
2. Make a clean cut just below a node
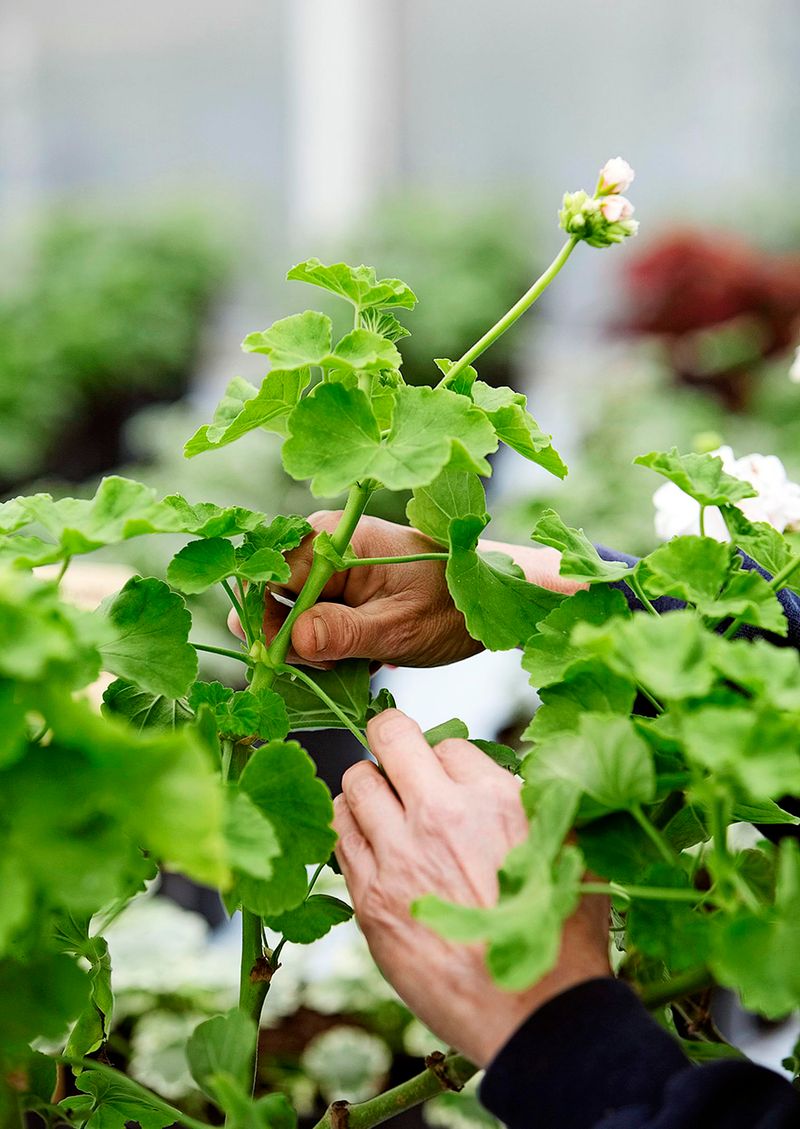
Ever notice the little bumps along a geranium stem where leaves grow out? Those are nodes, and they are where the magic happens.
Roots form most easily from that spot, so it is your target.
Use clean, sharp scissors, pruners, or a craft knife. Wipe the blade with rubbing alcohol between plants, because dirty tools can spread disease from one stem to the next.
Make a straight cut about a quarter inch below a node.
A crushed or ragged stem is harder for the plant to heal. Dull blades pinch the tissue, which can invite rot.
One quick, crisp snip is much kinder than sawing back and forth.
Here is a fun bit of trivia: the common garden geranium is not a true geranium at all. Its scientific name is Pelargonium, and it comes from South Africa, which explains why it loves sun and does not mind a little dryness.
Take a few more cuttings than you think you need. Even with good care, not every stem may root, and extras give you a backup plan.
Leftover plants also make easy gifts for neighbors come spring.
3. Strip the lower leaves and let the ends callus
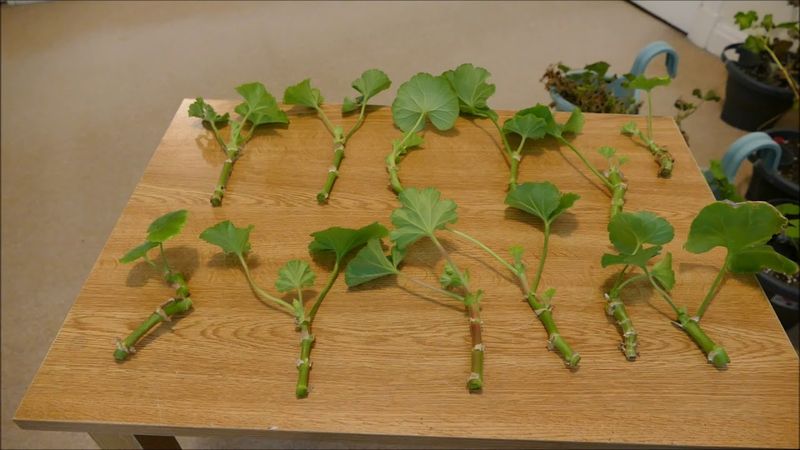
Patience feels strange at this stage, but it really pays off. After cutting, gently pull or snip off the lower leaves, leaving just two or three at the top.
Any leaves buried in soil would likely rot and could drag the whole cutting down with them.
Remove flower buds too. It hurts a little to toss them, yet the cutting has no roots to feed blooms right now.
Next comes the step many beginners skip. Lay your cuttings on a paper towel in a shady, dry spot for several hours or overnight.
The cut ends will dry and form a light seal called a callus.
Geranium stems are juicy, almost like a succulent. Pushing a wet stem straight into damp soil can encourage rot, especially in humid Southern homes.
A callused end often holds up better against that moisture.
You will know it is ready when the tip looks dry and slightly papery instead of shiny. Do not leave cuttings out for days, though, or they may shrivel.
A single afternoon to overnight usually does the trick for most varieties.
4. Plant in a light, fast-draining mix
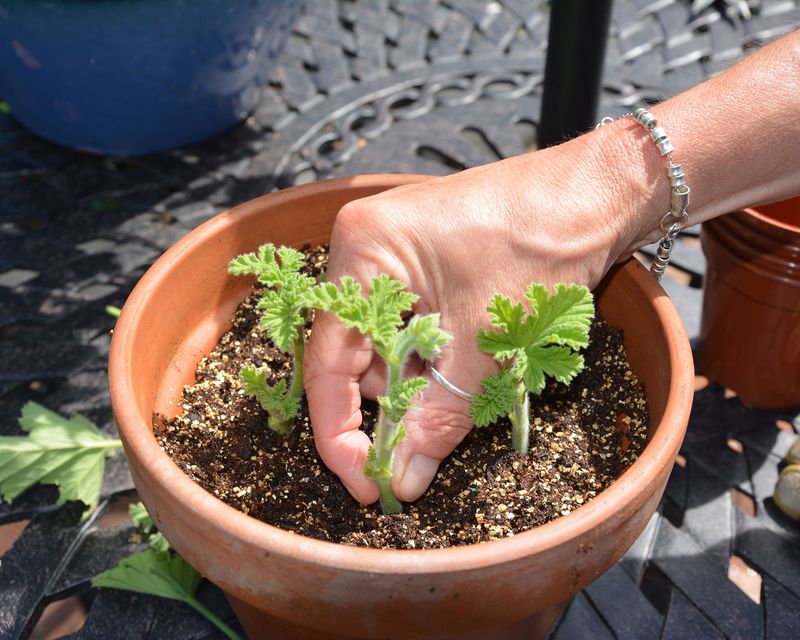
Soggy soil is the number one cutting killer. Regular garden dirt or heavy potting soil holds too much water and squeezes out the air that new roots need.
A light mix gives them room to breathe.
Try seed starting mix, or blend regular potting mix half and half with perlite or coarse sand. Fill small pots or cell trays with drainage holes.
Plastic yogurt cups work fine if you poke a few holes in the bottom.
Make a hole with a pencil, then slide the cutting in so at least one node sits below the surface. Firm the mix gently around the stem so it stands upright.
What about rooting hormone? Geraniums often root fine without it, but dipping the tip in rooting powder may speed things up and boost your success rate.
It is a nice extra, not a must.
Water lightly once, just enough to settle the mix. Then let the surface dry a bit before watering again.
Keeping things barely moist, never wet, is the sweet spot. Many gardeners skip plastic covers for geraniums, since trapped humidity can encourage mold on these fleshy stems.
5. Give them bright, indirect light and steady warmth
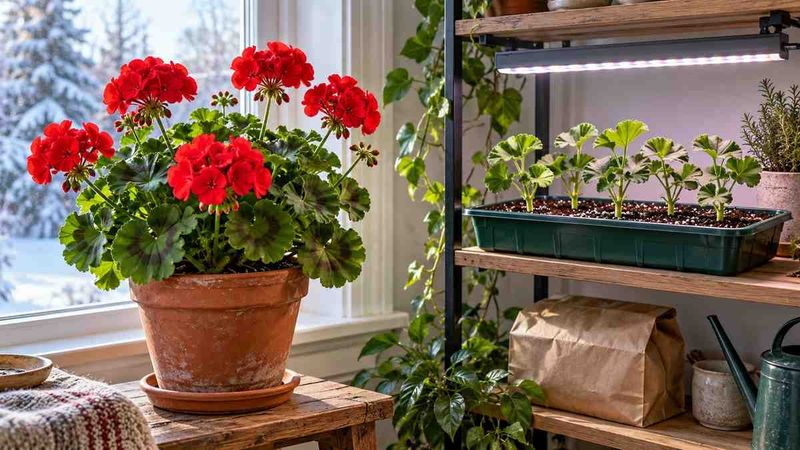
Picture a cozy spot where the sun is bright but never harsh. That is exactly what your cuttings want for the next few weeks.
An east-facing window or a spot a few feet from a south window usually fits the bill.
Direct afternoon sun can scorch leaves on rootless stems that cannot replace lost water yet. Too little light, on the other hand, leaves them pale and stretched.
If your home is dim in winter, an inexpensive LED grow light set about a foot above the pots can help a lot.
Warmth matters just as much. Roots tend to form fastest when temperatures sit around 65 to 75 degrees.
Avoid cold drafty glass on chilly nights and keep pots away from heater vents that blast hot, dry air.
Now comes the waiting. Most geranium cuttings root in about three to six weeks.
A gentle tug that meets resistance, or new leaves popping out at the top, means roots are growing.
Some lower leaves may yellow along the way. A little of that is normal, so just pick them off and keep an eye on the stem for any dark, soft rot.
6. Pot up, pinch back, and harden off for spring
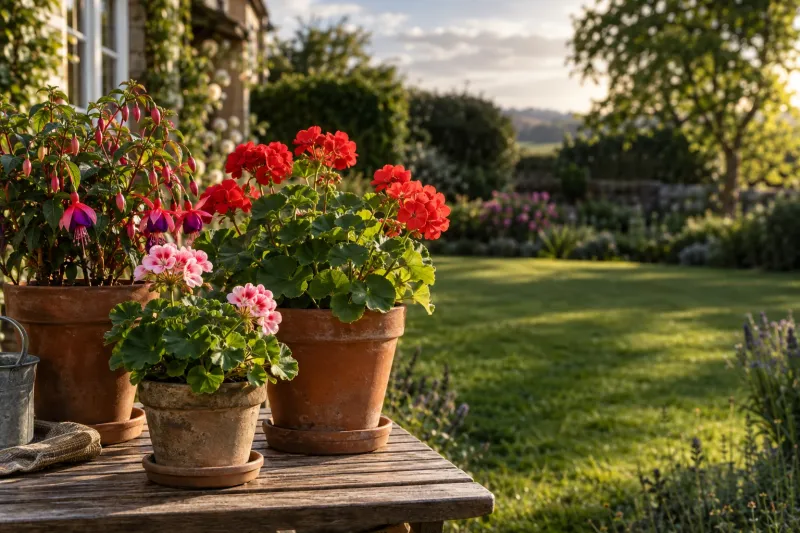
Congratulations, your stems are now real plants! Once roots fill the small pot, move each one into a 4 to 6 inch container with regular potting mix.
Handle the root ball gently, since new roots snap easily.
Pinch the growing tip when a plant reaches about six inches tall. It feels backwards, yet removing that tip pushes the plant to branch out, giving you a fuller, bushier geranium with more spots for flowers later.
Feed lightly every few weeks with a diluted balanced fertilizer once new growth appears. Too much food can lead to floppy stems, so go easy.
Before planting outdoors, harden them off. Set pots outside in shade for an hour or two, then slowly add more time and sun over about a week.
Skipping this step can shock tender leaves.
In Florida and South Texas, plants can often go out in late winter or early spring, giving them months of blooms before brutal summer heat. Farther north, wait until frost danger passes.
Once established, a little afternoon shade may help them keep flowering longer as temperatures climb. Your windowsill project is ready for the porch.