
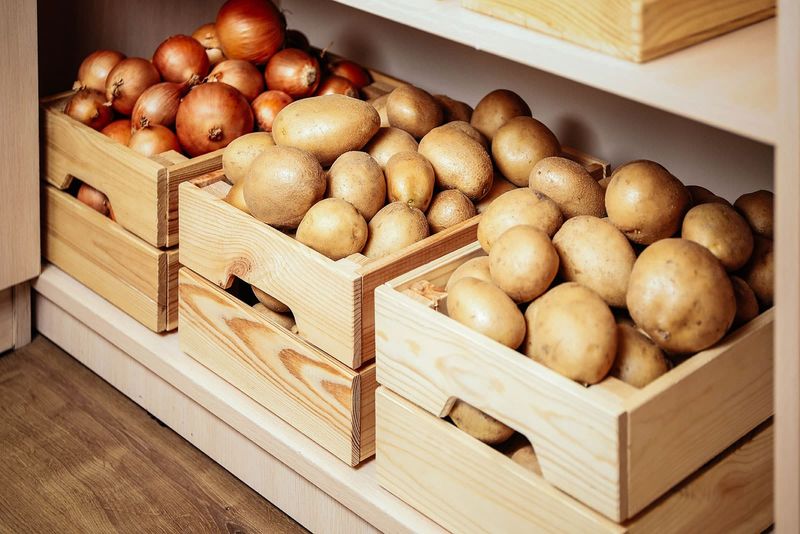
You dug a nice batch of potatoes this fall and set some aside for next year’s garden. Now comes the tricky part, keeping them in good shape for months.
Warmth, dry air, and hidden damage can all turn saved tubers into a wrinkled, sprouting, or mushy mess. A few simple steps, done in the right order, can give your seed potatoes a much better shot at spring.
Shriveling, rot, and sprouting have different causes
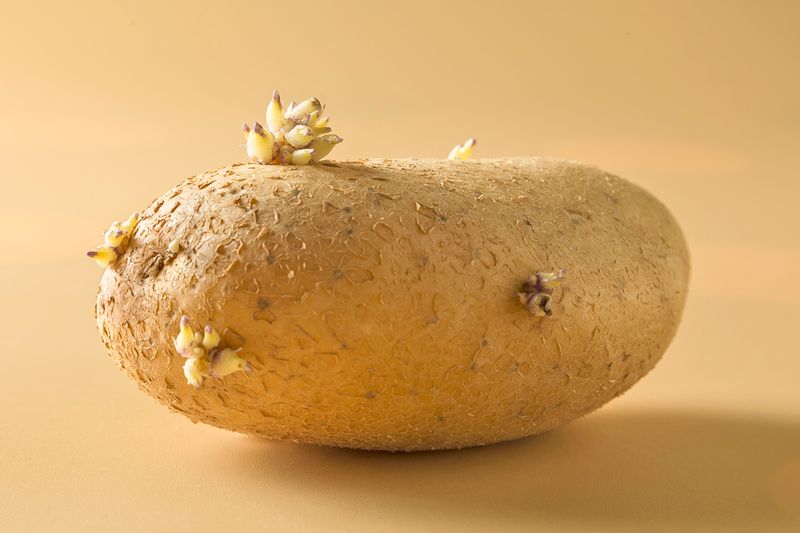
A wrinkled potato, a mushy potato, and a sprouting potato are three different problems, even though they can sit in the same bin. Shriveling is tied to water loss, which is why a tuber in dry air slowly turns leathery.
Rot is a different story, since it can follow an injury or a disease, as University of Minnesota Extension post-harvest guidance explains.
Sprouting has its own timeline. When a tuber wakes up depends on storage temperature, how long it has been stored, the variety, and the tuber’s natural dormancy, according to University of Maine Extension.
Some varieties simply nap longer than others.
Light gets blamed for a lot, but it mainly causes greening, not early sprouts. That is why Utah State University pairs darkness with cool temperatures, humidity, and airflow.
Darkness helps, but it is only one piece of the puzzle.
Cure a fresh harvest before cooling it
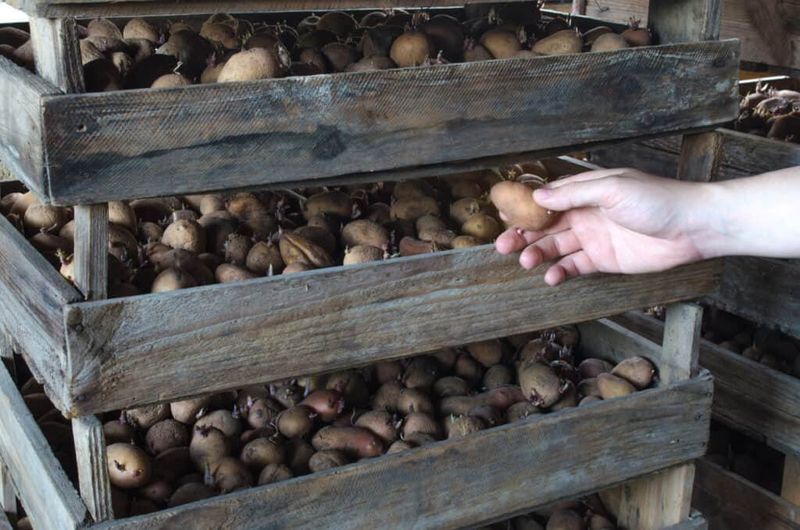
Freshly dug potatoes have tender skins and small nicks you may not even see. Before they go anywhere cold, give sound, mature tubers a curing period of roughly 7 to 14 days.
Keep them in a dark, ventilated place at moderate temperatures, as outlined in Oregon State University Extension advice.
During that time, harvest wounds can heal and skins can toughen up. A garage corner, a shaded porch that stays out of the sun, or a back room can work if air moves through and the space stays dark.
Spread the tubers out rather than piling them deep.
When curing ends, cool the potatoes down gradually instead of shocking them. University of Minnesota Extension also describes this step-down approach for home garden storage.
Keep one limit in mind. Curing helps healthy tubers heal, but it cannot rescue potatoes that are already diseased, soft, or decaying, so sort those out first.
Keep seed potatoes cool and dark
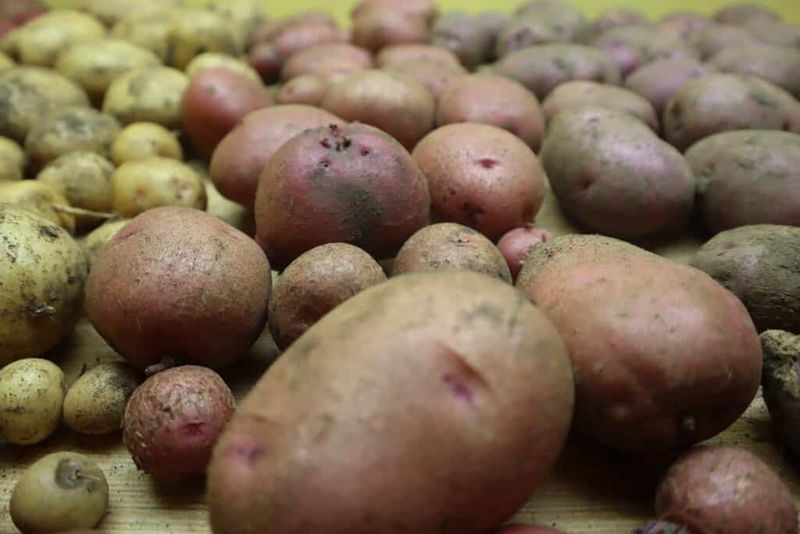
Once curing is done, the storage target for seed potatoes is about 38 to 40°F, in the dark. Utah State University recommends that range, and darkness keeps the tubers from turning green.
Plenty of homes do not have a perfect root cellar, so look at what you have. A cool basement or a temperature-controlled refrigerator may work, but only if it holds a suitable temperature and the potatoes can still get air.
Put a thermometer in the spot and check it for a few days before you trust it.
Keep the purpose in mind, because this is seed-potato guidance, not a rule for every potato. Table potatoes are sometimes stored warmer, partly to avoid sweetening in potatoes meant for frying, as noted by Oregon State University Extension.
Cool storage delays sprouting. It does not promise that sprouts hold off until planting day, a point University of Maine Extension ties to variety and dormancy.
Balance humidity with airflow
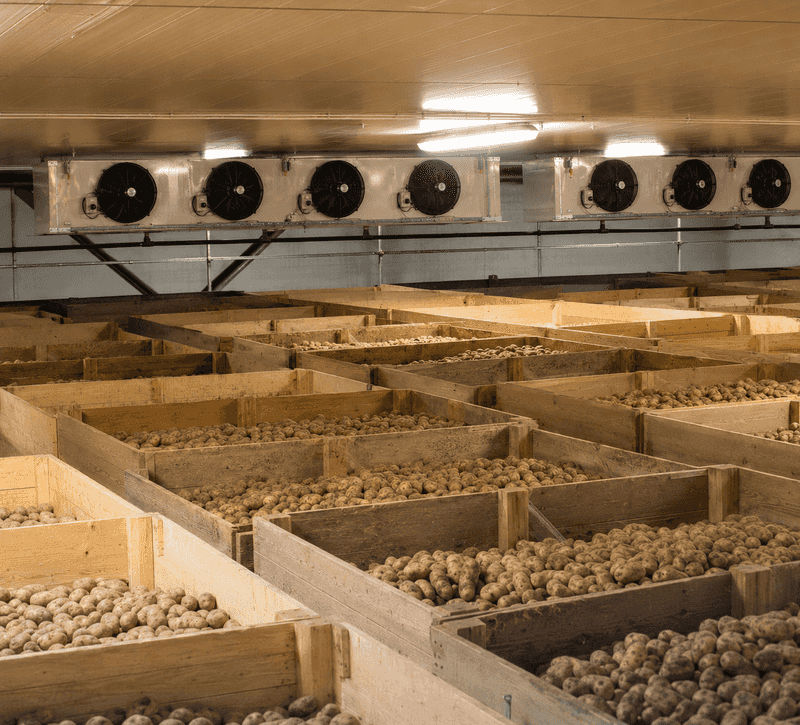
Cold air alone can still leave potatoes wrinkled. Water slips out of tubers in dry surroundings, so high humidity helps limit shriveling.
Utah State University points to roughly 95 percent relative humidity for seed potatoes.
Now flip the problem around. Damp, still air invites moisture buildup, and that can encourage decay.
Air movement helps limit that buildup, which is why a ventilated container makes more sense than a sealed one, a point repeated in Oregon State University Extension guidance.
Think of humidity as protection against water loss and airflow as protection against rot. You need both working together, and neither one replaces the other.
Skip airtight bags or lidded tubs with no openings.
For more on home garden storage conditions, University of Minnesota Extension lays out the same balance of moisture and ventilation.
Inspect stored tubers and remove deterioration
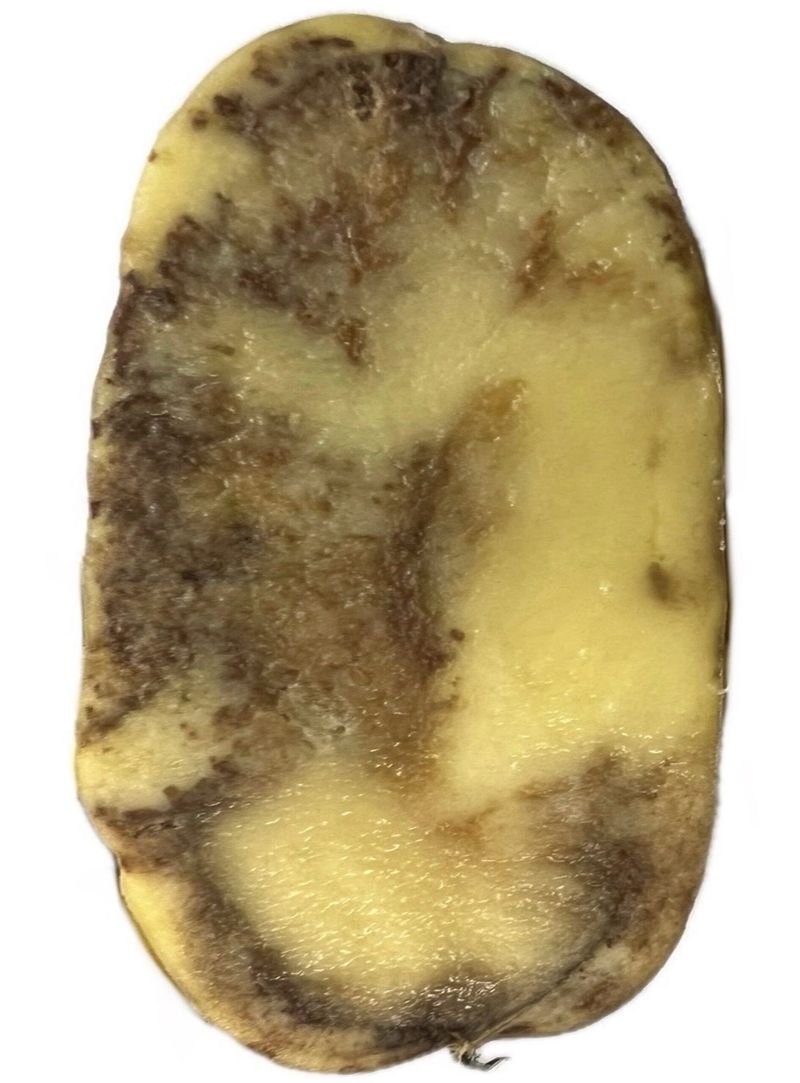
Good storage buys you time, but it is not a repair shop. The right conditions can delay sprouting and reduce moisture loss, yet they cannot reverse damage or disease that was already there.
A potato with a bruise or a soft spot at harvest can still go bad in perfect conditions.
So make checking part of your routine. Pick up a few tubers and look for injured, soft, diseased, or decaying ones, then take them out right away, as Oregon State University Extension recommends.
Removing one bad potato can protect its neighbors.
Use your eyes and hands for clues. A wrinkled skin suggests water loss, while a wet, smelly, or sunken spot points to decay, which University of Minnesota Extension links to injury or disease.
A few small sprouts do not automatically mean disease, they may simply mean the tuber is waking up.
Do not count on a set number of months. Utah State University does not tie storage success to a fixed calendar, and your results will vary.
Use light deliberately for optional pre-sprouting
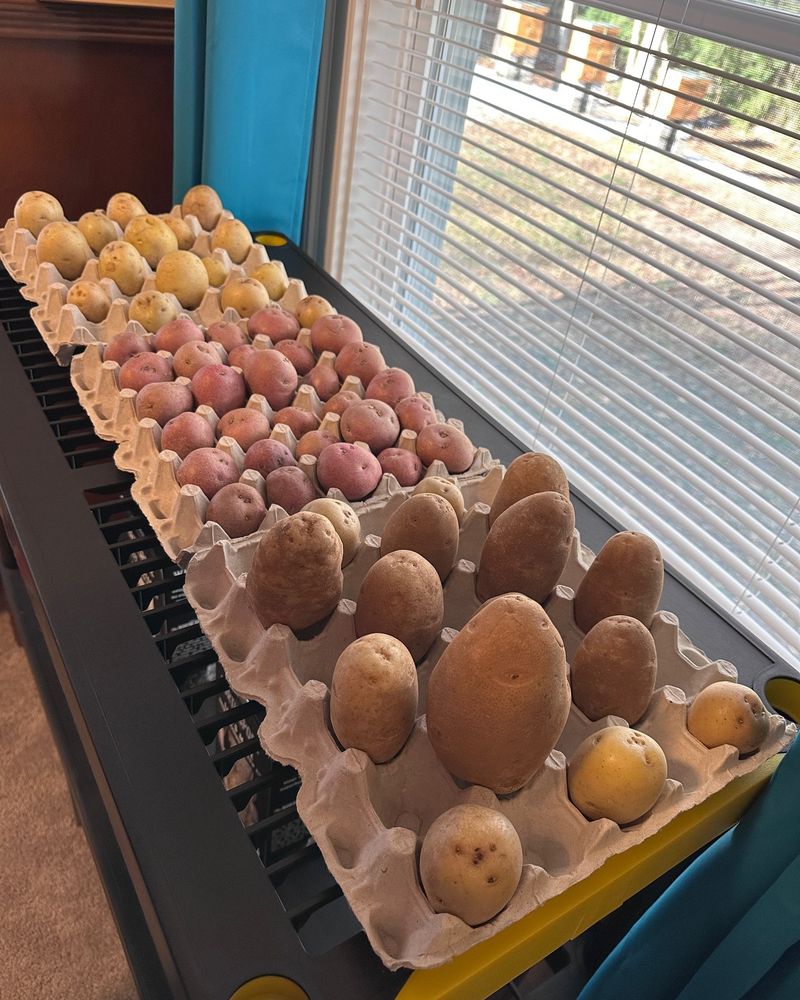
Spring changes the rules. Dark storage is for the long winter, but a few weeks before planting you can choose to pre-sprout, also called chitting.
That means moving seed potatoes to warm, bright shade, not direct sun, as Utah State University describes.
Light at this stage helps developing sprouts stay short and sturdy. Long, pale sprouts tend to snap off during planting, so a bright spot can give you tougher ones.
University of Maine Extension also covers handling seed before planting in its home garden potato guide.
Chitting is optional. You can plant without it, and plenty of gardeners do.
It is also not a reason to leave tubers in light all winter, since that invites greening and the other problems you worked to avoid.
Handle sprouted tubers gently, and keep the sprouts intact as you move them out to the garden.
Consider disease risk before planting home-saved potatoes
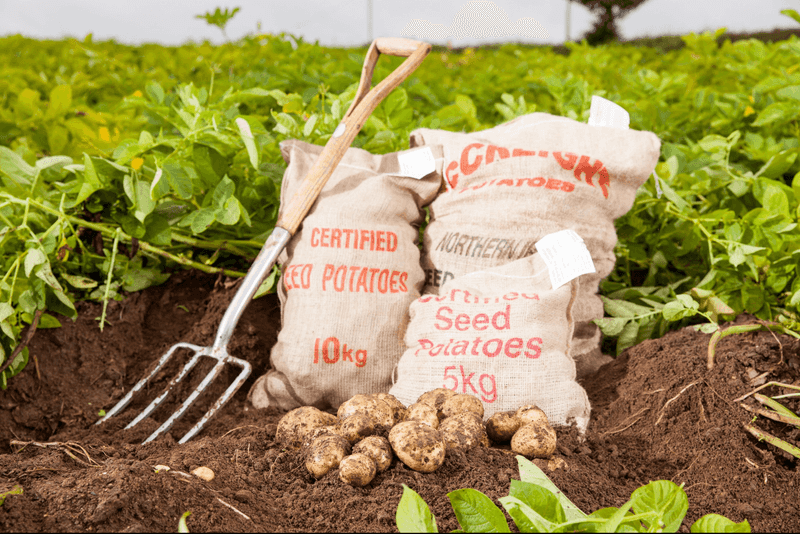
Saving your own potatoes is thrifty, but it comes with a catch. Tubers from a home crop may carry disease from the previous season, even when they look fine.
For that reason, University of Minnesota Extension recommends certified, disease-free seed potatoes.
If you still want to plant some of your own, be choosy. Oregon State University Extension cautions against planting sprouted or shriveled stored tubers because of possible disease issues.
That does not mean a sprout proves a problem, only that those tubers deserve extra doubt.
A practical approach is to plant only firm, clean tubers from healthy plants, and leave out anything soft, green, shriveled, or rotting. Consider mixing in a small amount of certified seed to compare how the two groups grow.
If your plants had trouble this past season, buying certified seed is the safer move. Cautious planting can save you a disappointing summer.
Use storage to delay trouble, not promise perfection
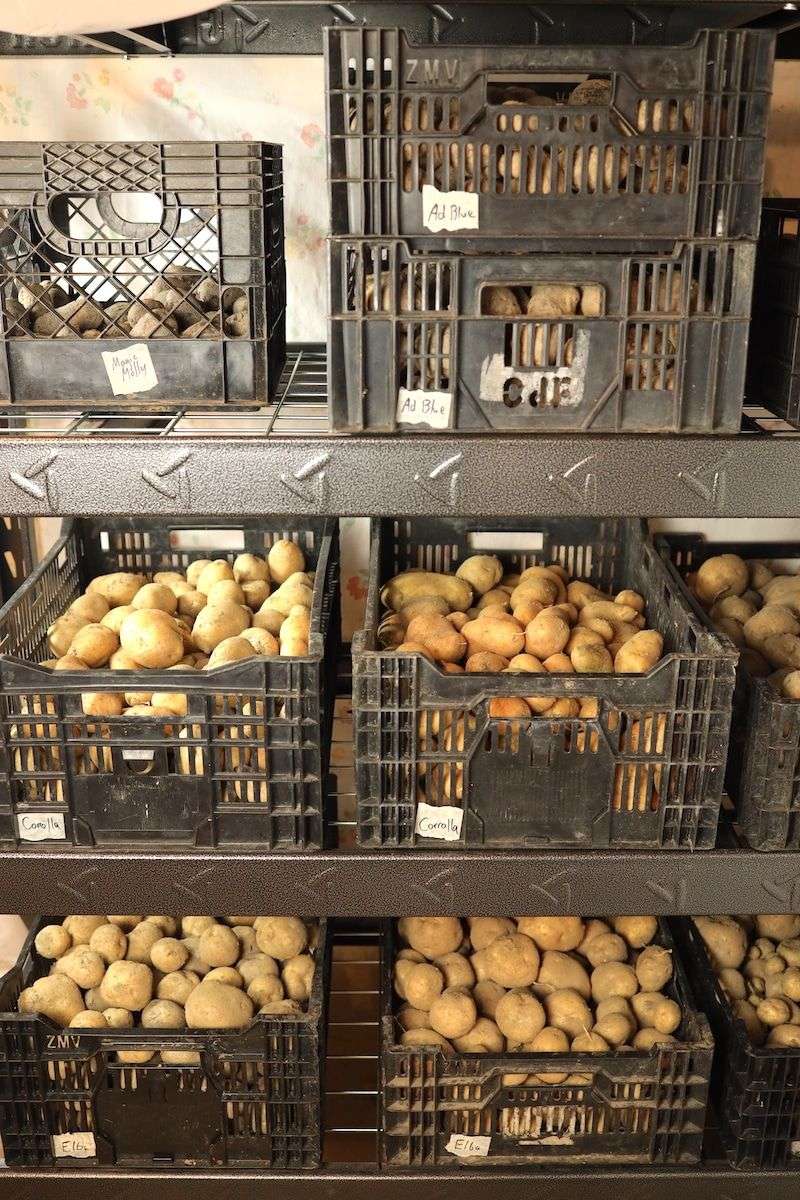
Here is the sequence in short: cure and sort a fresh harvest, then store sound seed tubers cool, dark, humid, and ventilated, as Utah State University advises. Check them now and then, and move them to warm, bright shade near planting only if you want to pre-sprout.
Oregon State University Extension backs the same careful approach.
Even then, a few tubers may soften or sprout early. Good storage tilts the odds your way without handing you a guarantee.
A potato saved well is a head start, not a promise.