
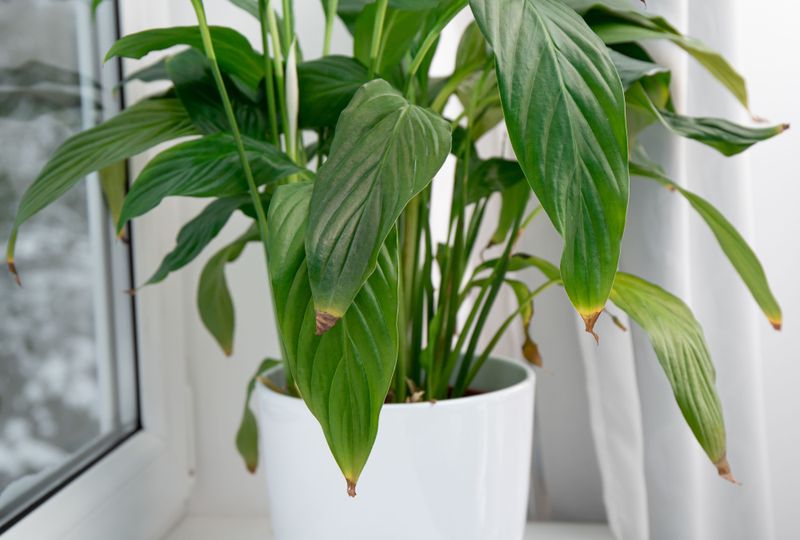
Brown, crispy tips on a peace lily can show up right when the furnace starts running, and that timing is easy to blame. Dry heated air may play a part, but it is only one of several possible causes.
A few quick checks can help you sort out what your plant is actually dealing with. Here is how to work through them, one step at a time.
What do crispy tips actually tell you?
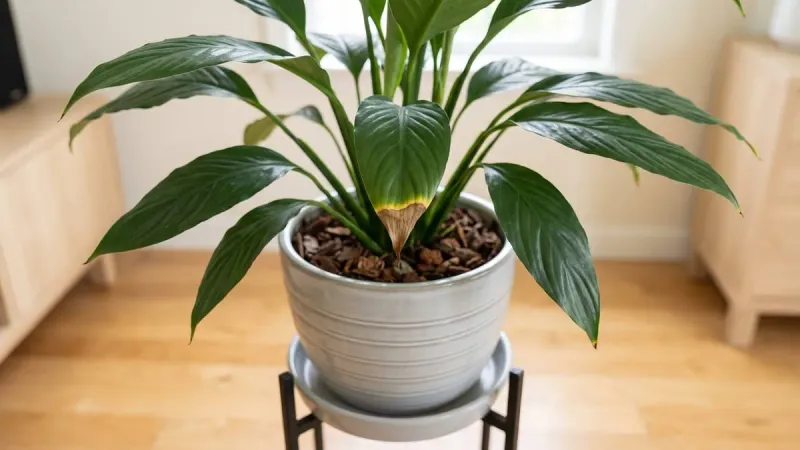
Brown, crispy tips are a sign of stress, not a diagnosis. The leaf is telling you something is off, but it cannot say what.
Treating the symptom as the answer is how people end up changing five things at once and learning nothing.
Furnace season is a reasonable suspect. North Carolina Cooperative Extension notes that indoor humidity can fall sharply in winter and that dry, hot air from vents can stress houseplants.
Still, homes differ. A tight, well-heated house in the mountains may feel very different from an older coastal plain home with leaky windows, so you should not assume yours is bone dry.
Other causes can look almost identical. Clemson’s houseplant disorder guidance lists hot, dry air, improper watering, insect feeding, and salt accumulation among the possible reasons for brown tips.
Direct sun and heavy fertilizing can also leave marks on the leaves.
So think of this as detective work. Start with the easiest change, which is the plant’s location, then check the potting mix, the room’s humidity, the fertilizer history, and the leaves themselves for pests.
Each clue narrows the list. Correcting the real cause can protect new growth, but leaves that are already crisp will not turn green again.
You can trim them if they bother you.
Start by moving the plant out of the airflow
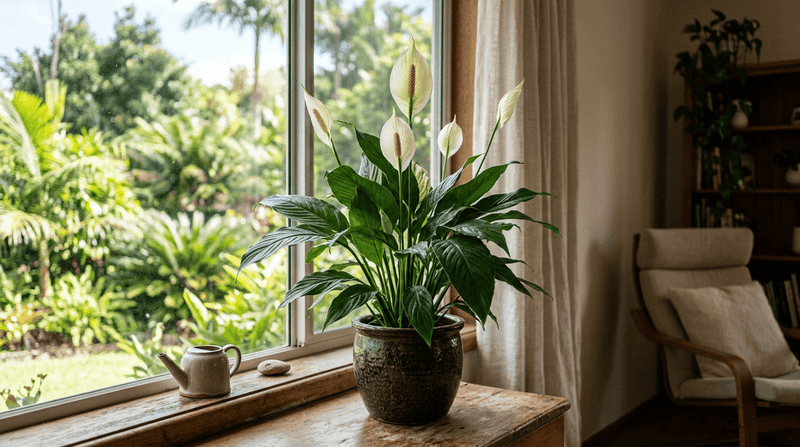
Here is the quickest first step: look at where your peace lily sits. If it is parked over a floor register, beside a baseboard heater, or in the path of a ceiling vent, slide it somewhere else.
Hot air blowing straight onto the leaves can pull moisture from them faster than the plant can replace it.
Cold air matters too. A spot near a drafty door or a single-pane window on a frosty night can stress the plant in a different way.
Hold your hand where the plant sits for a minute and you will usually feel the problem.
Light is the other half of placement. Clemson’s peace lily factsheet recommends bright, indirect light and warns that direct sun can scorch the foliage.
A south-facing window in winter can still deliver strong afternoon rays, so pull the pot back a few feet or use a sheer curtain.
Clemson also gives a comfortable range: warm daytime temperatures of about 68 to 85 degrees Fahrenheit, and avoiding anything below 60 degrees. Temperature alone will not tell you why the tips are brown, but it helps you rule out a spot that is too chilly or too hot.
After moving the pot, give it a few weeks. Watch the newest leaves rather than the old crispy ones, since those show whether the change is helping.
Check the potting mix before you water
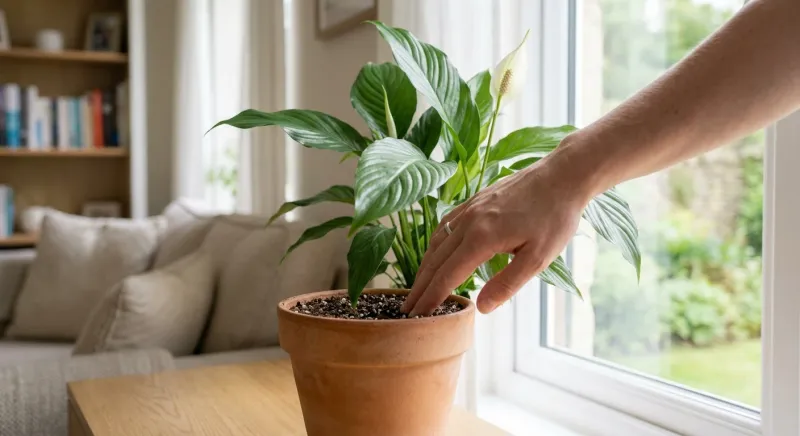
Poke a finger about an inch or two into the mix. That simple test beats any calendar.
A peace lily likes mix that stays moist but never soggy, and it can dry out slightly between waterings.
When the mix does feel dry below the surface, water thoroughly so the whole root ball gets wet. Then empty the saucer.
Clemson’s guidance points out that constantly wet soil can contribute to root problems, and damaged roots can send brown tips up into the leaves just as dry roots can.
Winter changes the math. North Carolina Cooperative Extension notes that indoor plants often grow more slowly in the cooler, darker months, so they may use less water.
The routine that worked in July may now leave the mix wetter than the plant needs.
Pot weight is another clue. Lift the pot right after a good watering, then again when it feels dry.
You will learn what light and heavy feel like for your plant in your home.
If the mix stays wet for many days, check that the pot has drainage holes and that the roots are not packed tight. If it dries out within a couple of days and the leaf edges crisp, the plant may need more consistent attention.
Either pattern tells you something useful.
Measure the room before treating it as too dry
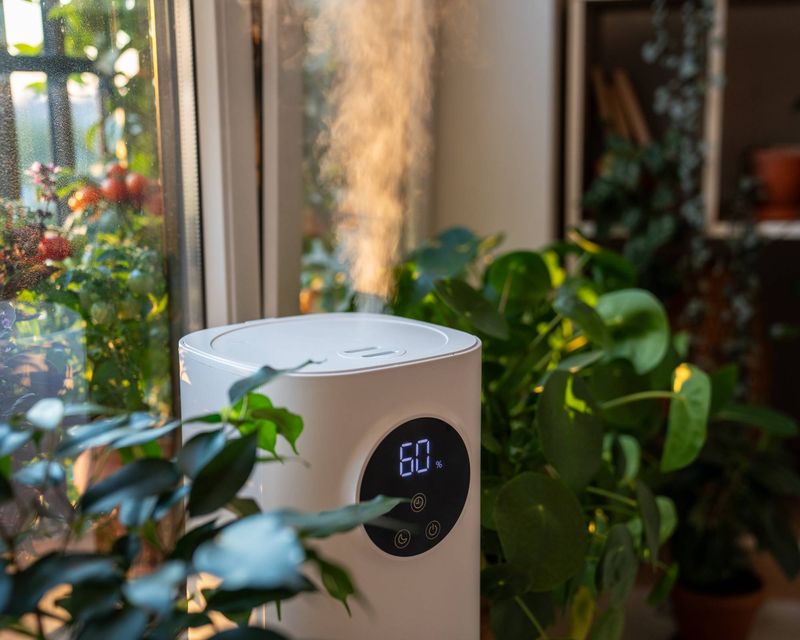
Guessing about humidity is how people end up buying gadgets they do not need. A small digital hygrometer costs little and shows what the air near your plant is really like.
Check it a few times over several days, since readings shift with cooking, showers, and when the furnace cycles on.
Winter air is often low in humidity, according to North Carolina Cooperative Extension, but your own house may be different. That same source mentions 40 to 50 percent as a general preference for many houseplants.
Penn State Extension, in its humidity guidance, notes that needs vary by plant and there is no single ideal level for every houseplant, so treat that number as a loose reference, not a peace lily rule.
If your readings do come in low, a humidifier placed near the plant is the better-supported fix. Grouping plants together can also help a little.
Misting is another story. Its effect is brief, lasting only a short while after the droplets dry.
Pebble trays have limited impact too. If you use one anyway, keep the pot sitting above the water on the pebbles, never in it, so the roots do not stay wet.
If the room measures reasonably comfortable, humidity is probably not your main culprit, and you can move on to the next clues.
Look for fertilizer and salt clues
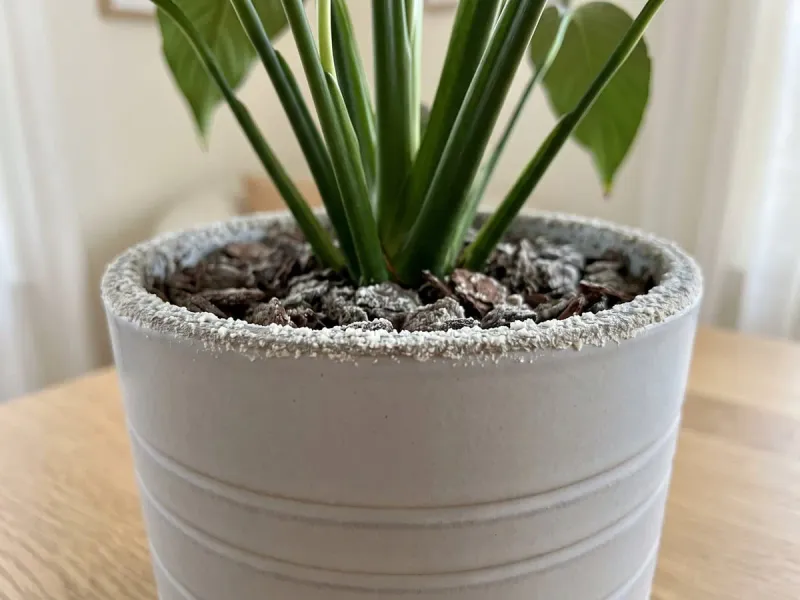
Take a close look at the soil surface and the rim of the pot. A white or tan crust there points toward salt buildup, which can come from fertilizer, and sometimes from minerals in water.
If you fed the plant often or at full strength, that clue gets even stronger.
Salt buildup can injure leaf tips in a way that looks a lot like dry air damage. That is why a crusty pot is worth noting before you spend money on a humidifier.
Clemson’s houseplant guidance advises against overfertilizing and describes periodically drenching the mix to leach out some of the salts.
If you try leaching, do it only with a pot that drains freely. Take it to a sink, let water run through the mix slowly, and let all of it drain away before the pot goes back on its saucer.
Water sitting in the saucer defeats the purpose. It may help in some cases, but it will not solve every case of browning.
For feeding, keep it light. Clemson’s peace lily advice recommends only light feeding during spring and summer, so there is no need to fertilize through winter.
Fertilizer is not medicine for a stressed plant.
If the surface looks clean and you have rarely fed the plant, you can cross this one off and keep investigating.
If browning continues, widen the diagnosis
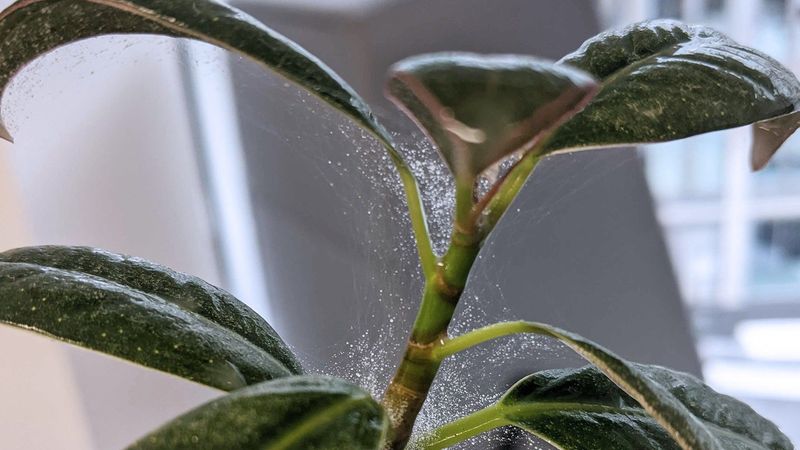
Sometimes you fix the airflow and the watering and the tips keep browning. That is a cue to look harder, not to double down on one theory.
Start with the leaves themselves.
Turn a few over and check the undersides, the leaf joints, and the soil surface. Look for fine webbing, cottony bits, sticky residue, or tiny moving specks.
Clemson’s houseplant disorder guide includes insect feeding among the causes of brown tips, and a hand lens makes small pests much easier to spot.
Next, think about light again. A plant that gets a few hours of direct sun through a window can scorch even when everything else is right.
Clemson’s peace lily factsheet favors bright but indirect light, so look for brown patches on the side of the plant facing the glass.
Water quality is the last possibility, and it is only a possibility. Clemson notes that some houseplants are sensitive to fluoride or chlorine.
On the other hand, University of Missouri Extension says ordinary tap or well water is usually satisfactory for plants. Neither source makes distilled water a standard fix, and letting water sit overnight is not a proven cure for fluoride.
If you suspect your water, try rainwater or filtered water on one plant and watch the new growth.
Use new growth to judge your adjustments
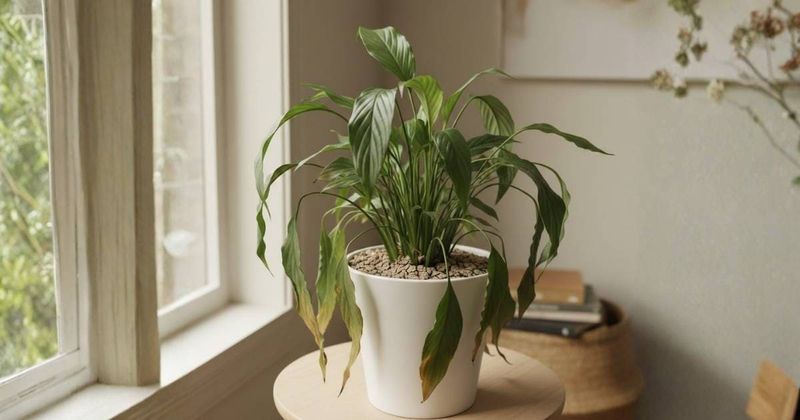
Work through the checks in order. Move the plant out of hot airflow and cold drafts, test the mix before each watering, measure humidity if dry air still worries you, and then look at fertilizer, light, pests, and water if browning goes on.
Details are in Clemson’s peace lily guidance and its houseplant disorder page.
Judge your progress by new leaves, not old ones. Brown tissue will not turn green again, and one change may not stop every new tip from browning.
Trim the crispy edges if you like and keep notes on what you changed.
A peace lily answers care with fresh leaves, and those leaves are the clearest verdict you will get.