Budding gardeners often dream of lush harvests, but high costs and time constraints can be barriers. Fortunately, you can construct durable, raised garden beds quickly and affordably with just a few tools and materials. This guide walks you through seven key steps to create your own thriving, wallet-friendly garden plot.
Gather Your Materials Strategically
Picture saving money right at the start—choosing the right materials makes all the difference. Cedar fence pickets, for example, provide natural rot resistance at a fraction of the cost of specialty lumber.
Pair these with sturdy 2x4s for supports, and gather exterior screws, a saw, and a drill. Even if you’re new to DIY, assembling these tools is straightforward and sets a solid foundation for the project to come.
Measure and Cut with Precision
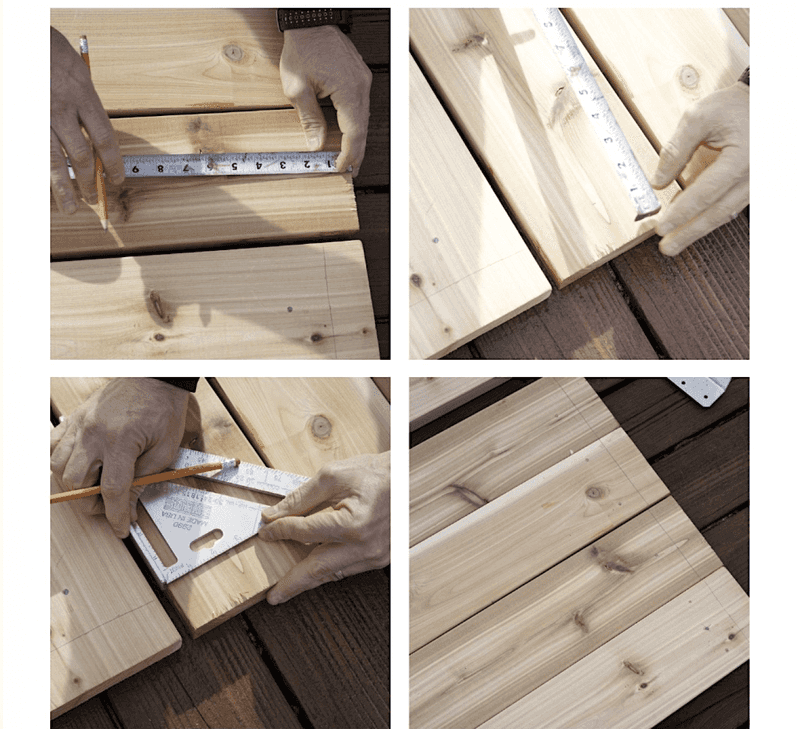
Ever wonder why some projects look so polished? Attention to measurement is the secret. Accurately measuring and marking your cedar pickets ensures your bed fits perfectly in its spot and exudes a professional finish.
Cutting corners—literally—with a circular saw speeds up the process, but don’t skip double-checking lengths. This step brings together efficiency and care for a result you’ll be proud of.
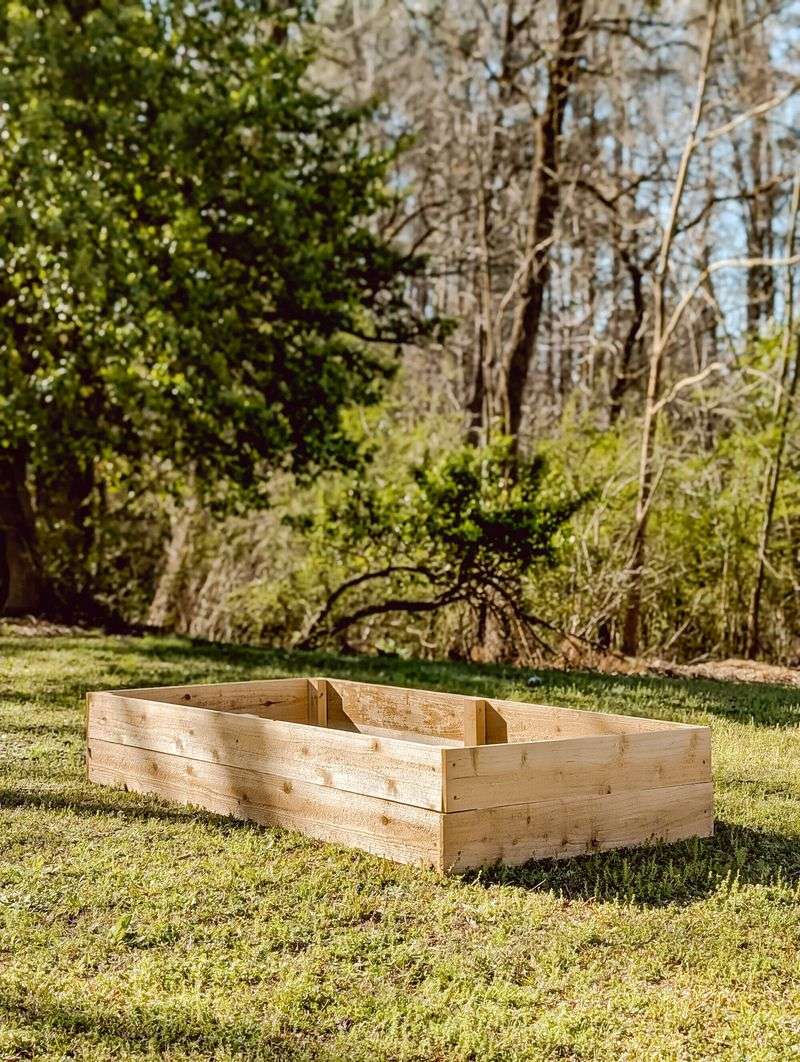
Assemble the Frame Efficiently
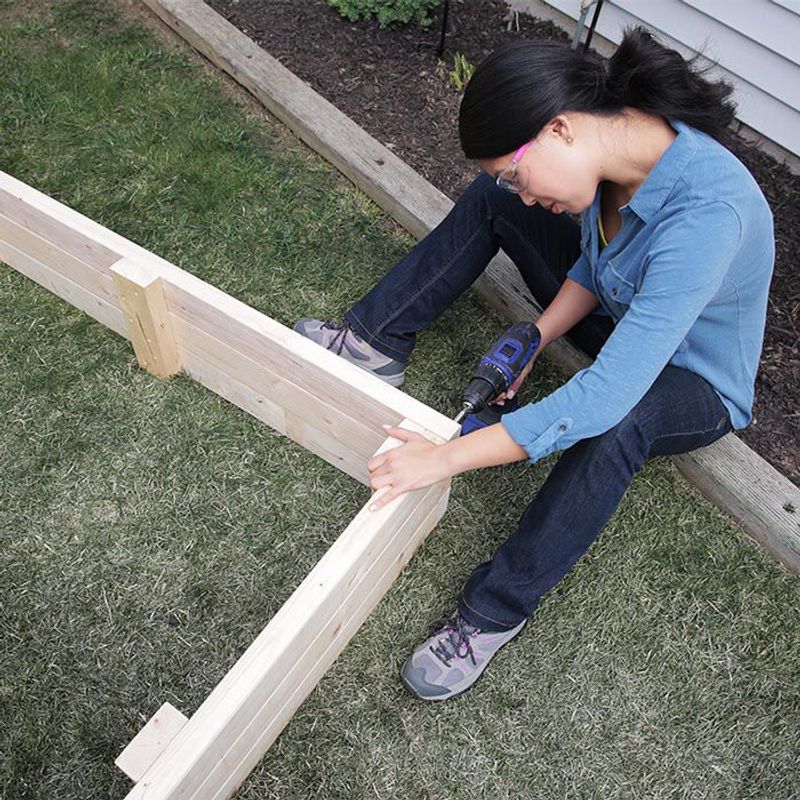
Some builders swear by a quick assembly, and this is where your prep pays off. Position the planks on the ground, attach corners with supports, and secure the structure using exterior screws.
With everything pre-cut, you can snap the frame together in minutes, even solo. The sense of accomplishment when the rectangle stands firm is hard to beat.
Pick the Perfect Spot
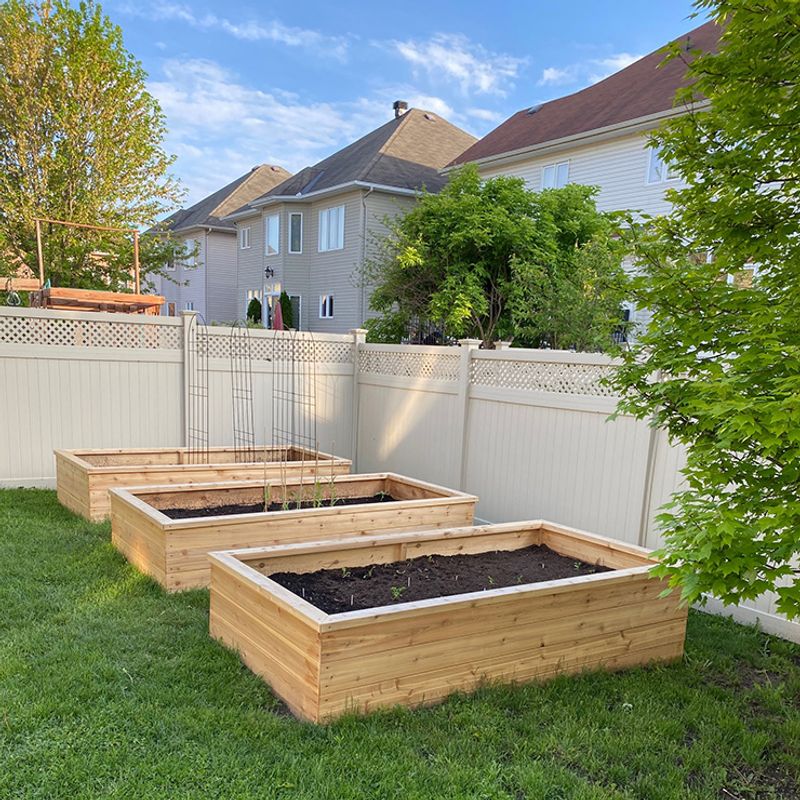
Location can make or break your gardening success. Seek an area that enjoys at least six hours of sunlight per day, steering clear of soggy patches or heavy shade.
Once you lay the frame down, take a step back and envision your soon-to-be flourishing garden. Good drainage and sun exposure provide an excellent starting point for vibrant plants.
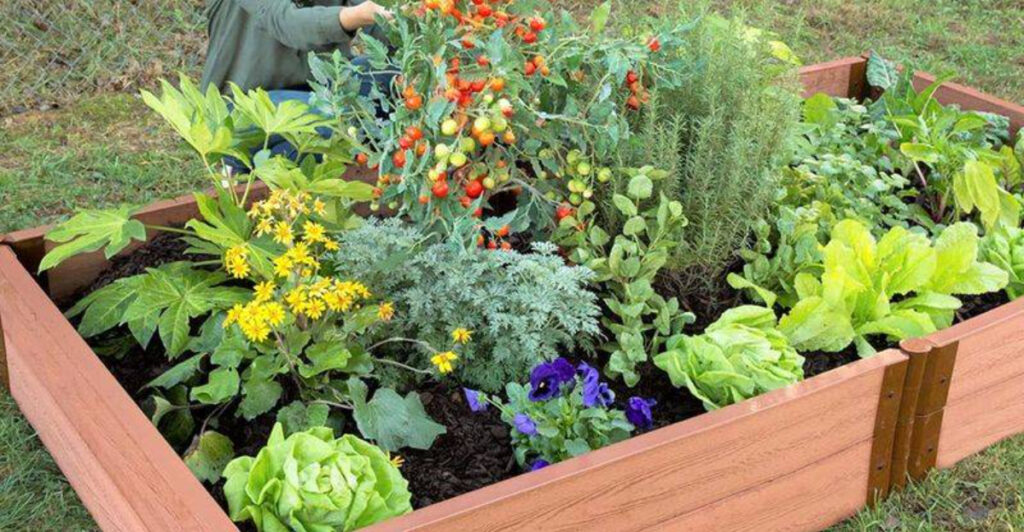
Layer and Fill for Healthy Growth
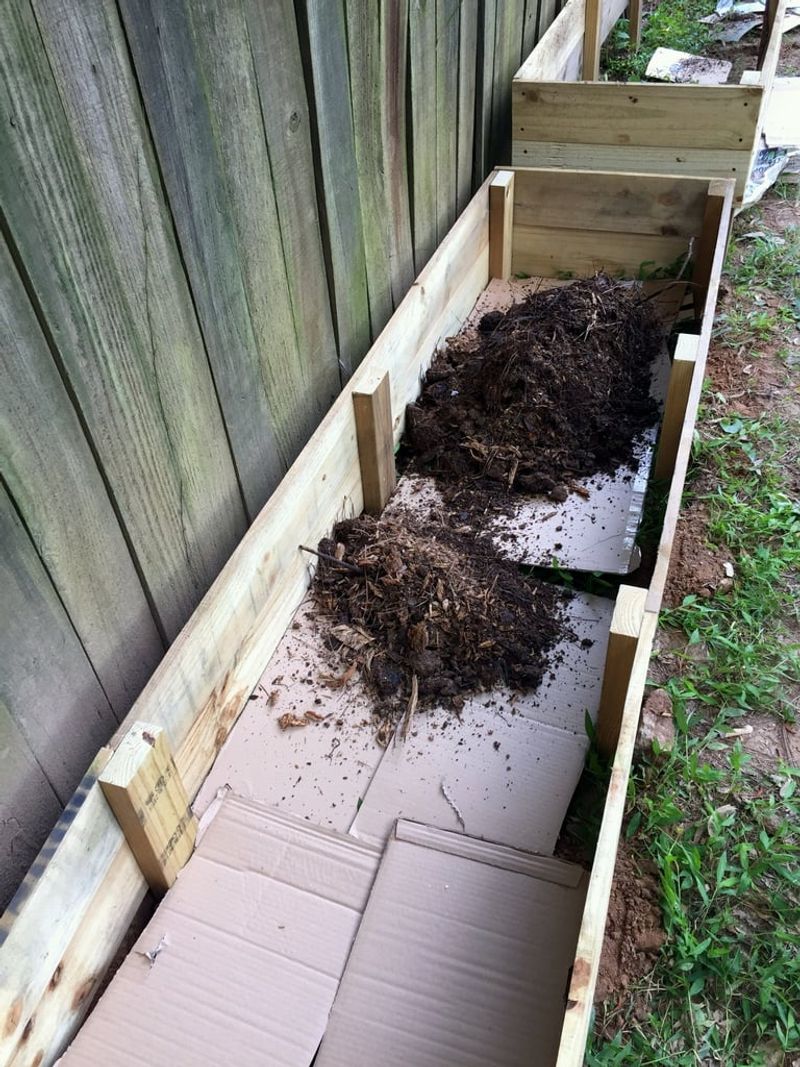
Gardeners in the know use a base of cardboard or newspaper before adding soil. This suppresses weeds and boosts moisture retention, creating a healthy launchpad for plants.
Fill the bed with a blend of compost and quality soil, aiming for eight to twelve inches deep. The right foundation helps crops thrive with fewer headaches down the line.
Plant with the Seasons
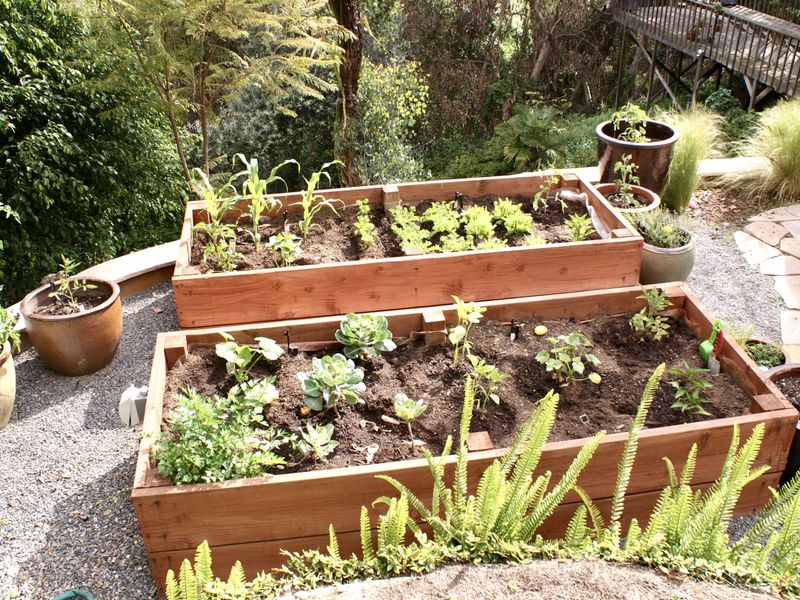
Gardening isn’t just science; it’s timing, too. Select seeds or seedlings matched to your climate and the current season for the best yield.
Arrange your plants thoughtfully, accounting for their space and sunlight needs. Watching your first shoots poke through the soil is a reward every beginner remembers fondly.
Customize and Care for Longevity
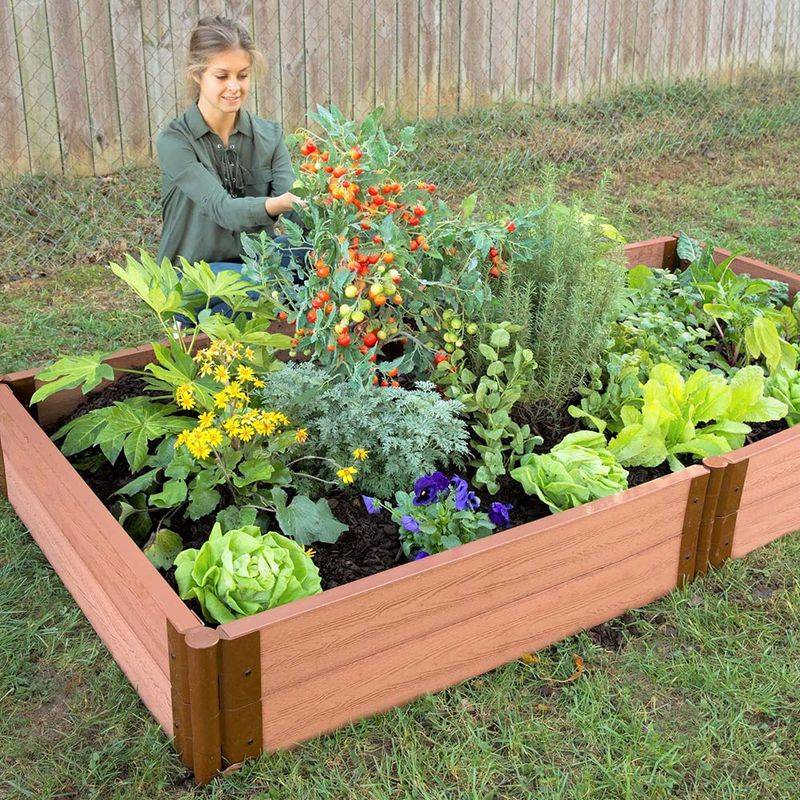
Personal touches—like a coat of non-toxic paint or creative signage—add character and protect the wood. Check your bed regularly for signs of wear, especially if you opted for untreated lumber.
Quick repairs or seasonal touch-ups keep your garden box thriving year after year. Over time, these little rituals become part of the gardening joy.