
Testing your soil at home provides valuable insights into its quality and nutrient levels. Whether you’re a seasoned gardener or a novice, these simple tests can help you understand your soil’s composition without the need for lab equipment.
1. Jar Test for Soil Texture
Curious about your soil’s texture? A simple jar test can reveal the proportions of sand, silt, and clay. Fill a clear glass jar halfway with soil, then add water until nearly full. Shake vigorously and let settle overnight. Sand layers on the bottom, silt in the middle, and clay at the top.
Use a ruler to measure each layer’s depth. Compare the proportions to determine if your soil is sandy, loamy, or clayey. This test helps with planning the right plants for your garden. It’s a fun and straightforward way to connect with your soil.
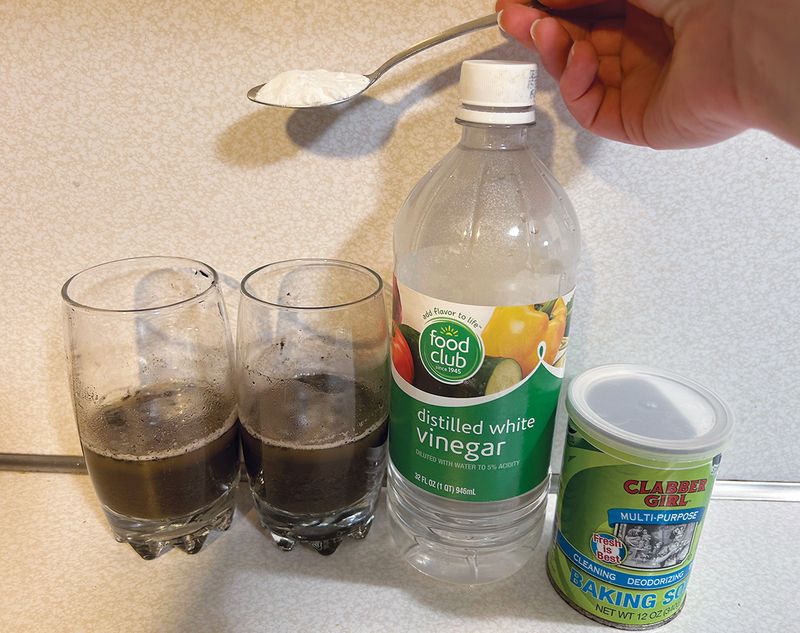
2. pH Test with Baking Soda and Vinegar
Ever wondered if your soil is acidic or alkaline? Here’s a quick test. Take two samples of soil. In one, add half a cup of baking soda. In the other, pour half a cup of vinegar. If the soil reacts with baking soda, it’s acidic. A reaction with vinegar indicates alkalinity.
This test is basic yet insightful, allowing you to adjust soil pH accordingly. Knowing your soil’s pH can influence plant growth dramatically. It’s a cost-effective method that brings science to your backyard, transforming how you garden.
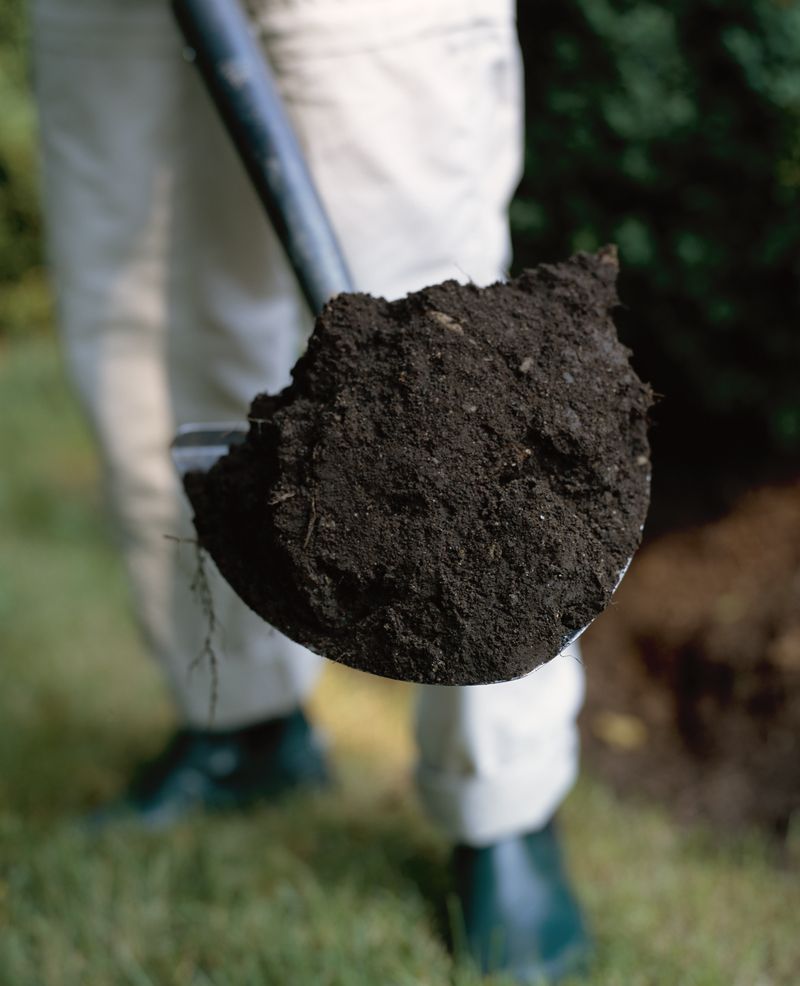
3. Earthworm Test for Soil Health
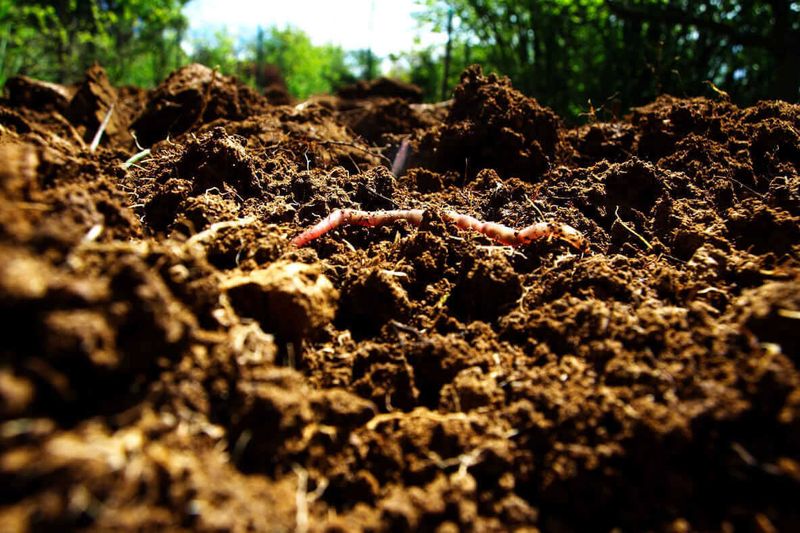
Earthworms are nature’s soil health indicators. Dig into your garden and count the earthworms in a cubic foot of soil. Finding ten or more suggests a healthy, nutrient-rich soil.
Fewer worms might mean compacted or low-nutrient soil. This test is an engaging way to assess your garden’s vitality. Earthworms aerate the soil, improve drainage, and contribute to nutrient cycles. It’s a hands-on approach that reveals your soil’s living ecosystem, ensuring a thriving garden.
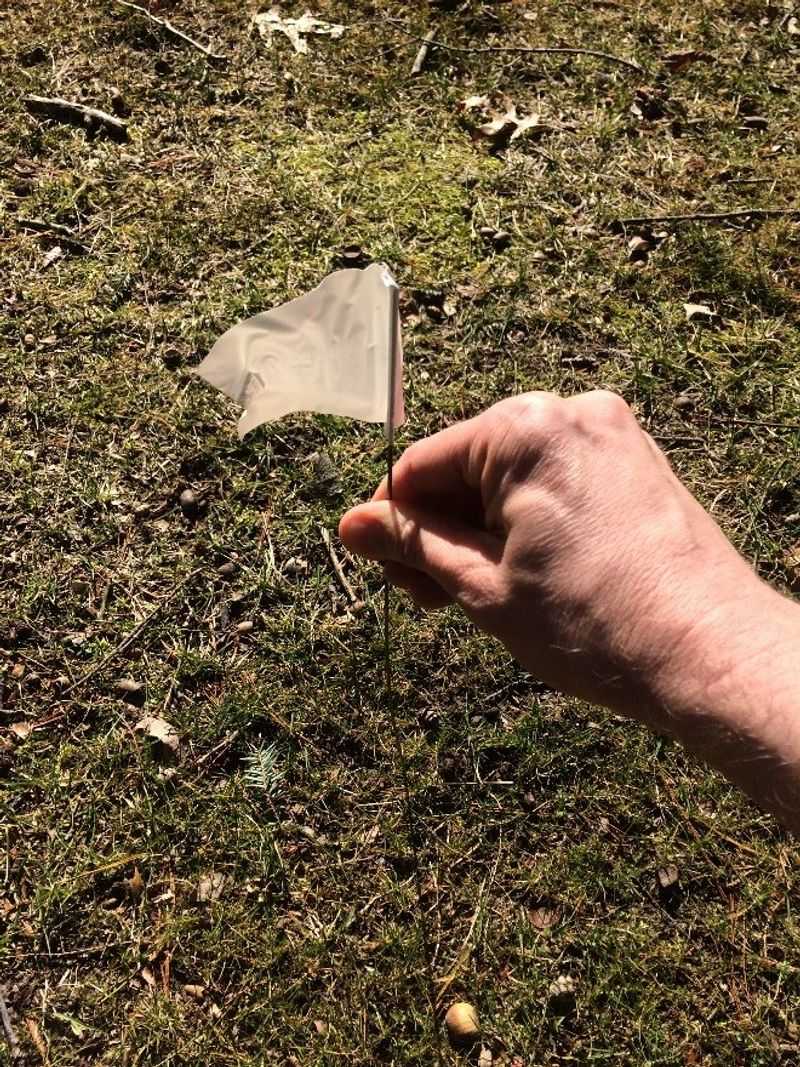
4. Drainage Test with a Hole in the Ground
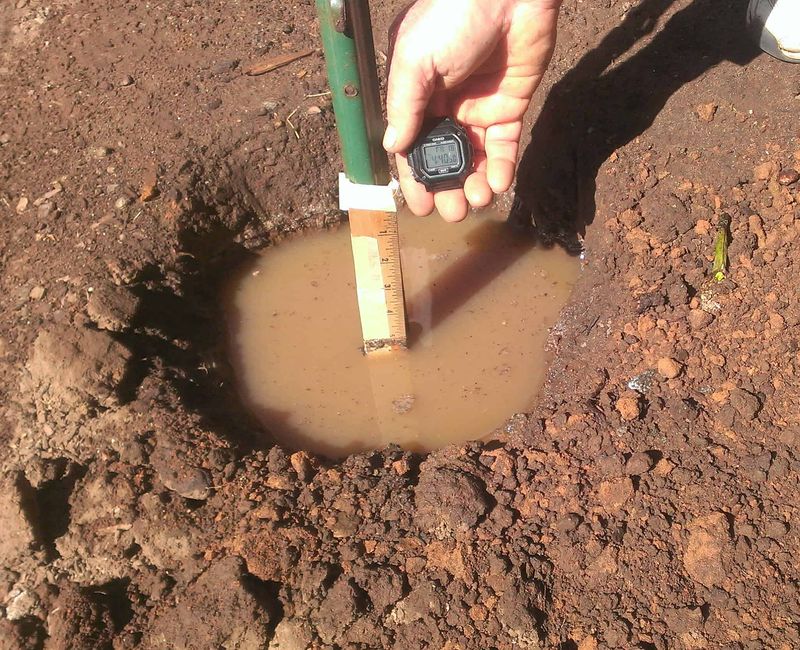
Is your garden soil well-drained? To find out, dig a hole about a foot deep and fill it with water. Let it drain completely. Refill the hole and observe how long the water takes to disappear.
Good drainage allows water to drain within 30 minutes to 4 hours. Poor drainage might necessitate amendments or choosing plants that tolerate wet conditions. This test provides crucial insights into your soil’s permeability, helping to avoid waterlogging issues.
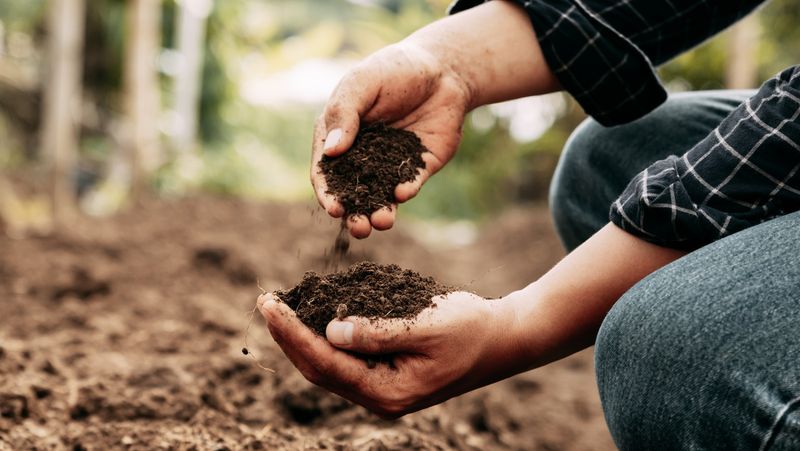
5. Soil Smell Test for Organic Matter
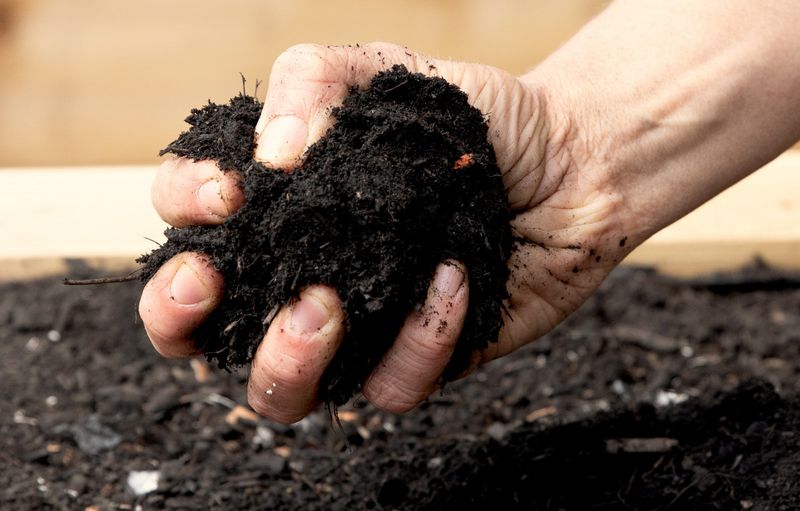
Does your soil have a fresh, earthy scent? This smell indicates a healthy organic matter content. Take a handful of moist soil and inhale its aroma. A pleasant, earthy smell means good microbial activity.
If the soil smells off or sour, it might lack organic matter or have poor drainage. This test is simple yet effective, connecting you to your garden’s health. It provides an intuitive method for assessing soil quality, guiding your gardening practices.
6. Leaf Mold Test for Microbial Activity
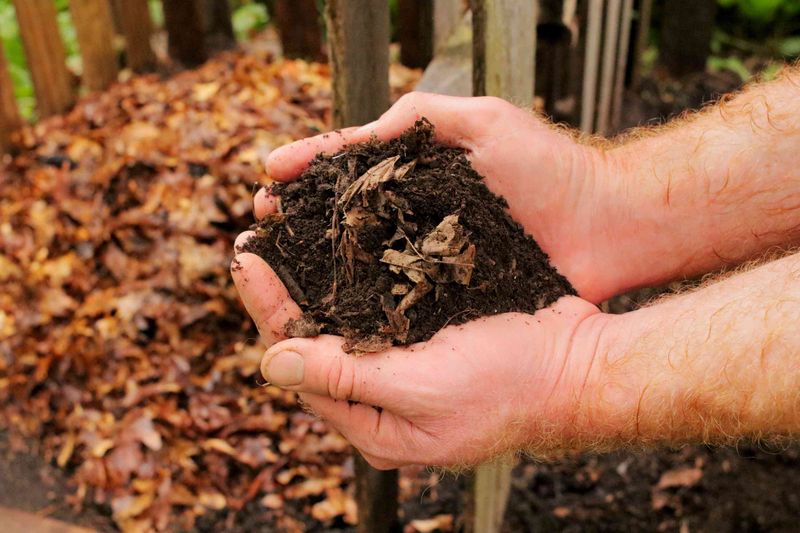
Ever wondered what’s happening beneath the surface? A leaf mold test can reveal the microbial activity in your soil. Spread a handful of leaf mold over a section of your garden soil. Within a few weeks, observe the breakdown process.
Microorganisms will show their presence by decomposing organic matter. If decomposition is rapid, your soil is teeming with life.
This natural decay process is a testament to the healthy microbial activity in your soil. This method works best in autumn when leaves are abundant. An active microbial life improves nutrient availability for plants.
7. Brick Test for Compaction
Can a brick tell you about your soil? Indeed, it can. Gently press a brick onto your garden’s surface and observe. If the brick leaves a deep imprint, your soil might be compacted.
Compacted soil restricts root growth, leading to poor plant health. High compaction also limits water infiltration, causing waterlogging.
Loose soil indicates better aeration and drainage. This quick and simple test provides insight into your soil’s structure. Addressing compaction can lead to healthier plant development and improved garden productivity.
8. Coffee Grounds Test for Nitrogen
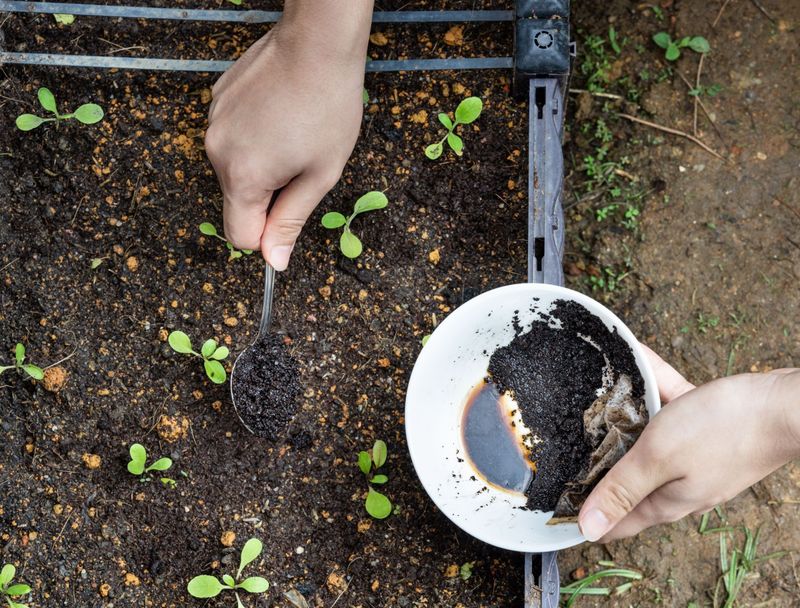
Could coffee be your soil’s best friend? Use spent coffee grounds to test for nitrogen. Sprinkle them over the soil and watch for earthworms emerging. Earthworms love nitrogen-rich environments.
Their presence signifies that your soil may have a good nitrogen level. Coffee grounds not only help test nitrogen but also improve soil texture over time.
This test is especially effective in the spring when earthworm activity peaks. Enhance your garden with this aromatic method and enjoy richer soil.
9. Digital Thermometer Test for Soil Temperature
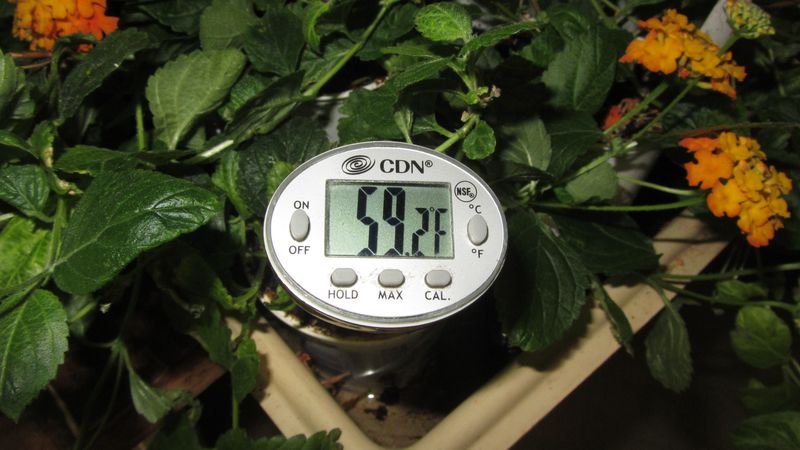
Have you considered your soil’s temperature? Using a digital thermometer, measure the soil’s warmth to determine planting readiness. Insert the thermometer into the soil at a depth of two inches.
Optimal temperatures differ for each plant type. Knowing the right temperature ensures successful germination and growth.
This test is especially useful in early spring when preparing for the growing season. A simple yet effective way to kickstart your planting journey.
10. Spoon Test for Soil Density
Who knew a spoon could reveal so much? Use it to test soil density by scooping a small amount of soil. If the soil is hard to scoop, it may be too dense for plant roots.
Healthy soil should be crumbly and easy to work with. Dense soil can impede root growth and water movement.
Checking soil density helps in assessing its suitability for planting. This quick test offers insights into your garden’s physical condition, promoting healthier crops.
11. Charcoal Test for Carbon Content
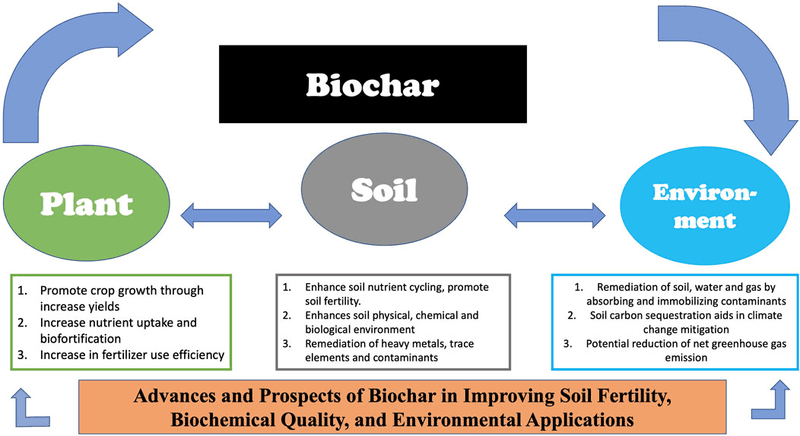
Ever thought about carbon in your garden? Crush a small piece of charcoal over the soil and observe. Charcoal particles indicate carbon presence, vital for soil fertility.
High carbon content can improve soil structure and water retention. Carbon also enhances microbial life, contributing to a thriving ecosystem.
Conducting this test provides a glimpse into your soil’s organic matter. This simple method can lead to a more vibrant garden environment.
12. Water Bottle Test for Soil Moisture
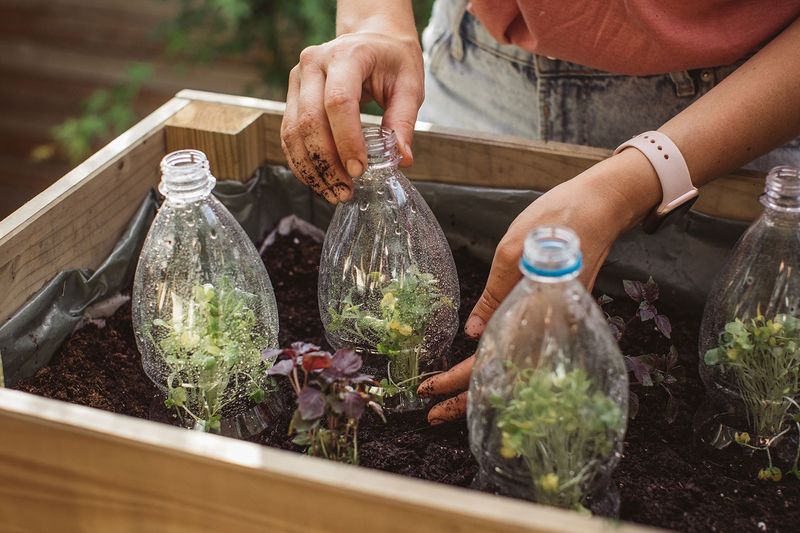
Can a water bottle help your garden? Fill a clear bottle with garden soil, cover, and wait. Moisture will condense inside if the soil is adequately hydrated.
Observe whether condensation forms, indicating sufficient moisture levels. This test is especially useful after rainfall to check for proper drainage.
Balanced moisture levels ensure healthy plant growth and prevent root rot. A handy tool for any gardener looking to optimize watering practices.
13. Eggshell Test for Calcium Deficiency
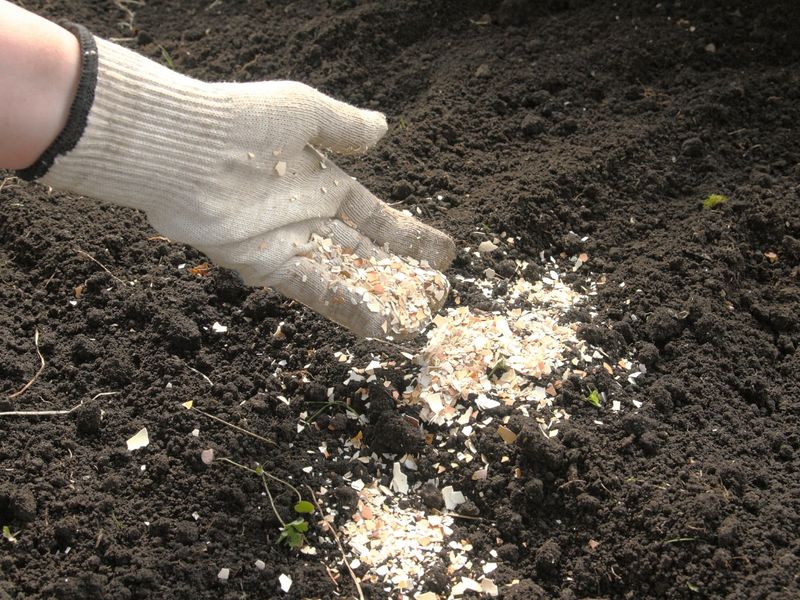
Ever considered using breakfast leftovers in the garden? Crush eggshells and spread them over the soil. Over time, observe changes in plant health.
Eggshells provide calcium, essential for strong cell walls. Yellowing leaves or weak stems might indicate a deficiency. This test also helps in improving soil pH.
A cost-effective method to ensure your plants receive vital nutrients. It highlights the connection between kitchen waste and garden health.
14. Plastic Wrap Test for Soil Humidity
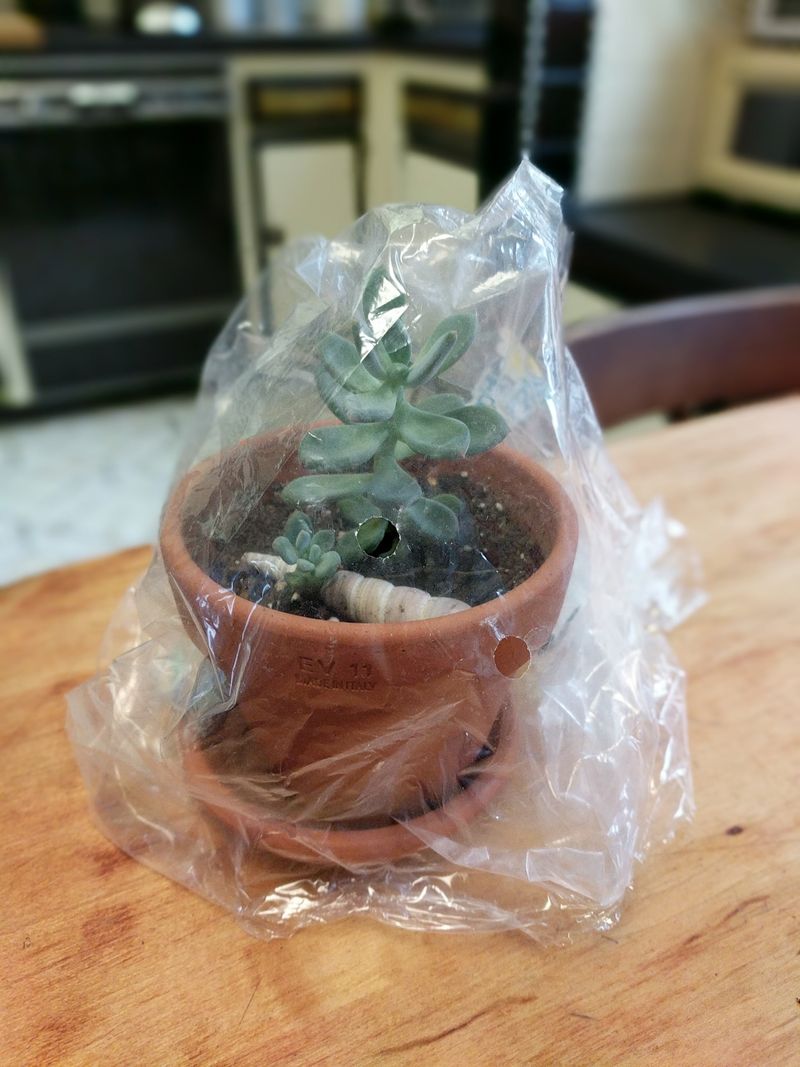
Need to check your soil’s humidity? Use plastic wrap to cover a patch of soil. Leave it for 24 hours and examine the moisture on the underside.
Visible moisture indicates a high humidity level in the soil. This method helps in understanding water retention capacity. Adjust watering based on the results to prevent over or under-watering.
An easy and informative test to manage soil humidity effectively.
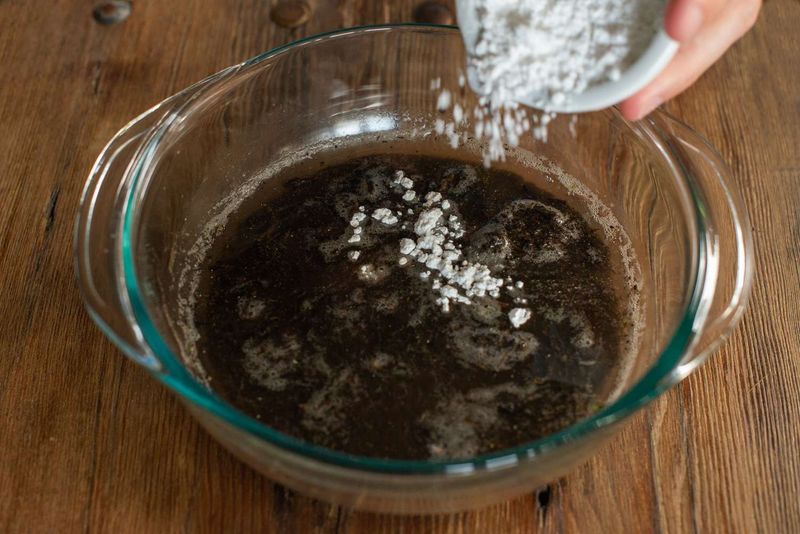
15. Vinegar and Salt Test for Mineral Content
Could kitchen staples unlock soil secrets? Mix vinegar and salt, then sprinkle the solution over the soil. Effervescence indicates mineral content presence.
This reaction reveals the soil’s mineral richness, essential for plant nutrition. Understanding mineral levels helps in tailoring fertilization.
This test simplifies the complexity of soil science, making it accessible to anyone. A fantastic way to engage with your garden’s hidden potential.