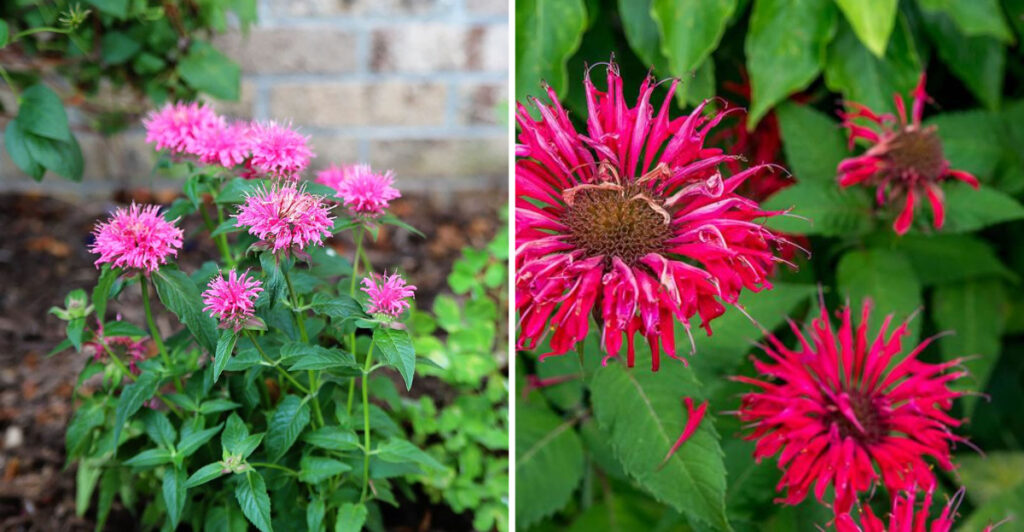
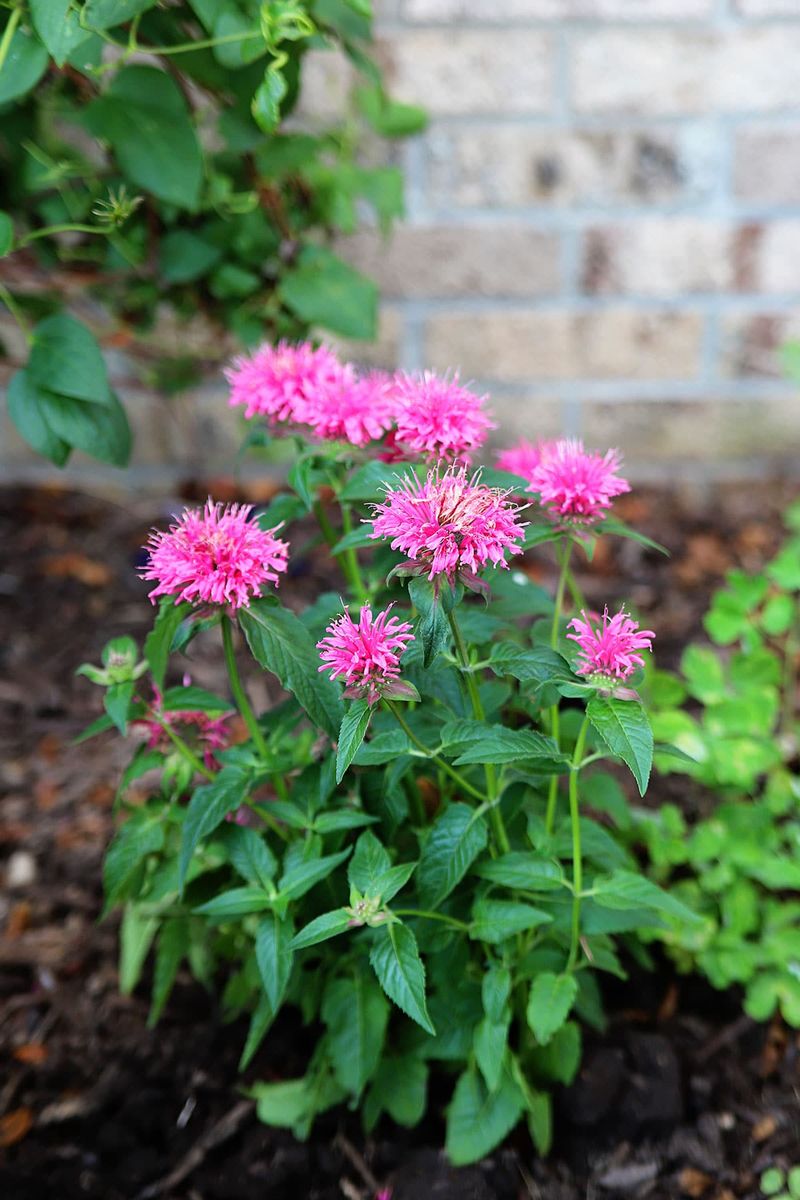
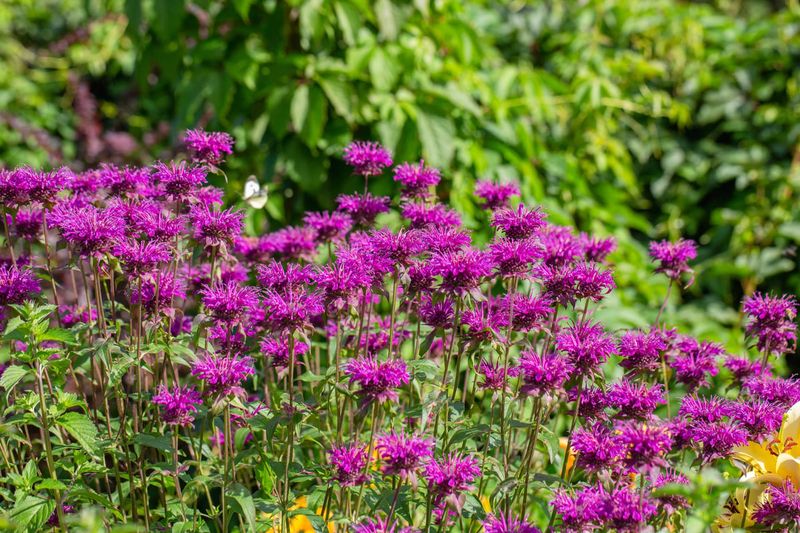
Growing bee balm can be tricky, but after two years of testing different methods on 17 plants, I discovered what really makes them thrive. Some plants grew tall and skinny while others became full and bushy. The difference came down to specific care techniques that most gardeners overlook.
1. Pinch Early Growth Tips for Maximum Branching

Your bee balm plants will thank you for this simple trick that most gardeners skip entirely. When stems reach about 6 inches tall, pinch off the top inch using your fingers or clean scissors.
This forces the plant to create multiple branches instead of growing straight up. Do this again when new shoots reach 4 inches for even bushier results.
2. Space Plants Exactly 18 Inches Apart
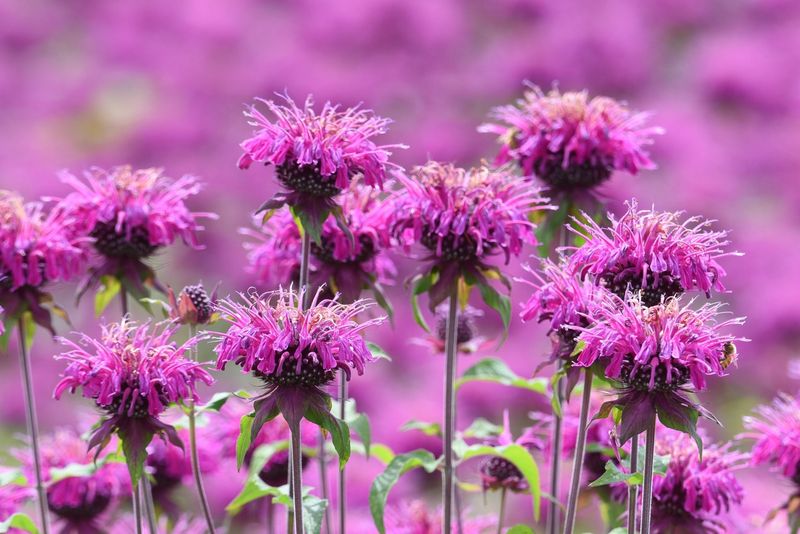
After trying different spacing with my 17 plants, I found the magic number that creates the bushiest growth. Plants placed 18 inches apart get enough air circulation while still supporting each other’s growth.
Closer spacing creates tall, weak stems that flop over. Wider spacing wastes garden space and doesn’t encourage the full, rounded shape you want.
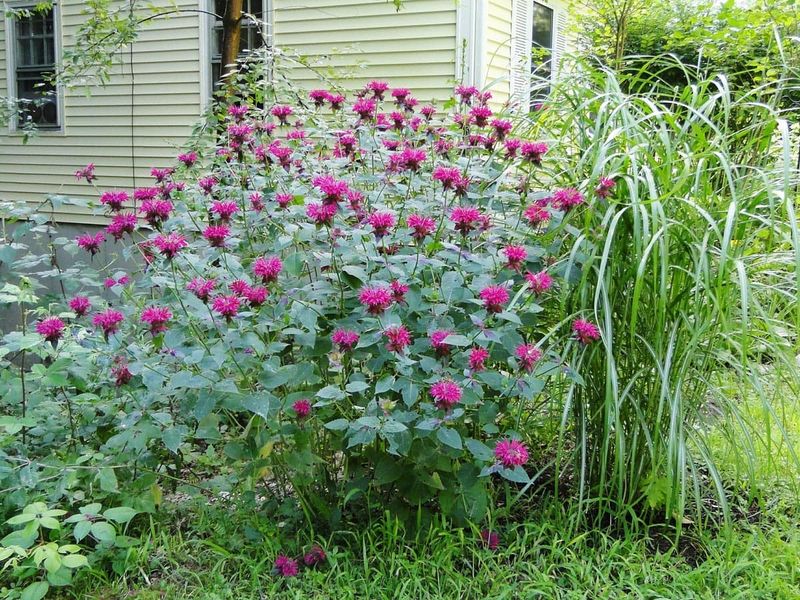
3. Water Deeply Once Per Week Only

Forget daily watering – bee balm actually grows bushier when you water less frequently but more thoroughly. I learned this after watching some plants grow tall and spindly with daily sprinkles.
Deep weekly watering encourages roots to spread wide instead of staying shallow. This creates stronger stems that can support more branches and flowers throughout the growing season.
4. Add Compost Around Base Every Spring
My bushiest bee balm plants were the ones that received a 2-inch layer of compost each spring before new growth appeared. This slow-release nutrition feeds the plant gradually throughout the growing season.
Spread compost in a circle around each plant but keep it away from the stem base. The nutrients help create stronger, more numerous branches that support abundant blooms.
5. Cut Back by Half in Mid-Summer
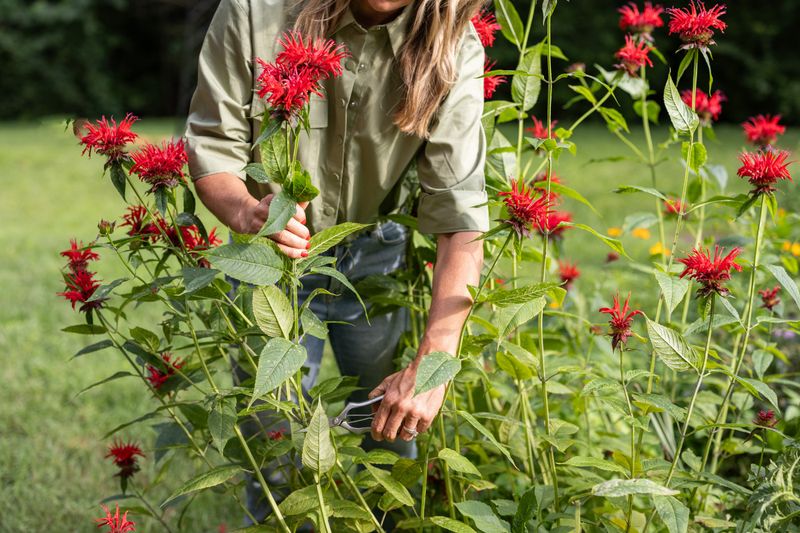
This bold move scared me at first, but cutting bee balm plants back by half in July creates incredible fall growth. The plants respond by sending out multiple new shoots from every cut point.
Use clean garden shears and make cuts just above leaf nodes. Within three weeks, you’ll see fresh growth that’s much bushier than the original stems. This technique also prevents disease problems.
6. Choose Morning Sun with Afternoon Shade
Location makes a huge difference in how bushy your bee balm grows, and I discovered this by moving plants around my yard. Morning sun gives plants energy to create strong stems and branches.
Afternoon shade prevents stress that causes plants to bolt upward seeking relief. This combination creates the perfect growing conditions for full, rounded plants that stay compact and healthy all season long.
7. Divide Clumps Every Three Years
Overcrowded bee balm clumps produce weak, spindly growth that disappoints even experienced gardeners. Digging up and dividing established plants every three years keeps them vigorous and bushy.
Spring division works best when you can see new shoots emerging. Split large clumps into sections with healthy roots and replant immediately. Each division will grow into a full, bushy plant by summer’s end.
8. Mulch Magic for Moisture

Mulching does wonders for bee balm, helping retain moisture and suppress weeds. A layer of organic mulch, such as shredded bark or straw, keeps the soil cool and moist.
Apply mulch in late spring, after the soil warms up, to lock in water during the summer heat.
Regularly replenish the mulch to maintain its effectiveness. Keep mulch away from the stems to prevent rot. This simple act of mulching can transform your bee balm into a lush masterpiece.
9. Pruning for Air Circulation
Pruning isn’t just for appearance; it’s vital for air circulation in bee balm plants. Proper airflow helps prevent mildew and disease.
Prune in early spring, removing dead or overcrowded stems. This opens up the plant, allowing air and sunlight to penetrate.
The result is healthier growth and more vibrant blooms. Regular pruning keeps plants in top condition, ensuring they breathe freely and remain robust.
10. Use Epsom Salt for Bloom Boost
Epsom salt isn’t just for soothing baths; it boosts bloom production in bee balm plants. Magnesium sulfate in Epsom salt promotes chlorophyll production and nutrient absorption.
Dissolve a teaspoon in a gallon of water and apply monthly. This enhances the vibrancy and size of the blooms, painting your garden with a riot of colors.
Enhanced blooms not only attract pollinators but also make your garden the envy of every neighbor.
11. Companion Planting with Herbs
Bee balm thrives when paired with certain herbs, creating a balanced ecosystem. Basil and rosemary are excellent companions, repelling pests and attracting beneficial insects.
This natural pest control reduces the need for chemicals, promoting an organic garden. The aromatic oils from these herbs enhance the scent of your garden.
Together, they create a symphony of scents and colors, making your garden a sensory delight.
12. Coffee Grounds for Soil Acidity

Coffee grounds aren’t just for your morning brew; they increase soil acidity for bee balm plants. Scatter used coffee grounds around the base of the plants.
This organic amendment lowers soil pH, ideal for bee balm’s acidic preference. It also improves drainage and provides nitrogen.
The result is healthier, more vigorous growth. This simple addition can significantly enhance the vitality of your plants.
13. Neem Oil for Pest Control

Neem oil is a gardener’s ally for pest control, especially for bee balm. Its natural insecticidal properties keep aphids and spider mites at bay.
Mix with water and spray on affected areas, ensuring coverage of both sides of the leaves.
This non-toxic solution protects the plants without harming beneficial insects. It maintains plant health without resorting to harsh chemicals.
14. Eggshells for Calcium Boost

Eggshells, often discarded, are a treasure for bee balm plants, providing a calcium boost. Crush and sprinkle them around the plant base.
Calcium strengthens cell walls, aiding in healthy growth and disease resistance. Over time, the shells decompose, enriching the soil.
This eco-friendly practice recycles kitchen waste and fortifies your garden, ensuring robust plant development.
15. Rainwater Harvesting for Irrigation
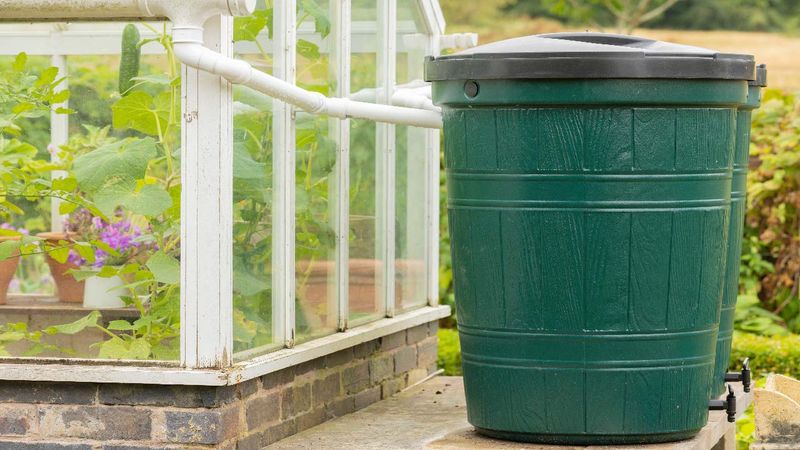
Using rainwater for irrigation takes advantage of natural resources, providing bee balm with chlorine-free hydration.
Collect rainwater in barrels and use it during dry spells. This reduces reliance on municipal water and provides plants with naturally soft water.
The result is thriving plants and a reduced environmental footprint. Embrace this sustainable practice to nurture your garden.