Transplanting your plants is one of those moments in gardening that feels a little like sending your kids off to their first day of school.
You’ve spent time nurturing them in a cozy, protected environment, but now it’s time for them to spread their roots—literally—in a new spot. However, plants can’t exactly tell us how they feel, but transplant shock is their way of showing it.
Transplant shock happens when a plant struggles to adjust to its new environment, and the result can be disappointing.
You might notice wilting, yellowing leaves, or stunted growth. While transplanting is a natural part of the gardening process, there are a few tricks to minimize transplant shock and help your plants settle into their new home with minimal fuss.
Let’s dive into how you can make the transplanting process as smooth as possible for your green friends!
1. Timing is Everything
Just like you wouldn’t move houses in the middle of a snowstorm, plants prefer being transplanted when conditions are ideal.
The best times for transplanting are during the cooler parts of the day and in seasons when the weather is mild, typically early spring or late fall.
Why does timing matter? Well, transplanting during extreme heat or cold puts extra stress on plants that are already adjusting to a new environment.
Think about it—if you’re uprooting a plant in the middle of a hot summer day, it’s like taking someone out of their air-conditioned home and throwing them into a desert.
If you can’t avoid transplanting during hot weather, try doing it in the early morning or late evening when the temperatures are cooler. This gives your plant the chance to acclimate before the midday heat hits.
Pro Tip: Look out for cloudy days!
Cloudy days are your best friend when it comes to transplanting. The reduced sunlight gives plants a better chance to settle in without being scorched by the sun’s rays.
2. Prepare the New Home First
You wouldn’t move into a new house without making sure it’s ready, right? Plants need the same consideration. Before you even think about uprooting your plant, make sure the new location is prepped and ready to go.
Start by loosening the soil where your plant will be relocated. This helps the roots easily penetrate the soil and reduces stress. Adding compost or organic matter to the soil can give your plant an extra nutrient boost and help retain moisture during the transition.
Dig Smart
When you’re digging up the plant’s new home, make sure the hole is big enough to accommodate the root ball comfortably.
Ideally, the hole should be about twice as wide and as deep as the root system. This allows the roots to spread out naturally without being cramped.
3. Handle With Care
Now that the new home is ready, it’s time to carefully move your plant. But here’s the thing: plants are sensitive to rough handling. If you rip out the roots or yank them out of the ground, you’re setting them up for a tough adjustment.
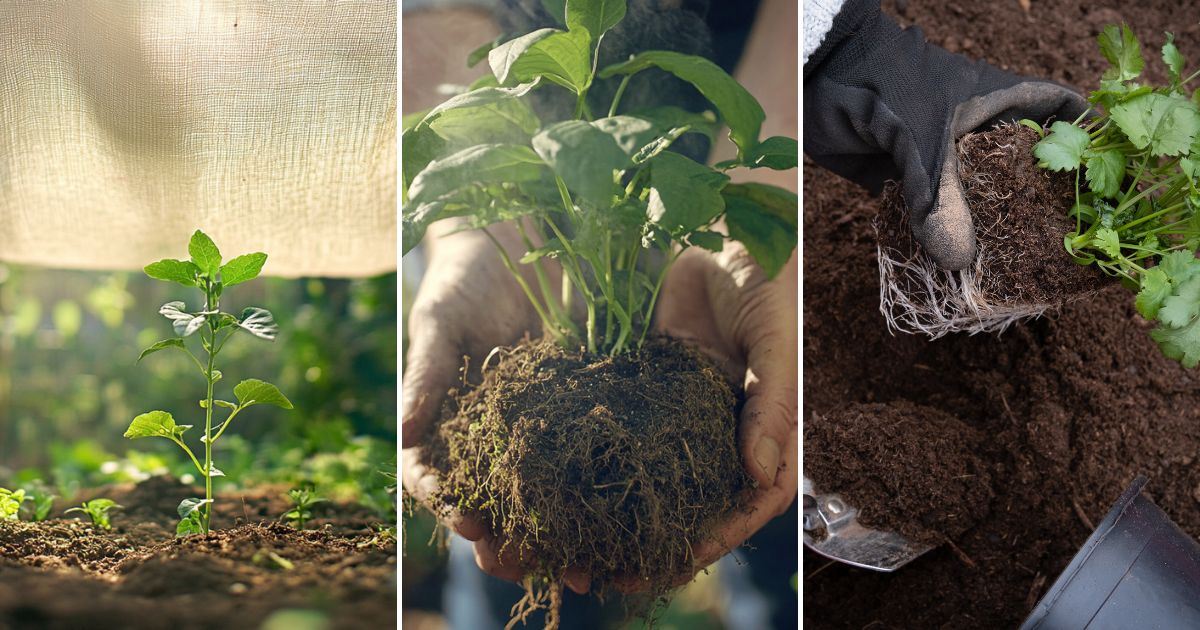
The key is to gently dig around the root system, keeping as much of the soil around the roots as possible. This is called the “root ball,” and keeping it intact is crucial for minimizing shock.
When moving the plant, lift it by the root ball, not the stems or leaves. It might seem quicker to grab the plant by the top, but this can cause significant damage.
Think of the root ball as the plant’s foundation—it’s got to stay strong for the plant to thrive in its new environment.
Pro Tip: Keep those roots moist!
Once you’ve dug up your plant, don’t let the roots dry out. The longer the roots are exposed to air, the more stress they’ll experience.
A quick spritz of water or wrapping them in damp paper towels can go a long way in keeping the plant hydrated and happy during the move.
4. Water Immediately
Just like you’d want a cool drink after a long journey, plants need water right after they’re transplanted.
Watering the plant immediately helps settle the soil around the roots and provides much-needed hydration. It also helps remove air pockets in the soil that could cause the roots to dry out.
Don’t be shy with the water here. You want to make sure the soil is thoroughly soaked, especially if you’re transplanting in dry weather. However, be cautious not to drown your plant—good drainage is key to prevent root rot.
Deep Watering
Water deeply rather than giving the plant a quick sprinkle. Deep watering encourages the roots to grow downward, which promotes a strong, healthy root system. Aim for slow, steady watering so the moisture can reach deep into the soil.
5. Shield From Harsh Sunlight
Your plant’s just been uprooted and moved to a new environment, so it needs a little time to adjust. One way to help is by providing temporary shade if the new location is exposed to direct sunlight.
Use shade cloth, garden umbrellas, or even an old bedsheet to shield your plant from harsh sunlight for a few days. Gradually expose it to more sunlight as it gets settled in. This allows the plant to adjust to its new environment without being overwhelmed.
When to Remove the Shade
Once you notice the plant has perked up and its leaves aren’t drooping or yellowing, it’s time to start easing off the shade. This typically takes about 5-7 days, but every plant is different, so keep an eye on how it’s responding.
6. Prune Wisely
You might be thinking, “Prune my plant after transplanting? Isn’t that too much stress?” Actually, light pruning can be beneficial.
When you prune the plant’s top growth, it reduces the amount of foliage the roots need to support, allowing them to focus on establishing themselves in the new soil.
Prune any damaged or dead leaves and stems. Not only will this reduce stress on the plant, but it also encourages new growth in its new home.
Be Gentle
However, don’t go overboard with the pruning. You don’t want to shock the plant further by removing too much. A little light trimming is all that’s needed to help the plant adjust.
7. Mulch for Extra Comfort
Mulching isn’t just for aesthetics—though it can make your garden look tidy—it’s actually a powerful tool to reduce transplant shock.
A layer of mulch helps retain moisture, regulate soil temperature, and reduce competition from weeds.
Spread a 2-3 inch layer of organic mulch (like straw, bark chips, or leaves) around the base of your plant, but avoid piling it directly against the stem. Mulching too close to the stem can trap moisture and lead to rot.
A Bonus Benefit
Mulch also breaks down over time, adding organic matter to the soil. So, while it’s keeping your plant comfortable, it’s also improving soil health in the long run.
8. Be Patient and Monitor
Transplant shock doesn’t always show up right away. Sometimes, you might see the effects days or even weeks later. That’s why it’s important to monitor your plant for signs of stress after transplanting.
Common symptoms of transplant shock include wilting, yellowing leaves, stunted growth, or leaf drop.
If you notice any of these signs, don’t panic—this is normal as the plant adjusts. Just continue to water regularly and avoid fertilizing right away, as that can further stress the plant.
Time Heals All Wounds
Most plants will recover from transplant shock with a little patience and TLC. Keep an eye on them, water as needed, and give them a few weeks to settle in before expecting a full recovery.
Bonus Tip: Consider Root Stimulators
If you’re looking to give your plant an extra edge, root stimulators can help. These products contain nutrients and hormones designed to encourage root growth, which can be especially helpful when transplanting.
Apply a root stimulator according to the package instructions right after transplanting. While it’s not necessary, it can give your plant a little boost and help speed up the adjustment process.
So there you have it—eight tried-and-true ways to minimize transplant shock and help your plants settle into their new homes with ease.
The key to a successful transplant is preparation, gentle handling, and a little extra care afterward. Follow these steps, and you’ll be well on your way to watching your plants thrive in their new environment.
Now, go grab that trowel and get your hands dirty! Your plants are ready for their new digs, and with these tips, you can feel confident that they’ll settle in just fine.