
Winter bulbs bring a splash of color and life to your garden during the colder months.
Planting them properly and taking the right care steps ensures a beautiful bloom.
This guide provides essential tips and insights on planting and maintaining winter bulbs effectively.
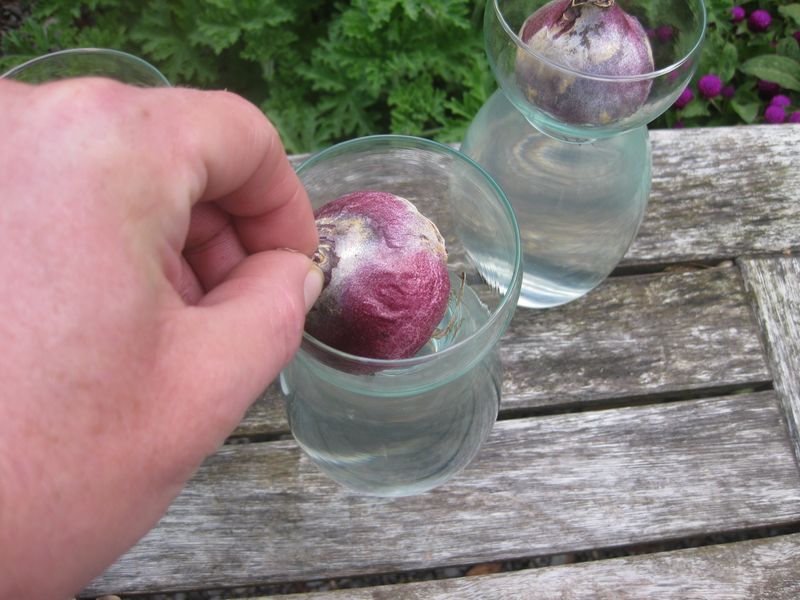
1. Selecting the Right Bulbs
Choosing the right winter bulbs is crucial for a vibrant garden. Consider your climate and soil type when selecting bulbs like tulips, daffodils, or hyacinths. Look for firm, mold-free bulbs with intact outer layers.
Mix and match different species for a prolonged blooming season. When purchasing, opt for locally sourced bulbs to ensure they suit your environment.
Research the flowering periods to coordinate a continuous display of colors. By selecting the best bulbs, you prepare the foundation for a stunning winter garden.
2. Preparing the Soil
Soil preparation is key to successful bulb planting. Start by choosing a well-drained site to prevent rotting. Enrich the soil with organic matter like compost or aged manure for nutrients.
Use a garden fork or tiller to loosen the soil, ensuring it’s crumbly and aerated. Test the soil’s pH level and adjust accordingly; most bulbs prefer slightly acidic to neutral soil.
Creating raised beds can enhance drainage, especially in heavy clay soils. Well-prepared soil sets the stage for healthy bulb growth and vibrant blooms.
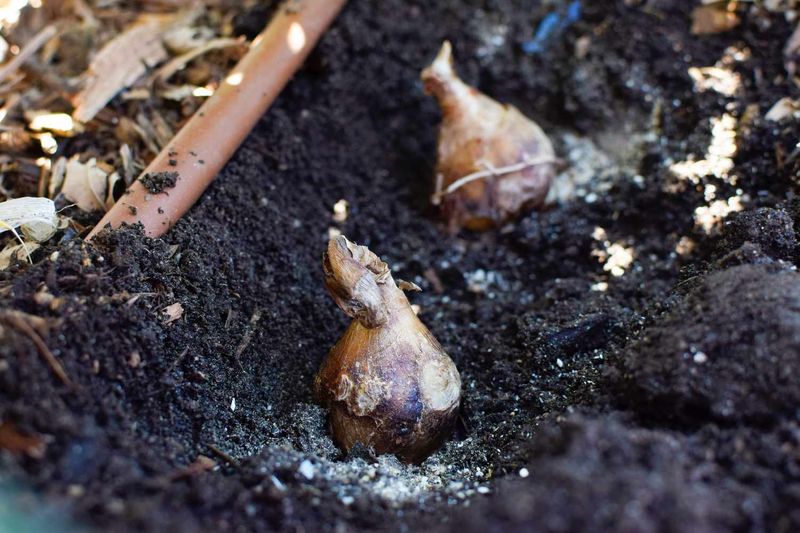
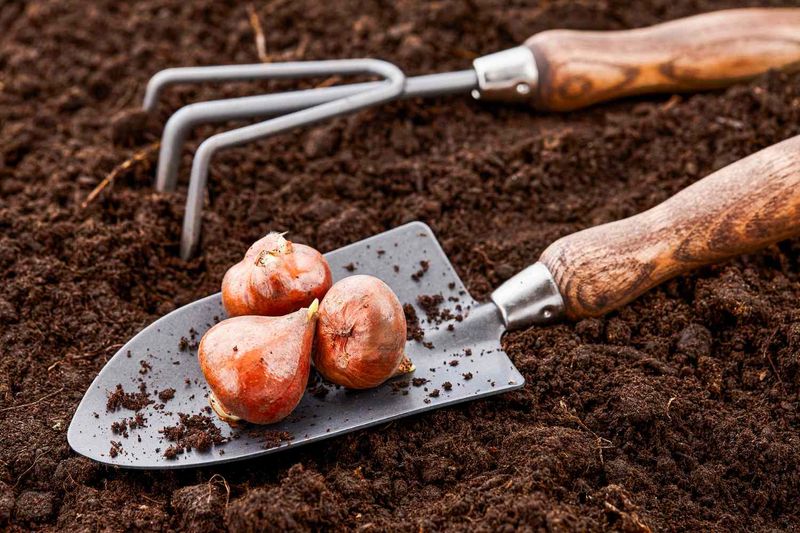
3. Planting Depth and Spacing
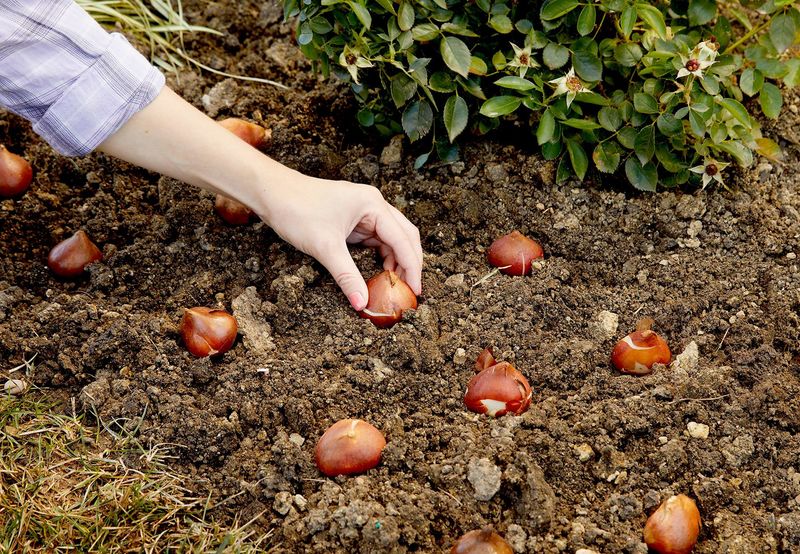
Proper planting depth and spacing are vital for bulb health. As a general rule, plant bulbs at a depth three times their height. Ensure spaced adequately to avoid overcrowding, allowing air circulation and room for growth.
Use a bulb planter or a garden trowel to create uniform holes. For larger bulbs like daffodils, space them about 4-6 inches apart. Smaller bulbs like crocuses can be closer.
Correct depth and spacing prevent competition for nutrients, leading to more robust and beautiful blooms.
4. Watering Techniques
Watering is crucial but must be done wisely. Immediately after planting, water the bulbs thoroughly to settle the soil and eliminate air pockets. Avoid overwatering, as overly wet soil can cause rot.
Maintain moisture consistency, especially during dry spells, but ensure the topsoil dries out between waterings. Use mulch to help retain moisture and regulate temperature.
Proper watering techniques ensure bulbs develop strong roots and healthy shoots, essential for vibrant flowers come spring.
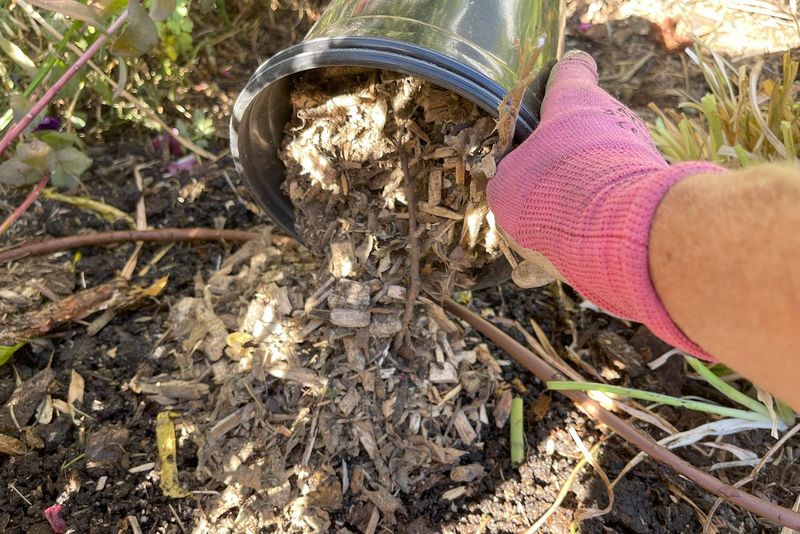
5. Mulching for Protection
Mulching offers essential protection for winter bulbs. Apply a 2-3 inch layer of organic mulch like straw or shredded bark over the planted area. This helps insulate the soil and maintain moisture levels.
Mulch prevents weeds from competing with bulbs for nutrients. It also protects bulbs from extreme temperature fluctuations.
In spring, as temperatures rise, gradually remove the mulch to allow new growth. By mulching, you safeguard your bulbs through the harsh winter, ensuring they thrive and bloom beautifully.
6. Dealing with Pests
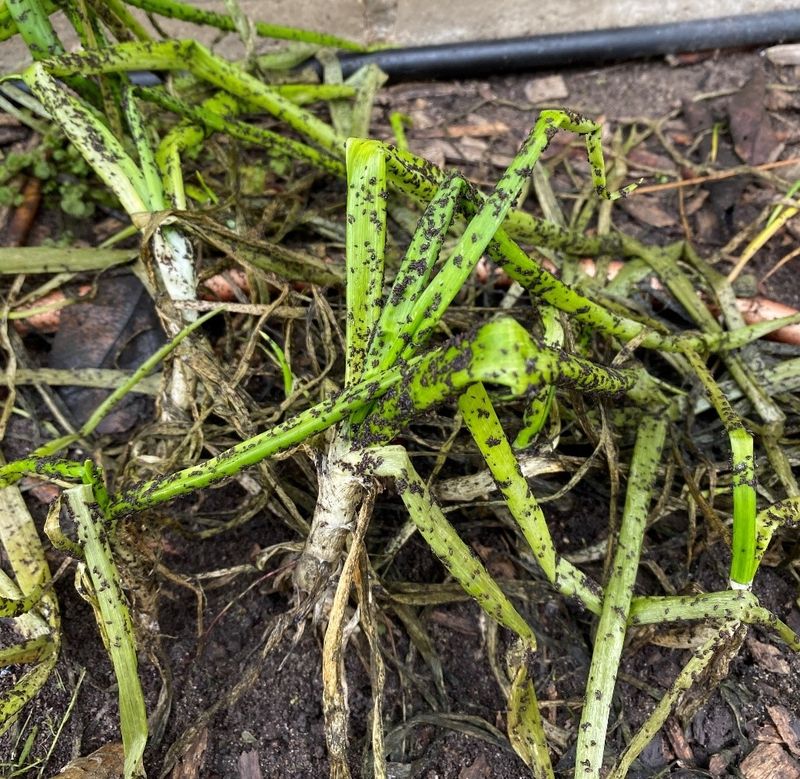
Gardening requires vigilance against pests like squirrels and slugs that target bulbs. Use deterrents like wire mesh or netting to protect the planting area.
Plant pest-resistant bulb varieties such as alliums and fritillarias. Implementing companion planting with garlic or chives can also repel pests.
Regularly inspect for signs of damage and address issues promptly. Natural solutions like coffee grounds or eggshells deter slugs. Managing pests ensures your bulbs remain safe, leading to a healthy, flourishing garden.
7. Fertilizing for Growth
Fertilizing winter bulbs boosts their growth and bloom quality. Apply a balanced, slow-release fertilizer at planting time to provide essential nutrients.
Avoid fertilizing late in the season as it can encourage premature shoots susceptible to frost. Instead, focus on early spring feeding as bulbs emerge.
Follow manufacturer instructions for correct dosage. Over-fertilizing can harm bulbs and soil health. Proper fertilization nourishes bulbs, resulting in vibrant flowers and a stunning garden display.
8. Timing for Planting
Timing is everything when planting winter bulbs. Aim to plant 6-8 weeks before the ground freezes, usually in late autumn. This gives bulbs time to establish roots before winter.
Monitor local weather patterns to adjust your planting schedule as needed. Early planting allows root growth, while late planting may compromise bloom quality.
For staggered blooms, plant different bulbs at varied times. Proper timing ensures your bulbs are well-prepared to face winter and reward you with a vibrant spring garden.
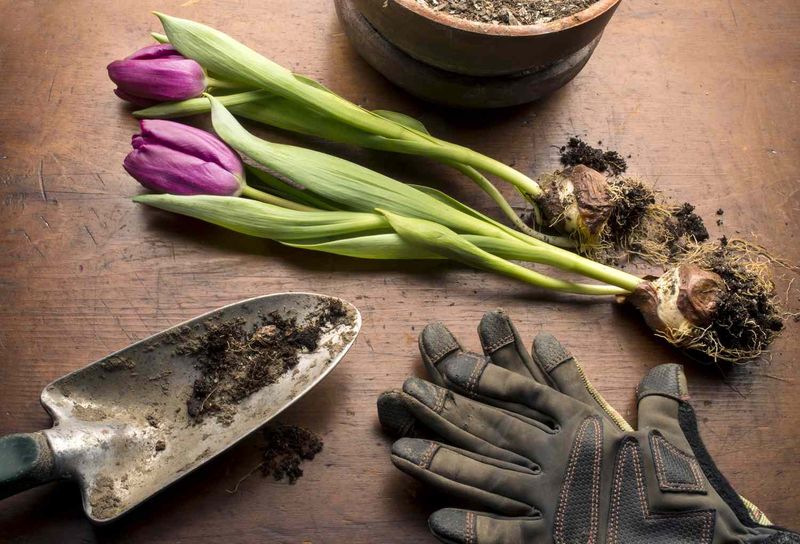
9. Choosing Planting Tools
Having the right tools simplifies bulb planting. Invest in a sturdy bulb planter for consistent hole depth. A hand trowel and gloves are essential for handling soil and bulbs.
A garden fork helps in soil preparation, while a watering can ensures proper hydration. Consider a kneeling pad for comfort during long planting sessions.
Quality tools enhance your gardening experience, making planting an enjoyable task. With the right equipment, you ensure precision and efficiency in your bulb planting endeavors.
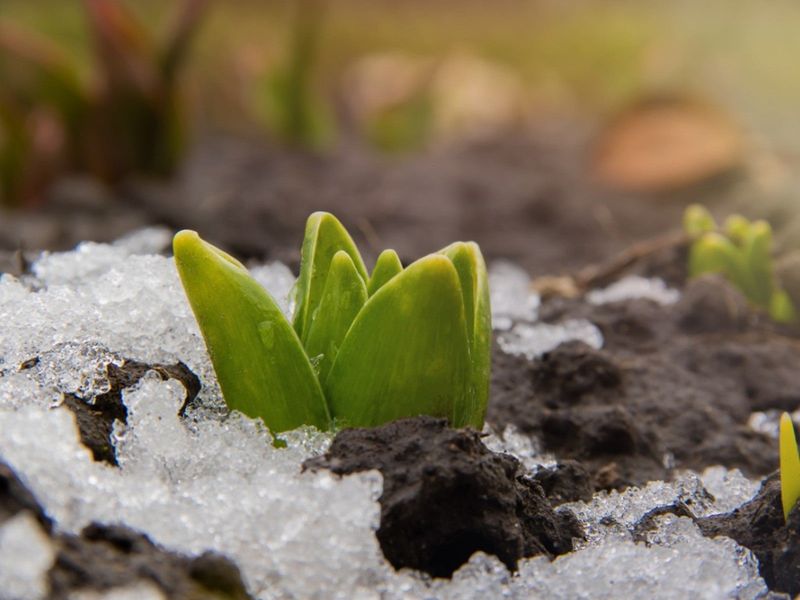
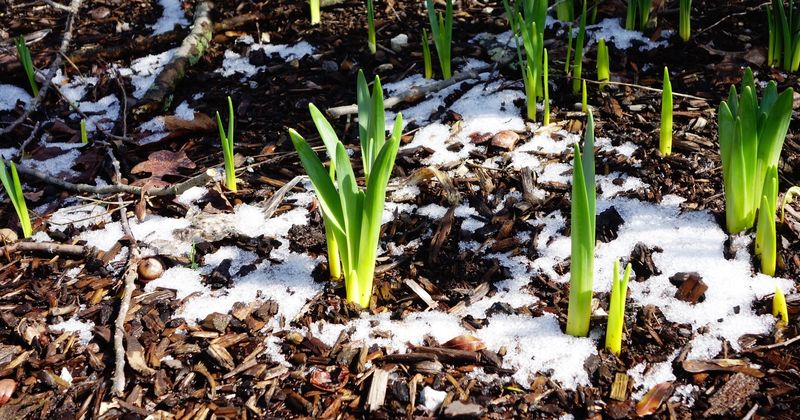
10. Understanding Bloom Cycles
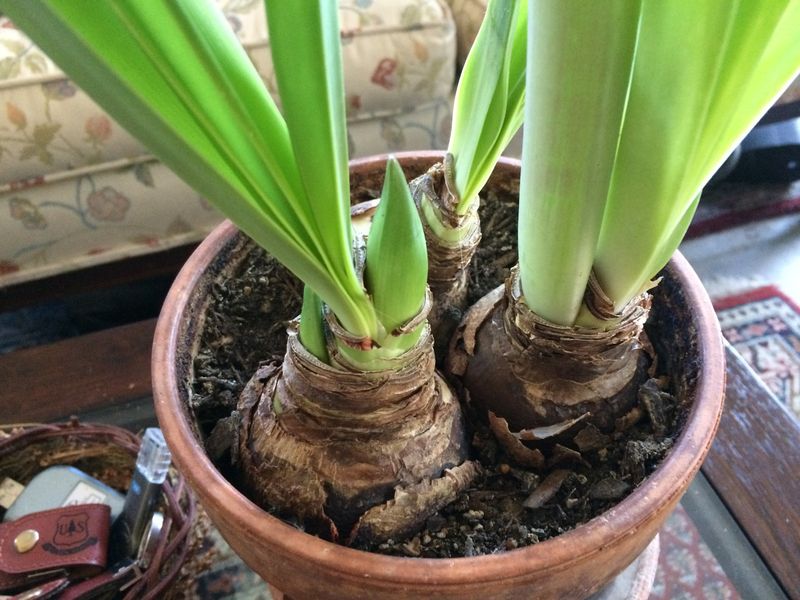
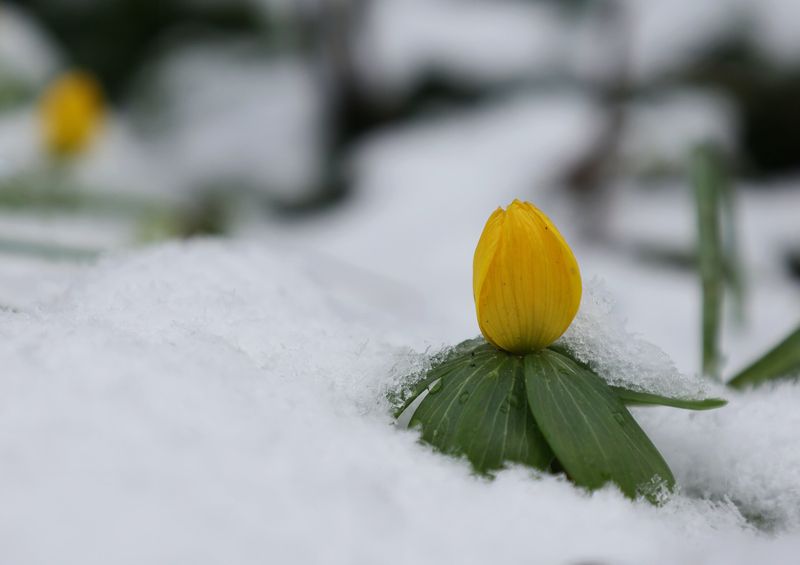
Understanding bloom cycles helps in planning a continuous display. Winter bulbs like snowdrops and crocuses bloom early, while others like tulips follow later.
Coordinating these cycles maximizes garden color throughout spring. Observe each bulb’s specific bloom time and plant accordingly. This way, as one bloom fades, another emerges.
Knowledge of bloom cycles enhances your garden’s aesthetic, providing a seamless and vibrant transition from winter to spring. With careful planning, your garden stays lively and colorful.
11. Rotating Bulb Locations
Rotating bulb planting locations prevents soil nutrient depletion and disease build-up. Change bulb planting spots every few years to keep the soil healthy.
Plan your garden layout to accommodate rotation, allowing different areas to recover and replenish. This practice also deters pests familiar with specific sites.
By rotating bulbs, you encourage a robust and resilient garden. This proactive approach ensures your winter bulbs continue to thrive year after year, maintaining a dynamic and healthy garden ecosystem.