
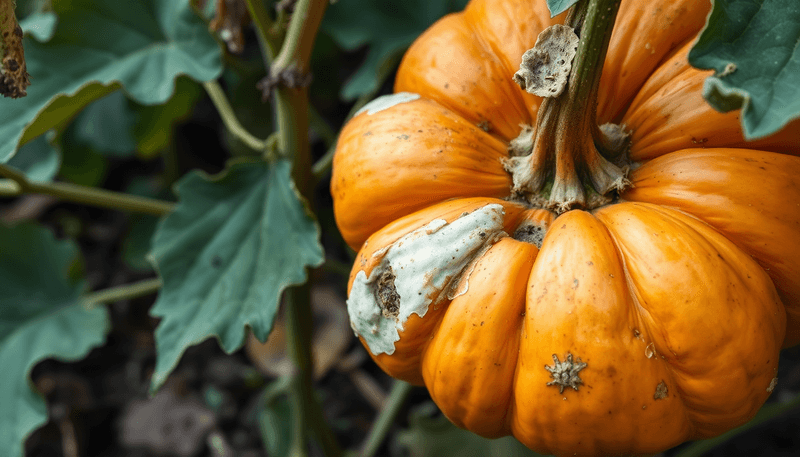
Watching a big, beautiful pumpkin slowly rot on its underside is one of the most frustrating things that can happen in a home garden, especially when the vines look perfectly healthy. The problem often starts quietly, hidden right where the fruit presses against the soil, and by the time you notice it, the damage may already be spreading. Knowing what to look for and what to do next can help you protect the pumpkins still on the vine before harvest season slips away.
Inspect the contact area without rolling the pumpkin
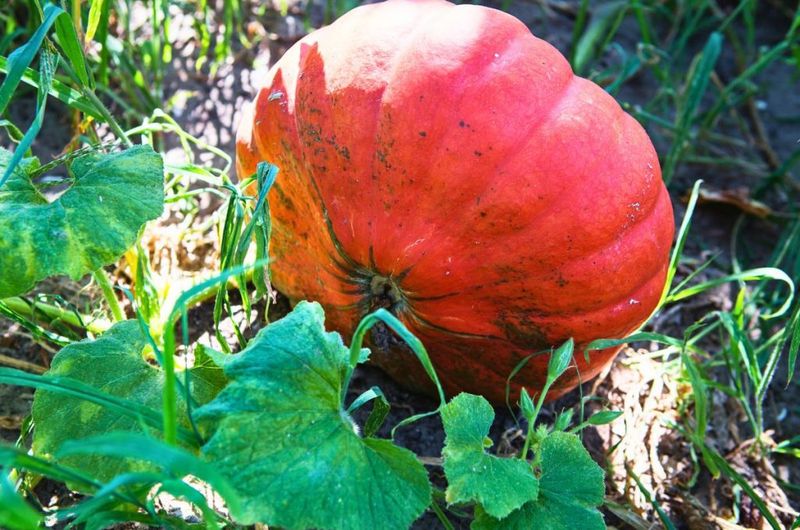
Checking a pumpkin’s underside takes a little patience, because you want a clear look without repeatedly moving the fruit. Carefully tilt one edge just enough to peek underneath, or use a hand mirror or phone camera to get a view of the contact patch. Doing this once a week as harvest approaches gives you the best chance of catching trouble early.
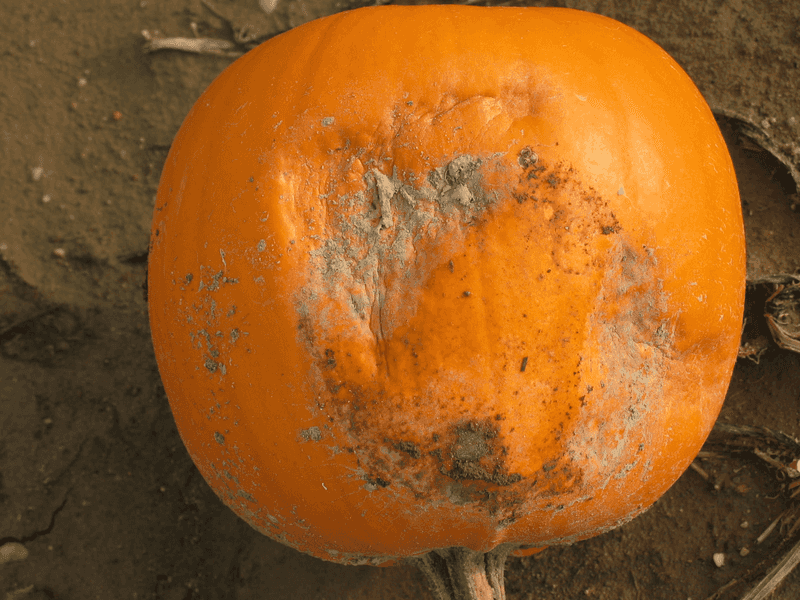
Utah State University extension guidance on Phytophthora fruit rot specifically recommends checking the area where pumpkin fruit touches soil during the weeks before harvest. The signs that should concern you most are soft or water-soaked tissue, a depressed or expanding lesion, fuzzy or cottony growth, a foul smell, leaking liquid, or any visible collapse of the rind. Those are signals of active decay, not just surface marks.
Not every discolored patch is a disaster, though. A hard, dry, corky, or superficial spot may be nothing more than soil staining, a minor scar, or a physiological issue that stopped progressing. University of Minnesota’s harvest-time rot guidance draws a clear line between firm, dry discoloration and soft, spreading decay. A firm pumpkin with no advancing lesion can benefit from a clean barrier placed beneath it; a pumpkin that is already soft, leaking, or collapsing should be removed rather than repositioned.
Why damp ground can increase underside rot risk
A pumpkin sitting on dry, well-drained ground faces a different risk level than one pressed against soil that stays wet for days after rain or irrigation. Prolonged moisture at the contact patch creates conditions that certain pathogens find very favorable, and that patch of skin touching the ground has no airflow to help it dry out between wet spells.
Phytophthora fruit rot is one of the clearest examples. University of Minnesota’s Phytophthora disease management resource explains that this water mold thrives in saturated soil and spreads readily through water movement, including rain splash and runoff. It commonly starts on the underside of cucurbit fruits where they contact the ground. Pythium fruit rot follows a similar pattern, beginning as brown lesions on the underside where the fruit presses against wet soil, as Utah State University’s Pythium cucurbit guide describes.
Gummy stem blight is worth mentioning separately, because it can produce overlapping fruit symptoms but does not spread in exactly the same way as Phytophthora or Pythium. UMass Extension’s cucurbit fungal fruit rot fact sheet notes that several different pathogens can cause fruit rot starting at or near the soil line. Wet soil, splash, and debris-associated pathogens are contributors to underside rot risk, but the contact patch itself is a risk factor and possible entry point, not a definitive diagnosis of any single disease.
Place the right barrier beneath firm fruit
For a pumpkin that is still firm with no soft or expanding spots, the most practical step you can take right now is placing a clean, dry barrier between the fruit and the soil. The goal is to lift the contact surface out of direct mud contact and allow water to drain away rather than pool underneath. Oklahoma State University’s pumpkin and squash disease fact sheet supports the use of mulch to reduce fruit-soil contact and lower fruit-rot risk.
Clean, dry straw is a practical choice for many home gardeners because it is breathable, cushions the fruit, and allows moisture to move through rather than collect. Organic materials like straw do need to stay dry to be effective; wet, compacted, or moldy mulch can work against you by holding moisture against the rind. Plastic mulch is a separate option that reduces soil contact and splash, though it is not breathable in the same way as straw. Utah State University’s mulch and row cover guide outlines how different mulch types serve different purposes in vegetable production.
When you install the barrier, slide or position it carefully beneath the fruit rather than hoisting the pumpkin up, twisting the vine, or pulling on the stem. University of Minnesota’s guide to growing giant pumpkins cautions against handling that could bruise or crack the fruit. No single material or thickness works perfectly in every garden situation, so choose whatever clean, dry, breathable option you have available and make sure it sheds water rather than trapping it beneath the rind.
Control moisture around the vine and fruit
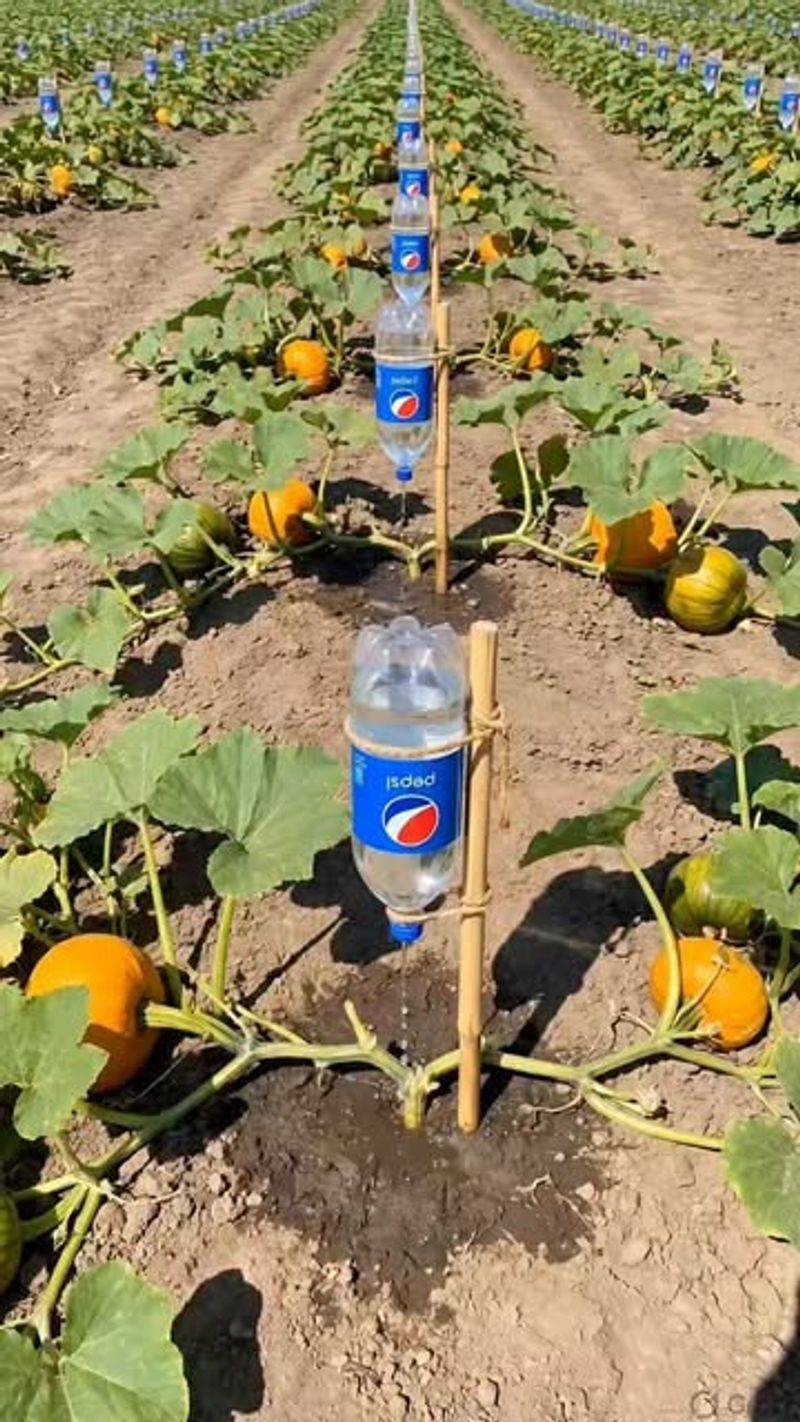
A barrier under the fruit works best when the surrounding soil is not saturated for long stretches. If the ground stays soggy after every rain or watering session, the barrier can only do so much. Addressing the moisture environment around the vine gives the barrier a better chance of keeping the contact area genuinely dry.
Start with drainage. Pumpkins grow best in well-drained soil, and persistent puddles or compacted low spots in the garden can keep the contact zone wet even when you are not actively watering. UC IPM’s Phytophthora fruit and crown rot resource for cucurbits highlights saturated soil and poor drainage as key conditions that favor infection. Where practical, correcting drainage problems before the next planting season, or choosing a better-drained spot, can reduce repeated fruit-rot trouble.
Watering method also matters. Overhead irrigation that wets the foliage and splashes soil onto fruit creates more opportunities for pathogens to reach the rind than careful low-splash watering at the soil surface. Drip irrigation keeps the soil surface drier and reduces leaf wetness compared with frequent overhead watering, as Utah State University’s Phytophthora fruit rot IPM notes explain. Plants still need consistent moisture while fruit is developing, so the right approach is reducing splash and avoiding prolonged saturation rather than cutting water off entirely once the pumpkins begin to color.
Monitor weekly and remove fruit that is actively decaying
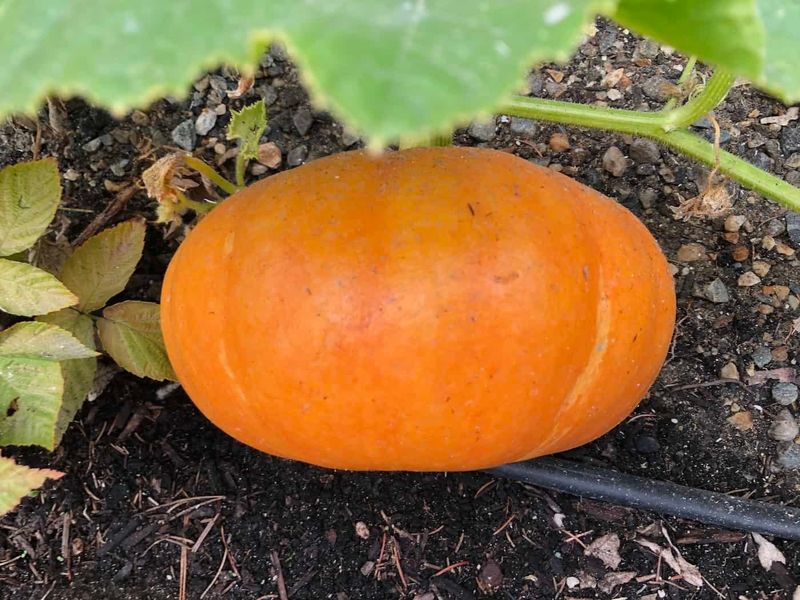
Placing a barrier is a one-time action; monitoring is the habit that catches problems before they spread. Once a week, take a few minutes to check the underside of each pumpkin by carefully tilting the edge or using a mirror. You are looking for any change from the last inspection: new softness, a water-soaked appearance, expanding discoloration, cottony growth, or any odor coming from the contact area.
A firm fruit with no advancing lesion can stay on its barrier while you continue watching it. If the underside shows soft, leaking, moldy, or collapsing tissue, remove the fruit from the garden promptly. Utah State University’s Phytophthora IPM guidance recommends removing infected fruit to reduce pathogen spread, and Rutgers Cooperative Extension’s cucurbit disease fact sheet notes that some pathogens move readily through rain splash, puddled water, soil, tools, and plant debris.
Sliding a rotting pumpkin onto fresh mulch does not reverse the infection already underway. It may reduce additional soil exposure at the margins, but a fruit that is substantially soft, moldy, or collapsing is not going to recover. Remove it, clean up any nearby plant debris, and avoid working in that area with wet tools or gloves before moving to healthy plants. Oregon State University Extension’s harvest and storage guidance also emphasizes sanitation as part of reducing post-harvest and late-season losses.
Avoid handling and treatment mistakes
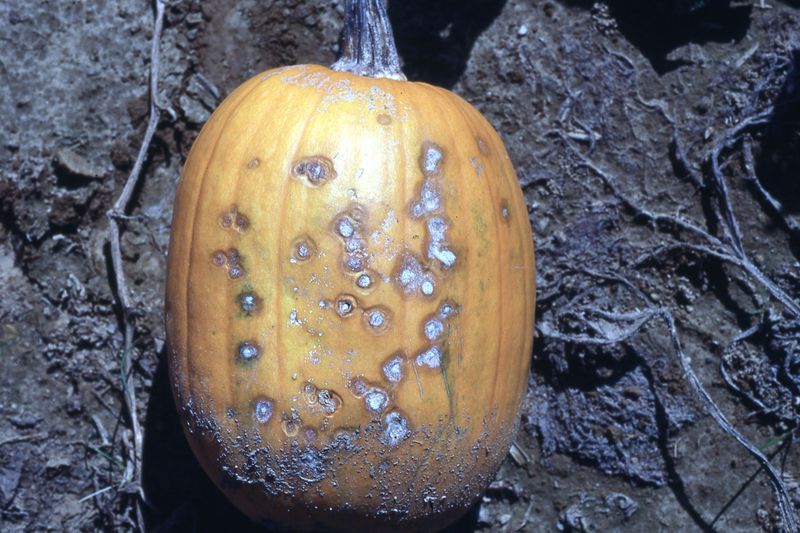
Some of the most common responses to underside rot can actually make things worse. Rolling the pumpkin repeatedly to check different sides, or flipping it over to expose the damaged area to air, risks cracking the rind or snapping the stem. University of Minnesota’s giant pumpkin growing guide warns that bruises, cracks, and broken stems all increase the risk of additional spoilage. Large pumpkins are generally too heavy to trellis or suspend, and University of Minnesota’s trellis and cage guidance confirms that the appropriate intervention for large-fruited varieties is a dry barrier on the ground, not lifting the fruit off the vine.
Blossom-end rot is sometimes confused with soil-contact rot because both can show up as dark, sunken tissue. The difference is location and texture: blossom-end rot appears at the far end of the fruit opposite the stem and produces a leathery or corky patch rather than a water-soaked spreading lesion. It is a physiological disorder linked to disrupted calcium movement during uneven moisture or root stress, not a fungal or water-mold infection. Extension Ask an Expert guidance on blossom-end rot and a related Extension FAQ on cucurbit calcium disorders both point to consistent moisture and a soil test as more useful steps than automatic calcium applications.
Spraying the underside with a fungicide is not a reliable default response without a specific, locally registered diagnosis and label. Cultural controls, including drainage, sanitation, reduced splash, and removal of infected fruit, are the right first line of action. And if a pumpkin is substantially soft, moldy, or leaking, University of Illinois Extension’s pumpkin preservation guidance advises discarding decayed fruit rather than cutting around the damage and eating what remains.
Use the barrier as prevention, not a promise
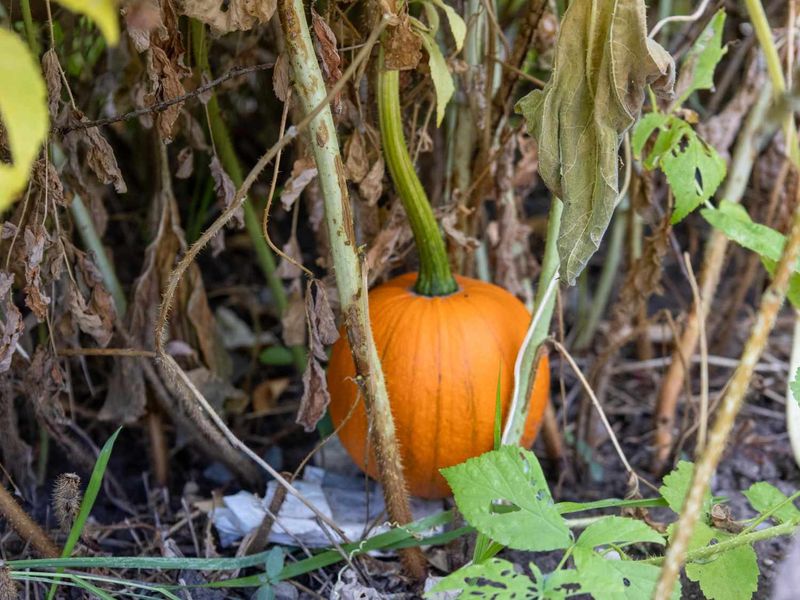
A clean, dry barrier beneath a firm pumpkin is a genuinely useful step, not a magic fix. The practical sequence is straightforward: inspect without rolling, slide a breathable barrier under fruit that is still firm and shows no active decay, reduce splash and prolonged wetness around the vine, and remove any fruit that is already soft, leaking, or collapsing. Each of those actions lowers one source of risk.
What a barrier cannot do is stop every possible path of infection. University of Minnesota’s Phytophthora disease management resource and Cornell Cooperative Extension’s Phytophthora blight fact sheet both note that pathogens can reach fruit through rain splash, drainage water, contaminated soil, wounds, and plant debris. Lifting the fruit off wet soil removes one exposure route, not all of them.
Keep checking the underside through harvest rather than inspecting once and considering the job done. University of Minnesota’s harvest-time rot blog post reminds gardeners that fruit can develop disease after looking healthy for weeks. A pumpkin that made it to harvest on a good barrier, with well-managed moisture and weekly monitoring, had every reasonable advantage you could give it.