
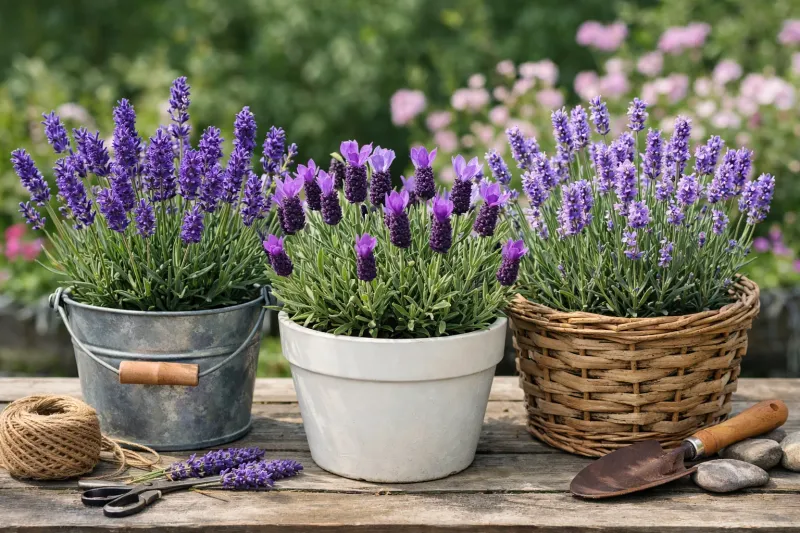
Lavender in a pot looks easy, but plenty of gardeners watch theirs turn brown, mushy, or refuse to bloom. Most of the time the plant is not stubborn, it is quietly reacting to a small mistake you cannot see, like soggy roots or the wrong soil. The good news is that container lavender is very fixable once you know what it actually wants. Here are 20 practical tricks that solve the sneaky problems most people never catch until their plant is struggling.
1. Pick a Pot That Actually Drains
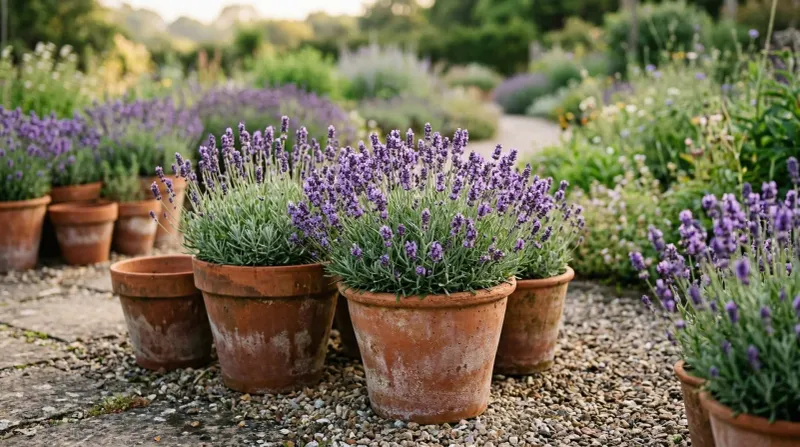
Nothing kills container lavender faster than a pretty pot with no escape route for water. Lavender comes from dry, rocky Mediterranean hillsides, so it hates sitting in a puddle at its roots.
If your plant is drooping even though the topsoil looks fine, waterlogged roots are often the hidden culprit. Check the bottom of your container right now. A single small hole is rarely enough, so look for several openings or drill more yourself.
Terracotta is a smart pick because the porous clay wicks moisture away from the soil, which can reduce the risk of root rot. Plastic and glazed ceramic hold water longer, so they need extra drainage help.
Skip the decorative cachepot with a sealed base unless you lift the inner pot out to drain after every watering. A saucer left full of water may slowly drown even a healthy plant.
When you get drainage right, you often fix wilting, yellowing, and that sour smell before they ever start, and your lavender finally gets the dry feet it craves.
2. Mix a Gritty, Fast-Draining Soil
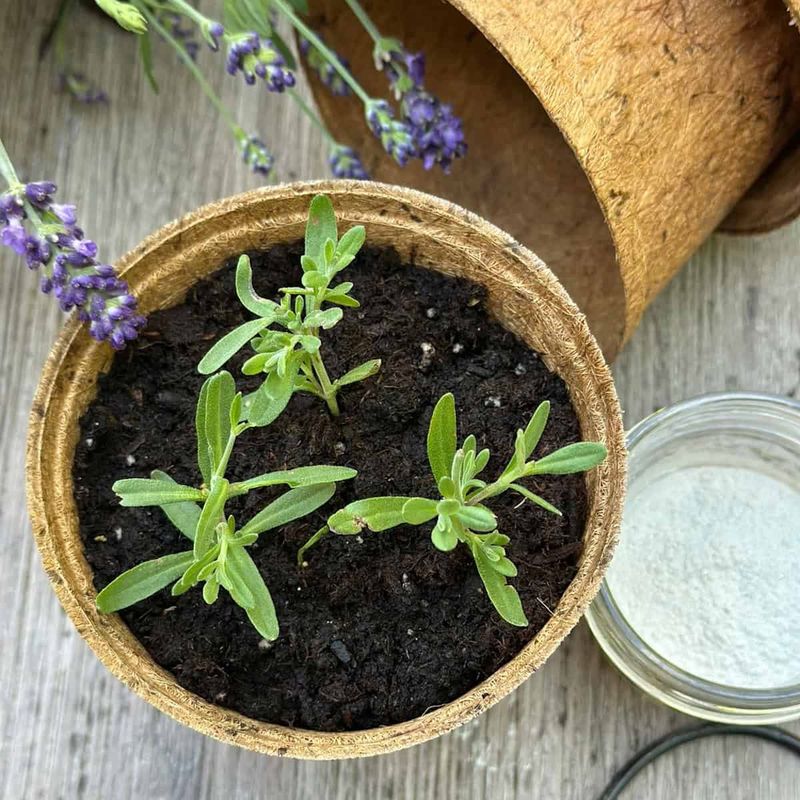
Standard bagged potting mix is a common reason potted lavender sulks. Rich, moisture-holding soil feels generous, but it keeps roots damp and can invite rot.
Lavender wants lean, gritty ground that drains in seconds. A reliable blend is about two parts potting soil to one part coarse sand and one part perlite or fine gravel.
If your lavender leaves are going gray-green and soft near the base, dense soil trapping moisture may be the reason. Grittier soil often turns that around.
Add a handful of small stones or pumice to open up the mix even more. The goal is water that runs straight through rather than pooling.
Avoid mixes loaded with peat or water-retaining crystals, since those work against everything lavender needs. They are great for ferns, not for a plant that evolved on sunbaked slopes.
You can test your mix by pouring water in a handful. If it clumps and stays soggy, add more grit. When the blend crumbles apart quickly, your lavender will breathe easier and reward you with sturdier growth.
3. Give It Six Hours of Real Sun
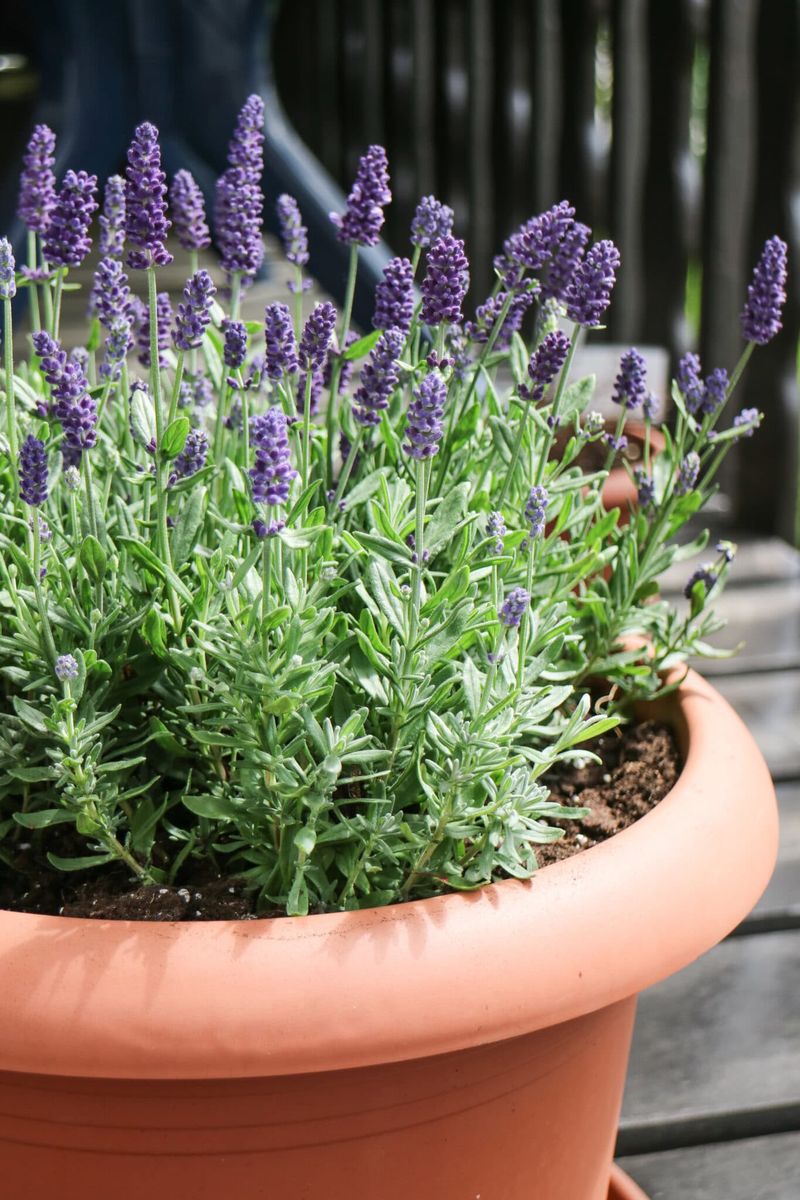
Weak, floppy lavender that barely blooms is usually begging for more light. A shady porch corner might look charming, but it starves this sun-worshipper.
Aim for at least six hours of direct sunlight a day, and more is better in most US temperate zones. Morning sun plus bright afternoon light keeps stems compact and flowers plentiful.
One big advantage of growing in a container is mobility. If your plant is stretching toward the light with long, spindly gaps between leaves, simply roll or carry the pot to a brighter spot.
Watch how shadows move across your yard through the day, since trees and fences can steal more sun than you realize. A south-facing patio or deck rail often works beautifully.
Indoors, lavender rarely gets enough natural light to thrive long term, so a sunny window may not cut it. A grow light can help fill the gap during dark winter stretches.
More sun tends to mean stronger scent too, because the oils that make lavender smell amazing build up under bright conditions.
4. Water Deep but Wait Between Drinks
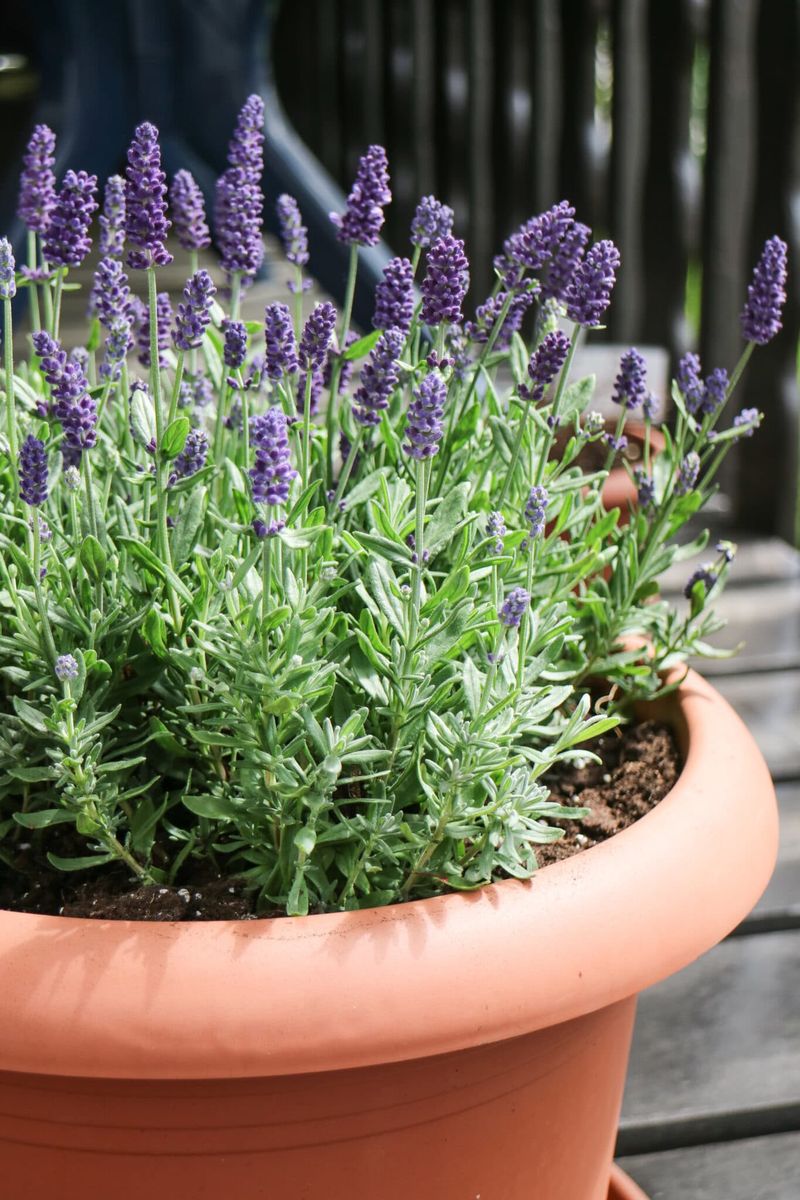
Overwatering fools more lavender owners than drought ever will. Because the top of the soil dries fast in a pot, people keep splashing water on, while the roots stay soggy underneath.
The trick is to water thoroughly, then leave it alone. Soak until water runs from the drainage holes, and do not touch it again until the soil is dry a couple inches down.
Poke your finger into the pot to check. If it feels moist below the surface, hold off, since damp roots can quietly rot.
Yellowing lower leaves and a wilted look despite wet soil are classic overwatering signals. Backing off the watering can often revives a struggling plant.
In peak summer heat, containers dry faster, so you may water every few days. In cooler stretches, once a week or less is plenty.
Morning watering gives leaves time to dry and helps discourage fungal trouble. Treat lavender like the desert cousin it is, and you will lose far fewer plants to kindness.
5. Choose a Variety Bred for Pots
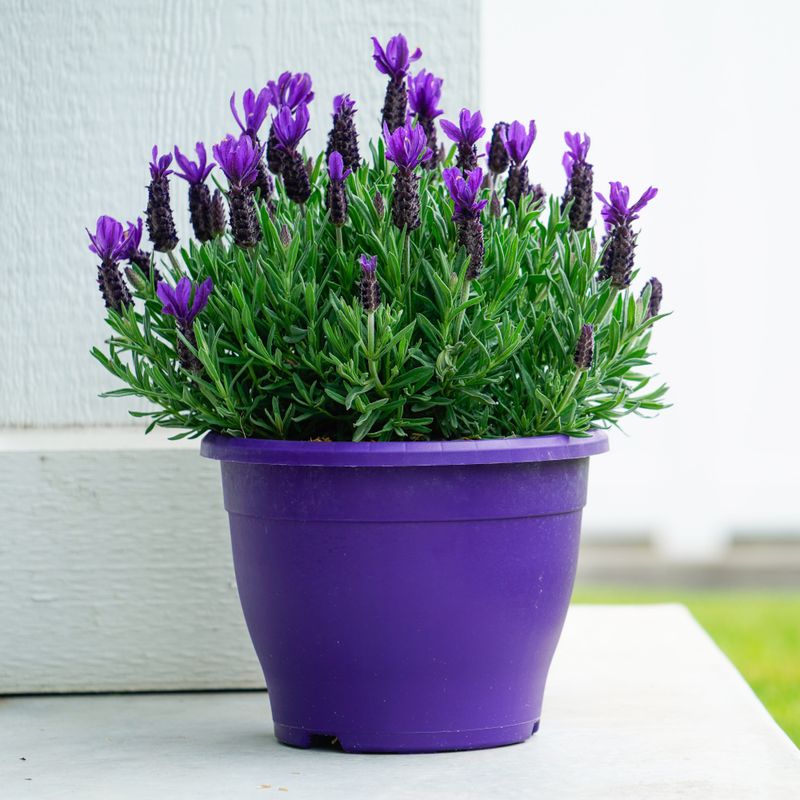
Not every lavender is happy squeezed into a container, and picking the wrong one sets you up for frustration. Some types sprawl huge, while others stay tidy and thrive in tight quarters.
For pots, look at compact English lavenders like Munstead and Hidcote, which stay small and handle cold winters better in much of the US. French and Spanish types offer showy blooms but can be fussier about frost.
If your lavender keeps outgrowing its pot or flopping open in the middle, the variety may simply be too big for the space.
Dwarf cultivars were practically made for balcony and patio life. They keep a neat mound shape and bloom without demanding a giant root run.
Check your USDA zone before buying, since a tender variety may survive summer but struggle through a hard winter outdoors. Matching the plant to your climate saves heartbreak later.
Reading the plant tag for mature size takes two seconds and prevents a cramped, unhappy plant down the road. The right variety does half the work for you.
6. Size the Pot Just Right
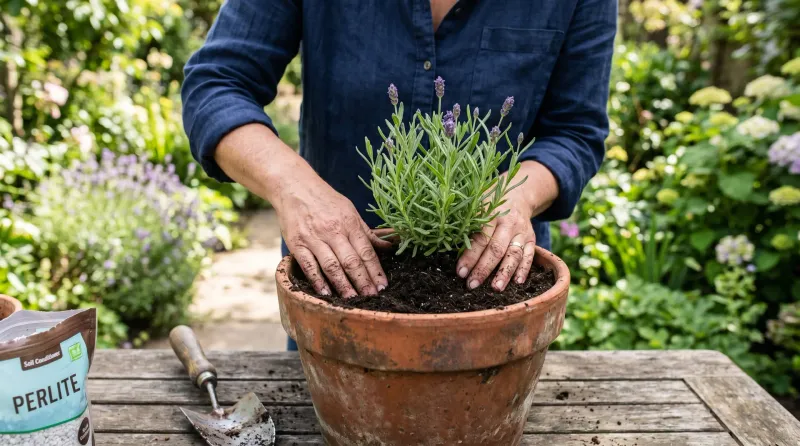
Bigger is not better when it comes to lavender containers. A giant pot holds a huge volume of soil, and all that extra dirt stays wet long after the roots have drunk their fill.
Snug quarters actually suit lavender fine. A pot only a couple inches wider than the root ball keeps moisture in check and encourages healthy roots.
If you potted a small plant into a massive planter and it started struggling, drowning roots in cold, damp soil may be the reason.
Go up gradually as the plant grows rather than jumping several sizes at once. Each modest step lets roots fill the space before more soil is added.
A rough guide is a twelve to sixteen inch pot for a mature plant. That gives room to grow without turning into a soggy reservoir.
Depth matters too, since lavender sends roots downward and dislikes shallow trays. Pick a container that is at least as deep as it is wide, and your plant will settle in comfortably.
7. Add a Gravel Layer at the Base
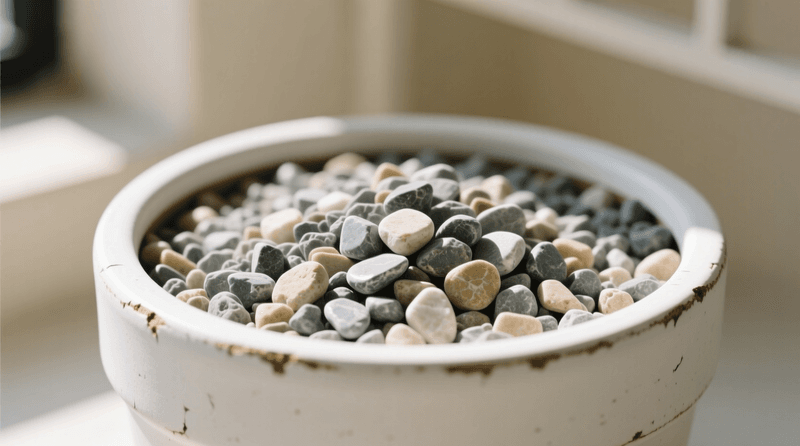
A thin layer of gravel or broken pottery at the bottom of the pot gives water a clear path out. While the soil mix does most of the drainage work, this base layer helps stop the holes from clogging with packed dirt.
Clogged drainage holes are sneaky, because everything looks fine on top while water backs up below. If your pot feels heavy and stays wet forever, blocked holes may be trapping moisture.
Spread an inch or two of coarse gravel before adding soil. Small stones, pumice, or even chunks of a broken terracotta pot work well.
Keep the layer shallow, since piling too much reduces valuable root space. A modest cushion is all you need.
Pair this with a raised pot foot or a couple of small blocks under the container. Lifting the base lets water escape freely instead of sealing against a saucer or paving.
Together these small moves can noticeably reduce the swampy conditions that lead to root rot, giving your lavender the dry, airy footing it prefers.
8. Go Easy on Fertilizer
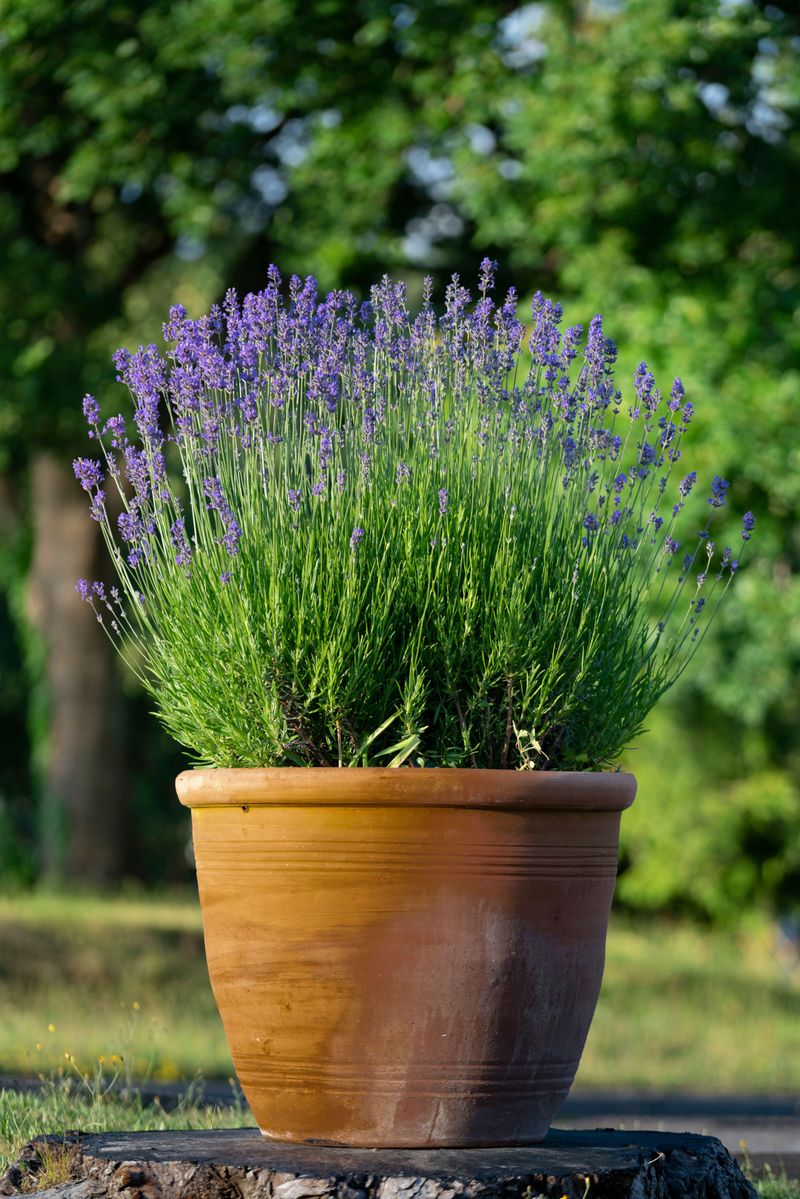
Feeding lavender like a hungry tomato backfires fast. Pump it full of rich fertilizer and you often get lush green growth with hardly any flowers, plus a weaker, floppier plant.
Lean soil is exactly what this plant evolved to handle. Too much nitrogen pushes leafy growth at the expense of the blooms and fragrance you actually want.
If your lavender looks bushy and green but stubbornly refuses to flower, overfeeding may be the hidden cause. Cutting back on fertilizer often brings the blooms back.
A light feeding once in early spring is usually plenty. A diluted, balanced fertilizer or a small scoop of slow-release granules covers the whole season.
Skip the frequent liquid feeds that many other container plants enjoy. Lavender simply does not need that buffet.
Container soil does lose some nutrients over time, so a gentle spring boost keeps things ticking without overdoing it. Think of it as a light snack rather than a heavy meal, and your plant will stay compact, aromatic, and generous with flowers.
9. Prune Twice a Year for Shape
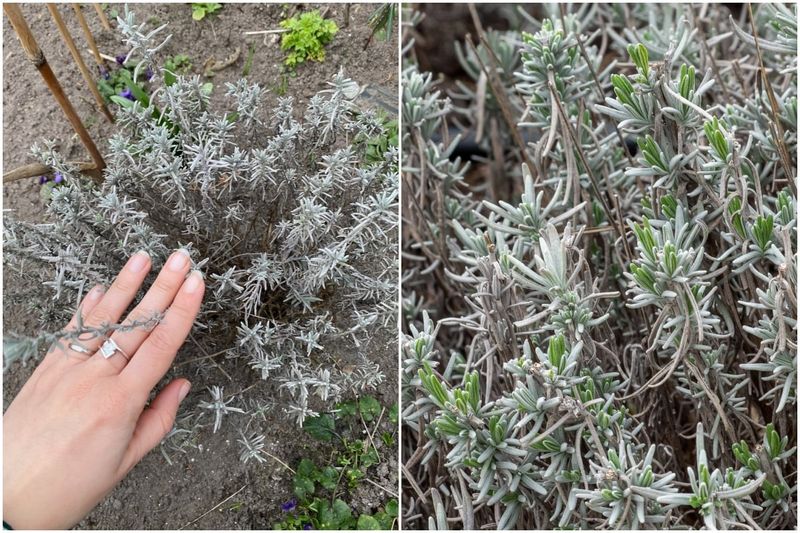
An unpruned lavender turns woody, leggy, and sparse faster than you would think. Left alone, the base becomes bare sticks while all the green crowds the tips.
Regular trimming keeps the plant full and encourages fresh blooms. A light shaping in spring and a harder cut after flowering usually does the trick.
When you cut, stay in the soft green growth and avoid slicing deep into old brown wood, since lavender rarely resprouts from bare stems. Cutting too far back can leave permanent gaps.
If your plant looks like a tangle of twigs with a thin fringe of leaves on top, missed pruning is likely the reason.
Aim to remove about a third of the plant when you shape it after the flowers fade. That keeps the rounded mound you want.
Snip spent flower stems too, which tidies the plant and can encourage a second flush of blooms. Regular pruning is one of the easiest ways to keep container lavender looking healthy and living for many years instead of fizzling out early.
10. Protect Roots From Winter Cold
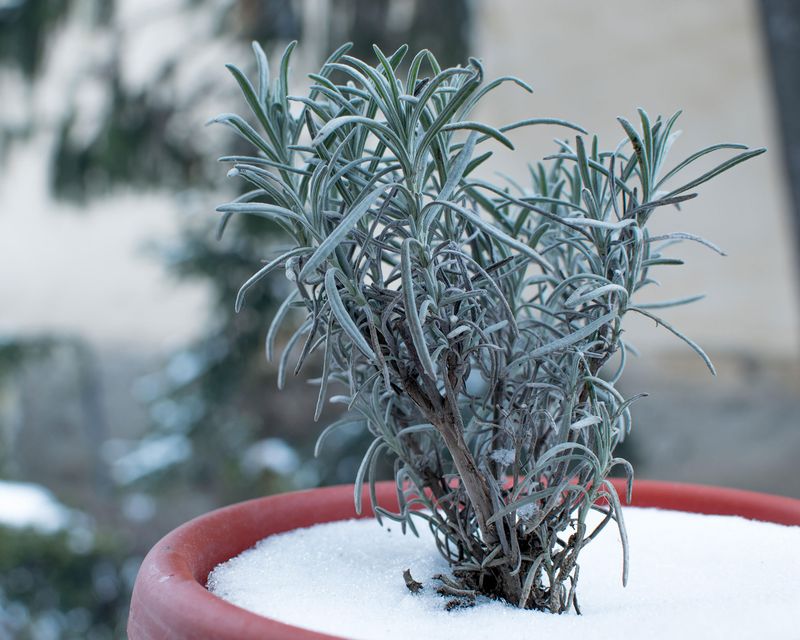
Container roots freeze far more easily than roots snug in the ground. A lavender that shrugs off winter in a garden bed can die in a pot during the same cold snap.
The soil in a container has no surrounding earth to buffer the temperature, so the whole root zone can drop to freezing. If your potted lavender survived summer but collapsed after a hard freeze, exposed roots may be to blame.
In colder US zones, move pots against a sheltered wall or into an unheated garage or shed for the worst of winter. A protected spot can make a real difference.
Wrapping the pot in burlap, bubble wrap, or a thick blanket helps insulate the roots. You can also cluster several pots together to trap warmth.
Cut back on water during dormancy, since cold plus soggy soil is a deadly combination. The plant needs little moisture while resting.
Choosing a cold-hardy English variety and giving it winter shelter can help your lavender come back strong when spring returns.
11. Boost Airflow to Beat Fungus
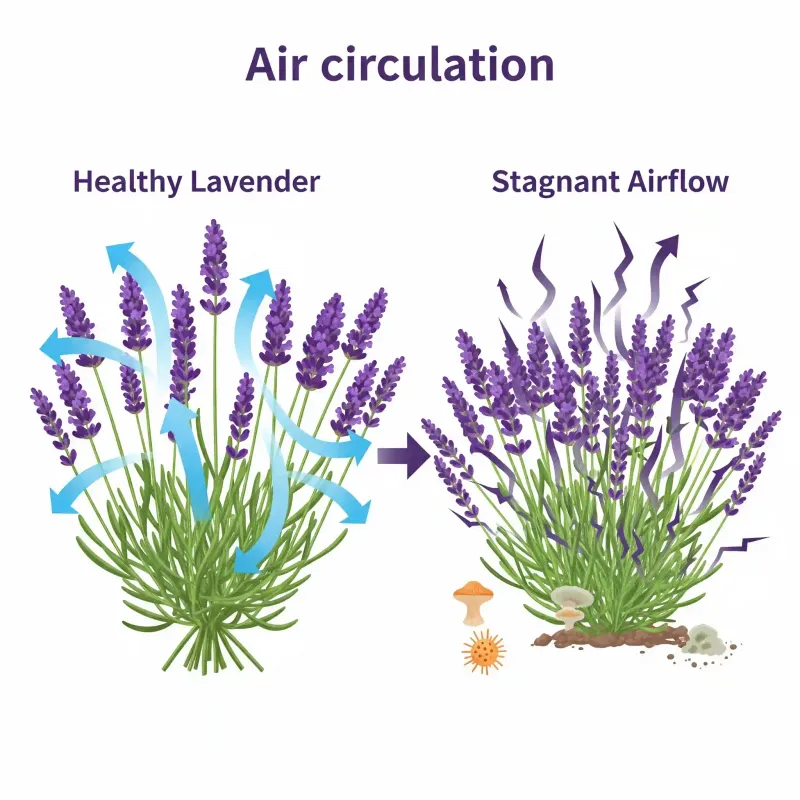
Crowded, stuffy conditions invite the fungal problems that make lavender rot from the inside. Good air movement keeps leaves dry and discourages disease.
Space matters more than people expect. Set your pot where breezes reach it, and avoid jamming it into a tight corner between walls or other plants.
If you notice gray fuzz, black spots, or a musty smell, poor airflow trapping humidity may be feeding the problem. Opening up the space around the plant often helps it recover.
Thin out crowded interior stems now and then so air can pass through the middle of the plant. A slightly open shape breathes better than a dense clump.
Keep the soil surface clear of fallen debris, since decaying leaves hold moisture and harbor spores. A quick cleanup goes a long way.
Watering at the base rather than over the top keeps foliage dry and can reduce fungal flare-ups. Combine airflow, cleanliness, and smart watering, and you may sidestep most of the diseases that quietly take down container lavender.
12. Mulch With Light-Colored Grit
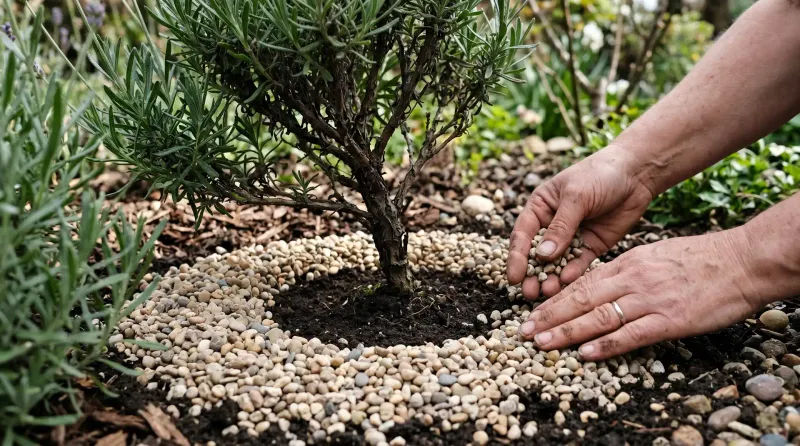
A gritty mulch on top of the soil does more than look neat. Pale stones or coarse sand reflect light, keep the crown dry, and help prevent rot right where the stem meets the soil.
Organic mulches like bark or compost hold too much moisture for lavender and can encourage rot at the base. If your plant is rotting at the crown, a soggy organic mulch may be the reason.
Spread a thin layer of light-colored gravel, pumice, or horticultural grit around the plant instead. It keeps that vulnerable neck dry and airy.
The reflective surface bounces extra light up into the plant, which many gardeners find gives sturdier growth. It also cuts down on splashing that spreads soil-borne disease.
Pale grit stays cooler than dark mulch, helping prevent the pot from baking in summer heat. That small buffer protects the roots.
Keep the mulch pulled back slightly from the main stem so nothing presses against it. A tidy grit collar is a simple upgrade that quietly solves several problems at once.
13. Repot Before Roots Get Cramped
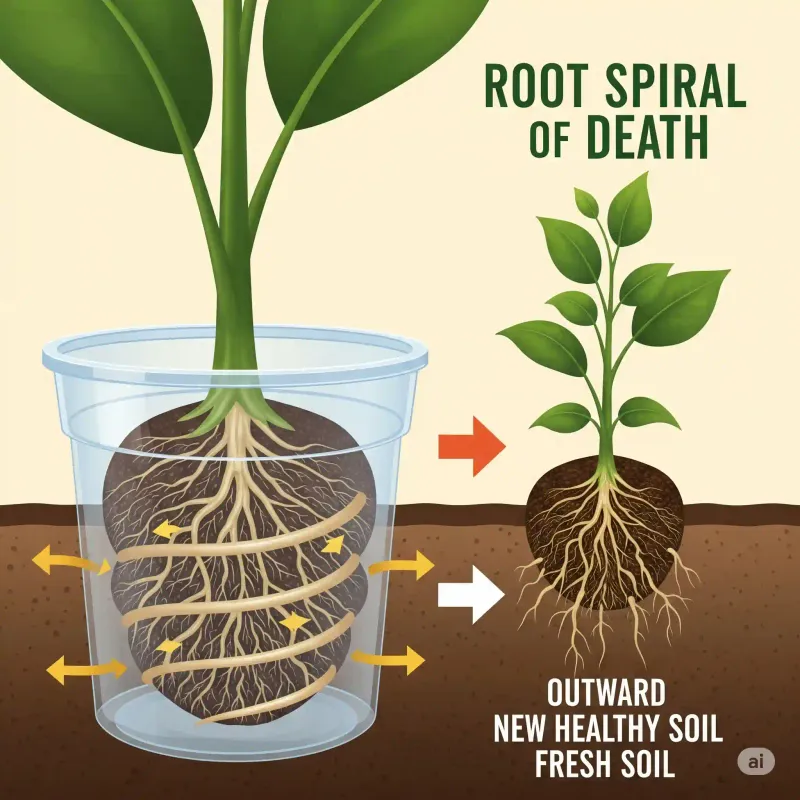
A pot-bound lavender slowly declines even when you do everything else right. Once roots circle the container and run out of room, the plant cannot take up water or nutrients properly.
Signs sneak up on you. Water rushing straight through, slowed growth, and roots poking from the drainage holes all hint that it is time for a bigger home.
If a once-happy plant is fading with no obvious cause, a tangled root ball may be the quiet reason. Repotting often perks it right back up.
Every two or three years is a reasonable schedule for most container lavender. Move it up just one pot size and refresh the gritty soil while you are at it.
Spring is the gentlest time to repot, giving the plant a full season to settle before winter. Tease apart any tightly circling roots so they grow outward again.
Handle the root ball gently and avoid burying the stem deeper than before. A timely repot keeps your lavender vigorous instead of slowly strangling itself.
14. Sweeten Acidic Soil With Lime
Lavender quietly struggles in acidic soil, and many gardeners never think to check. It prefers neutral to slightly alkaline ground, closer to its native limestone hills.
Bagged potting mixes often lean acidic, especially peat-based ones. If your plant looks stunted and pale despite good sun and drainage, the wrong soil pH may be holding it back.
A cheap soil test kit tells you where you stand in minutes. Aim for a pH somewhere around neutral to slightly above.
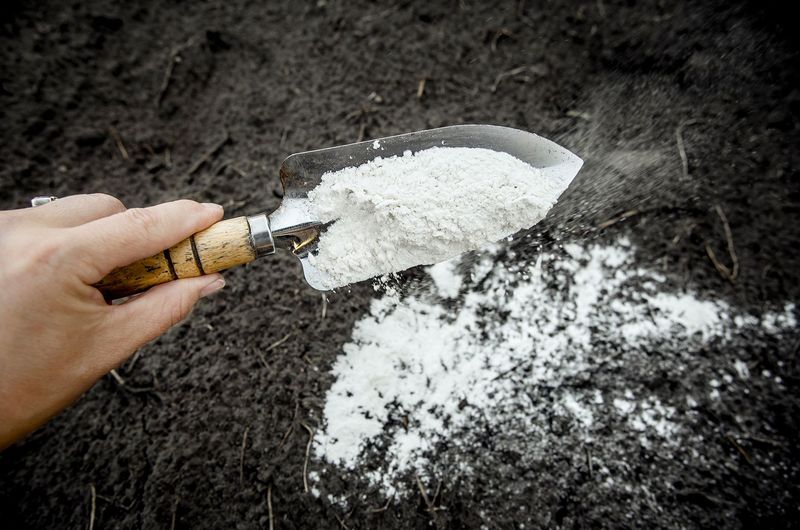
Mixing in a small amount of garden lime or a scattering of crushed eggshells can nudge acidic soil upward. Add it gradually and retest rather than dumping in a big dose.
Rainwater and some tap water can shift pH over time, so an occasional recheck keeps things on track. Container soil changes faster than ground soil.
Getting the pH right often unlocks better growth, deeper color, and stronger fragrance. It is an invisible fix that can turn a stubbornly underwhelming plant into a thriving one, all from a small adjustment most people skip.
15. Raise the Pot Off the Ground
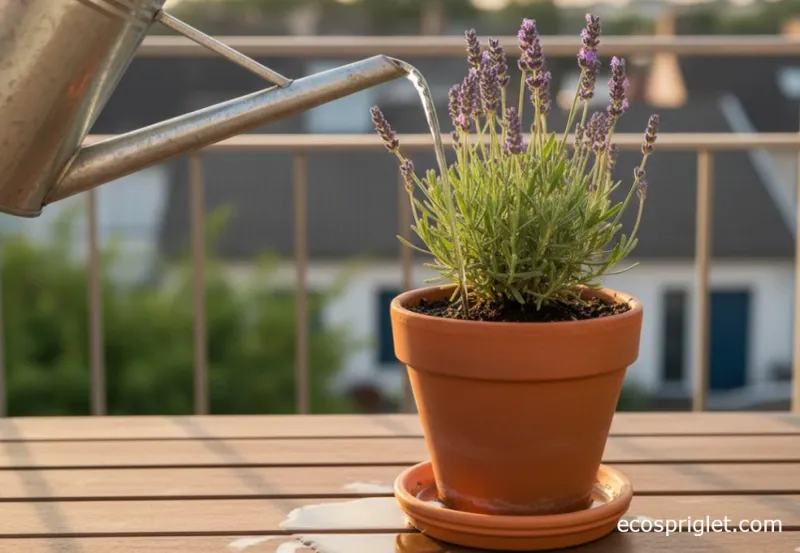
A container sitting flat on paving or a saucer can trap water underneath and seal off the drainage holes. Lifting it just an inch changes everything.
Pot feet, small blocks, or even a couple of flat stones create a gap for water and air. That simple lift lets excess moisture drain away instead of pooling.
If your lavender stays soggy no matter how carefully you water, a blocked base pressed against the ground may be the overlooked culprit.
Elevation also improves airflow around the whole pot, which helps the soil dry evenly and discourages the dampness fungus loves.
Raised pots warm up a touch faster in spring and cool down at night, giving roots a healthier rhythm. Slugs and other crawling pests also have a harder time reaching an elevated container.
On a deck or balcony, lifting the pot protects the surface underneath from constant moisture stains too. It is a five-minute tweak with outsized benefits, and it pairs perfectly with good drainage holes and gritty soil for a plant that finally stays dry-footed.
16. Harvest Flowers to Fuel More Blooms
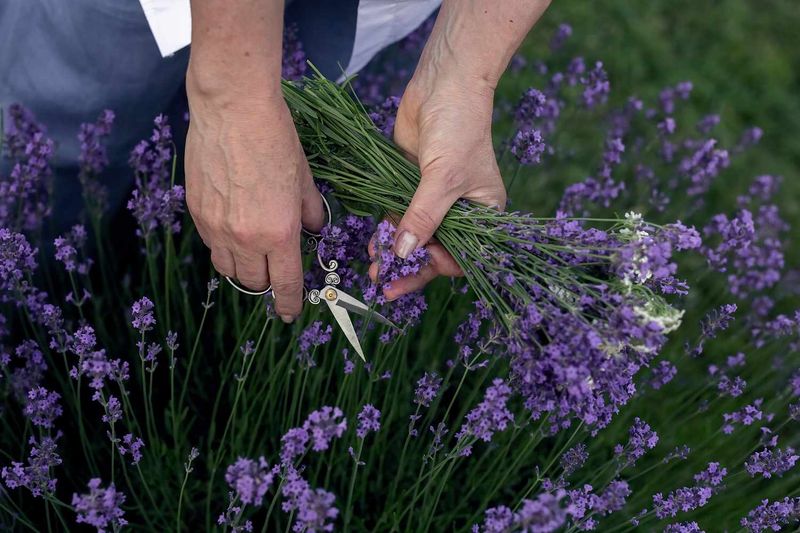
Leaving spent blooms on the plant tells lavender its job is done for the season. Cutting flowers, on the other hand, often encourages it to keep producing.
Snip stems just as the buds show color but before they fully open, when the fragrance is at its peak. Regular harvesting keeps the plant tidy and can trigger a second flush in many varieties.
If your lavender bloomed once and then quit early, letting old flowers linger may have signaled it to stop. Removing them can wake it back up.
Cut in the morning after the dew dries for the strongest scent and longest-lasting stems. Bundle them to dry for sachets, or enjoy them fresh in a vase.
Always cut above the woody base and stay in the green growth to protect the plant. A clean, angled snip heals quickly.
Frequent harvesting turns your container into a repeat performer rather than a one-and-done show, and you get fragrant bundles as a bonus for keeping up with it.
17. Rotate the Pot for Even Growth
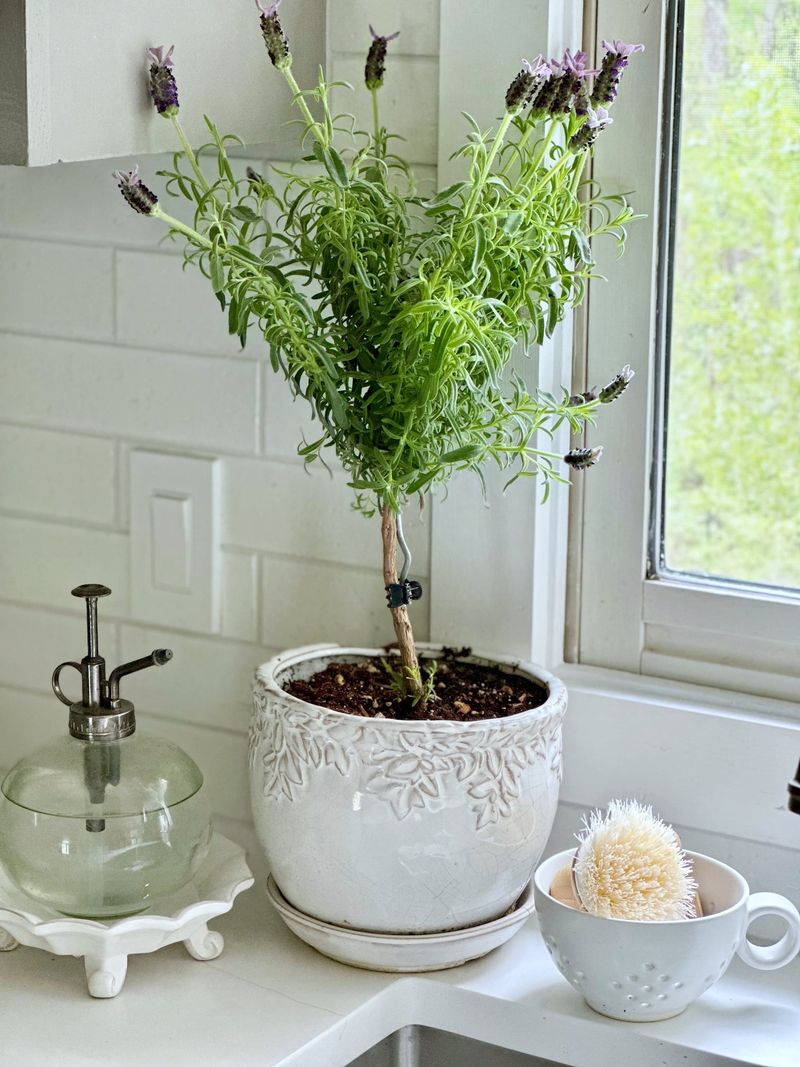
Lavender leans hard toward its light source, and a pot that never moves grows lopsided. One side fills out while the shaded side thins and weakens.
Giving the container a quarter turn every week or two keeps growth balanced all the way around. Every side gets its fair share of sun.
If your plant looks full on one face and sparse on the back, uneven light exposure is almost always the reason. A regular spin evens it out over time.
The habit takes seconds and prevents the awkward lean that makes a plant flop or tip. Balanced growth also means a stronger, more stable root system.
Set a reminder or tie it to another routine, like watering day, so you do not forget. Consistency is what makes the difference.
Container growing gives you this control that in-ground plants never get, so use it. A well-rotated lavender stays symmetrical, blooms more evenly, and simply looks better from every angle on your patio or windowsill.
18. Keep Aphids and Pests in Check
Even tough lavender can attract aphids, whiteflies, and spittlebugs, especially when plants sit close together on a patio. Catching them early keeps a small nuisance from becoming a real problem.
Check the undersides of leaves and along new growth, where sap-suckers like to gather. Sticky residue, curling tips, or clusters of tiny bugs are your warning signs.
A strong blast of water from the hose can knock many aphids off, and it is the gentlest first move. For stubborn cases, insecticidal soap may help reduce the population.
Lavender’s own strong scent actually deters some pests, which is why it stays fairly resistant compared to softer plants. Good airflow and healthy roots make it even less inviting.
Avoid overfeeding, since the lush soft growth that follows heavy fertilizer can attract more aphids. Lean plants tend to be tougher targets.
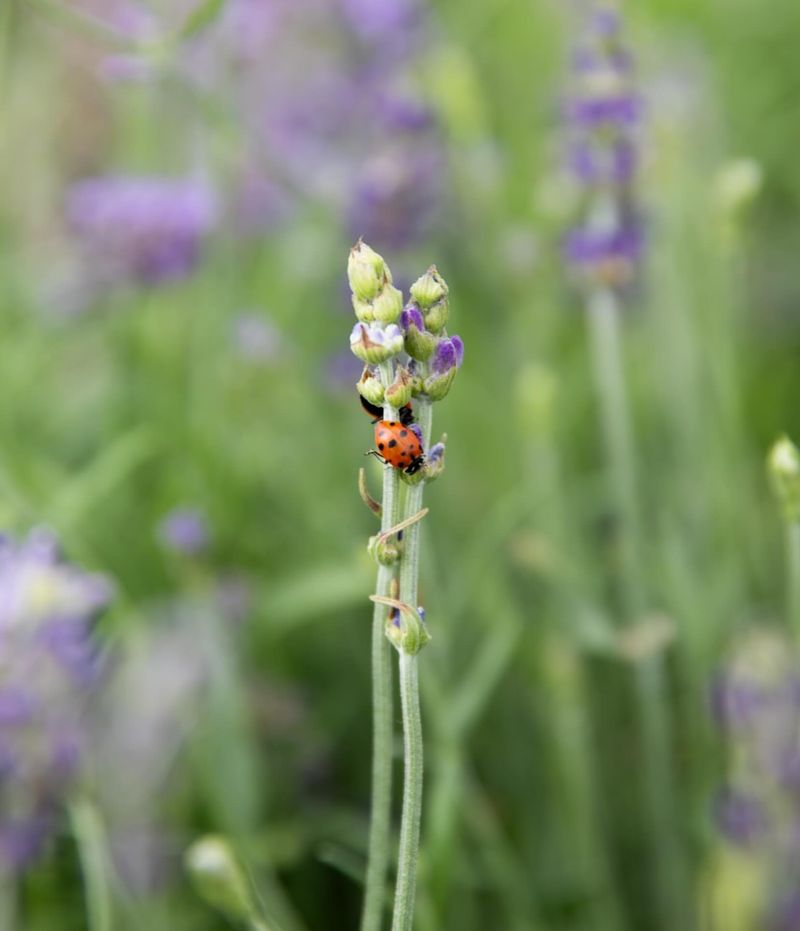
Encouraging ladybugs and other beneficial insects to visit can naturally chip away at pest numbers. A little vigilance keeps your container lavender clean without heavy chemicals.
19. Use Lavender to Deter Deer and Rabbits

Here is a bonus that surprises many US backyard gardeners: lavender’s strong fragrance tends to repel deer and rabbits rather than attract them. Its aromatic oils and slightly bitter taste make it an unappealing snack.
Placing potted lavender near vulnerable plants may help deter browsing animals from the area. It is not a guarantee, but the scent can make your patio less tempting to hungry visitors.
If deer pressure rises in fall and winter as wild food gets scarce, ringing containers of tastier plants with lavender can add a layer of protection. Every deterrent helps when forage is thin.
Containers give you the freedom to move this fragrant shield exactly where you need it. Cluster a few pots along paths animals use most.
Keep the plants healthy and pruned so they stay full of the oils that carry the scent. A weak, sparse plant offers weaker protection.
Pair lavender with other strongly scented herbs for a stronger effect, since no single plant stops determined wildlife on its own.
20. Watch for the Signs of Root Rot Early
Root rot is the silent killer behind most dead container lavender, and by the time the top looks bad, the damage below is often severe. Learning the early signals gives you a chance to rescue the plant.
Yellowing lower leaves, wilting despite moist soil, a soft mushy base, and a sour smell all point toward rotting roots. Any one of these deserves immediate attention.
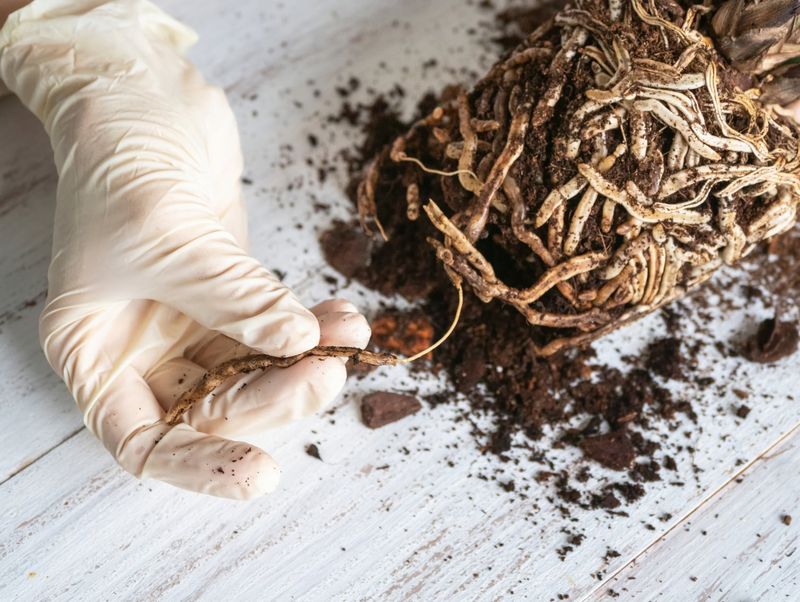
If you spot trouble, gently slide the plant out and inspect the roots. Healthy ones are firm and pale, while rotted roots look brown, black, and slimy.
Trim away the mushy roots with clean scissors, then repot into fresh, dry, gritty soil in a clean container. Hold off on water for a few days so the plant can recover.
Moving forward, correcting drainage, soil, and watering habits is what actually keeps rot from returning. Rescue only sticks if you fix the cause.
Catching root rot early can save a plant that seems doomed, so check in on your lavender regularly and act at the first hint that something feels off.