
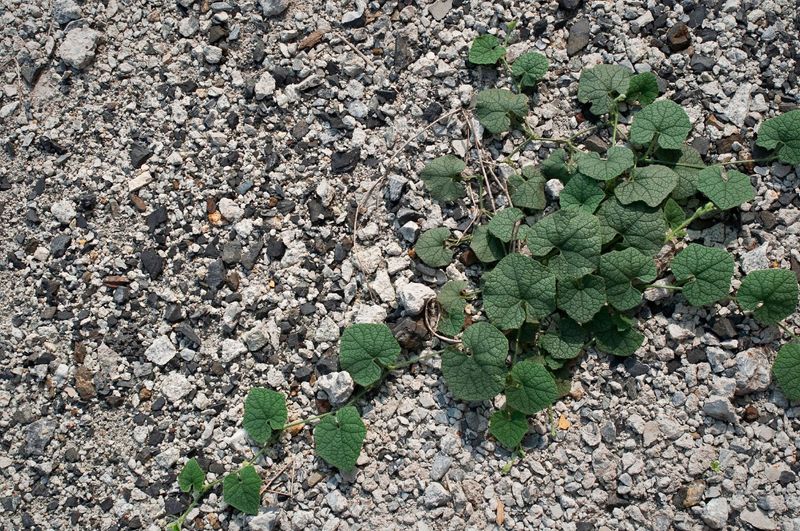
Pull the weeds from your gravel path on a Saturday, and by the following month they are back, sometimes thicker than before. The problem is not your effort, it is what is hiding underneath the stones.
Dust, decomposed leaves, and fine soil collect between the rocks over time and give seeds exactly the foothold they need to grow. Rebuilding the path from the ground up can greatly reduce weeds pushing through from below, though no system stops every seed that blows in later.
Gravel becomes a seedbed when debris fills the gaps
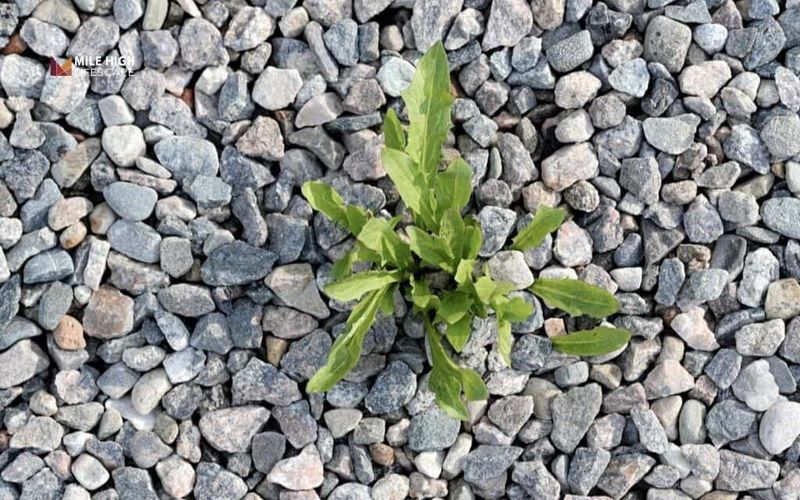
Most homeowners assume the gravel itself is failing them, but the real culprit is what accumulates inside it. Over months and seasons, wind deposits fine dust and soil particles between the stones, fallen leaves break down into organic matter, and tiny fragments of gravel wear down into powder.
That combination creates a surprisingly fertile layer sitting right on top of whatever is underneath.
UC IPM’s weed management guidance notes that gravel areas are difficult to keep weed-free precisely because dust, soil, and organic debris accumulate between stones and form a seedbed. Seeds arriving by wind, birds, or foot traffic land in that debris layer and germinate without ever needing to reach the native soil below.
That is why you can pull everything visible one week and find fresh sprouts two weeks later.
Weeds emerging from the underlying soil are a different problem from weeds rooting in surface debris, and that distinction matters for choosing the right repair. Adding a fresh layer of gravel over an existing mix of dirt, decomposed leaves, and old roots does not fix the seedbed.
It hides it temporarily while the organic material underneath continues to support new growth. University of Maryland Extension echoes this point, explaining that placing new gravel over an established problem layer does not address what is driving the weeds.
Repeated hand-pulling removes what you can see but leaves the seedbed intact, which is why the cycle keeps repeating.
The repair starts by removing the old problem layer
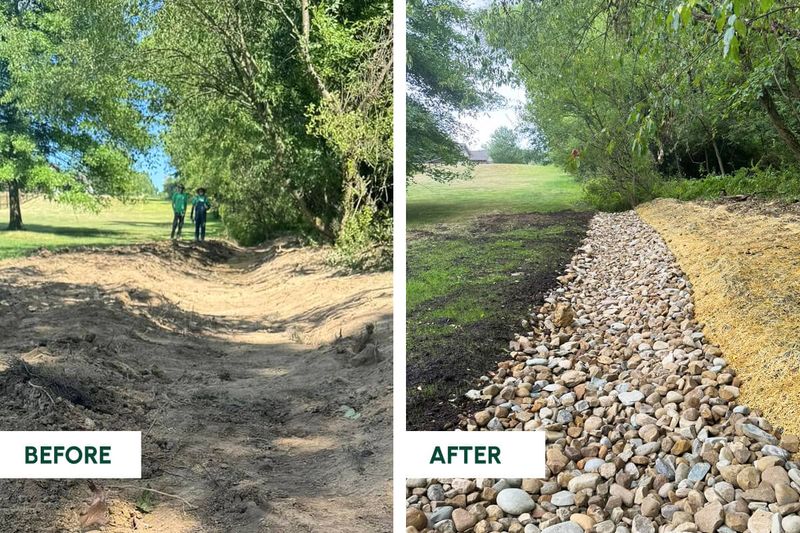
Before any new material goes down, the existing problem layer has to come out. Start by pulling or digging out every established weed you can find.
Perennial weeds are the priority here because their roots and rhizomes can survive light disturbance and push right back up through new material. Work carefully around the root systems and remove as much of the root mass as practical rather than just snapping off the tops.
UC IPM recommends starting weed management with a clean area and keeping new soil and mulch free of weed propagules. Once the weeds are out, rake the surface to pull accumulated soil, gravel fines, leaf litter, and any other organic debris out of the path corridor.
The goal is to expose the underlying native soil rather than leave a mixed layer of old material that will keep feeding new growth.
From there, excavation creates the clean, well-drained trench the rebuilt path needs. Penn State Extension notes that weeds thrive where conditions favor germination, so removing the nutrient-rich debris layer directly undercuts their ability to re-establish.
How deep to dig depends on your specific site. Loose or poorly draining soil may need a deeper cut than firm, well-drained ground.
A sloped path sheds water differently than a flat one. University of Maine Cooperative Extension uses approximately 6 inches as a reference depth for a pedestrian path, but that figure should be adjusted for local soil conditions, drainage, slope, and how much foot traffic the path will carry.
A stable path needs layers, not a loose sheet of fabric
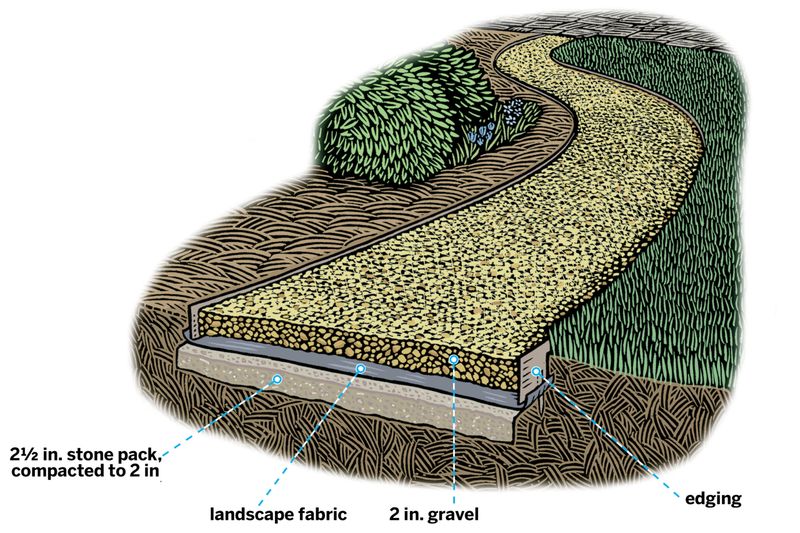
Fabric alone is not a path. A well-built gravel path is a layered system, and each layer does a specific job.
Skipping layers or substituting one for another is one of the most common reasons rebuilt paths develop the same weed problems all over again within a few seasons.
University of Maine Cooperative Extension describes a pedestrian path cross-section that uses approximately 6 inches of total excavation, roughly 3 inches of compacted low-fertility material as a base, a permeable weed barrier laid on top of the base, and approximately 3 inches of crushed stone or gravel as the finished surface. Think of those numbers as a starting point, not a rule that applies to every yard.
Soft or poorly draining soil may need a deeper base, while a firm, sandy site might require less.
The compacted base layer is what gives the path its structural stability. It keeps the surface from shifting under foot traffic and supports drainage by creating a firm, level platform.
The geotextile then sits on top of that base and serves as a separator, keeping the underlying soil from migrating up into the gravel above. University of Wisconsin’s gravel road construction guidance confirms that geotextiles are widely used under aggregate surfaces to prevent underlying soil from mixing into the surface material and to improve stability on softer ground.
The fabric does not replace the base; it works because the base is already there.
A continuous permeable barrier closes the weak points
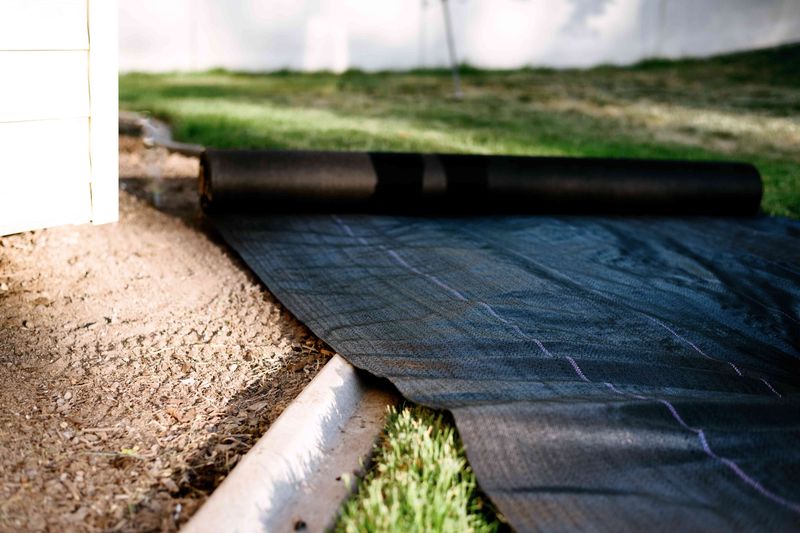
Permeable geotextile or commercial-grade woven landscape fabric is the correct underlayment for a gravel path. Solid plastic sheeting is not a suitable substitute here.
Black plastic restricts the movement of air and water through the path, can deteriorate and tear over time, and creates conditions that work against the long-term health of the surrounding soil and nearby plant roots. A permeable barrier lets water drain through while still separating the native soil from the gravel above.
UC IPM weed management guidance and the companion UC IPM Pest Notes on landscape weed management both point out that gaps and weak seams are where the barrier fails. Overlap seams by at least several inches, press them flat, and secure them with landscape staples driven into the soil at regular intervals.
Do the same along both edges of the fabric. A sheet that lifts, shifts, or separates at the seams creates exactly the exposed soil channels weeds need to get through.
Edging is the final containment step, and it matters more than most homeowners expect. Loose gravel migrates under foot traffic, and once it spreads beyond the path edges, it exposes bare soil along the margins.
Those margins become the most reliable re-entry point for new weeds. University of Maine Extension recommends edging as part of the path construction to keep gravel contained and reduce that exposed-soil problem.
Metal, plastic, or stone edging installed flush with the finished gravel surface keeps the system intact and closes off the margins where weeds most commonly return first.
Keep the new surface lean and watch it early
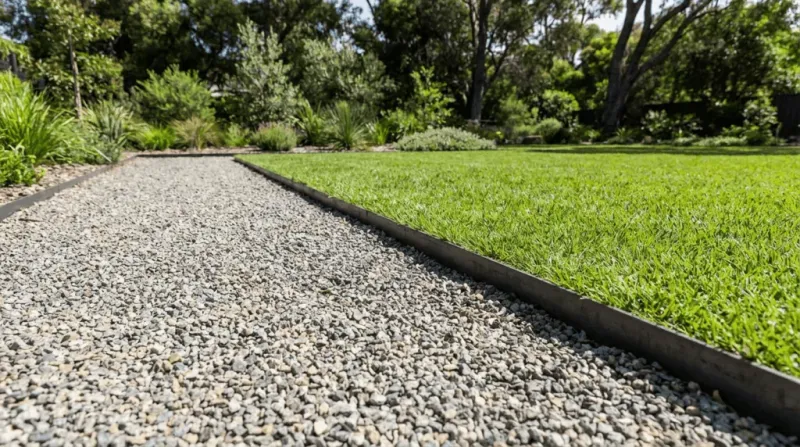
Once the path is rebuilt, how you finish and maintain the surface determines whether the barrier keeps doing its job. Cover the fabric completely with aggregate before calling the project done.
Exposed geotextile degrades faster in sunlight, collects debris more readily, and gives weeds a rough surface to root into. The gravel layer on top protects the fabric and completes the weed-suppression system.
Soil, compost, and decomposed mulch should stay off the gravel surface entirely. UC IPM’s Pest Notes make clear that organic material placed or allowed to accumulate above the barrier puts weed seeds above the point where the fabric can intercept them.
A thin layer of decomposed leaves sitting on top of the gravel is enough to let annual weed seeds germinate. Clearing that debris regularly is not optional maintenance; it is what keeps the rebuild working as intended.
The early weeks after rebuilding are the most important window for catching new surface arrivals. Penn State Extension notes that weeds can produce very large quantities of seed, and allowing even a few plants to flower and set seed before removal raises the number of future germination events.
Remove seedlings while they are still small, well before they flower. University of Maine Extension also points to edge migration as a recurring issue, so check path margins after rain events and push displaced gravel back before bare soil has time to accumulate.
Catching surface weeds early is managing normal maintenance, not a sign that the rebuild underneath failed.
Some sites and perennial weeds need extra planning
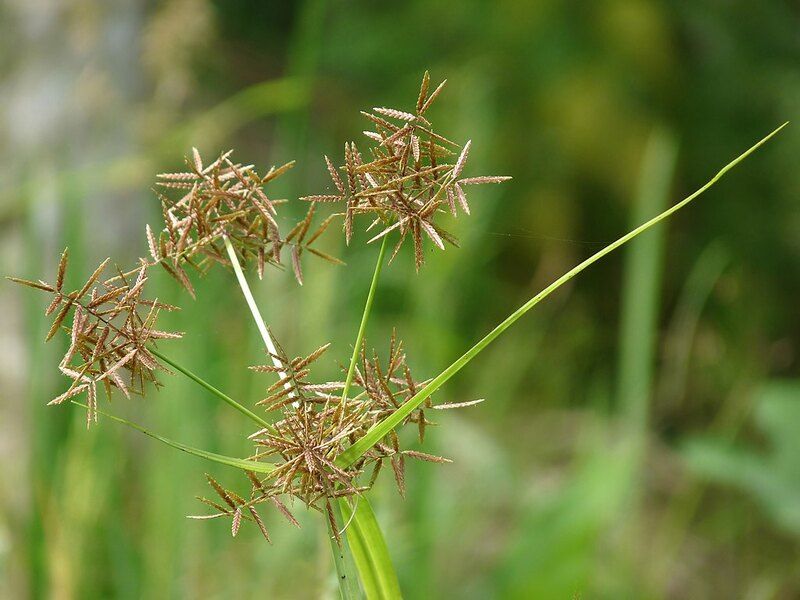
Certain weeds and certain sites call for more than standard preparation. Yellow nutsedge is a well-documented example: UC IPM specifically notes that yellow nutsedge can grow through many geotextiles, making thorough removal of its tubers before construction especially important.
Bindweed and similar deep-rooted perennials present a different challenge. These plants may persist from root fragments left in the soil or draw on stored root energy to overcome suppression, but the mechanism is not the same as nutsedge physically penetrating fabric.
Both require careful removal before the underlayment goes down and close monitoring in the weeks after rebuilding.
UC IPM’s Pest Notes also caution that fabric can become a long-term problem in planting beds, where tree and shrub roots grow into the material over time and make removal difficult without damaging those roots. A dedicated gravel path without ornamental plantings running through it is a different situation and a more appropriate use for geotextile underlayment.
Florida and Texas homeowners face site-specific challenges that can undermine an otherwise well-built path. Heavy rainfall and irrigation can wash fine soil particles into the gravel surface, gradually recreating the seedbed the rebuild was meant to eliminate.
The path should be graded so water drains away from it rather than pooling along its edges or sheeting across it. Dark-colored rock retains heat more than light-colored stone, which can raise surface temperatures enough to stress nearby plants.
University of Georgia Cooperative Extension guidance on ornamental plants notes that gravel and rock can create heat stress conditions for plants growing close to these surfaces, so choose rock color and placement with nearby vegetation in mind.
Herbicides may supplement reconstruction—or serve as an alternative in some cases
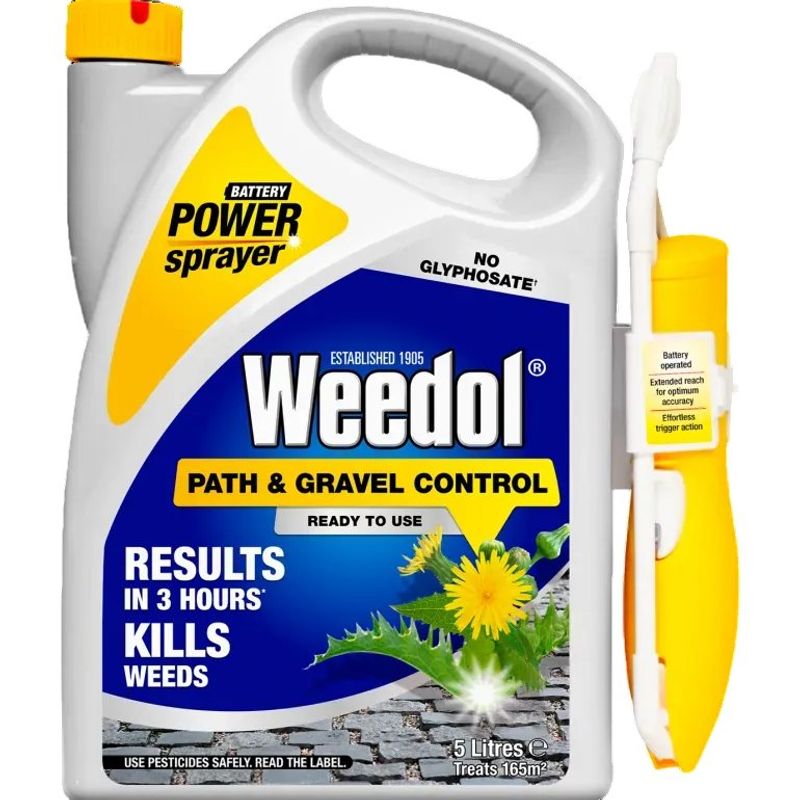
Chemical weed control has a real but limited role in gravel path management. A properly labeled herbicide may supplement a path rebuild by reducing weed pressure during or after construction, and in some situations it may serve as an alternative management strategy for a gravel path where full reconstruction is not practical.
What it cannot do is remove accumulated soil and organic debris from the path, which means herbicide use alone does not address the underlying seedbed problem.
Two categories of products work very differently. Foliar herbicides, including glyphosate-based products, control the green growth they contact.
EPA information on glyphosate makes clear that a foliar application controls the plants it reaches and does not function as a preemergence barrier preventing future germination. Preemergence products, by contrast, are applied to the soil before target seedlings emerge and interrupt germination.
Some products combine both modes of action, but those must be evaluated individually by their specific labels.
One EPA-approved product label for a bare-ground herbicide permits use on gravel pathways and claims control for up to one year, while also warning against use near desirable plants, over tree and shrub root zones, or in areas intended for future planting. That extended-control claim is specific to that product and its active ingredients, not a general property of all weed killers.
Always verify the current label before purchase and use, because label language, permitted sites, and restrictions can change.
UC IPM weed management guidance also cautions about residual activity, spray drift, and the risk of injuring nearby vegetation. Keep people and pets out of treated areas during any re-entry restriction period listed on the label.
Household vinegar may scorch young seedlings but Oregon State University Extension notes it generally does not kill perennial roots. Salt damages soil and nearby plant systems.
Penn State Extension and other sources note that bleach is not labeled for vegetation management and can harm soil organisms. Boiling water and flame-weeding can kill or scorch contacted vegetation but do not prevent later germination and carry real burn and fire hazards.
None of these approaches address the seedbed or offer a durable solution.
Rebuild below, maintain above
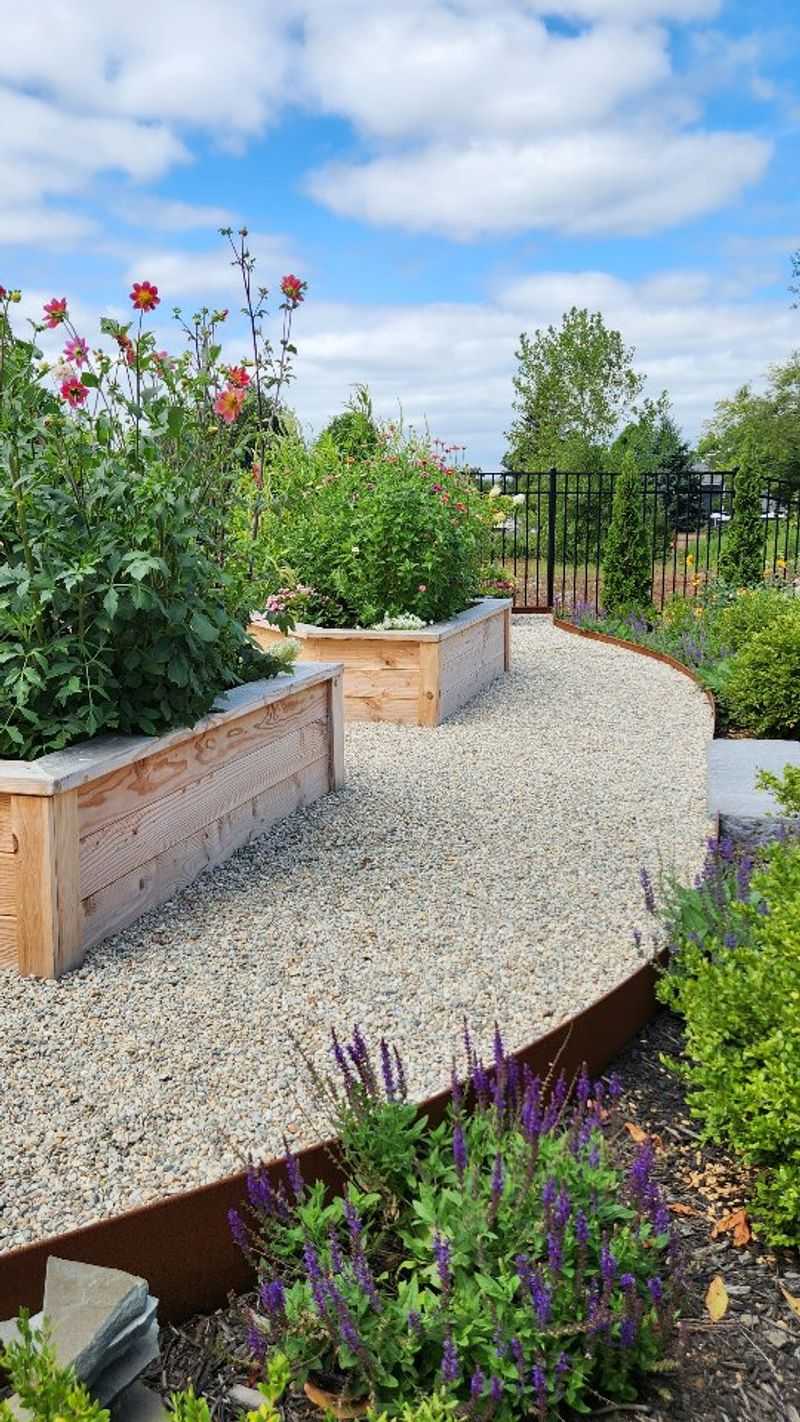
Removing the accumulated seedbed and constructing a properly layered, edged, and permeable gravel path can greatly reduce the weeds that push up from below. University of Maine Extension’s construction approach and UC IPM’s integrated management framework both point toward the same conclusion: no barrier system stops every seed that arrives later by wind, birds, or foot traffic.
The practical payoff is not a permanently weed-free path. It is fewer weeds, less frequent rescue work, and a surface that stays manageable when surface seedlings and debris are removed promptly.
A well-built path gives weeds far less to work with beneath the surface, which means the maintenance that remains is genuinely light rather than another losing battle.