
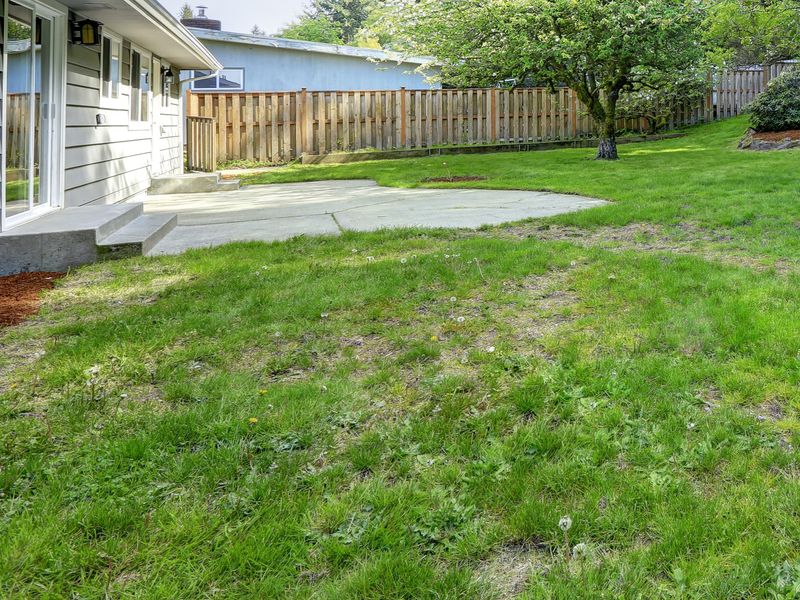
A bumpy lawn is more than an eyesore – it can turn a simple walk across the yard into an ankle-rolling obstacle course and make mowing feel like a punishment. The good news is that mild surface irregularities in a warm-season lawn can often be smoothed out using tools you probably already own, without renting a skid steer or calling a landscaping crew.
Before you grab a shovel, though, the fix that actually works depends on what caused the unevenness in the first place. A few minutes of diagnosis now can save you from repeating the same repair next season.
Find the cause before you smooth the surface
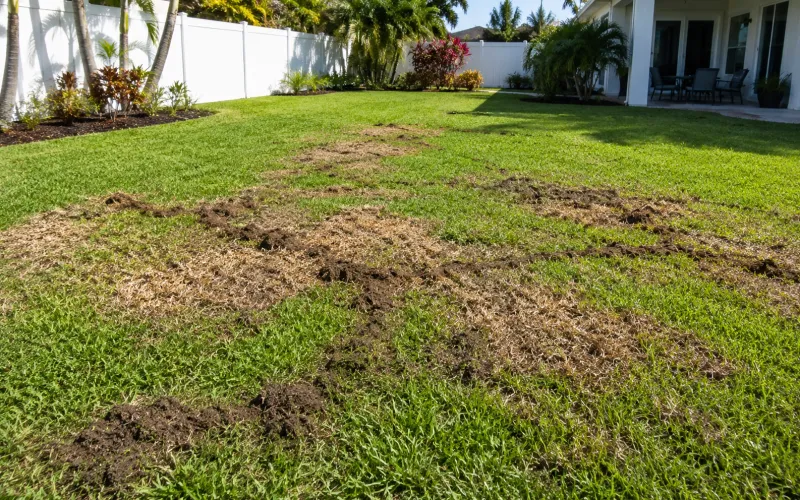
Walk your lawn slowly and look at the pattern of the bumps rather than just the overall roughness. Raised, irregular ridges running under the turf in winding paths, often with loose soil pushed to the side, are a strong sign of shallow mole tunnels.
Small, cone-shaped mounds scattered randomly across the surface are more likely to be earthworm castings. Conical mounds with a visible hole in the center often point to ant activity, and University of Minnesota Extension’s symptom guide for lawn bumps walks through these patterns in useful detail.
Mole tunnels are worth understanding before you react to them. Moles feed on earthworms, grubs, and other soil organisms, but their presence does not confirm a grub infestation.
Penn State Extension’s guidance on mole damage makes clear that treating the lawn indiscriminately for grubs based only on mole activity can harm beneficial organisms. Confirm grub damage by pulling back turf and examining the roots and soil before reaching for any pesticide.
Earthworm castings deserve a different response entirely. Minnesota Extension’s nightcrawler page explains that earthworms aerate soil, improve water movement, and cycle nutrients, so tolerating their surface castings is usually the right call.
Bumps can also reflect settling, compaction, irrigation trouble, or drainage issues, so check whether the turf is thin, whether water pools nearby, and whether the soil feels hard underfoot. One more distinction worth making: mowing too low can injure and thin warm-season turf and make it look ragged or uneven, but scalping does not create physical changes in soil grade.
Decide whether the lawn needs smoothing or regrading
Not every uneven lawn is a hand-tool project, and understanding that boundary upfront will save you wasted effort. A good candidate for DIY smoothing is a lawn with a few shallow depressions, minor ruts left by foot traffic or a delivery vehicle, loose surface irregularities after heavy rain, or turf that looks uneven because of small variations in the soil surface.
These situations do not redirect drainage or point to anything structural going on below grade.
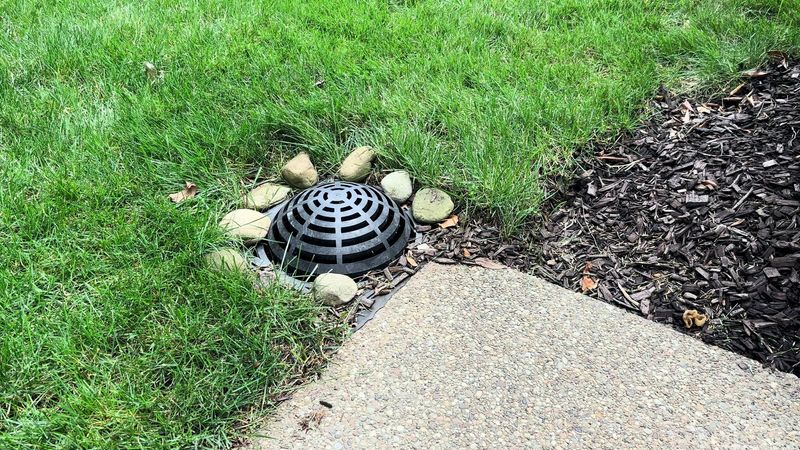
Compare that to a lawn with large elevation changes, recurring settlement in the same spot, areas where the soil has collapsed, standing water that does not drain within a day or two, or a slope that sends water toward the house rather than away from it. Those conditions may require excavation, drainage work, regrading, or professional equipment.
UF/IFAS guidance on preparing a Florida lawn recommends a 1 to 2 percent slope away from structures, and Penn State gives a general range of 1 to 4 percent for lawn establishment. That slope exists for a reason, and a homeowner should not flatten the yard in a way that eliminates it.
UF/IFAS Extension warns against laying new sod or seed over a compacted, uneven base without correcting the underlying problem first. A successful lawn does not need to be perfectly flat.
It needs to be smooth enough to walk across and mow safely, while keeping swales and drainage paths intact. If the unevenness keeps coming back in the same spot, that is a signal to look below the surface rather than reach for more fill material.
Prepare hand tools and workable soil
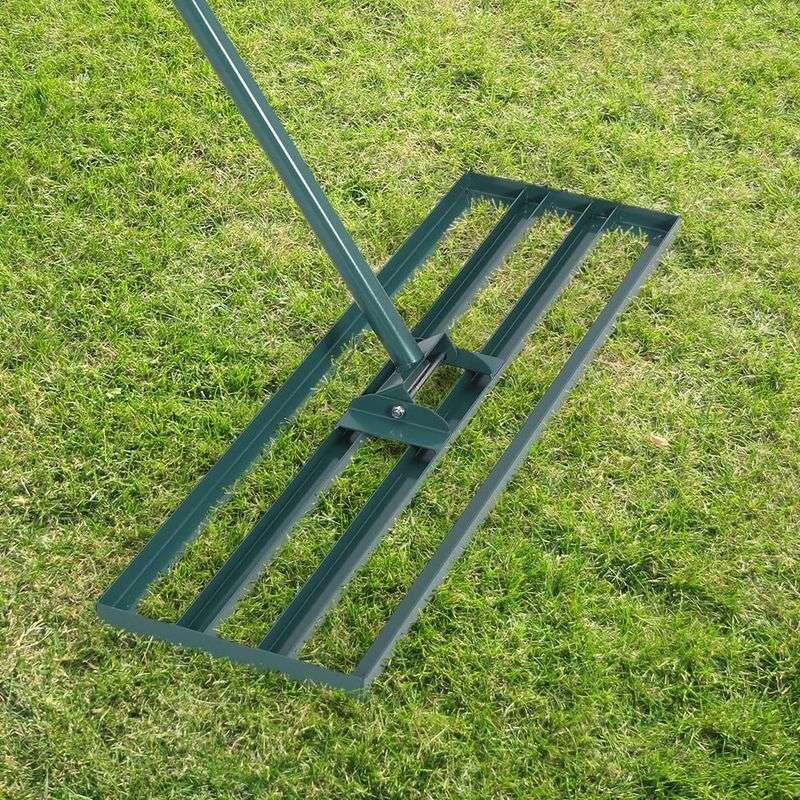
Getting set up properly makes the repair faster and prevents a new problem from replacing the old one. For most small surface jobs, you need a flat-blade shovel or spade, a garden or grading rake, a leaf rake for lighter spreading, and a light drag.
UF/IFAS recommends hand raking and hand-pulled drags for small lawn areas, and common drag options include a section of chain-link fence, a metal doormat, a stiff brush mat, or any similarly weighted flat surface you can pull slowly across the turf.
Before you dig or aerate anything, locate every irrigation head in the work area and flag it clearly. Call 811 or your local utility-locating service to mark underground lines, and probe the area for roots, rocks, or buried debris that could catch a shovel or damage equipment.
Skipping this step can mean a broken irrigation line or a dangerous contact with buried utilities.
Soil moisture matters more than most homeowners expect. Penn State Extension’s guidance on avoiding soil compaction explains that wet, plastic soil compacts and ruts easily under foot traffic and equipment.
Work when the soil is moist enough to penetrate with a shovel but not so saturated that it smears or sticks heavily. If you walked across the lawn after a rainstorm and left deep footprints, wait another day or two before starting any surface repair.
Fill a small depression in gradual layers
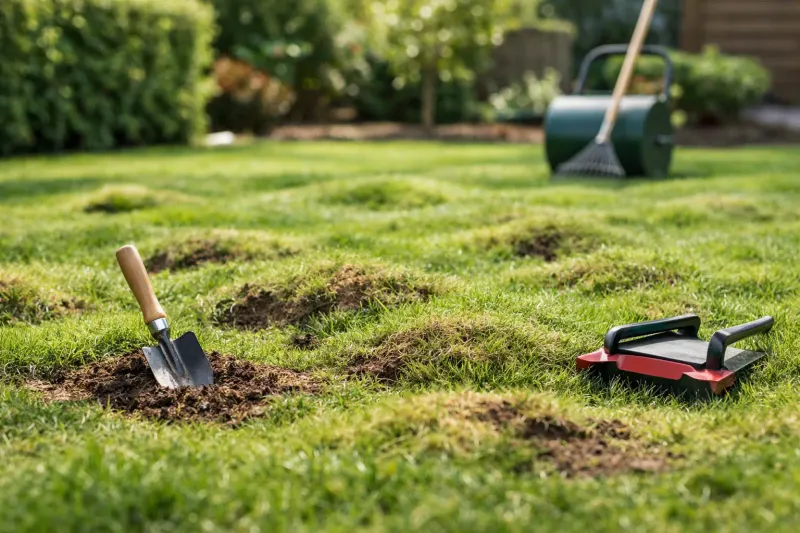
Choosing the right fill material is the step most homeowners rush past, and it is one of the most consequential decisions in the repair. Use a compatible lawn soil or topdressing mix whose texture is as close as possible to your existing soil.
UF/IFAS Extension explains that routine sand topdressing is not recommended for home lawns and that material with a sharply different texture can create a layered interface that slows water movement and restricts roots. The fill should also be free of weeds and nematodes, because introducing either of those into an otherwise healthy lawn creates a new problem on top of the cosmetic one you are trying to fix.
Place the fill material only inside the depression, not across the surrounding turf. Spread it with a rake until the surface is roughly level with the surrounding grade, and stop before you bury the grass blades.
UF/IFAS guidance treats roughly 1 to 2 inches of fill as a localized maximum for a single application in a small depression. That is not permission to blanket the whole lawn or to fill a deep hole in one pass.
The goal is to add just enough so the existing grass can grow through the layer and anchor the new material before you consider adding more.
After the grass has grown visibly through the first layer, usually within a few weeks during active warm-season growth, assess whether the depression still needs attention. Add a second thin layer if necessary, following the same method.
Repeated surface filling cannot substitute for correcting settlement caused by a compacted base, poor drainage, or another underlying failure. If the low spot keeps returning, the cause is below the surface, and more fill on top will not solve it.
Drag shallow ridges and ruts into a smoother surface
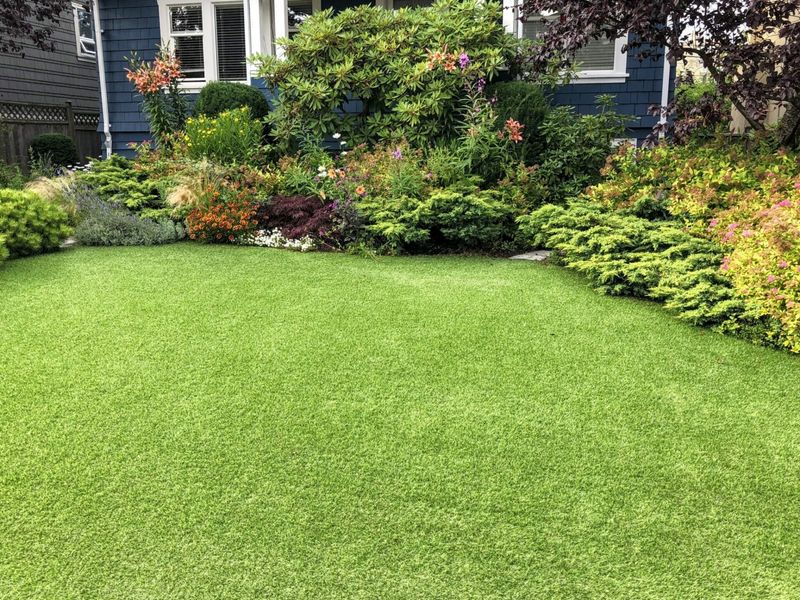
Once loose fill material is in place or after you have broken up minor surface ridges with a rake, a light drag can finish the job without disturbing healthy turf. Pull the drag slowly and steadily across the work area, letting its weight do most of the work.
The goal is to nudge material from slightly raised points toward the nearby lower areas, not to scrape aggressively or tear through the grass canopy. UF/IFAS describes using a metal doormat, chain-link fence section, brush, or similar drag for smoothing small lawn areas, and the key word is small.
A drag pass is a finishing step, not a regrading tool. It cannot correct a deep ridge that runs several inches above grade, a major slope change, severe settlement, or any problem rooted in what is happening below the soil surface.
Expecting a drag to do that kind of work will leave you frustrated and may make the area worse if you press too hard and tear up turf that was otherwise healthy.
After dragging, walk the repaired area from several directions, because bumps that are invisible from one angle can be obvious from another. Check that the surface still sheds water away from the house and that any swale or low drainage path in the area has not been filled or redirected.
A lawn that is smooth enough to mow in a straight line and walk across without rolling an ankle has met the practical goal. Chasing a billiard-table result with hand tools on an established lawn is not a realistic target, and trying for it can do more damage than the original bump did.
Use core aeration only when compaction contributes
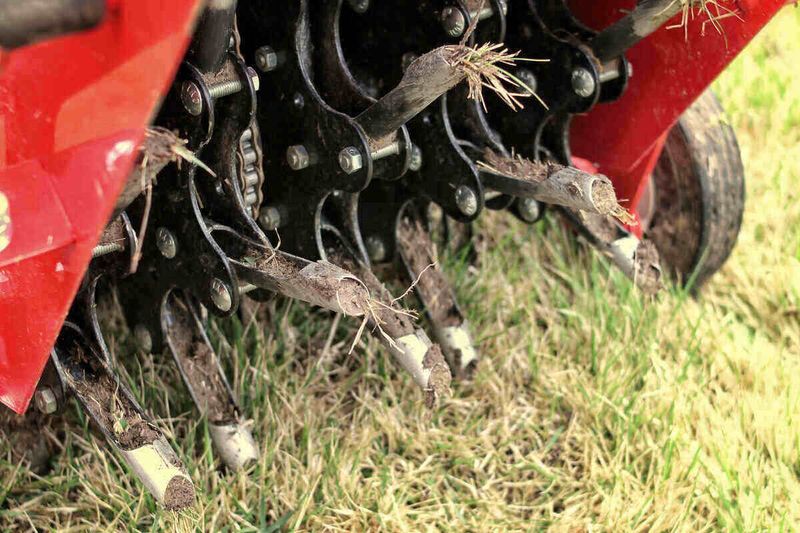
Compaction is one of those problems that hides in plain sight. A lawn growing on hard, compacted soil may look thin, feel almost solid underfoot, and develop surface irregularities over time as turf weakens and the ground settles unevenly.
Core aeration addresses that condition by physically removing small plugs of soil, which opens channels for air, water, and nutrients to reach the root zone and encourages deeper rooting.
University of Georgia Extension’s turfgrass fertility and aeration guidance recommends using a hollow-tine or core aerator rather than solid-tine spikes. Solid spikes push soil aside rather than removing it, which can actually increase compaction around each hole.
For warm-season grasses, UGA ties aeration to active turf growth and recommends waiting until soil temperatures at the 4-inch depth are at least 65 degrees Fahrenheit and rising. That threshold is more reliable for Florida and Texas readers than any single calendar date, because timing varies by grass type and local climate conditions.
Mark irrigation heads and underground utilities before operating any aerator, just as you would before digging. UF/IFAS emphasizes identifying irrigation components and other obstructions before renovation work, and an aerator can damage a shallow irrigation line just as easily as a shovel can.
Colorado State Extension notes that core cultivation and spreading the plugs may cause some modest leveling of a bumpy surface, but aeration alone will not independently correct severe ridges, deep low spots, major settlement, or a drainage failure. Think of it as a soil-health tool that can support your other repairs, not as a standalone fix for significant unevenness.
Avoid shortcuts that damage turf and soil
A few common shortcuts feel logical in the moment but tend to create new problems while leaving the original one unsolved. Spreading sand across the entire lawn to flatten it is one of the most widespread examples.
UF/IFAS Extension is direct on this point: routine sand topdressing is not recommended for home lawns, because a layer of sand sitting over a different soil type can slow water movement downward and restrict root penetration. Oklahoma State Extension similarly notes that meaningful soil improvement requires substantial, uniform incorporation rather than a thin surface layer.
Adding compost until a low spot disappears carries its own risk. UF/IFAS guidance on soil compaction in the urban landscape notes that screened, fully composted material can be topdressed, but no more than 1 inch at a time so the turf is not smothered.
Compost topdressing does not substitute for fixing a compacted subsoil or correcting a drainage failure below. Heavy rolling is another tempting shortcut that often backfires.
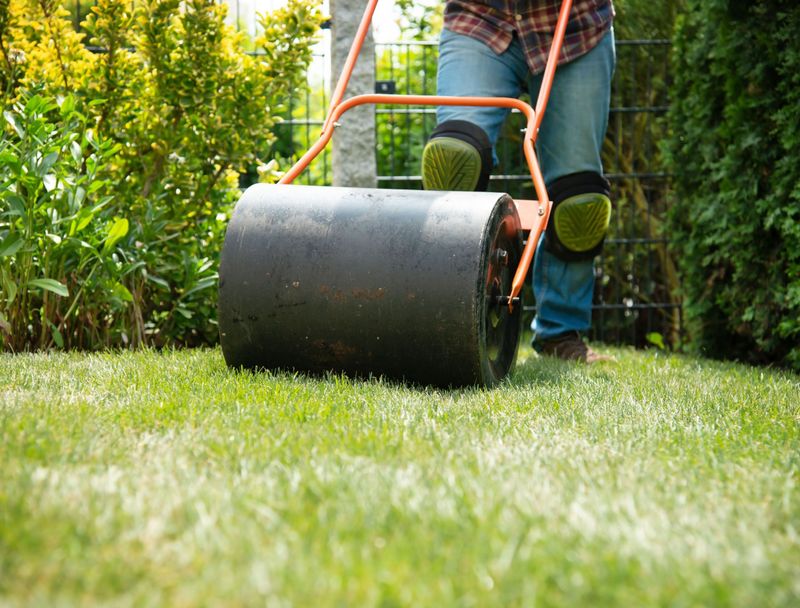
Penn State Extension’s lawn establishment guidance notes that light rolling may help firm newly prepared soil, but heavy or repeated rolling can compact the soil, and rolling saturated ground is particularly damaging.
Mowing habits also matter after any surface repair. UGA Extension emphasizes maintaining the correct mowing height and removing no more than one-third of the blade at a time.
Shaving high spots aggressively with the mower can injure warm-season turf, especially during green-up or periods of heat stress. Before reseeding or sodding any bare or damaged area, identify the actual cause first.
UF/IFAS guidance on renovating a Florida lawn cautions that repairing without diagnosing – whether the culprit is shade, irrigation failure, disease, insects, flooding, compaction, or an unsuitable grass variety – typically produces only a temporary improvement.
Stop when the problem points to grading or drainage
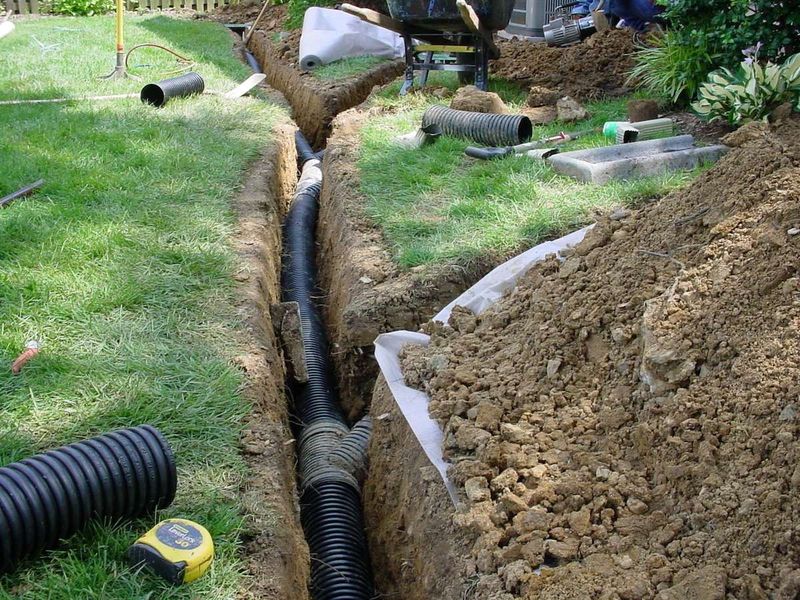
Knowing when to stop is as useful as knowing how to start. Judge the success of a hand-tool repair by practical results: the area is easier to walk across, shallow low spots have improved, the turf is recovering, and no new water-routing problem has appeared.
A perfectly flat yard is not the target, and chasing that result with fill material and a drag can eliminate the slope that keeps water moving away from your foundation.
The sequence that works for mild surface problems is straightforward. Diagnose the cause, make gradual localized repairs with compatible soil, use a light drag for finishing, and aerate compacted soil during active growth when the grass needs it.
UF/IFAS preparation guidance and UF/IFAS renovation guidance both reinforce that surface repairs on top of an unresolved base problem will not hold.
When the same low spot keeps returning, water stands after normal rain, the ground has collapsed rather than simply settled, or the elevation change is more than a shallow surface correction can address, the hand-tool approach has reached its limit. UF/IFAS turfgrass replacement guidance notes that drainage failures and severe base problems may require regrading, drainage work, excavation, or professional assessment.
Hand tools are genuinely useful for mild bumps in an otherwise sound lawn – the key is recognizing when the lawn is telling you the problem runs deeper than the surface.