
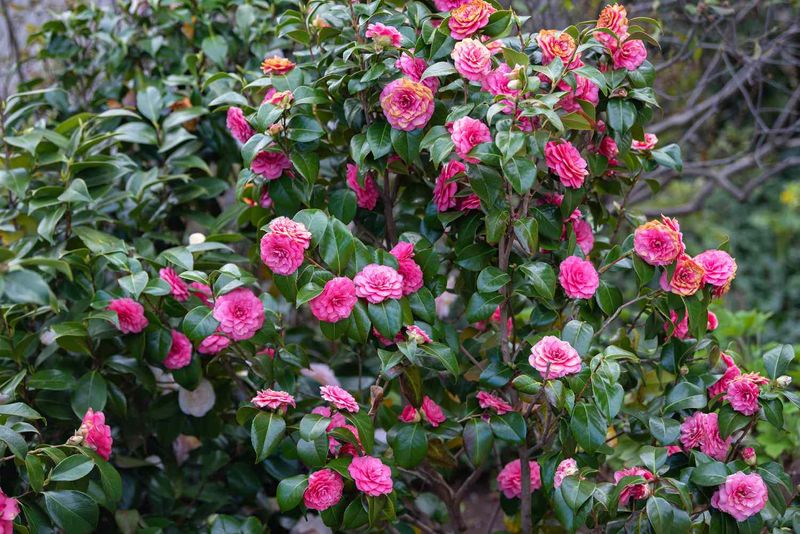
Camellias are some of the most rewarding shrubs a North Carolina gardener can grow, putting on a flower show when almost nothing else dares to bloom. But what happens in August and September, when the garden feels quiet and the heat is relentless, can shape how well those buds open months from now.
If you grow a winter-blooming camellia and the soil around its roots has been running dry, now is a good time to pay attention.
Target winter-blooming Camellia japonica
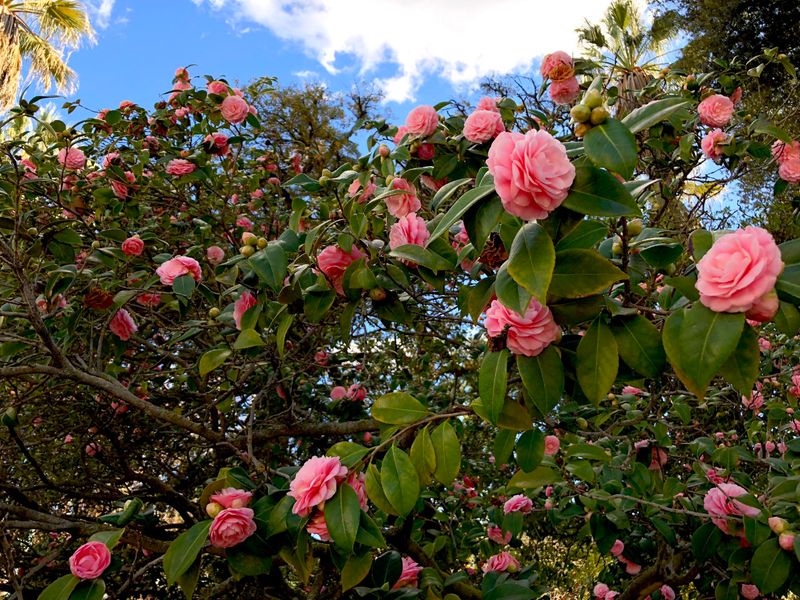
Not every camellia in a North Carolina yard promises the same bloom window, and that distinction matters before any advice about protecting winter flowers makes sense. The plant most associated with winter and early-spring flowering in this state is Camellia japonica.
NC State Extension’s camellia japonica profile notes that japonicas typically flower from winter into spring, with buds forming on older growth during the previous growing season. That means the buds that will open in January or February are quietly developing right now, during the heat of late summer.
A separate species, Camellia sasanqua, is also common across the state and can look nearly identical to a japonica when not in bloom. The key difference is timing.
Duke Gardens explains that sasanqua camellias generally flower earlier, from fall into early winter, rather than in the depths of winter. If your camellia blooms in October or November, it is likely a sasanqua, and the winter-bloom advice in this article applies less directly to it.
Knowing which species you have changes how you read the stakes. A japonica owner watching buds set in August has a real reason to monitor soil moisture over the coming weeks, because those developing buds are sensitive to prolonged drought at this stage.
The goal is not to panic or to treat a single dry afternoon as a crisis. The goal is to understand that late summer is when consistent moisture can genuinely support the flowering you are hoping to see in winter, and that the plant in question is specifically a winter-blooming japonica.
Why August and September moisture matters
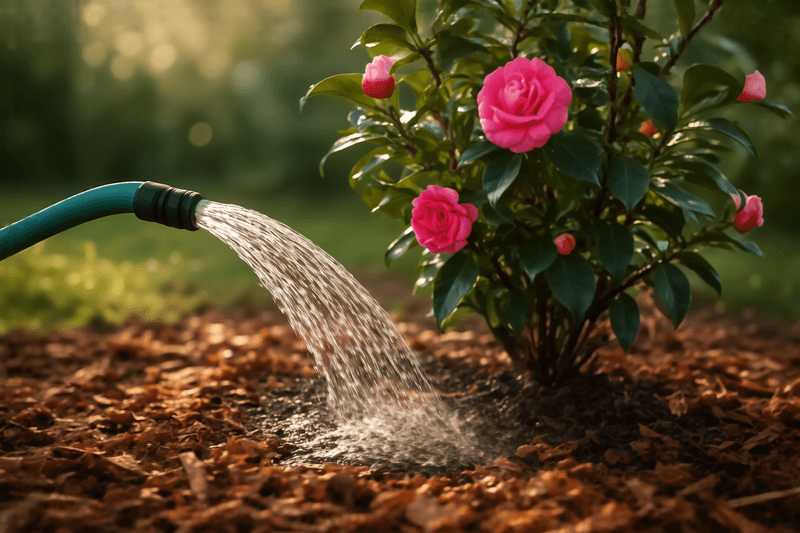
Flower buds on a camellia japonica do not appear overnight. They develop gradually on older stems through the summer, and what the plant experiences during that process can influence whether those buds stay on the branch or drop before they ever open.
NC State Extension notes that drought during August and September can inhibit the following season’s flowering, and that both under-watering and over-watering can contribute to flower-bud drop.
The Cumberland County camellia guidance from NC Cooperative Extension puts it plainly: camellias benefit from extra summer water while flower buds are forming because drying out can cause bud drop or result in smaller flowers. That connection between late-summer soil moisture and flowering quality several months later is the core reason this period deserves attention.
Bud formation and bud opening are two separate events, though, and it helps to keep them distinct. A camellia can set buds successfully and still lose some of them later to freezing temperatures, temperature swings, poor drainage, or natural shedding.
Clemson Extension’s camellia fact sheet points out that irregular swings between very dry and excessively wet conditions can trigger bud drop, which means the goal is even moisture, not simply more water. Texas A&M AgriLife’s camellia disease handbook similarly notes that environmental stresses, including temperature extremes and moisture irregularity, can prevent buds from opening later in the season.
Thinking about this in practical terms: a camellia that experiences weeks of dry soil during bud formation is more likely to produce a reduced or disappointing bloom than one that receives steady moisture. A single dry day is not a disaster, and one thorough watering cannot undo a month of neglect.
What helps is a consistent habit of checking and responding over the course of late summer.
Check the soil before watering
A watering calendar is not the most reliable guide for a camellia’s root zone. Rainfall, soil texture, drainage, shade, wind exposure, and the age of the plant all change how quickly moisture disappears.
The more useful habit is a direct soil check before reaching for the hose.
University of Maryland Extension recommends checking shrub soil at about 6 inches deep and watering thoroughly when that layer is dry. Pushing a finger or a thin wooden dowel into the soil near the outer edge of the plant’s canopy, where feeder roots are active, gives a more accurate reading than checking surface moisture.
The surface can dry quickly even when the root zone still holds adequate moisture, and a brief summer rain can wet the top inch without reaching the roots at all.
Soil texture matters considerably across North Carolina. Sandy soils common in the Coastal Plain drain and dry faster than the heavier clay soils found through much of the Piedmont.
A camellia in a sandy Coastal Plain bed may need a check every few days during a dry stretch, while a plant in heavier clay soil might hold moisture for a week or longer after a good rain. Mountain sites bring their own variables, including faster temperature drops and wind exposure that can dry foliage and soil more quickly than lowland gardeners expect.
UC IPM’s camellia guidance also distinguishes between newly planted shrubs and established ones. A camellia planted within the last one to two years has a smaller, less developed root system and is more vulnerable to moisture stress.
Established plants with deep, spreading roots can often handle short dry periods without significant harm. Newer transplants deserve more frequent checks and quicker response when the soil dries.
Water deeply without saturating the soil
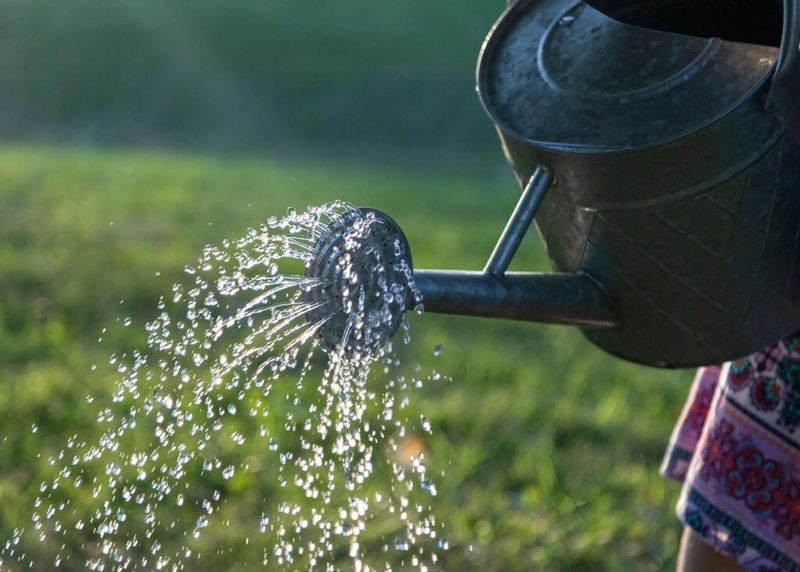
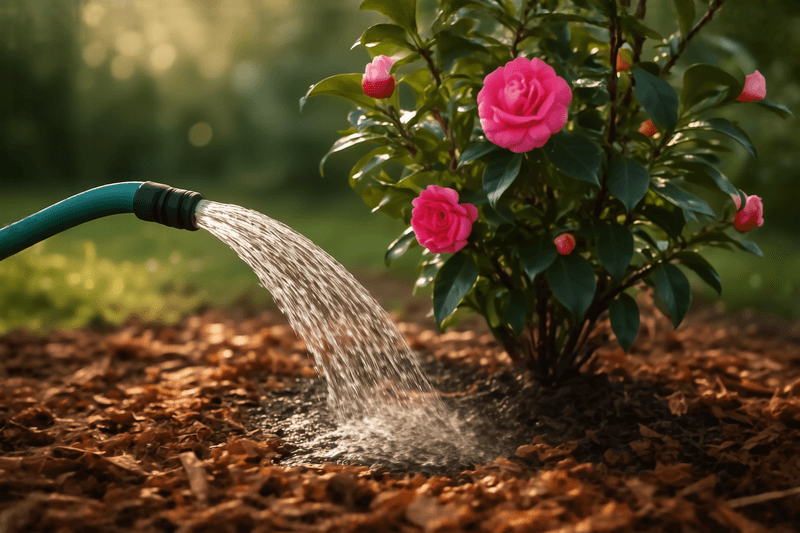
Once a soil check confirms the root zone is dry, the next step is watering in a way that actually reaches those roots. A quick pass with a sprinkler or a short burst from a garden hose mostly wets the surface and evaporates before it benefits the plant.
Slow, thorough watering across the full root zone is what moves moisture down to where the feeder roots are working.
University of Maryland Extension recommends watering the soil rather than the foliage, using a slow hose trickle, soaker hose, or drip irrigation rather than overhead sprinklers. Letting water flow slowly over a wider area under the canopy, roughly out to the drip line, allows it to soak in rather than run off.
Shrubs that receive deep, less-frequent watering tend to develop deeper root systems, which makes them more resilient during dry stretches.
University of Florida IFAS camellia guidance offers a general benchmark of about 1 inch of water every 10 days to two weeks during extended dry periods. That figure comes from Florida conditions and should not be treated as a fixed prescription for every North Carolina yard.
Use it as a rough frame of reference, then adjust based on what your soil check tells you. A Piedmont yard that received an inch of rain last week may not need supplemental water yet, while a sandy coastal bed in the same week could already be dry at root depth.
The warning that matters just as much as watering enough is the risk of watering too much. NC Cooperative Extension’s Cumberland County camellia guidance notes that over-watering and poor drainage can harm camellias as surely as drought can.
Soil that stays saturated cuts off oxygen to the roots and can promote root rot. The target is moist soil that drains well, not a constantly wet bed.
Use mulch and site conditions to hold even moisture
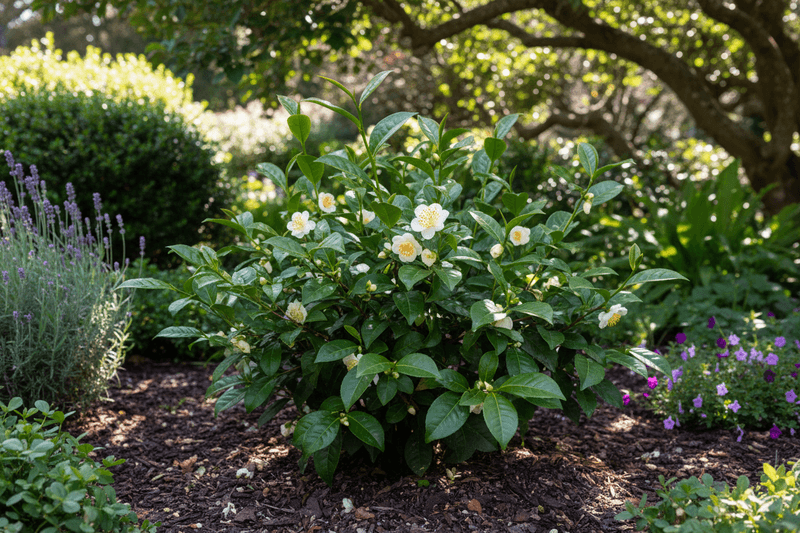
Mulch does quiet but meaningful work around a camellia’s root zone. A layer roughly 2 to 3 inches deep, spread out from the base of the plant to at least the drip line, slows moisture evaporation from the soil surface, moderates root temperature during summer heat, and reduces the speed at which the soil dries between rain events.
Both NC Cooperative Extension and UF/IFAS recommend this mulch depth for camellias. One firm rule: keep the mulch pulled back from the main trunk and stem.
Mulch piled against the bark traps moisture against the wood, which can encourage rot and disease over time.
Site conditions shape how well any watering effort holds. NC State Extension’s general camellia profile notes that camellias prefer moist, well-drained, slightly acidic soil and benefit from partial shade or protection from drying winds.
A plant in heavy afternoon sun or exposed to persistent wind will lose moisture faster than one with afternoon shade and a windbreak. Poor drainage creates a different problem: soil that stays wet after rain can produce the same bud-drop and root-stress symptoms as drought, because roots under waterlogged conditions cannot function normally.
Clemson Extension specifically flags irregular swings between very dry and excessively wet as a contributor to bud drop, which means the goal is not simply adding water but maintaining even moisture over time. Mulch helps with that stability, but it cannot compensate for a fundamentally poor site.
A camellia planted in compacted clay with standing water after rain will benefit more from a drainage improvement than from any mulch adjustment.
Regional differences across North Carolina reinforce why repeated soil checks matter more than any statewide watering rule. Coastal Plain soils dry faster, Piedmont clay holds moisture longer, and mountain sites face sharper temperature shifts.
A gardener in Wilmington and one in Asheville may be caring for the same cultivar but managing very different moisture conditions through August.
Avoid late-season pruning and fertilizer mistakes
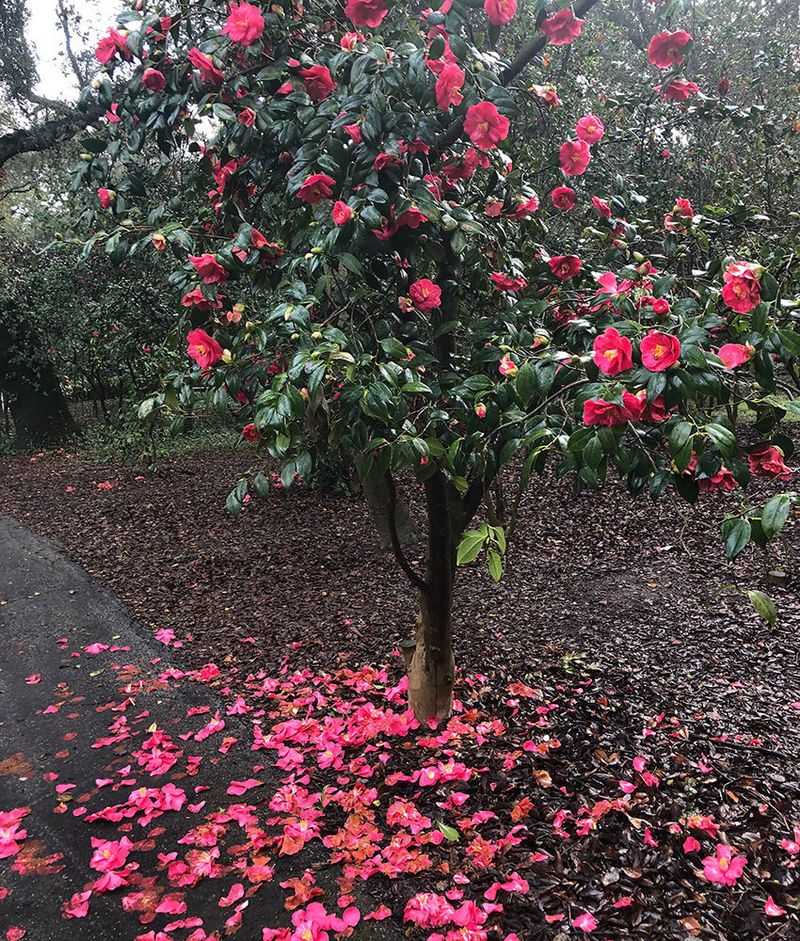
Two common garden habits can quietly undermine a camellia’s winter bloom without the gardener realizing it until the buds fail to open. Late-season pruning and automatic late-summer fertilizing are both worth reconsidering if a winter display is the goal.
Camellia japonica forms its flowers on older growth, which means any branch cut in late summer or fall is likely carrying buds that were already forming. NC State Extension states that pruning later in the year can sacrifice the following year’s blooms.
The NC State Lee County pruning guidance is direct: late-summer shearing can remove developing flower buds before they have a chance to mature. Shaping a camellia in August because it looks a little overgrown is a reasonable impulse, but on a japonica it can mean cutting away the very stems that would have produced flowers in January.
The right window for routine pruning on a japonica is immediately after flowering ends in late winter or early spring, or in early summer before new bud development is well underway. Dead, diseased, or damaged wood is the exception and can be removed whenever it is found, regardless of season.
Outside of that, the healthiest approach is to leave the plant alone through late summer and fall.
Fertilizer deserves the same restraint. UF/IFAS camellia guidance warns that late-summer or fall fertilization can push tender new growth that becomes vulnerable to early cold snaps.
Fertilizing simply because buds are present is not a sound reason to feed the plant. A better approach is to base fertilizer decisions on a soil test and the plant’s observed condition.
If the camellia has been performing well and the soil pH is appropriate, additional fertilizer in late summer may do more harm than good by stimulating soft growth that a frost can damage.
Set realistic expectations for the winter display
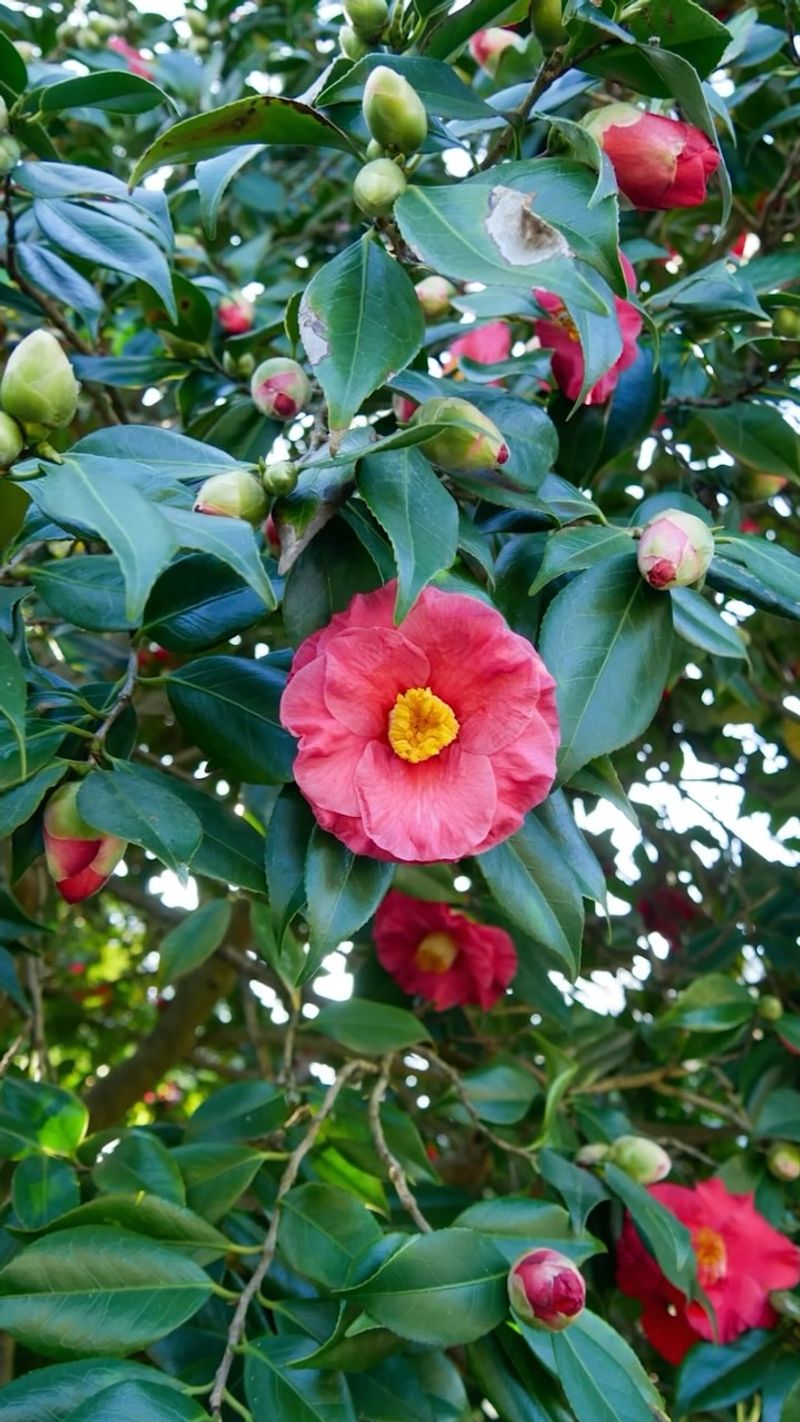
A practical care routine for late summer looks like this: check the soil several inches down every few days during dry weather, water slowly and thoroughly across the root zone when that layer is dry, and adjust your next check based on recent rainfall and how your particular soil holds moisture. Keep mulch in place around the root zone, away from the trunk, and leave healthy growth unpruned.
Even with all of that in place, some bud drop will happen. NC State Extension notes that camellias can naturally produce more buds than the plant can support, so a modest amount of bud shed is normal and not a sign that something went wrong.
Clemson Extension and Texas A&M AgriLife both point to temperature swings, freezing events, poor drainage, pests, and nutrient problems as additional causes of bud failure that have nothing to do with how carefully you watered in August.
UF/IFAS Okaloosa County Extension documents how buds that formed successfully can still fail to open because of cold injury or temperature extremes close to bloom time. A well-watered plant with good bud set heading into winter can still lose flowers to a hard freeze or an unusually warm fall that disrupts normal bud development.
Consistent moisture through late summer improves the odds of a strong bloom, but it cannot hold the weather accountable. The camellia owner who checks the soil regularly and waters thoughtfully has done what is genuinely within reach – and that is usually enough to see at least some flowers open on a cold January morning.