
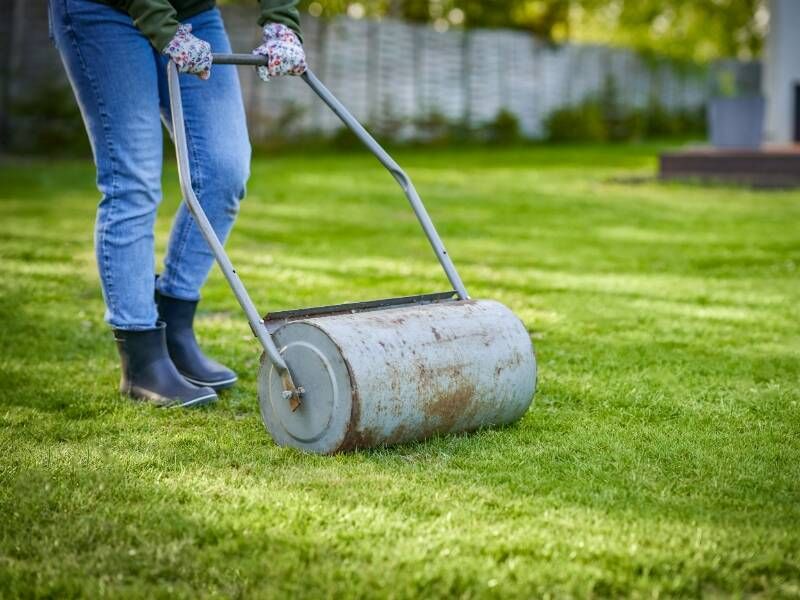
A lumpy lawn is more than an eyesore – it can turn a simple walk across the yard into a tripping hazard and make mowing feel like an obstacle course. The good news is that shallow surface bumps, minor ruts, and small depressions can often be improved with hand tools and a compatible soil material you can pick up at a garden center.
You do not need a tractor, a laser grader, or a weekend rental to make a real difference in a mildly uneven lawn. Understanding what kind of unevenness you are dealing with is the first and most important step before you touch a single shovelful of soil.
Confirm that shallow unevenness is the real problem
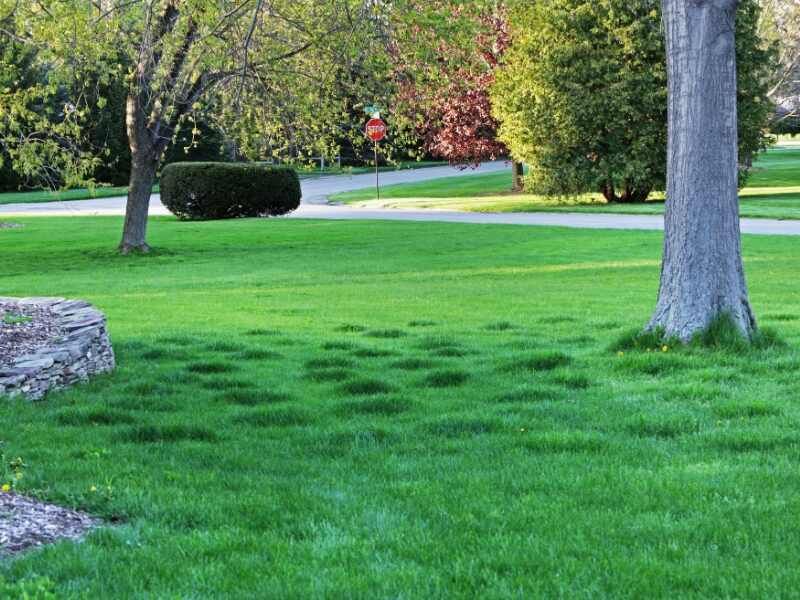
Walk the lawn slowly and press your foot or hand into each bump or low spot. Shallow surface ripples and minor depressions that compress slightly underfoot are the candidates for a simple hand-tool fix.
A thin, spongy feel in a low area often points to thatch buildup or minor settling rather than a structural problem, and those are the situations where light topdressing can gradually smooth things out.
Not every uneven lawn qualifies for that approach, though. University of Minnesota Extension guidance on lawn bumps and ridges identifies moles, voles, nightcrawlers, and ants as common causes of surface mounding that topdressing alone will not correct.
If you notice raised tunnels that collapse when pressed, conical mounds of loose soil, or ridges that reappear after being flattened, the animal or pest activity needs to be addressed before you add any material.
Persistent ponding after rain, chronically wet low areas that stay soggy long after surrounding soil dries, and sections where water drains toward the house are signs of a drainage or grading problem. UF/IFAS preplant soil assessment guidance notes that regrading may be necessary when poor drainage results from topography or poor site grading – a condition that adding soil to the surface cannot fix.
Deep holes, unstable depressions over buried wood or construction debris, and areas with major slope differences also fall outside the scope of a hand-tool treatment. Penn State Extension renovation guidance is clear that those situations call for grading, sod removal, soil replacement, or professional help.
Choose a material that matches the lawn’s soil
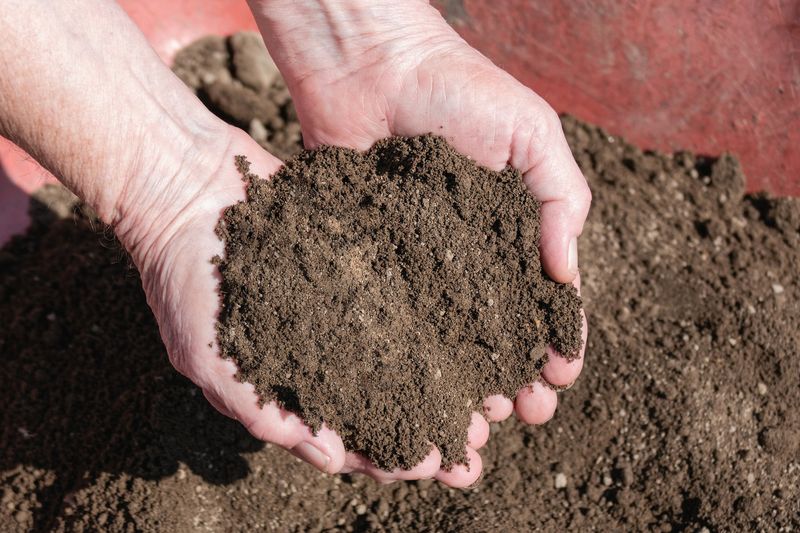
Picking the right leveling material matters as much as the technique. The safest choice for most home lawns is screened topsoil that closely matches the texture and composition of the soil already under the turf.
UF/IFAS guidance on St. Augustinegrass lawns advises using soil similar to the existing soil beneath the turf and confirming that it is free of weed seeds and nematodes. A well-finished soil-and-organic-matter blend that has been properly screened is another defensible option for a home lawn setting.
Pure sand is not a universal answer, even though it shows up in a lot of DIY lawn advice. Sand is routinely used on fine-turf athletic fields and in specific turf systems, but the soil type beneath your lawn matters enormously.
Penn State Extension lawn establishment guidance explains that meaningful improvement of clay drainage would require incorporating roughly 60 percent coarse sand by volume into the soil profile – far more than any surface topdressing can deliver. Spreading fine sand over heavy clay can actually reduce pore space and slow water movement rather than improve it.
Fresh or poorly finished compost carries its own risks. Compost varies in particle size, soluble salt levels, and maturity, and an unfinished product can burn grass or introduce weed seeds.
Penn State Extension research on compost use in turf supports well-finished compost as a topdressing amendment but warns against relying on raw or variable-quality material. Unspecified fill dirt from an excavation or construction site is also a poor choice because it may contain clay layers, debris, or weed seeds that create new problems.
Ask your supplier what the material is, where it came from, and whether it has been screened.
Prepare the lawn when the turf can recover
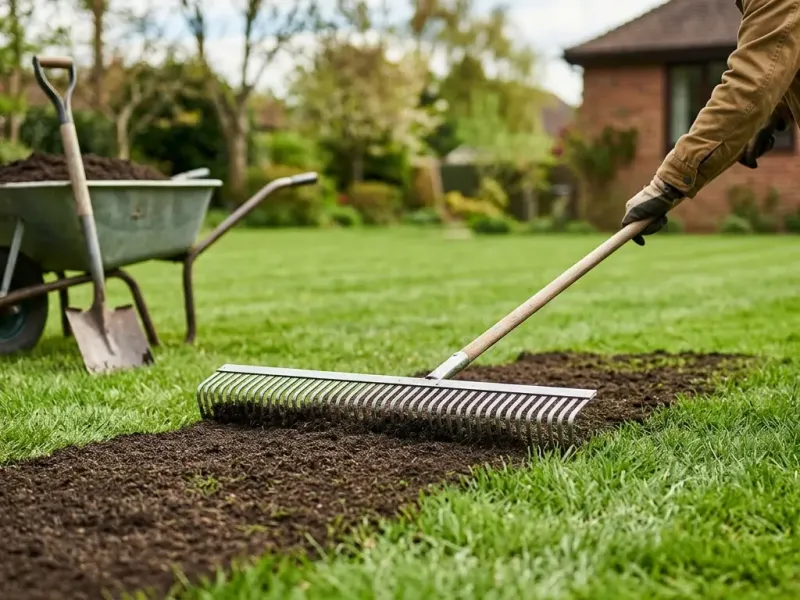
Gather your tools before you open a single bag of soil. You will need a shovel or wheelbarrow to move material, and at least one spreading tool: a leaf rake, a stiff push broom, a drag mat, or a section of chain-link fence works well for pulling material across the grass surface.
Walk the lawn one more time and mark each shallow low spot with a small flag or a stick so you can find them easily once you start working.
Timing matters more than a specific calendar date. The principle supported by extension research is straightforward: warm-season grasses such as bermudagrass, St. Augustinegrass, zoysiagrass, and centipedegrass recover best from disruptive work when they are actively growing.
UF/IFAS guidance on establishing Florida lawns identifies spring and summer as the strongest recovery window for warm-season turf. Oklahoma State University turfgrass resources similarly recommend core cultivation and renovation-type work during active growth periods.
Follow guidance specific to your grass type and region rather than applying a single schedule to every Southern lawn, because St. Augustinegrass in coastal Florida and bermudagrass in central Oklahoma do not behave identically.
Avoid working when the soil is saturated. University of Maryland Extension soil guidance recommends waiting until soil forms a ball that breaks apart when bounced in the hand – a quick squeeze test that tells you the ground is workable rather than waterlogged.
Also skip aggressive raking or disturbance during severe drought stress or extreme heat. Before you cut into any low area or peel back sod, contact 811 to have underground utilities marked and check the location of any irrigation lines or heads so you do not accidentally damage them.
Spread a thin layer into shallow low spots
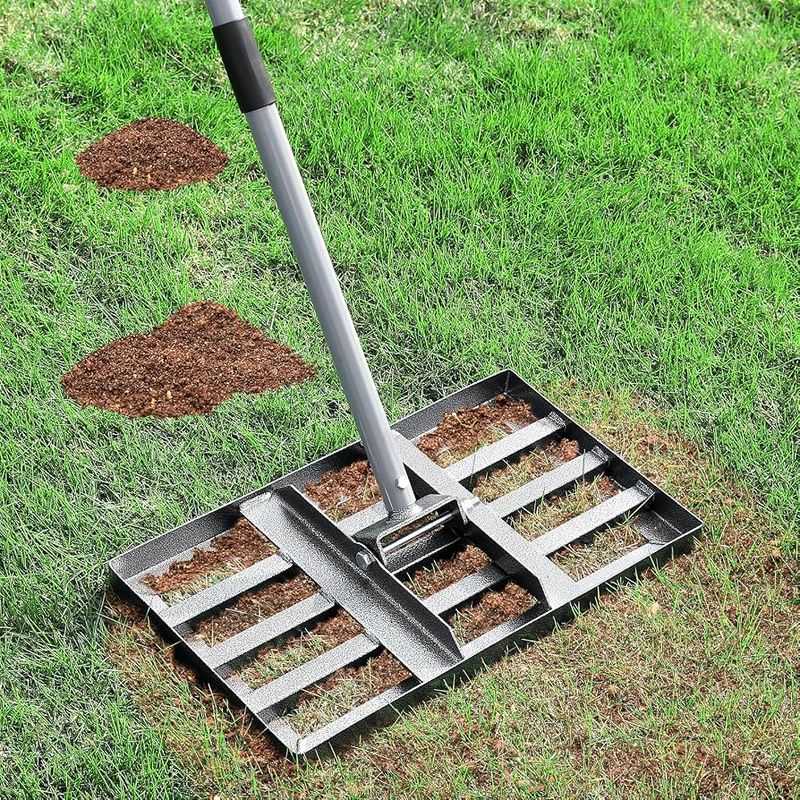
Start by placing small piles of material near each marked depression using a shovel or wheelbarrow. Concentrate the material over the low areas rather than spreading it uniformly across the entire lawn surface.
You want to fill the shallow spots, not blanket the grass, so resist the urge to dump a large mound and spread it outward from there.
Mississippi State University Extension describes topdressing as spreading sand or a sand-organic mix across the turf and dragging it to fill low areas, with the goal of keeping the grass canopy visible throughout the process. Pull the material across the grass using your rake, broom, or drag mat in overlapping passes, working from the edges of a depression inward.
The grass blades should poke through the layer when you finish – if you cannot see any green, you have applied too much.
Keep each application to roughly 1/8 to 1/4 inch for established turf. Mississippi State turfgrass management guidance and Penn State compost-in-turf research both support thin, repeated applications as the safer approach for established lawns, noting that layers deeper than 1/2 inch can smother turf, restrict air movement, or delay recovery.
Hand spreading suits small to medium repair areas well and gives you precise control over depth. A deep depression may need two or three light passes separated by recovery weeks rather than one heavy fill.
One more important point: raking or dragging moves the added material into low spots, but it does not lower existing high spots. Actual high spots require cutting down soil or regrading, which is a separate operation outside the scope of surface topdressing.
Use renovation methods for deep holes and major grades
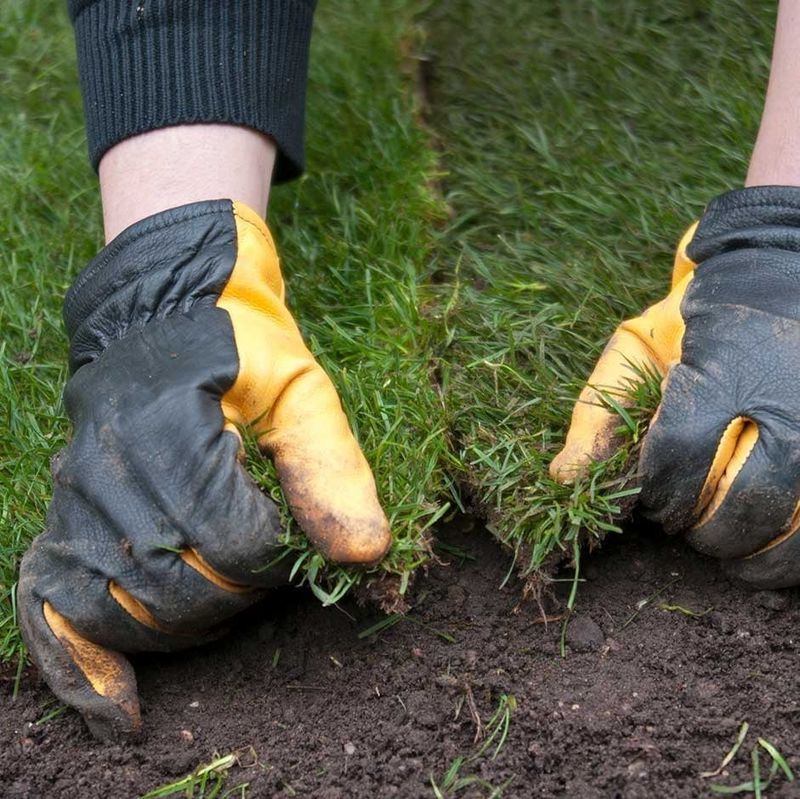
A deep rut, a hole left by a rotting root ball, or a section that sank several inches after construction is a different problem from a shallow ripple. Piling an inch or more of soil directly onto living grass to fill a deep depression is not a reliable repair.
Thick, sudden layers can cut off light and air to the grass beneath, and the turf often dies before the material settles, leaving you with a patchy, uneven surface that looks worse than before.
Penn State Extension lawn renovation guidance outlines a more effective sequence for deeper repairs: cut or peel back the sod in the affected area, add suitable soil in manageable lifts, firm the soil lightly without creating a hard compacted layer, replace the sod on top, and water it in thoroughly. Lifting the sod first protects the grass plants and gives you direct access to shape the soil beneath.
Firming each lift as you go reduces the air pockets that cause future settling without turning the repair into a compacted dead zone.
Major grade differences, persistent standing water across a broad area, severe settlement over buried debris, and drainage failures that send water toward the foundation move well beyond what sod-peeling and hand tools can correct. Those situations may require regrading the soil profile, installing drainage infrastructure, or bringing in equipment and professional expertise.
Recognizing that boundary early saves you from spending a weekend on a repair that will not hold. If the low area refills with water after every rain regardless of what you add, the cause is almost certainly below the surface and needs to be diagnosed before any fill material goes in.
Protect drainage paths, foundations, and trees
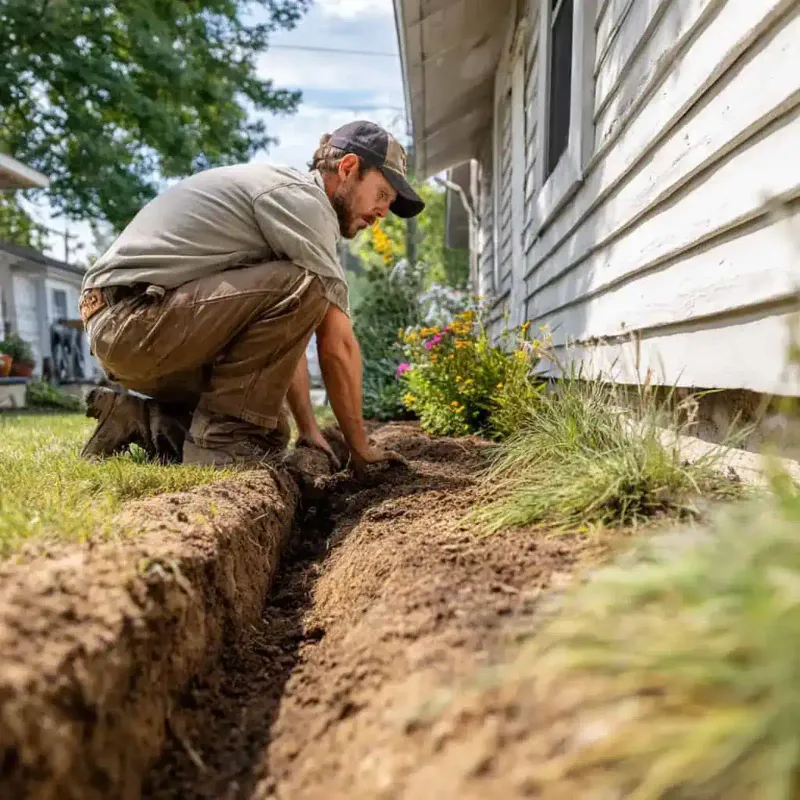
Adding soil to a lawn, even in small amounts, can redirect water in ways that cause serious problems if you are not paying attention to where runoff goes. Any leveling work should preserve a gentle slope away from the house.
Penn State Extension lawn establishment resources suggest a general grade of 1 to 4 percent falling away from buildings as a reasonable target, though local codes and site conditions may differ. Creating a flat basin beside the foundation or adding enough material to block an existing drainage swale can push water toward the slab, crawl space, or basement.
Keep soil away from siding, vents, weep holes, irrigation valve boxes, and any other features at or near ground level. University of Georgia Extension sediment and grading guidance reinforces that soil placement near structures should never bury functional components or interrupt the designed drainage path.
If a low area near the house stays wet persistently, that pattern may indicate poor grading, soil compaction, a high water table, or a blocked drain – problems that spreading soil on the surface will not correct. UF/IFAS preplant soil assessment guidance notes that regrading or drainage improvements may be necessary when topography is the root cause.
Trees deserve a specific caution. Surface roots that create bumps near a mature tree are doing real structural and vascular work for that tree.
Do not cut large surface roots simply to flatten the turf around them, and do not pile soil against the trunk or bury the trunk flare. Penn State Extension guidance on abiotic urban tree stress explains that construction fill and compaction around trees can suffocate roots and contribute to long-term decline.
Work around surface roots by hand and accept a slightly imperfect surface near the base of the tree rather than risking the tree’s health.
Repeat gradually and use aeration only when it fits
After the first application dries and the grass begins to push through, go back and look at the surface again. Some low spots will have filled noticeably; others may need another pass.
Repeated light treatments spaced several weeks apart give the turf time to recover between applications and let you judge whether the correction is working before you add more material. Trying to fix everything in one heavy session is what causes smothering, not the process itself.
Penn State Extension compost-in-turf research supports thin, repeated topdressing applications as the approach that protects established turf while gradually improving the surface. Between sessions, avoid working the soil when it is wet.
Walking and raking saturated ground increases compaction and can undo the improvement you made. Wait for the squeeze-test result described in the preparation section before you work the area again.
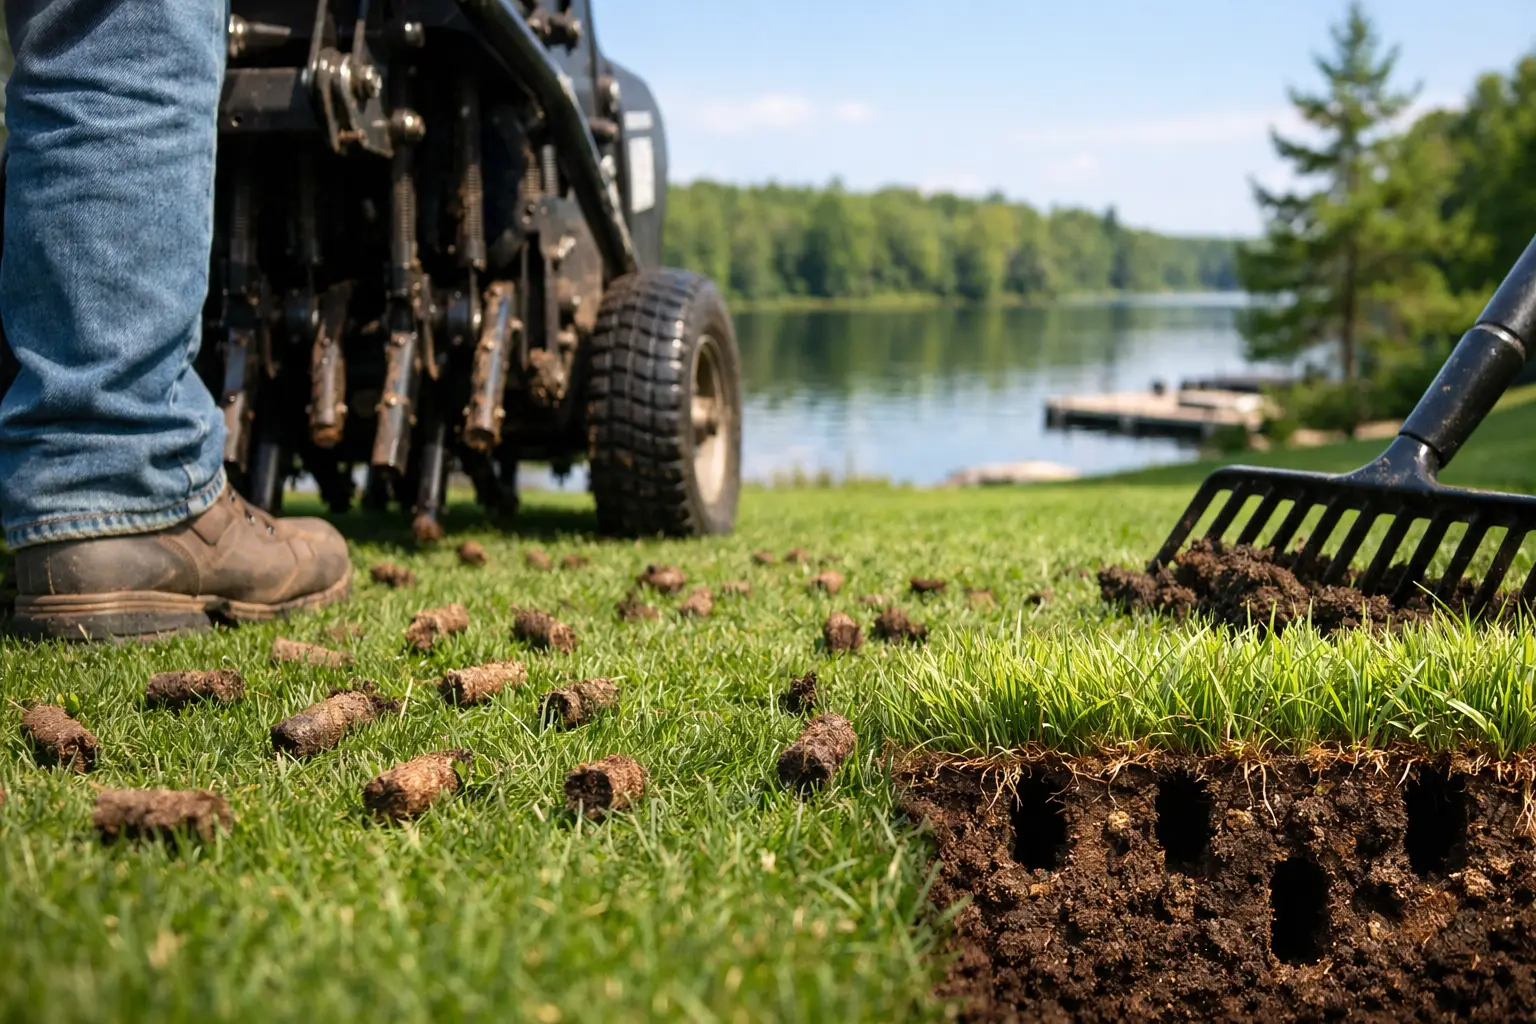
Core aeration can complement topdressing when compaction is limiting air and water movement into the root zone. Penn State seasonal lawn management guidance describes core aeration as a way to open channels that help amendments and water reach deeper into the soil.
Solid-tine spiking, which simply punctures the soil without removing a plug, is not the same thing and does not provide the same benefit. For warm-season grasses, UF/IFAS Florida lawn establishment guidance illustrates that different species recover at different rates, which is one reason timing and method should follow the specific grass type rather than a one-size approach.
St. Augustinegrass, bermudagrass, zoysiagrass, and centipedegrass each have their own recovery patterns, and pushing any of them too hard during heat stress or drought will set the repair back rather than forward.
Water for recovery without masking the cause
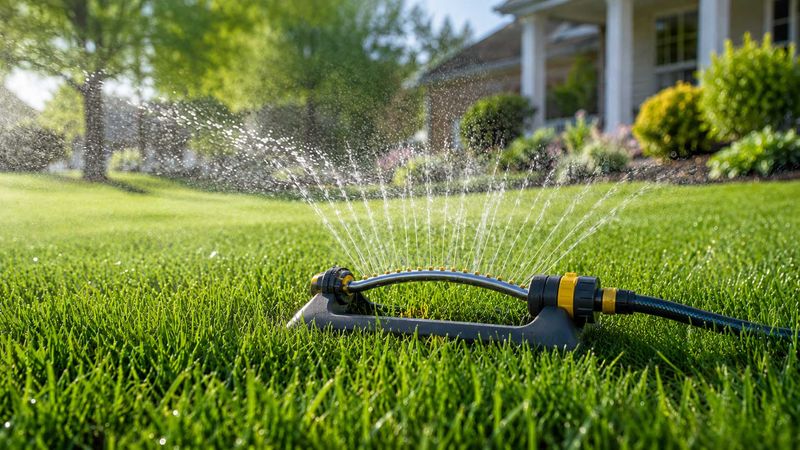
Watering after a topdressing repair is not an automatic soaking. The right approach depends on your grass type, the weather, and whether you disturbed any bare soil or removed sod.
Newly repaired or reseeded areas that lost direct root contact with the soil beneath may need light, frequent irrigation over the first week or two until the turf re-establishes. A gentle pass with a hose or sprinkler once or twice a day is more helpful in that situation than one long, heavy soak.
Established turf around the repaired spot does not need the same treatment. UF/IFAS turfgrass disease management guidance notes that keeping turf continually saturated deprives roots of oxygen and creates conditions favorable for fungal disease.
Let the soil surface dry slightly between waterings once the repair area has firmed up and the grass is actively growing again. If a repaired depression stays wet on its own well after surrounding areas have dried, that is a signal worth investigating rather than ignoring – it may mean the underlying cause has not been resolved.
Penn State renovation guidance frames post-repair watering around keeping the soil moist enough to support recovery without saturating it. One practical check: press your finger about an inch into the soil near the repair.
If it feels cool and damp, hold off on watering. If it feels dry and crumbly, add water.
A smoother lawn surface is worth the effort, but keep in mind that the documented causes of lawn unevenness – settling, animal activity, root growth, and drainage movement – can recreate surface irregularities over time.
A well-executed repair improves your lawn; it does not freeze it in place permanently.